Crafting Ideas for Adults: Relaxing Crafts & Craft Night
The easiest way to pick a craft as an adult is to start from the evening you actually have. With half an hour and a kitchen table, color a bookmark or fold a paper crane. With a free Saturday afternoon, spread out magazines and glue for a collage or roll paper strips into a quilled card. If friends are coming over, choose something everyone can work on side by side and take home, like fuse bead charms or a bookmark swap.
The table below sorts all fourteen projects by time, mess and what you need. The times are planning guides, not stopwatch results; slow down or speed up as you like.
| Project | Time | Mess | You need | Best for |
|---|---|---|---|---|
| Color a bookmark | One evening | Very low | Printer, cardstock, colored pencils or fine-tip pens | Solo, small spaces |
| Color a flower scene | One or more evenings | Very low | Printer paper, pencils or markers | Solo unwinding |
| Fill in a “design your own” page | Under an hour | Very low | Printer, pencils | Solo, journaling fans |
| Embroider a small sampler | Several evenings | Low | Hoop, fabric, needle, floss | Solo, TV nights |
| Fold paper cranes | Minutes each | Very low | Square paper | Solo or a group |
| Ten-minute scrap collage | 10 minutes | Medium | Scraps, glue, scissors | Getting unstuck |
| Two-color collage | One sitting | Medium | Magazines, glue, scissors | Solo practice |
| Palette swatch page | Under an hour | Low | Paint or magazine scraps | Planning bigger pieces |
| Pressed-flower picture | A week of pressing, then one sitting | Low | Flowers, heavy book, glue, card | Garden lovers |
| Decoupage a box | Several sessions | High | Box, cutouts, glue, varnish | Weekend project |
| Quilled greeting card | One afternoon | Medium | Paper strips, slotted tool, glue | Card makers |
| Vintage fuse bead charms | An evening per design | Medium | Beads, pegboard, ironing paper, iron | Craft night |
| Bookmark coloring swap | One evening | Low | Printed bookmark sheets, pencils | Friends, book clubs |
| Frame a finished page | Under an hour | Low | A colored page, frame | Gifts |
Quiet crafts for one evening at home
These need a table, decent light and almost no cleanup. They suit the hour after dinner, a rainy Sunday or a small apartment with nowhere to leave a project spread out.
1. Color a bookmark
A bookmark is the most finishable coloring project there is. It is small enough to complete in one sitting and you use it the next time you open a book.
You need: a printer, printer-compatible cardstock, colored pencils or fine-tip pens, and scissors.
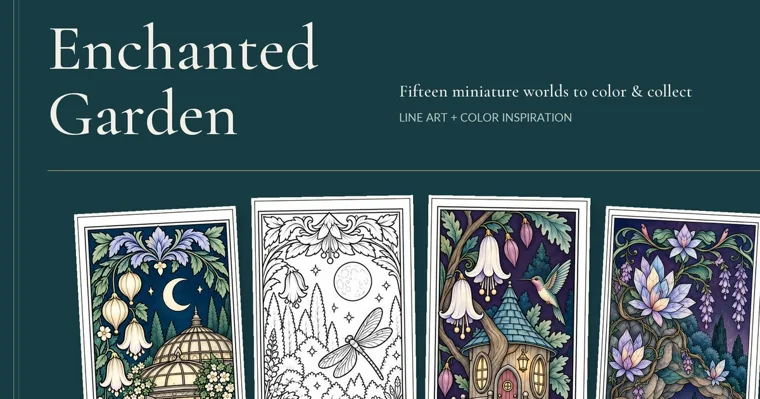
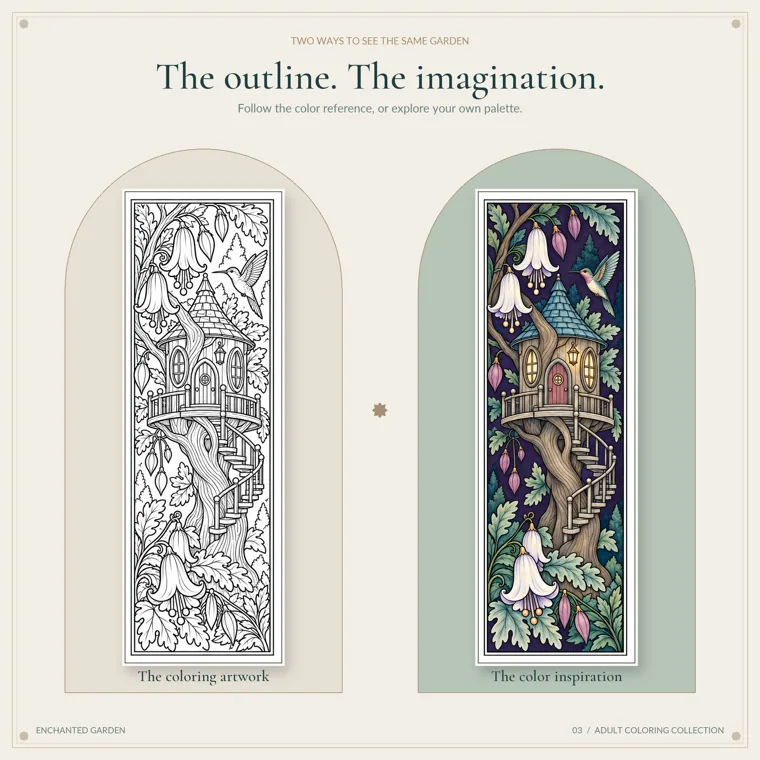
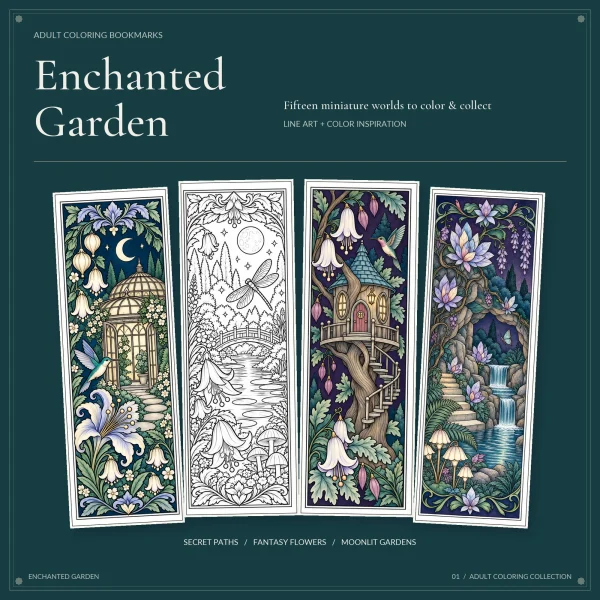
How to do it: print one sheet, color one design, then cut it out. Our Enchanted Garden coloring bookmarks put three 2 x 6 inch bookmarks on each sheet, with 15 scenes across five sheets. The printing guide on page 2 recommends colored pencils or fine-tip pens for the small details, and says to cut on the outer rectangle while keeping the inner illustrated frame.
Watch out for: printer scaling. Print at Actual Size or 100% with Fit, Shrink and borderless enlargement turned off. Page 2 has a test line that should measure exactly 1 inch; check it before you print all five sheets. If you want to laminate, do it after coloring and cutting, and let ink dry first.
Finished when: it is cut out and sitting in the book on your nightstand.
2. Color a full flower scene
A full-page scene gives you a longer, steadier project than a bookmark. Choose this one when you want to come back to the same page for several evenings.
You need: a printer, plain paper, and colored pencils or markers. If pencils feel flat, our guide on how to blend colored pencils covers layering; coloring with markers covers streaks and bleed-through.
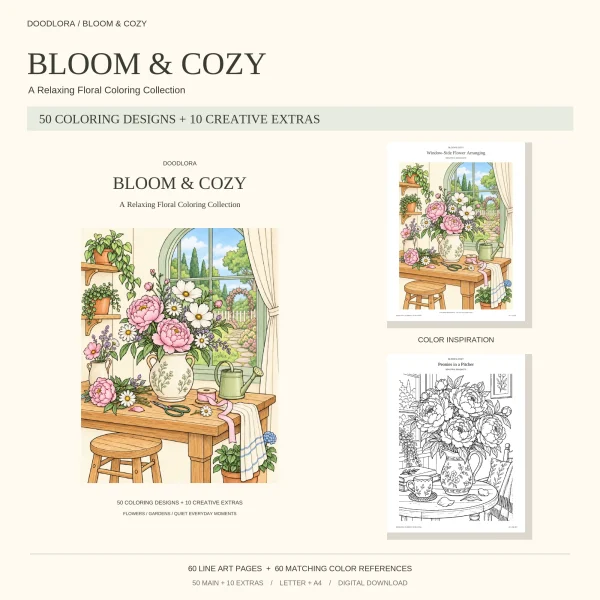
How to do it: pick one page and decide on three or four main colors before you start. The Bloom & Cozy flower coloring pages place flowers inside whole scenes: peonies in a pitcher, a reading chair with a sleeping cat, a florist’s storefront, a water-lily pond. Each design comes twice in the PDF, a line-art page followed by a colored reference page.
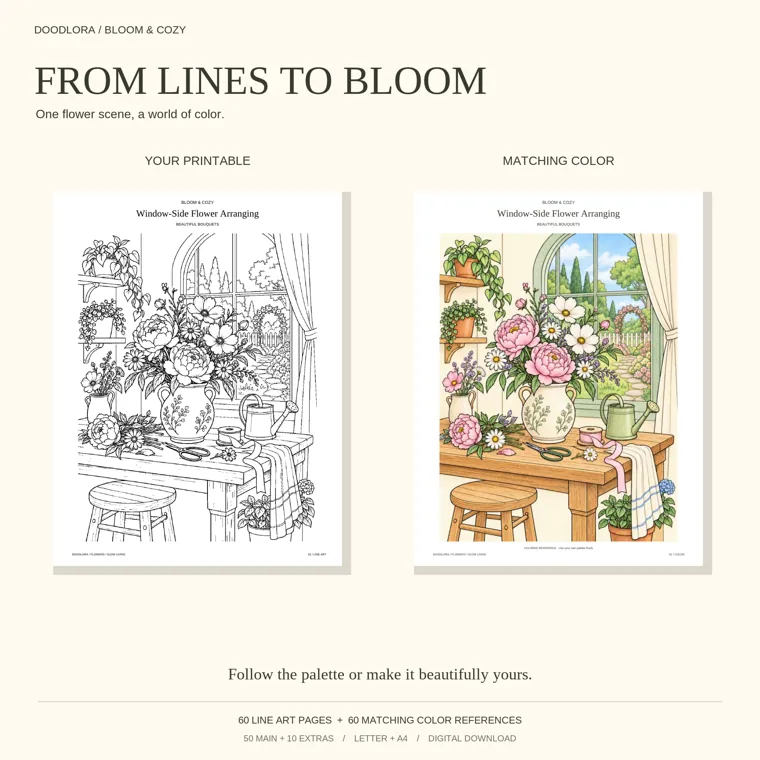
Watch out for: the page count when you hit Print. The US Letter PDF is 120 pages because the line art and color references alternate. Print only the line-art pages you want (the odd page numbers), or you will use a stack of color ink on references you only need to look at on screen.
Finished when: you sign and date the corner. Our coloring tips has more on choosing colors for busy backgrounds.
3. Fill in a “design your own” page
Not every quiet evening calls for filling in someone else’s lines. Some pages leave the design to you.
You need: a printer and pencils.
How to do it: the last ten designs in Bloom & Cozy are extras. Design Your Own Vase gives you an empty vase to decorate. My Garden Bucket List has room for twelve garden ideas you can tick off. Plan Your Own Bouquet has boxes for focal flowers, supporting flowers, greenery, the occasion and your palette, plus space to sketch the result. Pick one and spend the evening on it.
Watch out for: perfectionism on a blank space. Sketch in light pencil first so you can change your mind before adding color.
Finished when: the page is filled. The bouquet planner works well as a plan for project 9 or project 14.
4. Embroider a small sampler
Hand embroidery is portable and quiet, so it fits evenings on the couch.
You need: an embroidery hoop, cotton or linen fabric, an embroidery needle and floss.
How to do it: stretch the fabric in the hoop, draw a simple shape in pencil and stitch over the line. Running stitch, chain stitch and satin stitch are among the oldest embroidery stitches and are easy places to start. If you would rather follow a grid, try cross-stitch on aida cloth. It is a counted-thread style, so each stitch covers a set number of threads in the fabric.
Watch out for: loose fabric. The hoop is there to keep the tension even, and slack fabric puckers and distorts the design. Tighten it whenever the fabric starts to sag.
Finished when: one motif is stitched. Leave it in the hoop to hang as it is.
5. Fold paper cranes
Origami takes a square of paper and nothing else. The paper crane is the best-known model, and it is a good first project.
You need: square paper. Origami paper is usually colored on one side and white on the other, but everyday copy paper works for simple folds such as the crane.
How to do it: follow any crane diagram one fold at a time and press each crease firmly. Most origami books open with the basic folds, such as valley and mountain folds, before the models, so learn those first.
Watch out for: soft creases. A crane that won’t hold its shape usually has creases that were never pressed flat.
Finished when: you have one crane, or a string of them for a window.
Paper and collage projects for a slow afternoon
These spread out more. Cover the table, keep a bin for scraps and leave yourself two or three hours.
6. Ten-minute scrap collage
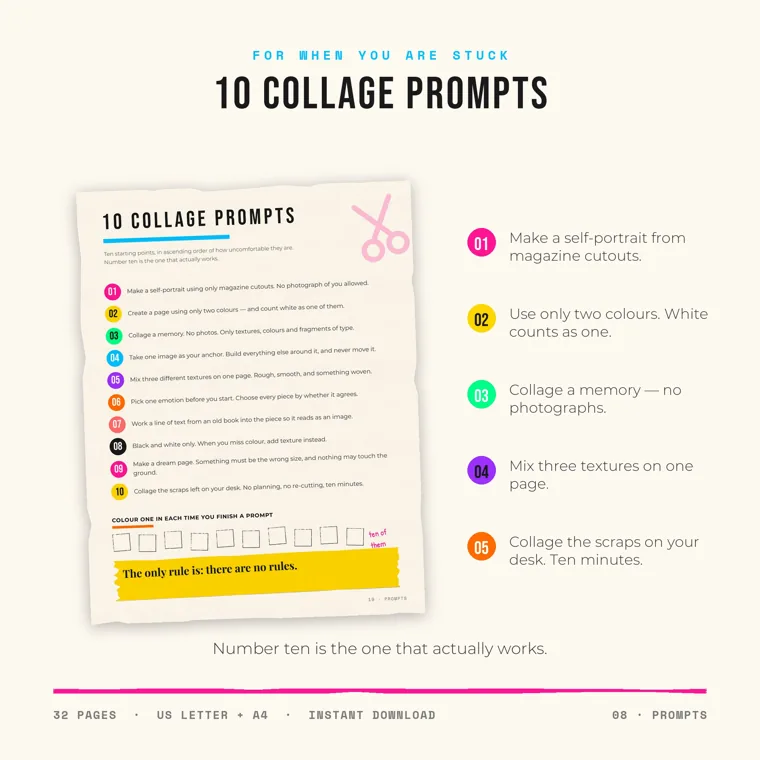
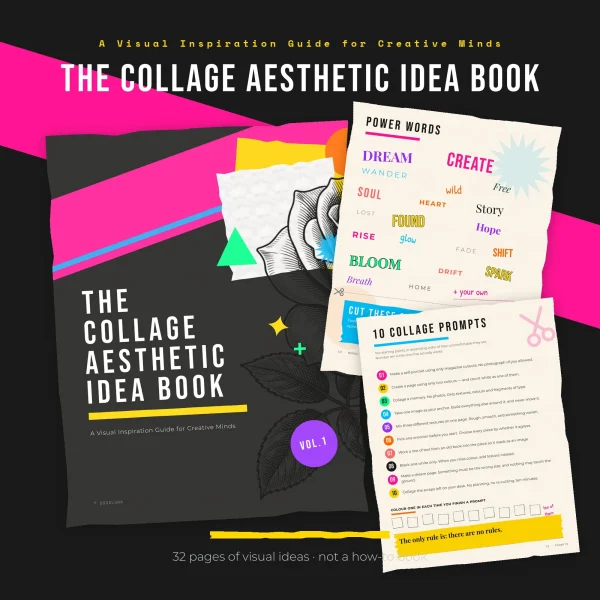
A timed scrap collage is the fastest way past a blank page. Use the scraps already on your desk, set a timer for ten minutes, and do no planning and no re-cutting. It is prompt 10 in our Collage Aesthetic Idea Book, and the book calls it “the one that actually works”.
You need: paper scraps, a glue stick, a base sheet and scissors.
Watch out for: stopping to fix things. The rule against re-cutting is what makes it relaxing.
Finished when: the timer goes off.
7. Two-color collage
Limits make collage easier, not harder. Prompt 2 in the idea book asks for a page with only two colors and counts white as one of them.
You need: old magazines, catalogs or packaging, glue and scissors.
How to do it: flip through and tear out anything in your two colors: photos, text, patterns. Lay pieces out before gluing, then glue from the back layer forward.
Watch out for: wet glue lifting magazine ink. Glue sticks curl thin paper less than liquid glue does.
Finished when: you color in one of the ten boxes at the bottom of the prompts page. Our post on collage ideas has more themes once these two feel easy.
8. Palette swatch page
Choosing colors before you start saves time on every other project here. The idea book has a page of ten named four-color palettes, and the page after it, Your Palettes, has spaces for five of your own.
How to do it: fill each space by painting, penciling or gluing four scraps torn from a magazine. Keep the page next to you the next time you color or collage.
Finished when: five palettes are filled.
9. Pressed-flower picture
Pressing flattens petals and leaves and squeezes out moisture. You then glue the dried pieces onto paper to make a picture.
You need: flowers and leaves, a heavy book, card or handmade paper, and glue.
How to do it: the nature page in the idea book suggests pressing real leaves between the pages of a book for a week before gluing them in. Lay out the whole picture before gluing, then fix each piece in place.
Watch out for: color change. Pressed flowers often come out a different shade, sometimes faded and sometimes brighter, so plan your layout after pressing.
Finished when: the glue is dry and the card is ready to frame or mail.
10. Decoupage a box
Decoupage means gluing paper cutouts onto an object and sealing them. A small box covered with magazine cutouts is the classic starting point.
You need: a plain box, cutouts, glue, a brush and varnish or sealer.
How to do it: glue the cutouts down, let them dry, then seal with varnish. Each layer is sealed, often with several coats, until the cutouts no longer look stuck on.
Watch out for: rushing the coats. Plan this over several sessions so each coat can dry.
Finished when: the surface feels smooth and the edges of the paper have disappeared under the varnish.
11. Quilled greeting card
Quilling uses strips of paper that are rolled, shaped and glued into designs. It works well on greeting cards.
You need: quilling strips, a slotted tool, glue and a blank card. The most widely used strip width is 0.2 inch (5 mm).
How to do it: slip the end of a strip into the slotted tool, roll a coil, let it loosen a little, then pinch it into a teardrop or eye shape. A few teardrops arranged in a ring make a simple flower.
Watch out for: uneven coils. Coils rolled with the slotted tool come out more even than ones rolled on a toothpick.
Finished when: the flower is glued to the card front.
Crafts for a craft night with friends
For three to eight people, choose a project where everyone works at the same table, chats and leaves with something finished.
12. Vintage fuse bead charms
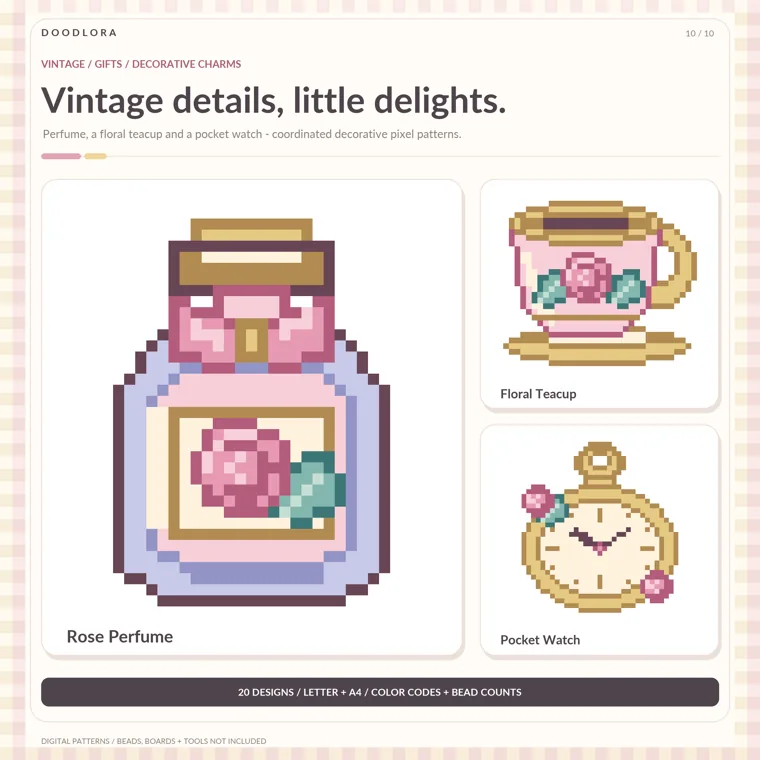
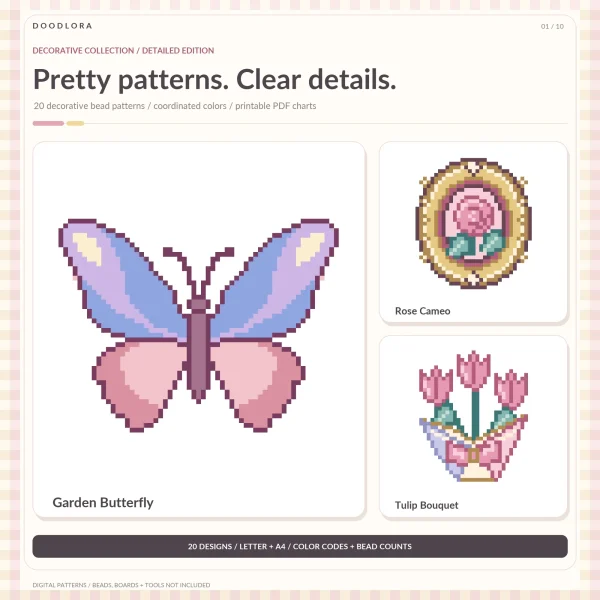
Fuse beads are not just for kids. The Ornament Atelier vintage fuse bead patterns chart 20 keepsakes: a rose cameo, a pocket watch, a perfume bottle, a lace fan and a floral teacup among them.
How many people: one design per person, with guests sharing bead bowls.
You need: fuse beads, pegboards, ironing paper and an iron. The index pages list a bead count for every design. The smallest are the Floral Moon at 438 beads and the Star Locket at 441. The Garden Butterfly is the largest at 1,561. Give first-timers one of the small ones.
How to do it: print the chart, place beads to match the color letters, then iron. Our fuse bead ironing guide covers the ironing step, and the fuse bead keychain post shows how to turn a finished piece into a charm.
Watch out for: three printing and reading traps. Print at 100% and measure the 2-inch calibration line on page 2 before placing beads on an actual-size chart. The color letters are local to each design, so read every design’s legend instead of assuming A means the same color everywhere. And some designs need square pegboards joined together, up to 59 x 45 pegs, so check the size before the party.
Finished when: each piece is ironed and cooled flat.
13. Bookmark coloring swap
A bookmark swap is an easy craft night for a book club. Print one sheet of bookmarks per guest and set out shared pencils. Everyone colors one design, then the finished bookmarks go into a bowl and each guest draws one out.
How many people: any number. Each sheet holds three bookmarks, so five sheets cover all 15 designs.
Watch out for: cutting too early. Color first, then cut on the outer rectangle, so nobody’s design gets smudged while it’s handled.
Finished when: everyone leaves with someone else’s bookmark.
Crafts that make good handmade gifts
Gifts need a project you can finish neatly. Most of the projects above can become one with a frame or an envelope.
14. Frame a finished page
A colored flower scene is US Letter or A4, so it fits a standard frame for that paper size. Our picture frame sizes guide lists the usual mats. The last Bloom & Cozy extra, a Certificate of Calm with lines for a name and a date, makes a cheerful frame for a friend who needs a break.
Bookmarks make good gifts too. Tuck a colored one inside a paperback. The bookmark terms allow finished bookmarks as personal gifts but not for sale. Fuse bead charms and pressed-flower cards work the same way: one finished piece, wrapped simply.
Watch out for: framing too soon. Let marker ink and glue dry overnight before the glass goes on.
Picking your first project
If you have never crafted as an adult, start with a bookmark or a paper crane: little to buy, quick to finish, nothing to clean up. Once you want something to spread out over, move on to collage. When friends want to join in, plan a fuse bead night. For a gentler, social option for older relatives, our activities for seniors has more ideas.
Printables from this article
Related articles
Printable Bookmarks
Bookmark Ideas: 14 DIY Bookmarks for Kids, Teens and Adults
Fourteen DIY bookmarks sorted by who's making them, from crayon coloring strips for preschoolers to fine-line adult designs, with supplies, time, steps and the usual mistake.
Printable Bookmarks
Easy Paper Crafts for Kids: Fold-Only and Printable Ideas
Thirteen paper crafts that need little more than paper, scissors and a glue stick, sorted by age and by how much time you have, with the step where each one usually goes wrong.
Printable Bookmarks
Homemade Gift Ideas: 15 Easy DIY Gifts by Budget and Time
Fifteen homemade gifts grouped by who you're giving to and how much time you have, each with materials, time, how to wrap it and the mistake to avoid.