How to Make a Fuse Bead Keychain (and Fridge Magnets)
A fuse bead keychain needs one open hole near the top edge. Keep bead holes open when you iron, or poke one open later with a needle, then hook a jump ring or clasp through it and add a key ring. Perler and Hama are fuse bead brands, so this is also how to make a Perler bead keychain.
Fridge magnets skip the hole. The flat back of the piece takes an adhesive magnet or a strip of magnetic tape, and the only real question is whether it’ll stay put.
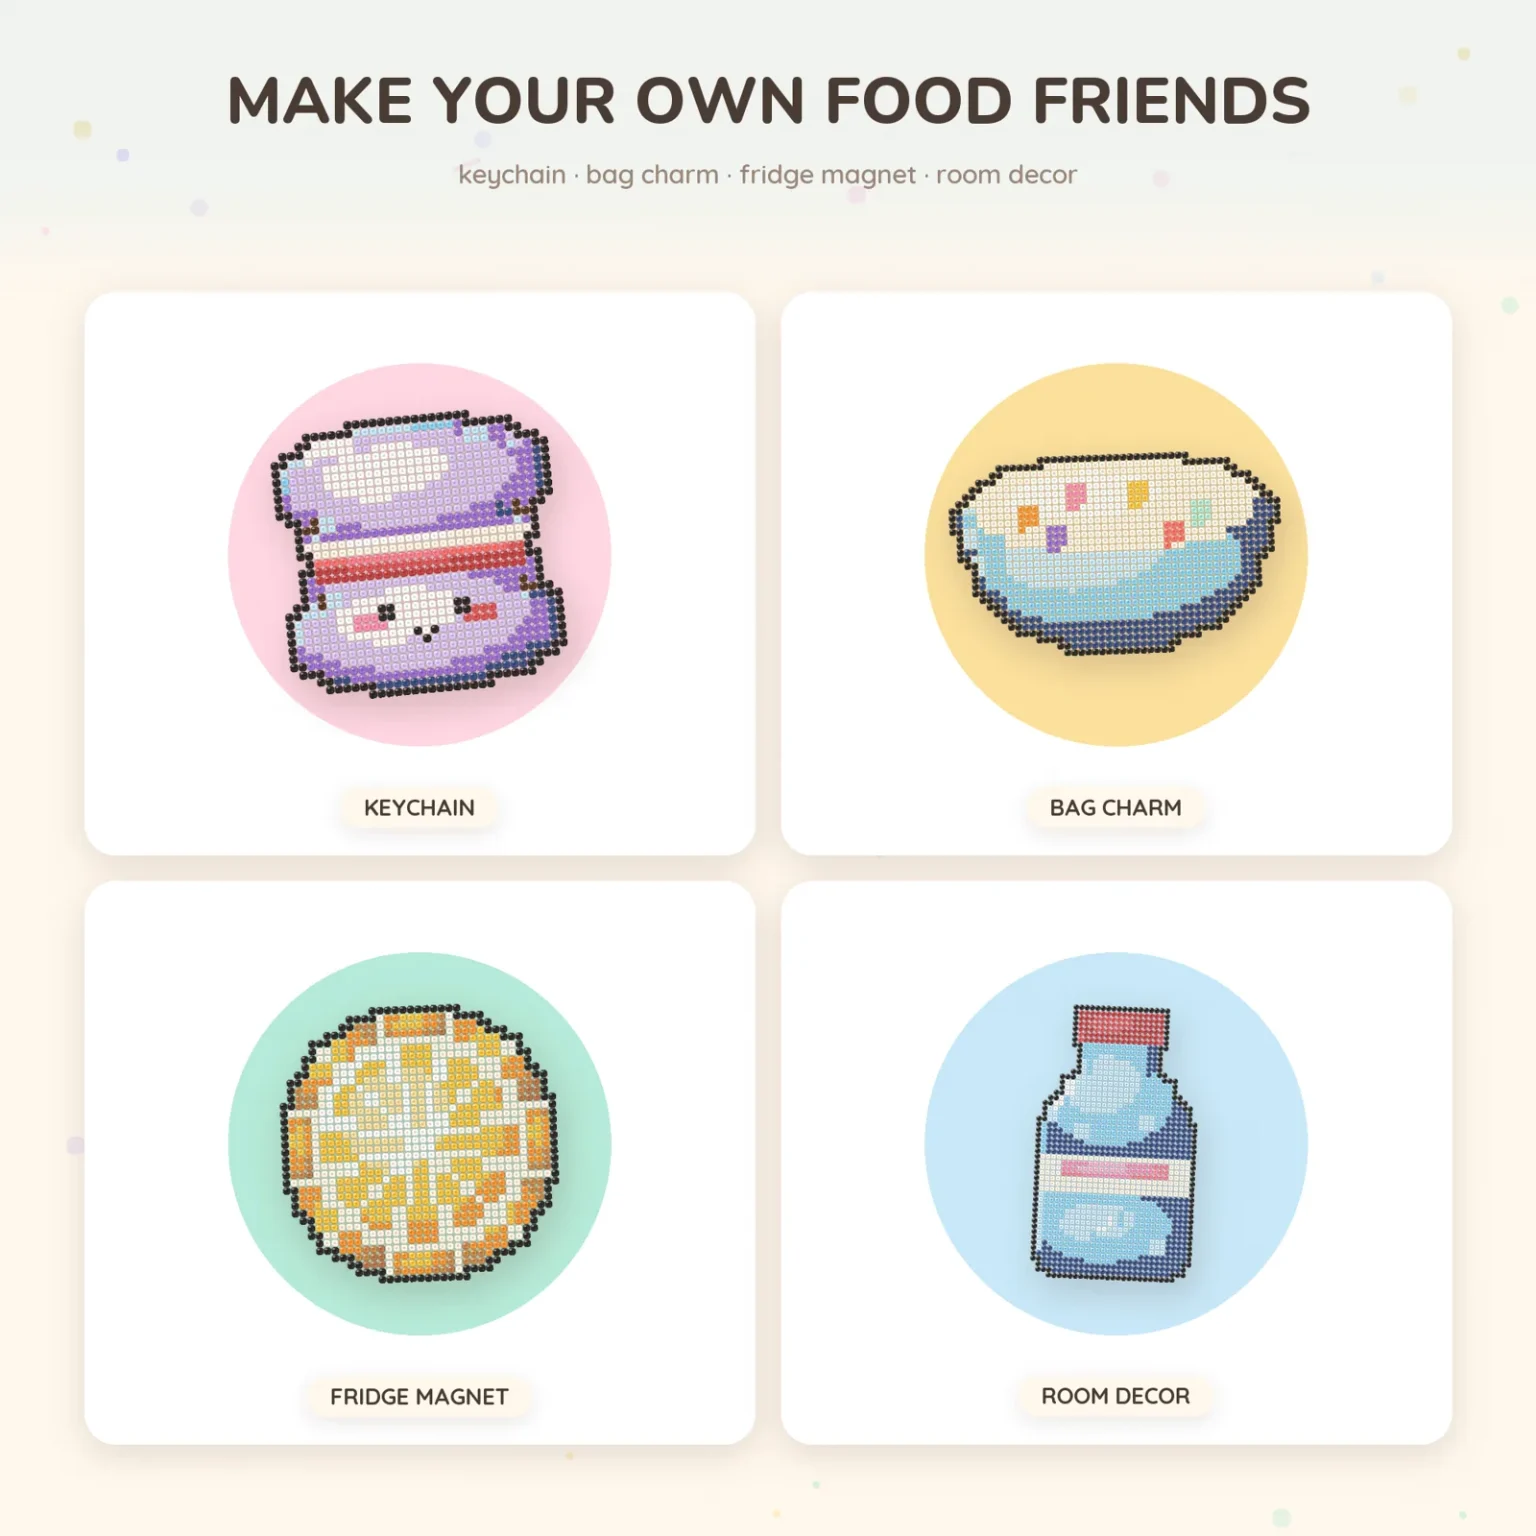
What you need to make a fuse bead keychain
Most of it is small jewelry hardware, and none of it is tied to one bead brand.
- A finished, ironed bead piece, preferably a small one (sizes are further down)
- A key ring: a classic split ring, a screw-close cable ring, or a shaped ring like a star
- Jump rings, the small open rings that link the bead piece to the key ring
- Needle-nose pliers to open and close the jump rings
- Something pointed to open or widen a hole: a sewing needle, pointed tweezers, a push pin or an awl
- Optional: a lobster clasp on a short cord, or a length of ball chain
Jump ring thickness matters more than you’d think. One crafter who makes a lot of bead charms uses 8 mm (about 5/16 in) rings. She finds 1.2 mm wire hard to push through a fused bead and suggests 1.0 mm wire instead. Krysanthe’s tutorial goes a little bigger and suggests 10 or 12 mm rings.
Colored jump rings look nice, but the same crafter warns that the paint can chip where the pliers squeeze them shut.
If kids are helping, loose beads are a choking hazard for children under 3, and the ironing is a job for an adult or with an adult watching.
Plan the keychain hole before you iron
The hole is the part that goes wrong, and the decision gets made at the ironing board, not afterward.
Every fuse bead is a short tube. Iron gently and the tubes fuse at the sides while the centers stay open, so each bead already has a hole you could hang from. Keep going and the centers close completely into a flat, smooth surface. That’s sturdier, but it’s easy to overdo until the piece goes thin and loses its shape, and it leaves nothing to hang from.
The heat, paper and pressing are covered in how to iron fuse beads. For a keychain the only change is to stop while the holes are still clearly open, especially the ones near the top edge. Perler’s own keychain project asks for the same thing.
There are three ways to get your hole:
Use a hole that’s already there. Iron both sides, stop before the holes close, and pick an open bead near the top. It’s the method Krysanthe’s tutorial and Perler’s keychain project both use.
Open one after ironing. A sewing needle, pointed tweezers or a push pin will do it. Push the point in where you want the hole and twist it around until the opening is big enough for your ring.
Build the gap into the design. One crafter adds a border of clear beads around the finished design and leaves a few pegs in that border empty. The chain goes through a gap, so nothing needs punching.
Whichever you pick, don’t put the hole in the very last bead on the edge. The crafter with the 8 mm rings opens hers in the second bead in, because an outermost bead tends to come off once a key ring starts pulling on it.
Making a fuse bead keychain, step by step
Here’s one keychain maker’s order of work, from an empty pegboard to a finished key ring. Her design was a tall rectangular word plaque, but the order would be the same for a small animal or a heart.
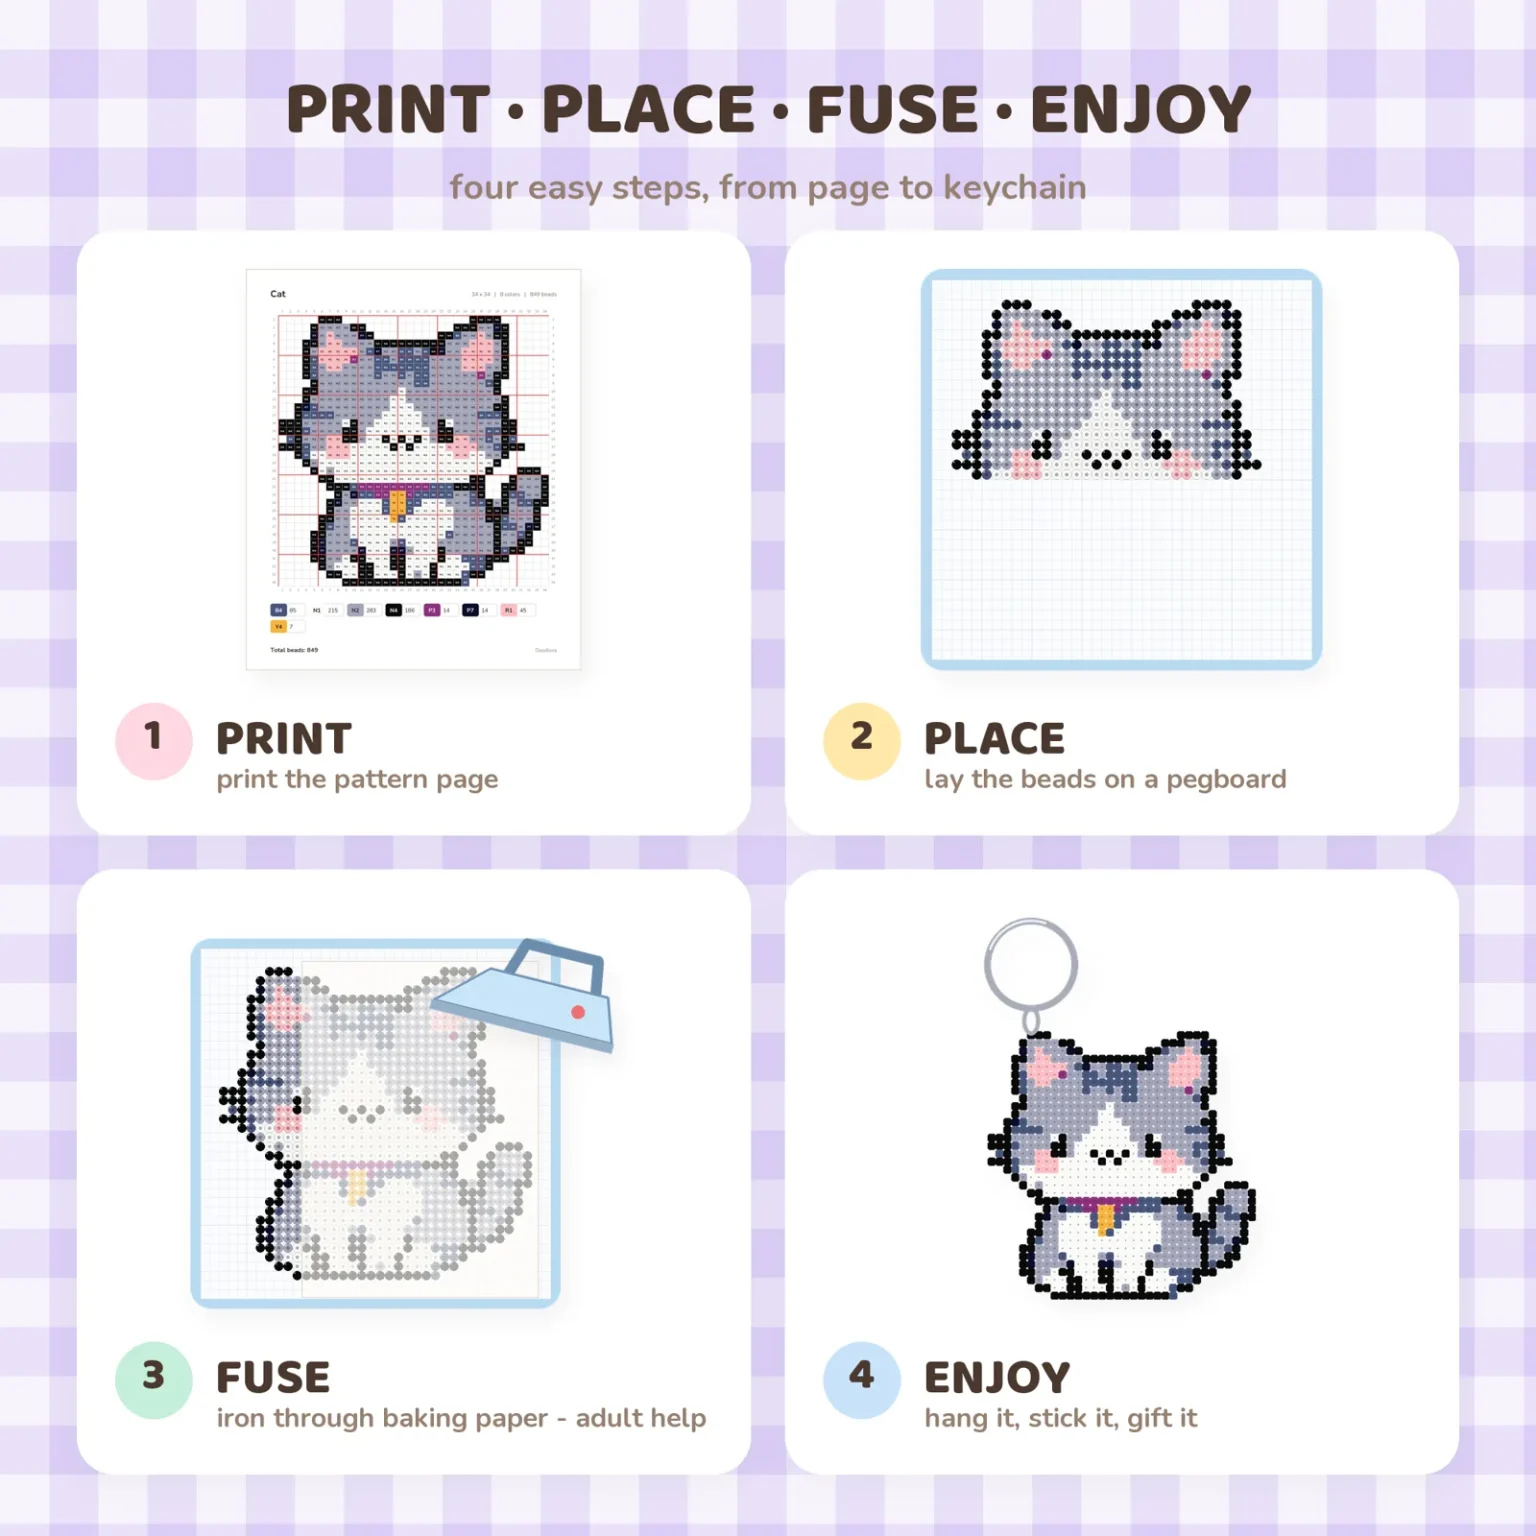
Build the outline first. The border and the letters go onto the pegboard before any of the background. With the outline in, the background fill only has to go into the gaps it leaves.
Fill in the background. Beads go in one color at a time with a pair of tweezers until every peg inside the border is covered.
Iron both sides, then press it flat. Once the iron has heated up, the front gets ironed under paper, cooled and peeled. After one side the plaque is still soft, so the back gets ironed too. Then it cools under a heavy book so it stays flat, and the paper comes off.
Pick out the hardware. Before anything is attached, the bags of key rings, clasps and rings come out next to the finished plaque.
Try a few combinations. Candidate rings get laid beside the plaque to see what suits it.
Settle on one combination. Here it’s a lobster clasp on a black cord plus the round pink key ring. The star ring and a length of ball chain were the other candidates.
Widen a hole at the top. A sewing needle goes into a bead along the top edge and gets worked around until the hole will take the clasp.
Hook on the lobster clasp. The clasp goes through the widened hole, with its cord running up away from the plaque.
Add the key ring last. The cord’s loop gets fed onto the pink split ring, with two pairs of tweezers helping.
One thing this build does differently from the tip above: the clasp sits in the top border row, the outermost beads. For a keychain that’ll carry real keys, moving the hole one bead in is the safer choice.
Other ways to hang a fuse bead keychain
A jump ring is the more usual link. Krysanthe’s tutorial, Perler’s project and several of the crafters quoted here all use one: open hole, jump ring through it, key ring on the jump ring.
Open a jump ring by twisting the two ends sideways, one toward you and one away, rather than pulling them apart. Perler’s own keychain project says the same thing. The crafter from earlier threads the ring through the hole with needle-nose pliers and then presses it shut with them, and she says that’s what makes it hold.
You can also buy an awl made for opening holes, which saves working a needle around by hand.
The attachment hardware on the key ring end has a few quirks of its own:
- Screw-close cable rings are the thin wire loops with a threaded end. Screw them shut until they won’t turn any further, or they can work loose. The big loop holds several bead pieces at once.
- U-shaped lobster clasps clip straight into a bead hole, no jump ring needed. A black one is the clasp she uses most.
- Ball chain is mostly used on mini-bead designs. It breaks and slips more easily than a ring, so she pairs it with other hardware instead of using it alone.
The how-to page in the Halloween pattern book adds one more idea for charms: glue two identical pieces back to back, and you get a sturdier charm that looks finished from both sides.
Which fuse bead patterns are small enough for a keychain
Size is the other half of the problem. Krysanthe’s tutorial says the design has to be small, and it’s right. On standard 5 mm beads, every square of a chart adds 5 mm (about 0.2 in) to the finished piece, and full pixel-art charts add up fast.
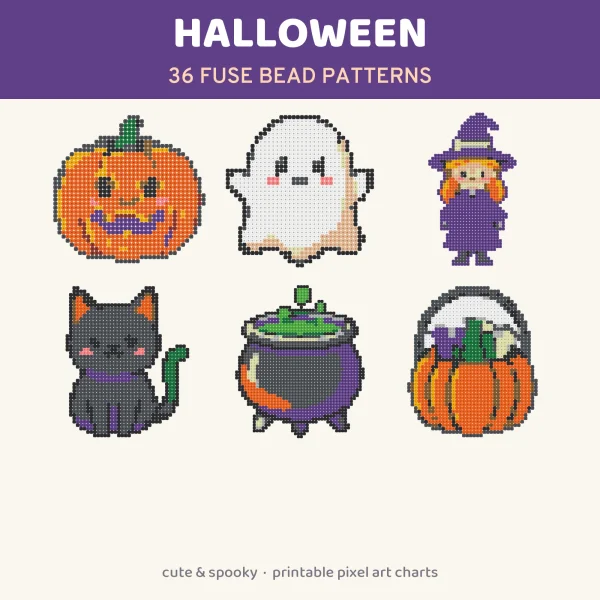
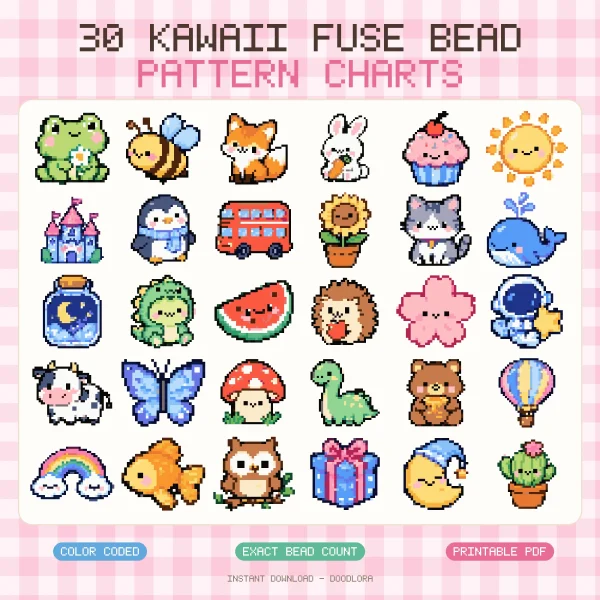
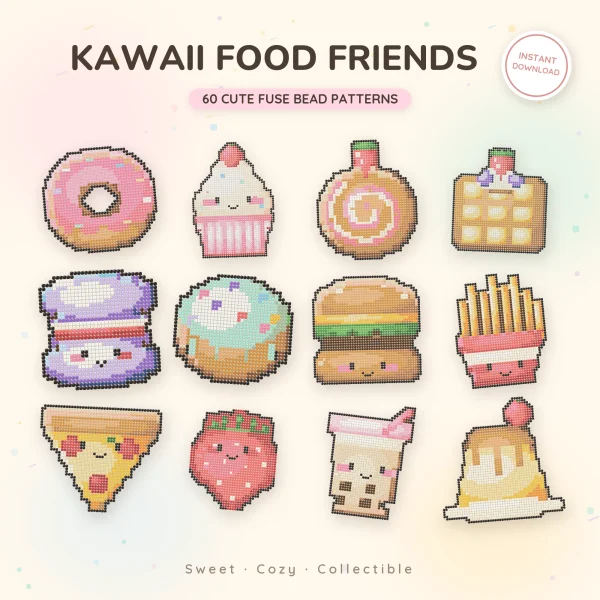
Here’s how the fuse bead pattern books in the Doodlora Studio shop measure up, using the measurements printed in each book:
| Set | Chart size | On 5 mm beads | On 2.6 mm mini beads |
|---|---|---|---|
| Cute Animals (30) | 29 × 29 | about 5.7 in (14.5 cm) | about half |
| Halloween (36) | 40, 48 or 56 squares | about 8 to 11 in (20 to 28 cm) | 4.1 to 5.7 in (10.4 to 14.6 cm) |
| Kawaii Pixel (30) | 25 to 40 wide | 6 to 8 in (15 to 20 cm) | not stated |
| Kawaii Food (60 + 10 bonus) | 24 to 51 wide | 6.5 to 12.4 in (16.5 to 31.5 cm) | roughly half |
| Dogs (36) | 48 × 48 | about 9.4 in (24 cm) | about 4.9 in (12.5 cm) |
| Cats (30) | 50 tall | about 9.8 in (25 cm) tall | not stated |
None of them makes a tiny charm on 5 mm beads, and the cat book says so outright: its cats are wall-hanger and shelf pieces rather than keychain charms. Two of the books don’t give a mini-bead measurement, so those cells say “not stated” instead of a guess. There are still two good ways to use the sets here.
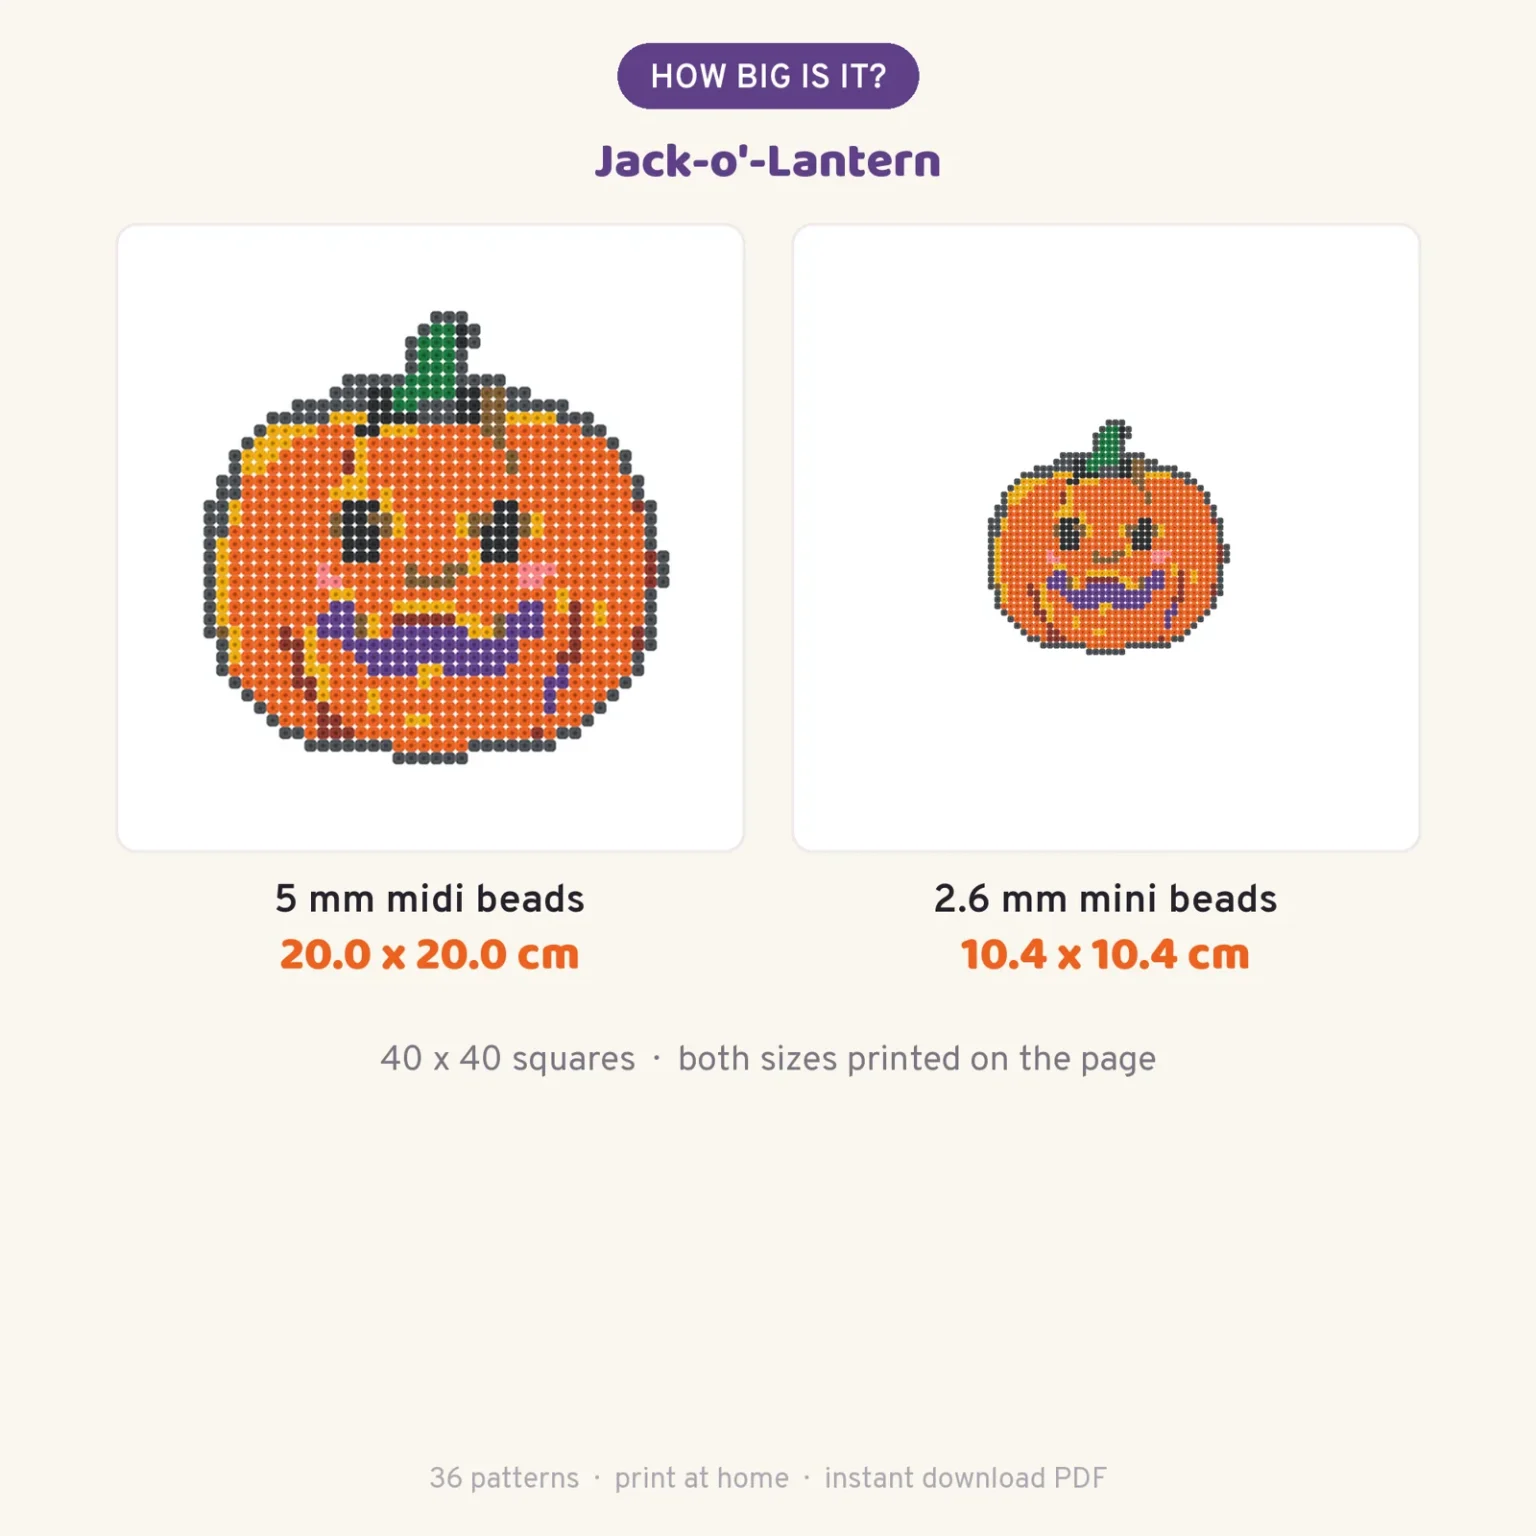
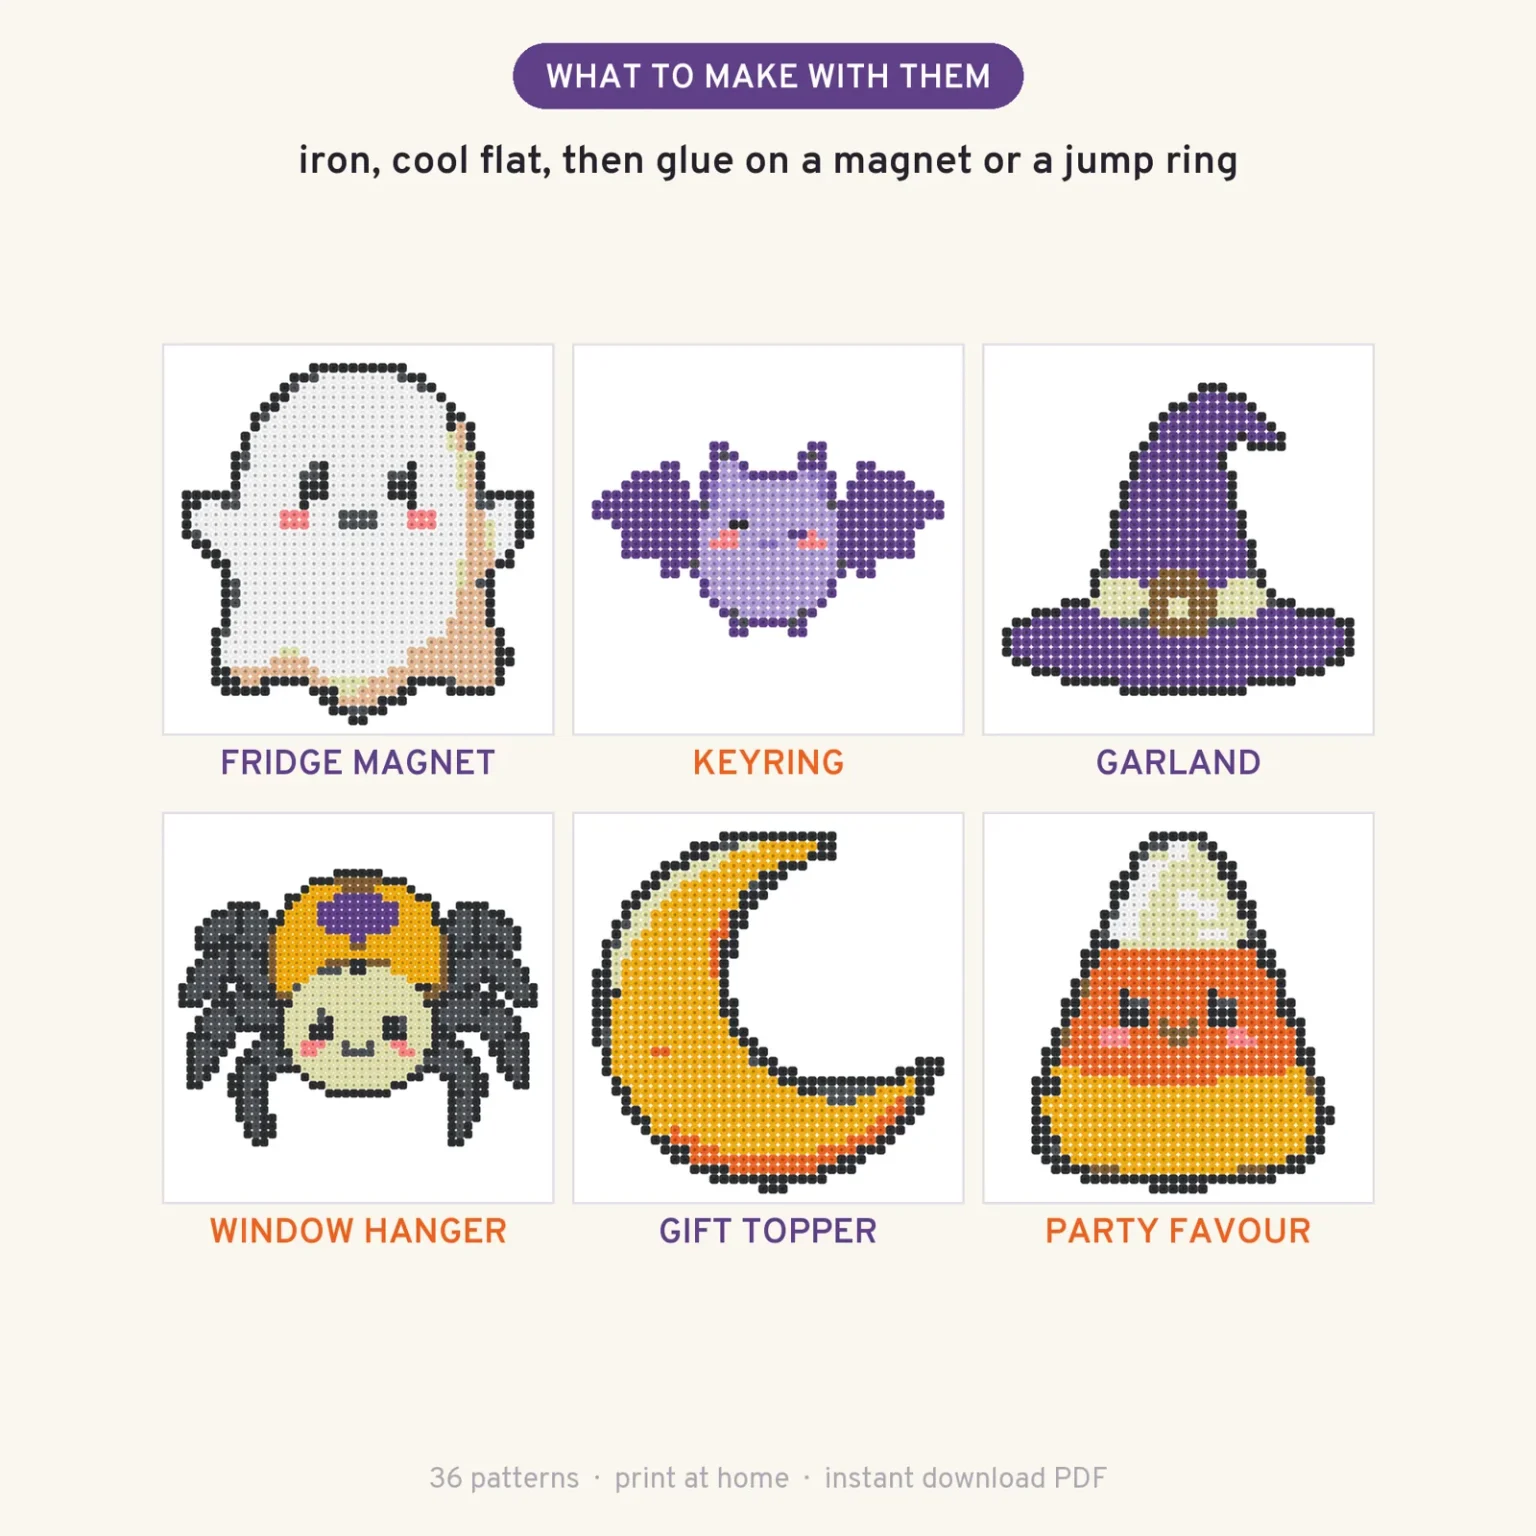
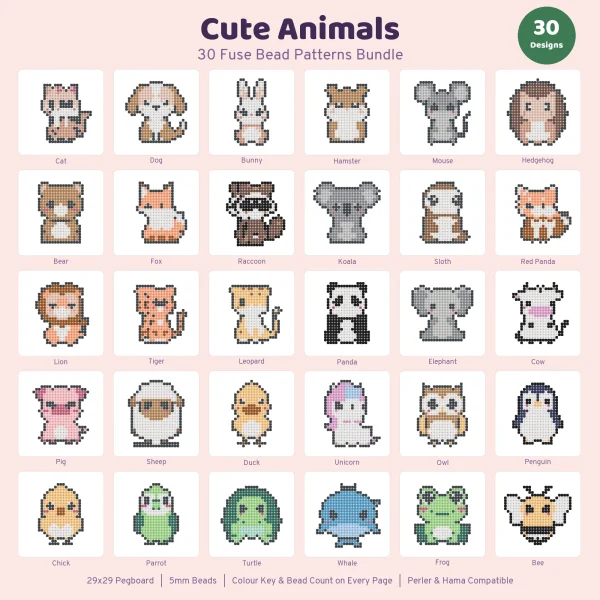
Make fridge magnets on 5 mm beads. The Cute Animals set was drawn so every animal fits one 29 × 29 square pegboard, and the book pitches the 5.7-inch result as coaster or fridge magnet size.
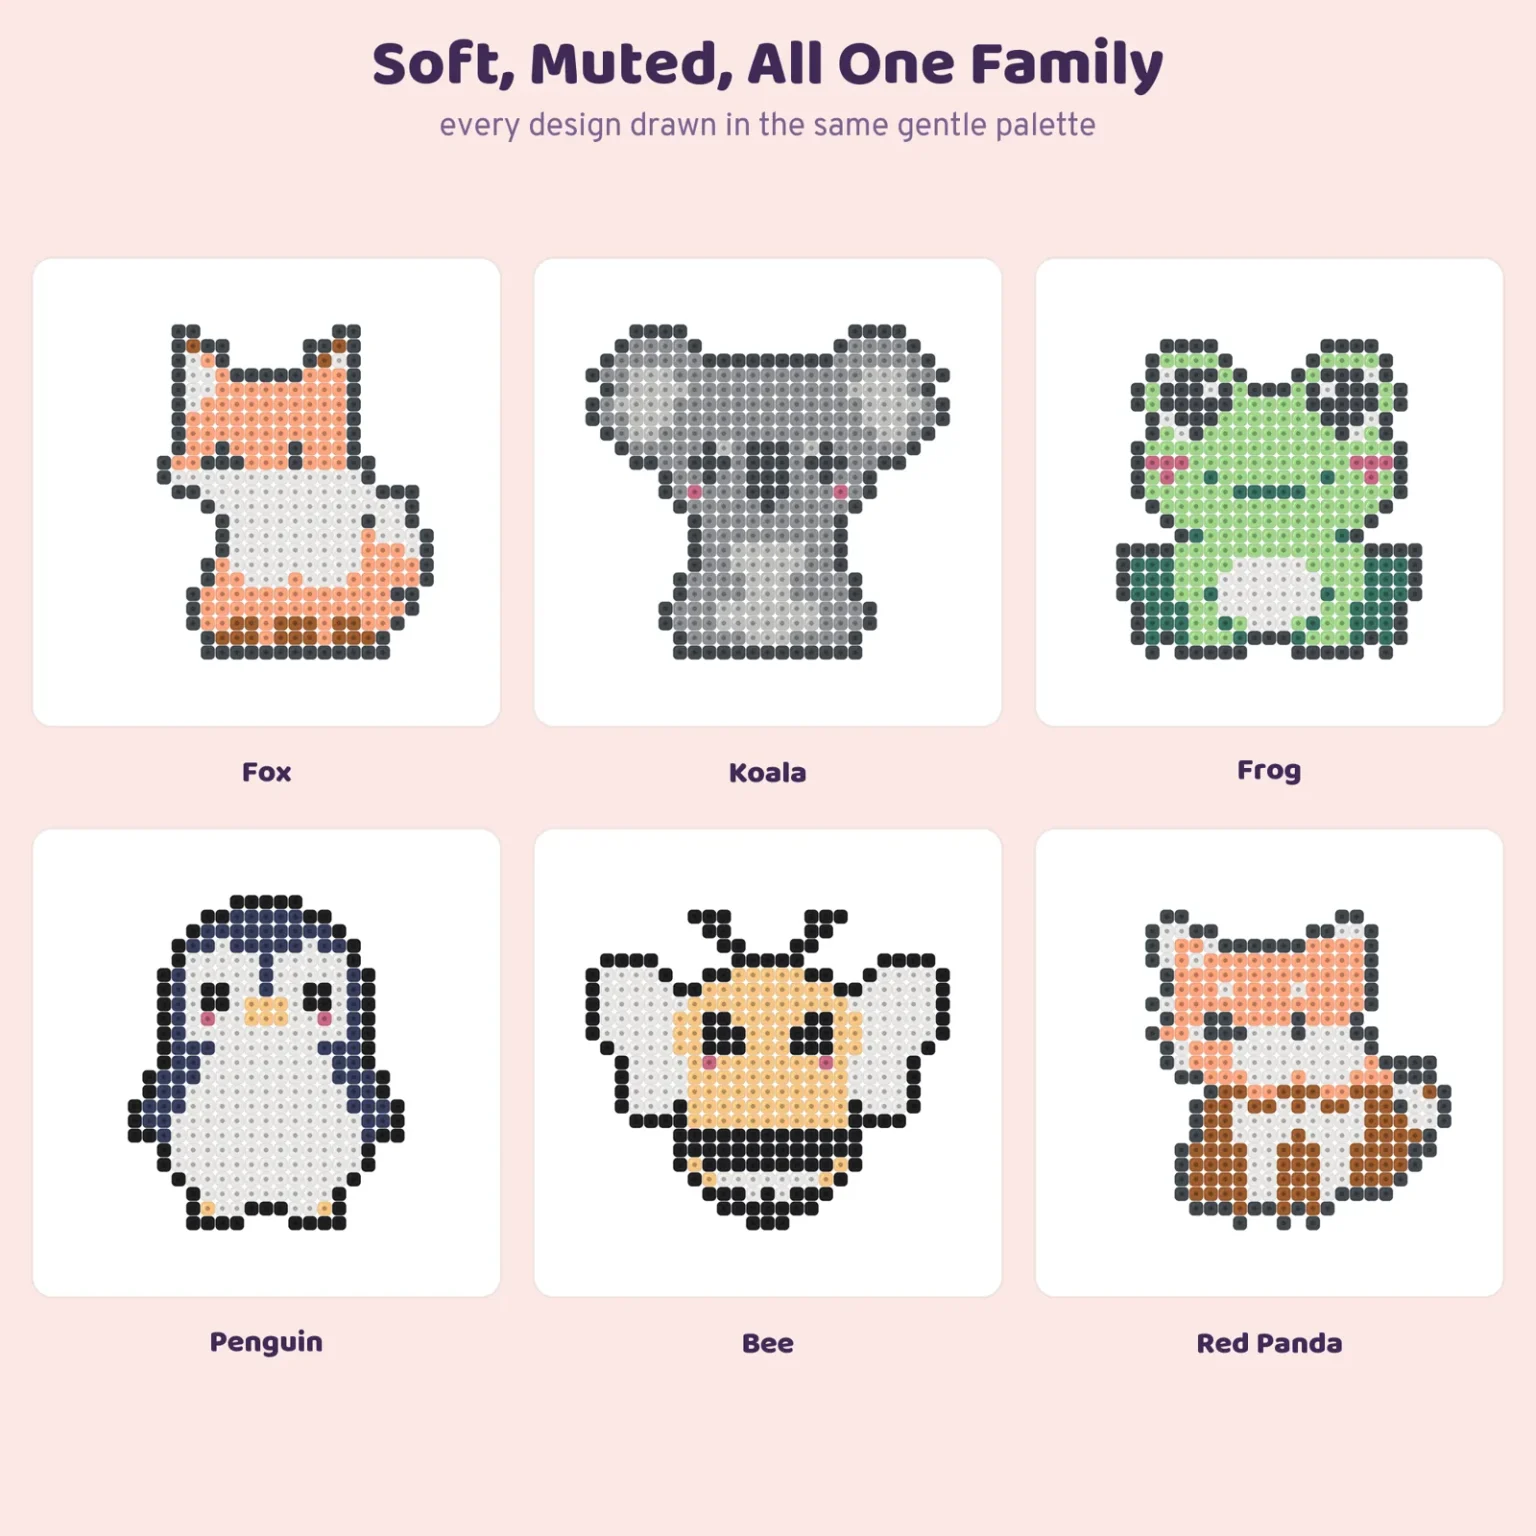
Make keychains on 2.6 mm mini beads. The same 29-square animal comes out at about 3 in (7.5 cm) across on minis, and mini designs are where ball chain gets used most.
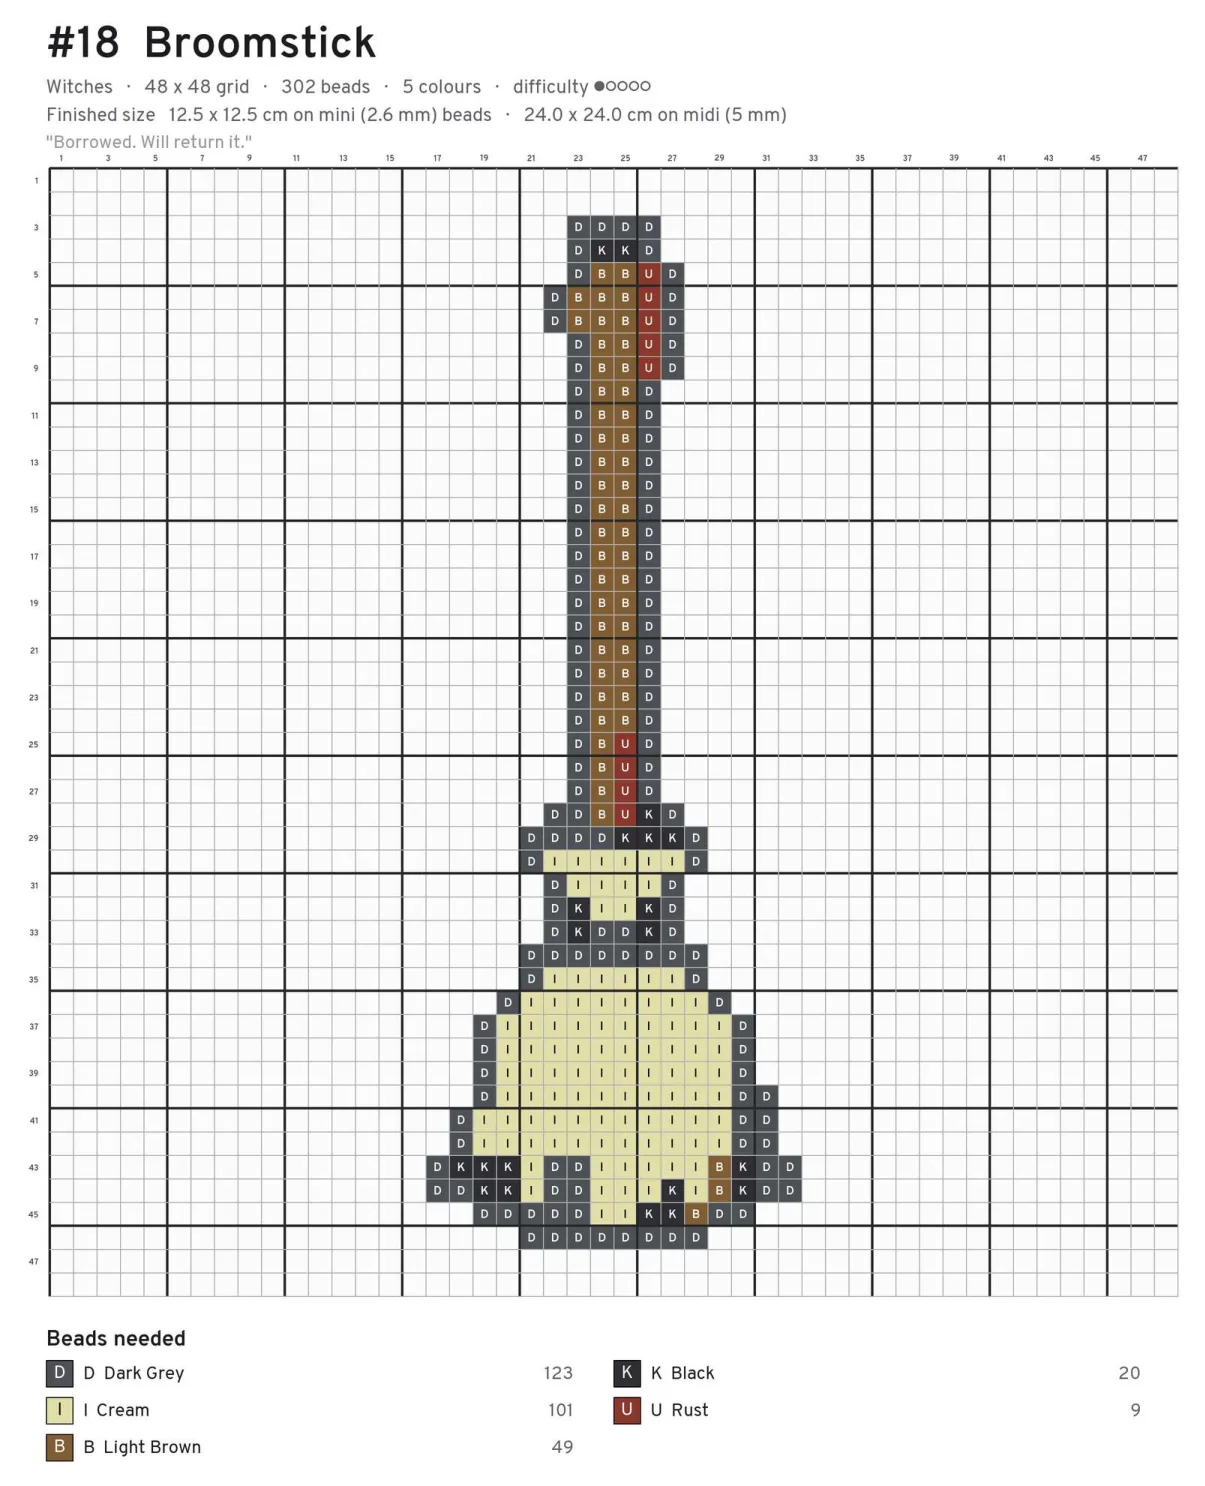
One trap when you shop by bead count: fewer beads doesn’t mean a smaller piece. The Halloween broomstick has the lowest count in its book, 302 beads, but it’s a thin handle that runs most of the way up a 48-square chart, so it comes out long rather than small.
The Kawaii Food bonus shapes, like the heart, star and bow, are compact and run 482 to 864 beads each. The full range is in fuse bead patterns.
How to make fuse bead magnets for the fridge
A magnet goes on the back once the piece is ironed on both sides and fully cooled. There’s no hole to plan, so it doesn’t matter whether the bead holes stayed open.
Two kinds of magnet are common. Adhesive-backed magnet pads are the quickest: peel the backing and press one onto the back of the piece. Flexible magnetic strip comes on a roll with adhesive on one side, and you cut it to fit the shape.
Which one holds better? The crafter with the 8 mm rings stuck both kinds onto pieces on the same fridge and judged them by how easily each piece slid on the door.
The strip won.
She also covers the strip with masking tape before it goes on a white fridge, since a white door picks up marks easily.
The weak point is usually the adhesive attachment, not the magnet itself. The back of a fused piece is smooth plastic, so another crafter adds clear tape over the magnet as insurance. Krysanthe’s magnet tutorial skips sticky-back magnets completely and glues a ceramic disc magnet on with strong craft glue, left to dry for 24 hours under a heavy book.
For a bigger piece, one magnet in the middle usually isn’t enough. Krysanthe’s advice is to spread several across the back.
Printables from this article
Related articles
Fuse Bead Patterns
How to Iron Fuse Beads: Iron Settings, Flat Melts and Big Pieces
Cover the design with ironing paper, iron in circles on medium for 10 to 20 seconds a side, flip, and cool it flat. Here's where the instructions disagree, and how to fix a piece that curls or falls apart.
Printable Party Games
How to Plan a Baby Shower: Timeline, Food & 2-Hour Schedule
A baby shower plan from the first talk with the parents-to-be to the last gift: timing, guest list, budget, venue, a two-hour schedule, safe food and backup plans.
Printable Party Games
How to Plan a Bridal Shower: Timeline, Budget and Schedule
A host's plan for a bridal shower, from the first talk with the bride and co-hosts to the guest list, invitations, a timed party schedule, the gift opening and what to do when something slips.