How to Blend Colored Pencils: Layering, Burnishing, Blenders
To blend colored pencils, lay down several light layers and let each new color overlap the one before it. Only after that do you smooth the result, with a colorless blender pencil, a hard burnishing layer or, for adults, a little solvent on a cotton swab.
Most of the work is in the light layers.
Press hard too early and the paper goes slick, so the next color skates across the top instead of mixing in.
Below, one leaf goes from a single flat color to a smooth two-green gradient in 4 passes. After that come the finishing tools, the pages that give you room to practice, and what’s safe for kids.
How to color with colored pencils in layers that blend
Colored pencils don’t mix on a palette. They mix on the page, one thin coat over another, so the first job is keeping every coat thin.
Use light to medium pressure. The naturalist and drawing teacher John Muir Laws explains that heavy pressure burnishes the paper smooth, leaving a waxy surface that later layers can’t grip.
You can check this as you go. Little white specks showing through your color mean the paper’s tooth is still there, ready to catch more pencil. When the specks disappear, that patch is sealed.
Work from light to dark. The blending tutorial from the coloring site Colouring Heaven starts with the lightest shade in small circles, leaves the brightest spot bare, and then brings in each darker color so it runs back into the one before.
It uses at least 3 or 4 colors, with extra layers on bigger shapes.
That overlap is where the blend happens. If two colors only meet edge to edge, you’ll see a line, but if the second color runs back into the first, you get a transition.
For shadows, Laws skips black. He pairs complementary colors instead (magenta with green, cyan with orange, yellow with violet), which gives soft browns and grays that sit inside the drawing rather than on top of it.
A colored pencil gradient, step by step: one leaf, two greens
Here’s that overlap worked through on a single leaf, the way one artist builds a two-green gradient. You need 2 pencils, a dark blue-green and a light green, and you switch between them 3 times, so the leaf gets 4 passes.
Pass 1 is the dark blue-green on its own. Lay it heaviest at the base of the leaf and let it thin out toward the tip until the paper shows through, so one color already fades from dark to nearly white.
Pass 2 switches to the light green. Start at the tip and work down into the middle of the leaf, straight into the pale end of the blue-green, so the two colors share a band across the center.
Pass 3 goes back to the dark pencil, right over that shared band, so a little blue-green runs up into the green.
Pass 4 is the light green again, on top of both colors at the tip and through the middle.
The finished leaf runs from yellow-green at the tip to blue-green at the base, with no line where they meet.
Why 4 passes and not 2? We don’t have the artist’s own reasoning, only the result. By the end, each color sits on both sides of the seam, so neither one stops at a hard edge.
Coloring pages with room to practice blending
A gradient needs a shape wide enough to hold two colors plus the band between them. That’s why the line work on a coloring page matters before you pick up a pencil.
Of the coloring books in the Doodlora Studio shop, the fine-line ones are the better practice ground for blending. Their product notes describe thinner lines and more detail, which rewards slow layering.
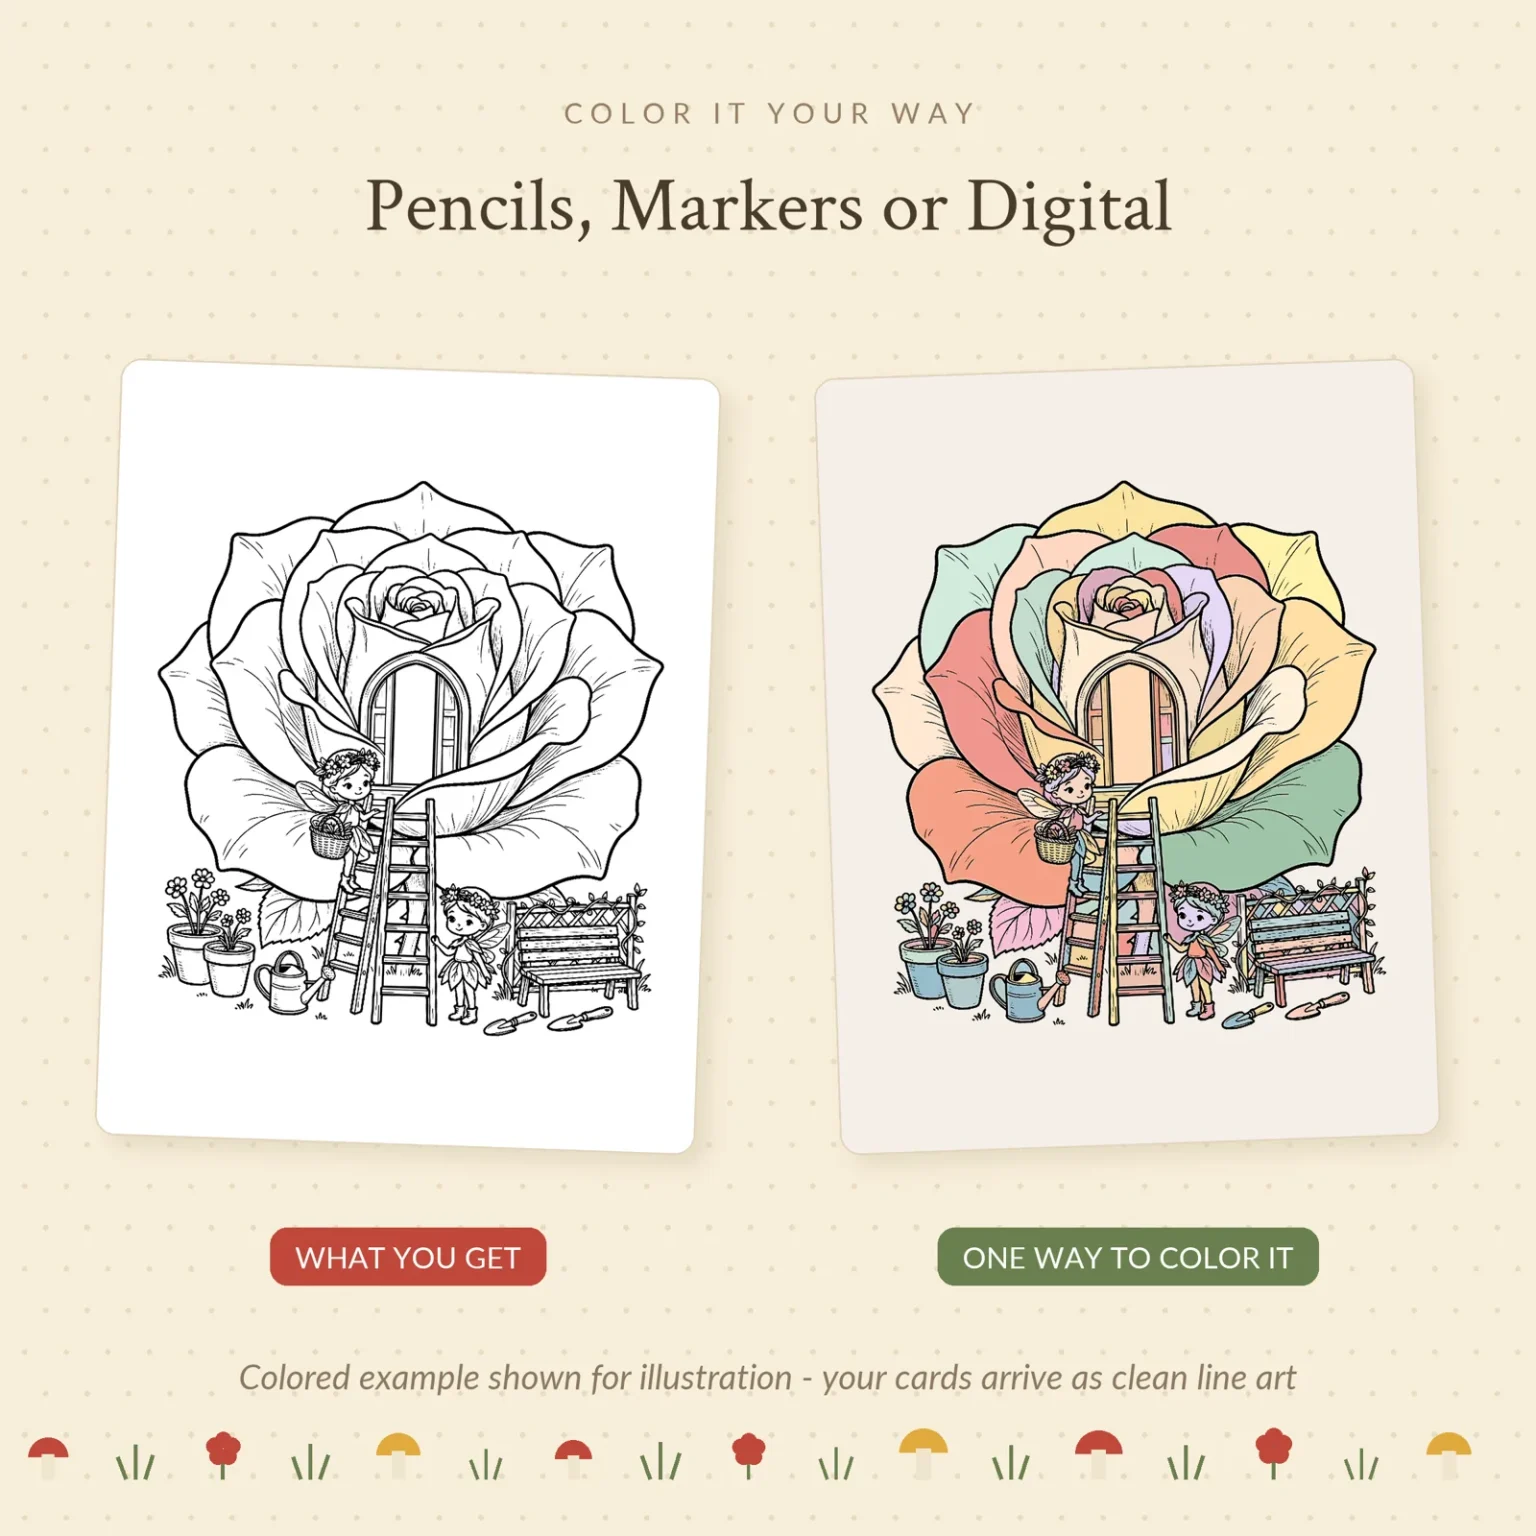
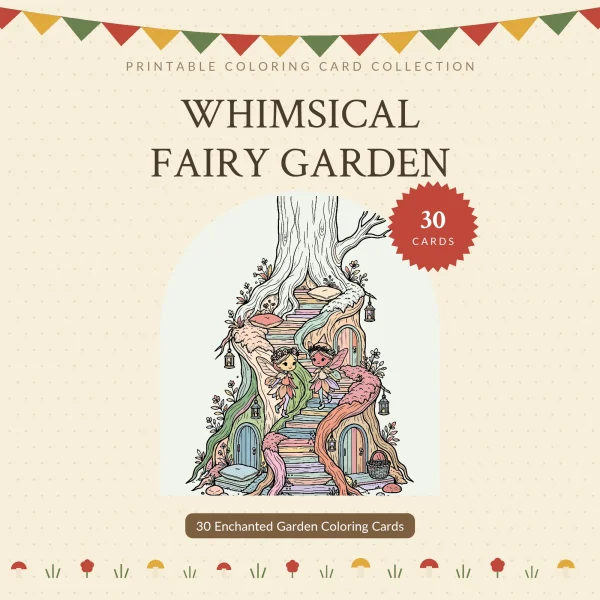
Fairy Garden is drawn with fine, even lines and texture built in, like bark ridges, stone speckles and fern fronds. Its own notes say colored pencils and fine-tip pens suit it better than chunky crayons.
It still has big open shapes, such as rose petals, a snail’s shell and greenhouse panes, and those are where a two-color fade has room.
Three more books sit in the same fine-line group.
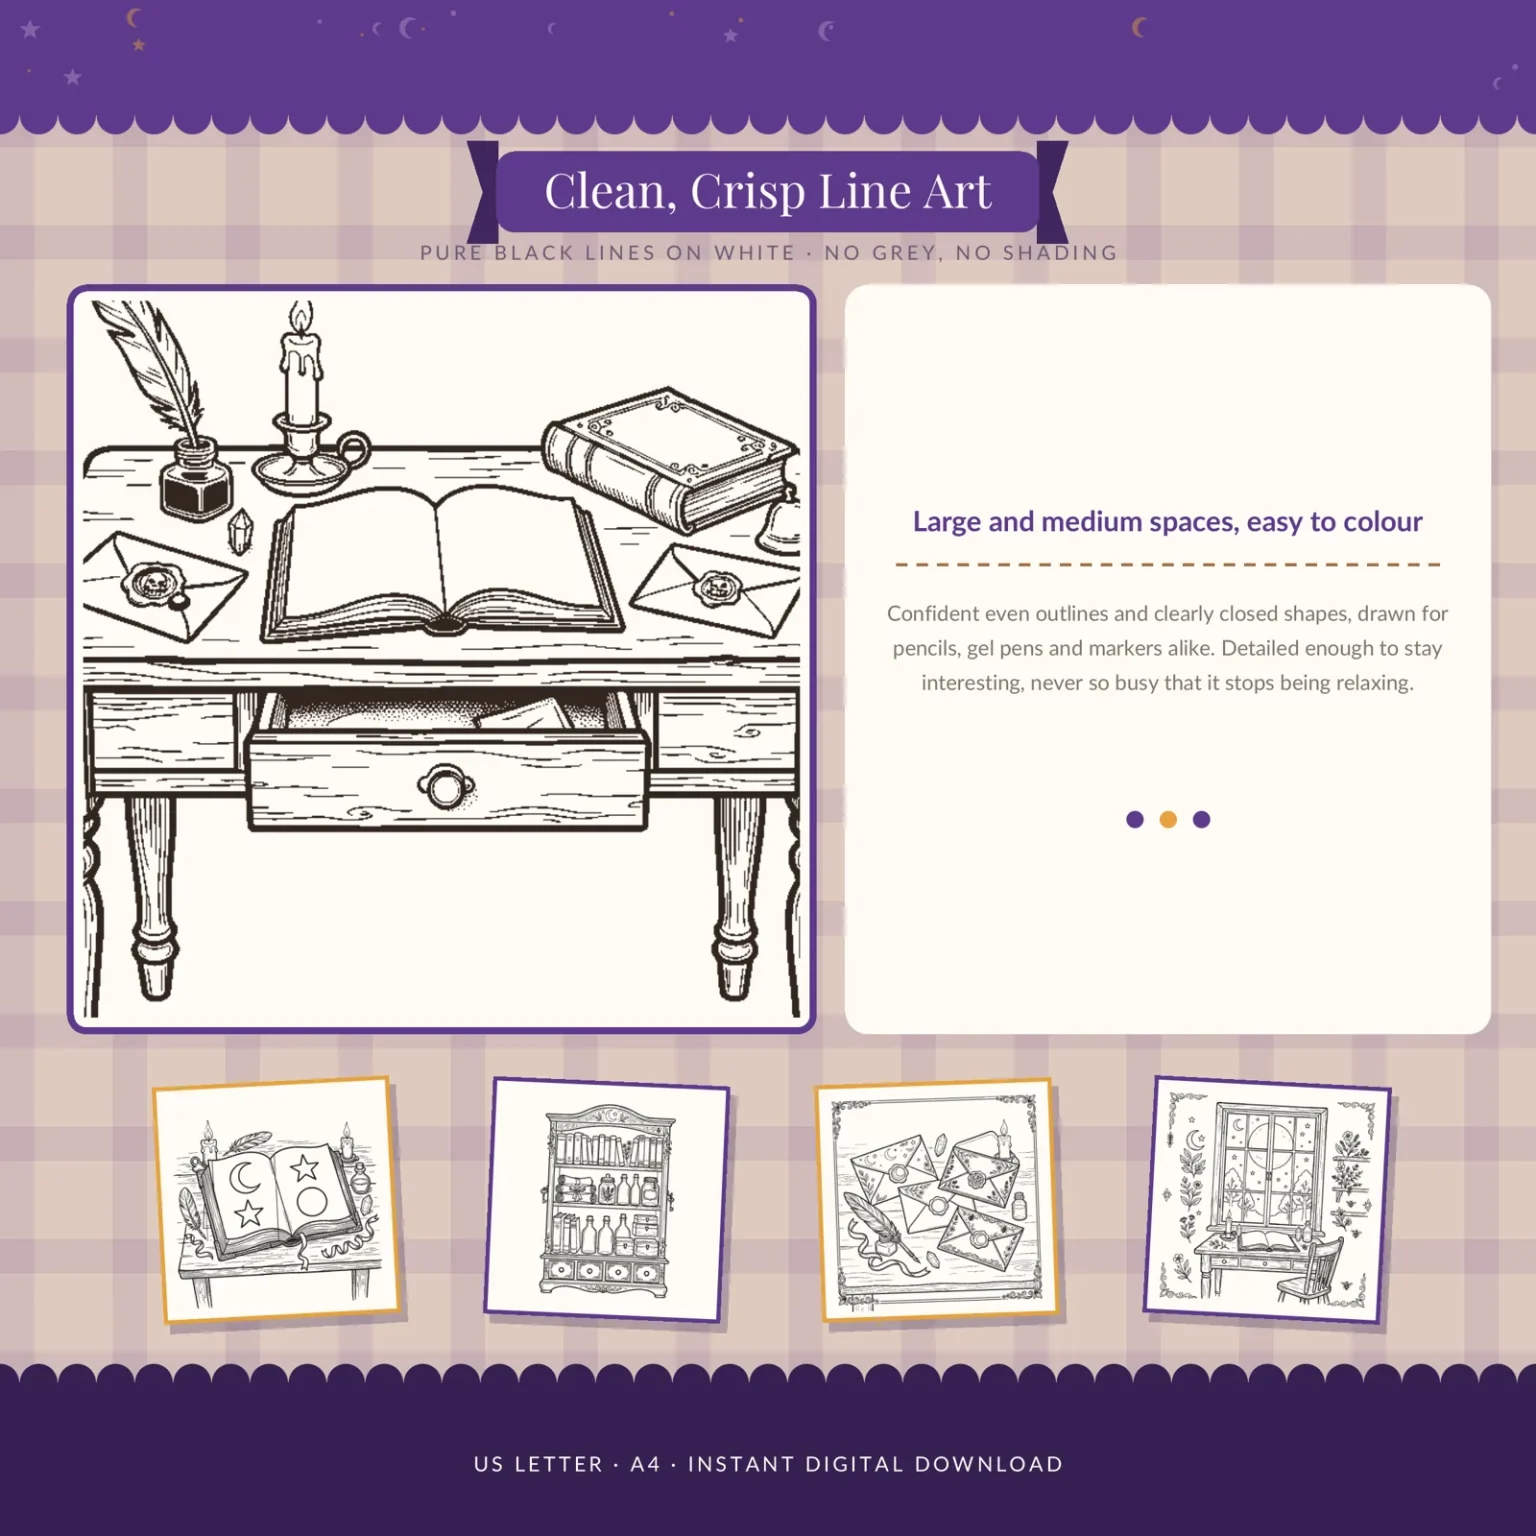
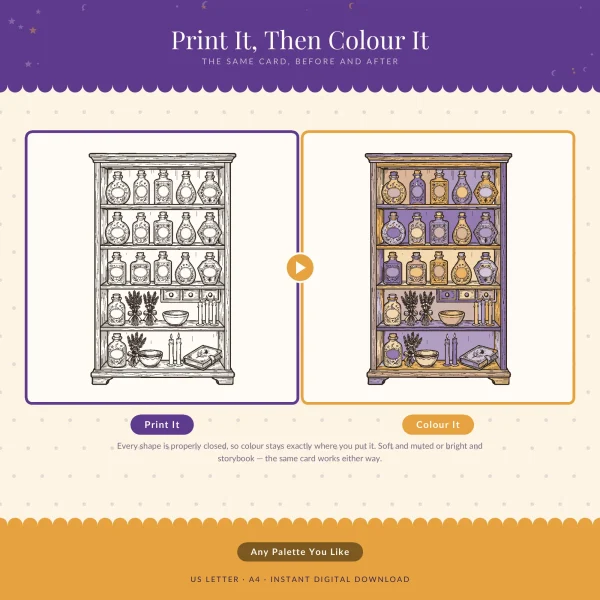
Cozy Witch Shop has wood grain drawn into its tables and shelves, and its printing guide says colored pencils work on plain printer paper.
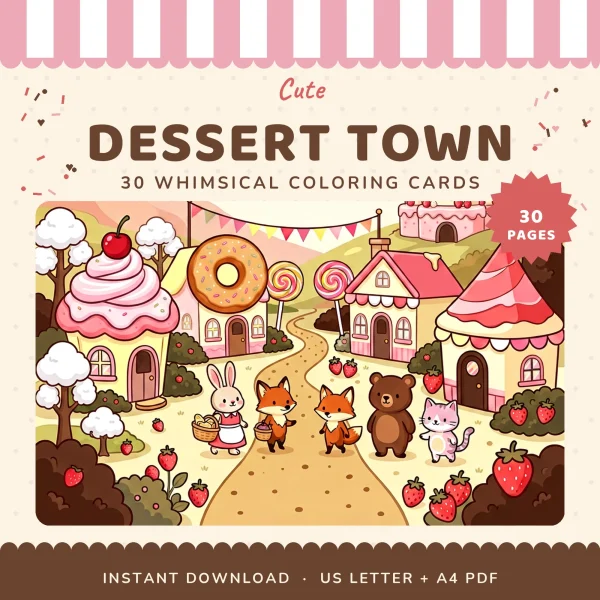
Dessert Town has clean black outlines with lots of small details, like awnings, jars and paving stones.
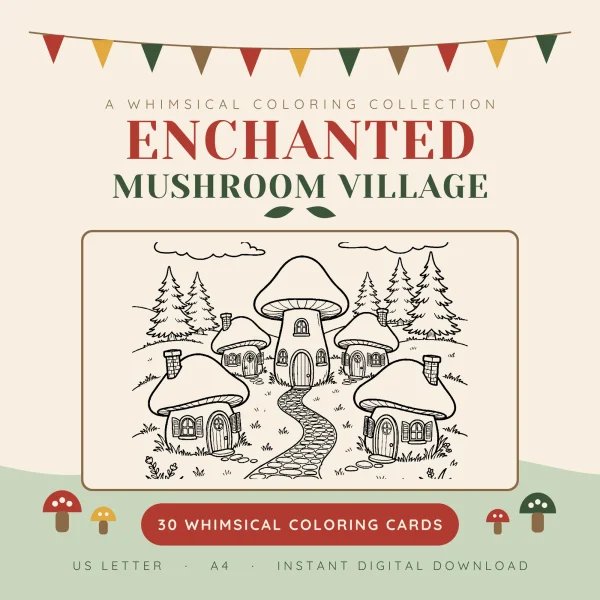
Mushroom Village keeps its outlines even, with no gray fill, and puts the detail in roof tiles, cobblestones and flowers.
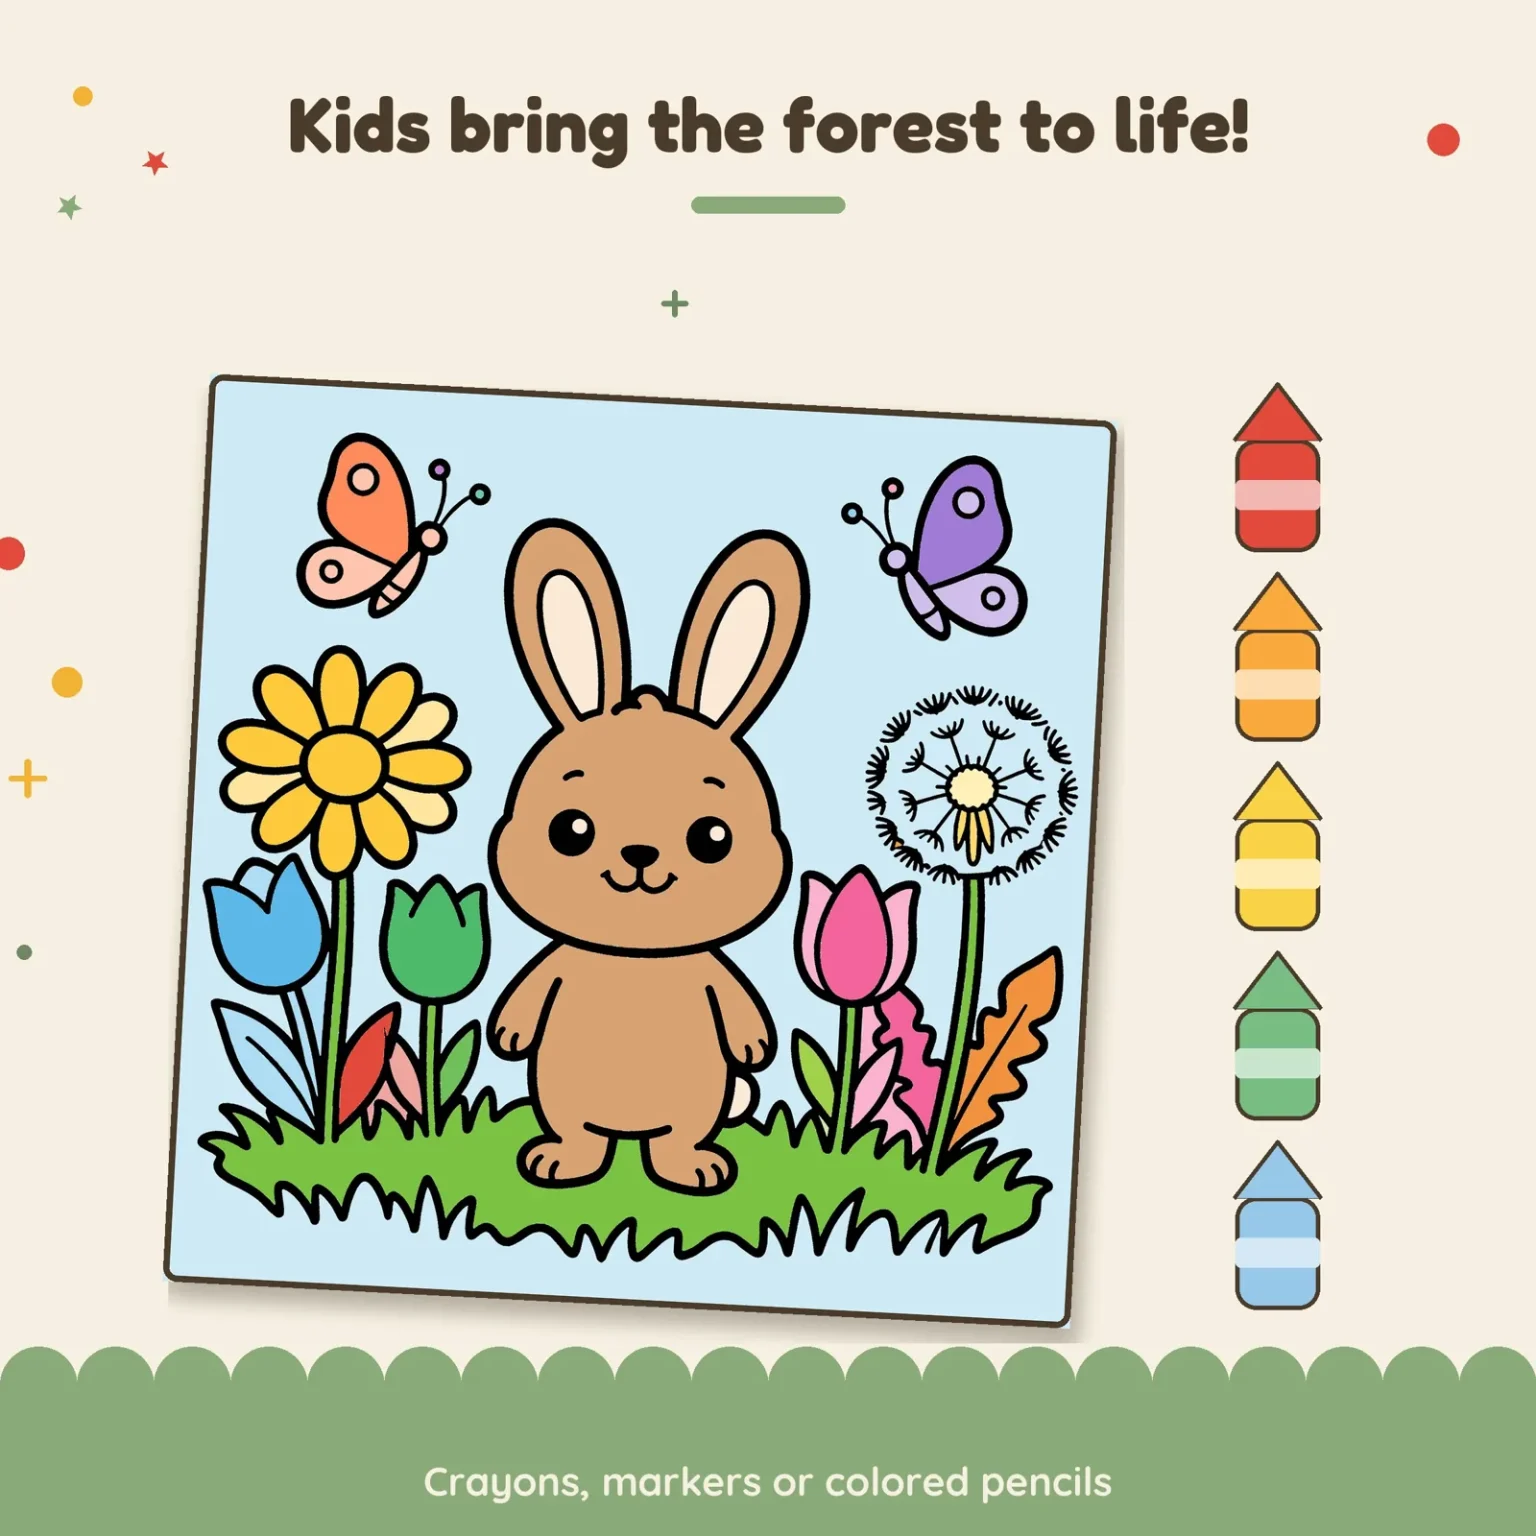
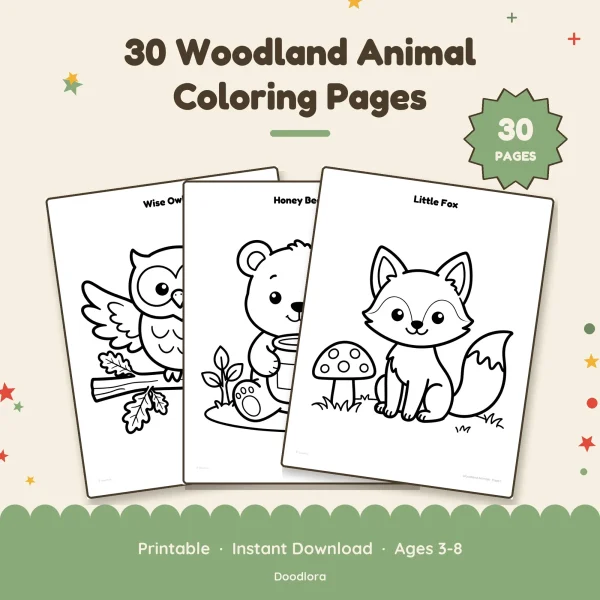
The bold-outline books suit younger kids who are still learning to layer. Ocean Coloring Book, Kawaii Animals, Kawaii Ocean Babies and Woodland Animals all use thick lines and big closed shapes, and the last two are marked for ages 3 to 8 on their covers.
You’ll find all nine in our printable coloring pages.
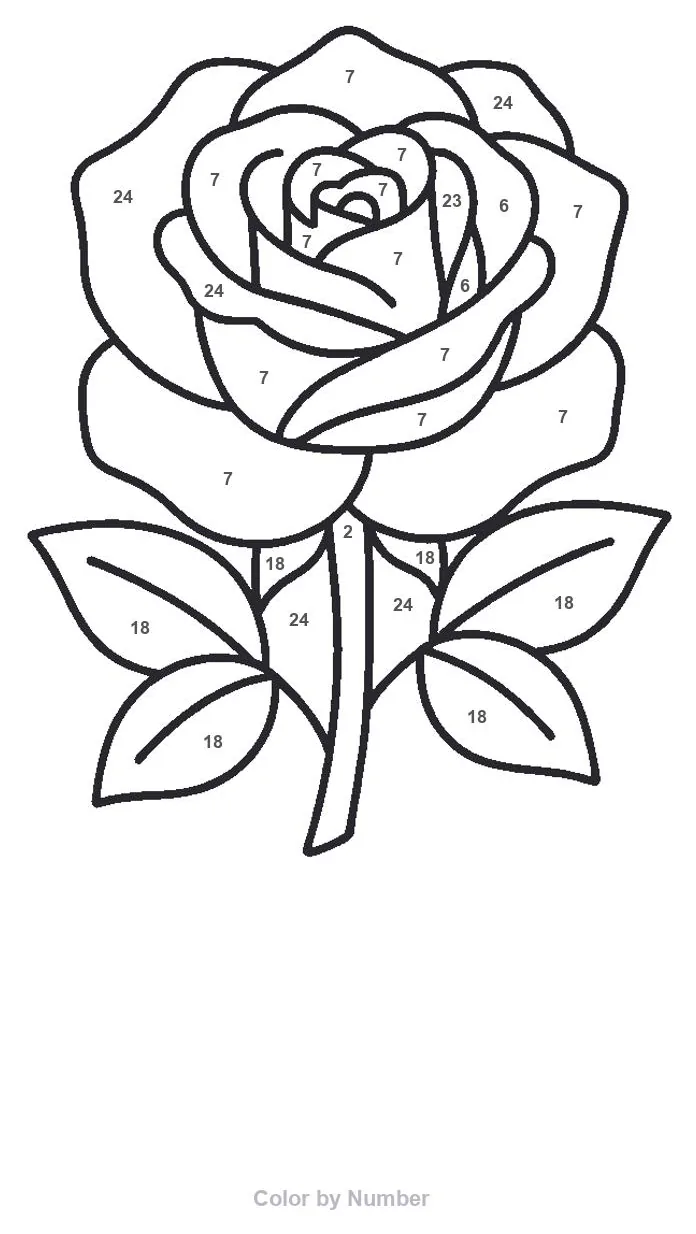
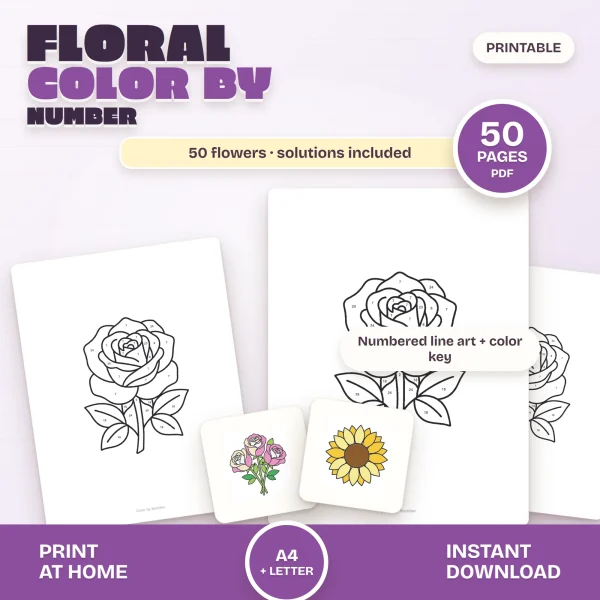
Floral Color by Number works another way. Every petal and leaf carries a number, and an 18-color key says which color goes where, so the palette is decided for you.
If you want blending practice inside the key, lay the numbered color first, then bring a neighboring shade into the edge of the petal. The first rose in the book already pairs peach petals with cream, pink and white ones, so the neighbors are right there.
Each layer needs the paper’s tooth to hold it, so paper choice matters more once you start blending, and How to Print Coloring Pages at Home and our guide to the best paper for printables cover what to print on.
Colorless blender pencils, white pencils and blending stumps
Once the layers are down, a dry tool can smooth out what’s left of the pencil grain.
A colorless blender pencil is wax with no pigment in it. Matt Fussell of The Virtual Instructor explains that it blends by adding more wax over the colored layers. It gives you control in small areas but takes real effort on large ones.
Sarah Renae Clark tested 24 ways to blend colored pencils side by side. She found blender pencils quick to pick up and tidy to use, and you can keep layering after using one. They don’t wipe out paper texture as fully as solvents do, though.
Laws uses the blender as the last step, in small circles. He also warns that overworking it pulls color off the page and leaves pale holes in the drawing.
A white pencil works a lot like burnishing, according to Clark’s tests, but it softens colors toward a milky, pastel look. That makes it handy for fading a shadow into a light area, at the cost of some brightness.
Blending stumps are the tool people reach for from graphite drawing. Clark notes they’re designed for graphite, and on colored pencil they mostly soften edges in light areas. They also stain quickly.
Burnishing colored pencils: the heavy last layer
Burnishing breaks the light-pressure rule on purpose. You press hard.
In Clark’s tests, heavy pressure with a burnishing or colorless pencil over the layers gave bold, vivid color. The catch is that it flattens the paper’s tooth for good, so nothing more goes on top, and it uses up a lot of pencil.
That’s why it comes last. Burnish before your colors are where you want them and you’ve closed the paper to any correction.
Colouring Heaven burnishes with a light color or a complementary one, and notes that the color you choose can shift the final shade slightly. It also says the technique takes practice.
Blending colored pencils with solvent (adults only)
Solvents go a step further than burnishing. Instead of pressing the wax flat, they dissolve it.
Clark applies odorless mineral spirits with a cotton swab, dampened lightly and blotted on a paper towel first. The solvent breaks down the pencil’s wax or oil binder and spreads the color almost like paint, which fills the paper texture and saves pencil.
There’s a learning curve, because it’s easy to drag one color into its neighbor.
She also got results close to colorless blender markers from plain rubbing alcohol, which has a strong smell. Baby oil works too, used sparingly: Clark found it gets greasy if you overdo it, and Fussell found it blended without streaks when he brushed it on with a soft brush.
Treat the solvents as adult tools. The U.S. Consumer Product Safety Commission’s Art and Craft Safety Guide says to avoid solvents and solvent-based supplies, including turpentine and paint thinner, with children up to age 12 (pre-K through grade 6).
The same guide sets out the rest:
- Ventilation means clean air flowing toward you and fumes flowing away. A fan with no source of fresh air isn’t enough and can make exposure worse.
- You can’t judge how toxic something is by its smell. Artist Carrie L. Lewis says the same about solvents: odorless doesn’t mean nontoxic.
- Rags soaked in solvent can catch fire on their own, so keep them in a covered container that doesn’t let air in or vapor out.
- Buy and keep the smallest amounts you need, and keep heat and flames away from them.
- Don’t eat or drink while you work, and wash your hands with soap and water, never with solvent.
Watercolor pencils blend with water, ordinary pencils don’t
Water only works on one kind of pencil. One artist tested regular and watercolor pencils from the same brand’s beginner range side by side, first dry and then with a wet brush.
Dry, both kinds lay down flat color and take layers. With water, the artist describes the regular pencils as basically waterproof, while the watercolor pencils dissolve and spread into something that looks like watercolor paint.
In that range, the watercolor pencils carry a small paintbrush symbol on the barrel, which is how you tell the two apart. The artist also describes their cores as softer and chalkier than the harder, waxier regular ones.
Wetting a printed page raises its own paper questions, which the printing guide linked earlier covers. Either way, try a spare printout before you wet a page you care about.
Choosing a colored pencil blending method for your page
Here’s how the options above compare, from the gentlest to the strongest.
| Blending tool | What it does | What it costs you | OK for kids? |
|---|---|---|---|
| Light layering | Builds the blend one thin coat at a time | Time | Yes |
| Colorless blender pencil | Smooths and evens out the last layers | Can lift color if overworked | Yes |
| White pencil | Softens and lightens toward pastel | Some brightness | Yes |
| Burnishing | Bold, smooth, vivid finish | No more layers after it | Yes |
| Solvent or rubbing alcohol | Dissolves the wax and spreads color like paint | Fumes, fire risk, a learning curve | No, not under 12 |
| Water | Turns watercolor pencil into a wash | Works only on watercolor pencils | Yes |
For a child’s page, stick to the dry rows, since the only liquid in the table that’s fine for kids is plain water on watercolor pencils.
For your own detailed page, layer first, save burnishing for the end, and bring in solvent only if you want the painted look.
Colored pencils vs markers: what changes when you blend
Everything above is a pencil technique. Markers put color down differently, and for a coloring page the two things that change are how the color builds up and what happens to the paper.
One artist colored the same line drawing twice, once in pencil and once in marker. The summary for the pencil version reads like the first section of this page: the hair’s main color is pink, with purple and blue layered in for depth, and the skin has a little blue worked in at very light pressure so the shadows read cool.
We can’t tell you how the marker version was built up, so we won’t compare technique here.
Markers also ask more of the paper. The printing notes in our Woodland Animals book say to print single-sided, because marker ink can show through the sheet.
If you want to build color slowly and keep adjusting it, pencils let you go on layering until you burnish. If you want flat, strong color, markers are the other route, on heavier paper.
If markers are the route you pick, start with marker-friendly coloring pages and a test on the paper you printed.
Printables from this article
Related articles
Printable Coloring Pages
Turkey Disguise Ideas: 18 School Project Ideas & Template
Eighteen ways to disguise a paper turkey for the school project, from a ten-minute snowman to a recycled robot, with materials, ages, time and the usual snags.
Printable Coloring Pages
Coloring Tips: Supplies by Age, Shading and Fixing Mistakes
Which coloring tools and pages suit each age, the order to color a page in, simple shading, fixing mistakes and splitting a busy page across a few sittings.
Printable Coloring Pages
Fall Activities for Kids: Toddlers, Preschoolers & Outdoors
Leaf walks, apple and pumpkin play, counting games and rainy-day pages, sorted by age and by where you'll be, with timing and setup for each.