How to Draw a Truck: Easy Pickup, Big Rig and Cartoon
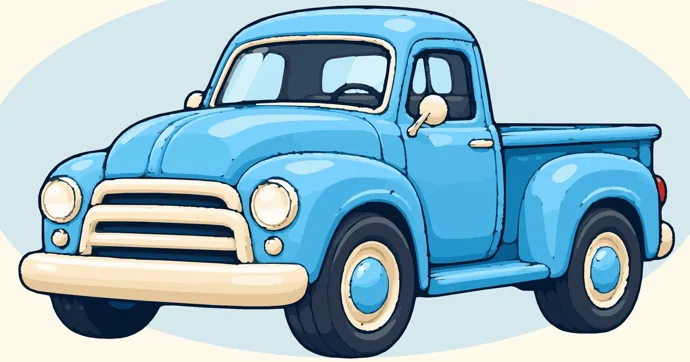
A pickup truck seen from the side is three blocks in a row: an open bed at the back, a tall cab in the middle and a long, lower hood in front. Mark those three blocks on the page before you draw a single wheel. Then two checks keep the truck honest: the roof stands about 2.2 wheels tall, and the top of the bed lines up with the top of the hood. Get those right and the rest is just detail.
The main tutorial below is a classic pickup facing right, drawn in nine steps on a sheet of letter-size paper. Plan on 20 to 30 minutes of pencil work, and kids from about age 7 can follow the measurements with a ruler. After the pickup come an 18-wheeler, quick swaps for a box truck and a dump truck, a cartoon truck with a face, simpler versions by age and the mistakes that make a truck look like a van.
| Truck | Good for | Time | What makes it read as a truck |
|---|---|---|---|
| Pickup, side view | Ages 7 and up | 20–30 min | Open bed behind a tall cab |
| 18-wheeler | Ages 9 and up, adults | 30–40 min | Trailer front resting over the tractor’s back wheels |
| Box or dump truck | Anyone who has done the pickup | 15–20 min | One part of the pickup swapped |
| Cartoon truck | Ages 4 and up | 10–15 min | Eyes in the windshield, oversized wheels |
Where the numbers in this tutorial come from
Every measurement here is counted in wheels, which keeps the drawing consistent whatever size your paper is, and a wheel is the one shape you can draw first and then use as a ruler. We measured two of our own clipart trucks to get the ratios. Design 28 in our truck clipart, a small pickup carrying a gift, gave the heights: its roof stands about 2.2 wheels above the road, the top of its bed about 1.45 wheels and the top of its hood about 1.55 wheels. Its bed is about 1.6 times as long as its cab door. The Classic Pumper in our fire truck clipart is drawn exactly side-on, so it gave the lengths: about 6 wheels from bumper to tail, with about 3.6 wheels between the two axles.
These proportions describe the chunky, friendly trucks in our clipart, not a scale drawing of any particular real model. A modern pickup is longer and lower, so stretch the bed afterwards if that’s the look you’re after.
| Part | Height above the road | On a letter sheet |
|---|---|---|
| Wheel | 1 wheel across | 1.5 in circle |
| Bottom of the body | Half a wheel, level with the axle | 0.75 in |
| Top of the bed and hood | About 1.5 wheels | 2–2.3 in |
| Roof | About 2.2 wheels | 3.3 in |
Paper, pencil and a ruler
Turn a sheet of letter paper (11 × 8.5 in) sideways. You’ll need a pencil, an eraser, a ruler, a black fine-tip pen for the final lines and whatever you plan to color with. A ruler isn’t optional here the way it is for animals or flowers. The road, the bed, the hood and the running board are all straight, horizontal lines. A truck with a sloping bed looks like it’s tipping its load.
Draw the road first: a light line straight across the page, 2.25 in above the bottom edge. Then put a tick on it 1 in from the left edge and another 1 in from the right edge. The truck will fill the 9 in between them, facing right.
How to draw a pickup truck from the side
Keep every line faint until Step 9. At least one block will need sliding over, and faint lines erase cleanly.
Step 1: Mark three heights at the back end
At the left tick, make three small dashes above the road: one at 0.75 in, one at 2.2 in and one at 3.3 in. These three measurements are the bottom of the body, the top of the bed and the roof. Mark the same three heights at the right tick, so you can line things up from either end.
Step 2: Split the length into bed, cab and hood
Measure along the road from the left tick and make two more ticks: one at 3.4 in and one at 5.4 in. That gives you three zones. The first 3.4 in is the bed, the next 2 in is the cab and the last 3.6 in is the hood and front bumper. The bed comes out a little under twice as long as the cab, close to the ratio on our clipart pickup.
Step 3: Draw the bed as a low box
Draw a rectangle over the bed zone from 0.75 in up to 2.2 in. Inside its back end, about 0.15 in from the edge, draw a vertical line from top to bottom. That narrow strip is the tailgate. Along the top, draw a second line just under the first one to make the bed rail look like it has thickness.
A pickup’s bed has low walls and no roof, which is the whole definition of the truck. So nothing goes above the 2.2 in line here except a load, if you want one.
Step 4: Stand the cab up in the middle
Over the cab zone, draw the back wall of the cab straight up from 0.75 in to 3.3 in. Run the roof forward along the 3.3 in mark, rounding the back corner. Stop the roof about 0.4 in before the front tick of the cab zone, then slant the windshield down and forward to meet the hood at about 2.3 in. That slant is the difference between a truck and a shipping container.
Step 5: Open the side window and the door
Draw the side window as a rounded rectangle inside the cab, from about 2.45 in to 3.1 in above the road, leaving a narrow strip of cab around it. Drop a vertical line from the front of the window to the bottom of the body for the front edge of the door, and another from the back of the window for the rear edge. Put a short handle just below the window at the back of the door, and a small round mirror on a stalk at the front corner of the window.
Step 6: Run the hood forward to the bumper
From the base of the windshield, draw the hood line forward and slightly downhill, ending about 0.2 in in from the right tick and about 2 in above the road. Curve the front end down into a grille that stops about 0.9 in above the road. Under it, draw the bumper as a long rounded bar from 0.6 in to 1 in high, sticking out to the right tick. Put a round headlight, about 0.4 in across, on the front fender just behind the grille.
Step 7: Set the wheels under the bed and hood
Now draw the wheels, both 1.5 in across and sitting on the road. Center the back wheel 1.9 in in from the left tick, under the bed. Center the front wheel 1.6 in in from the right tick, under the hood. The two centers end up 5.5 in apart, about 3.7 wheels, which matches the spacing on our side-view fire engine.
Both wheels overlap the body rather than sitting completely underneath it. The bottom edge of the truck crosses each wheel right through its center, so half of each tire hangs below the body.
Step 8: Cut the fenders and add the running board
Draw an arch over each wheel about 0.2 in outside the tire, then erase the body line inside it. On a classic truck like ours, let the front arch bulge out into a rounded fender that sweeps back toward the cab, and give the rear arch a smaller bump on the side of the bed. Between the two wheels, under the cab door, draw a thin flat step for the running board. Finish each wheel with a hubcap about 0.6 in across and a small taillight at the top of the tailgate.
Step 9: Ink it and erase the guides
Trace the lines you want to keep with the black pen, give the ink a minute to dry, then erase the height dashes, the zone ticks and the road wherever it runs behind the tires. Look at the finished truck from across the room. If the cab looks short, the roof is probably below 3.3 in; if the truck looks like a van, the bed has crept above the hood line.
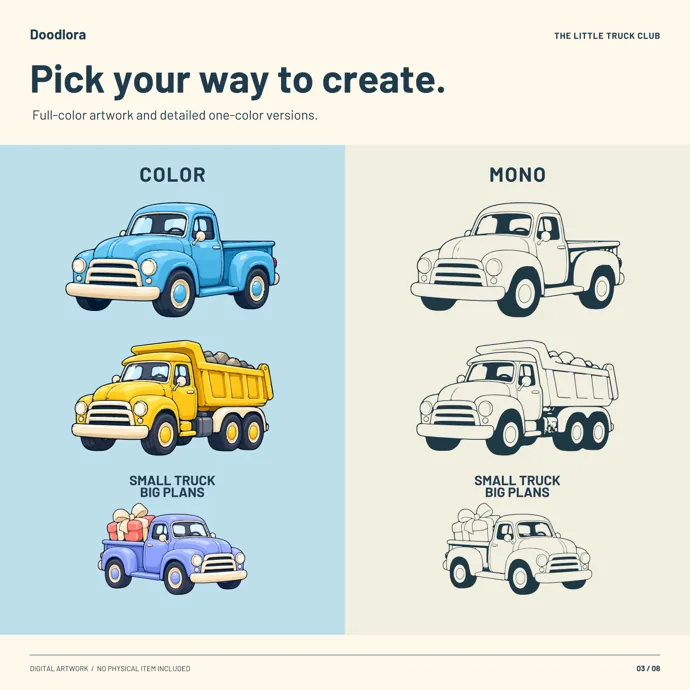
How to draw a semi truck (an 18-wheeler)
A semi truck is two vehicles. The tractor in front has the engine and the cab, and the trailer behind carries the load. The trailer only has wheels at its back end. Its front end rests on a hitch called a fifth wheel, which sits over the tractor’s rear wheels. Draw that overlap and the rig looks like it’s really pulling something.
This version uses smaller wheels, 0.9 in across, so everything fits on the same sideways sheet with the road still 2.25 in up.
- Draw the trailer first. It’s a long box from 0.5 in to 8 in along the road, with its floor 1.2 in above the road and its top 3.4 in up. Box trailers are plain, so add a few vertical lines for ribs and a door seam at the back.
- Put two wheels under the back of the trailer. Center them at 1.4 in and 2.35 in from the left edge of the page. Two tires nearly touching read as a pair of axles.
- Draw the tractor frame. The frame is the long, flat strip that holds the whole tractor together. Draw it from 6.4 in to 10.5 in along the road, between 0.6 in and 0.9 in above the road, so its back end runs underneath the front of the trailer. On top of the frame, just behind the cab, draw a small flat plate from 6.9 in to 7.9 in that fills the 0.3 in gap up to the trailer floor. That plate is the fifth wheel.
- Draw the tractor cab on the frame. Leave a gap of about 0.4 in after the trailer’s front end, then draw the cab as a tall box from 8.4 in to 9.8 in, with its bottom edge sitting on the frame at 0.9 in and its roof at 3.2 in. Add a short nose out to 10.5 in, from the frame up to about 1.6 in, with a grille and a bumper.
- Add the tractor’s wheels. Put one wheel under the nose, centered at 10 in. Put two more under the back of the frame, centered at 6.95 in and 7.9 in. Those two are the drive wheels. They belong to the tractor, not the trailer, and the frame line should cross the top of both.
- Finish the details. Draw a tall exhaust stack behind the cab door, a fuel tank as a short cylinder hanging from the frame between the front wheel and the drive wheels, mud flaps behind the drive wheels and a row of small lights along the top of the cab.
You’ll draw five wheels, not eighteen. The tractor has ten tires and the trailer eight, but from one side you see only one tire per axle, and the doubled tires on each axle line up behind each other.
Swap one part for a box truck or a dump truck
Both of these start from the pickup. Draw the road, the wheels and the hood exactly as before, then change the back half.
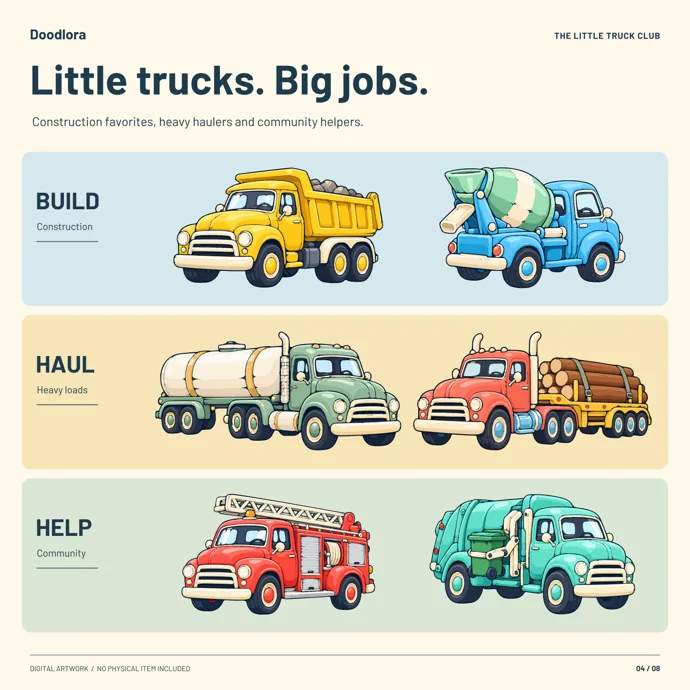
- Box truck. Replace the low bed with a tall box that starts right behind the cab and rises above the roof, to about 3.8 in. Move the back wheel slightly forward so it sits under the middle of the box. Design 08 in our truck clipart, the ribbed box truck, shows the shape.
- Dump truck. Replace the bed with a deeper tub whose sides slope down toward the back, then add a second rear wheel right behind the first, since a loaded dump truck rides on two back axles. Draw a few rounded rocks poking over the top. To tip it, rotate the tub up from a hinge at its back corner.
For what each work truck actually does on a job site, construction vehicles goes through them one by one, and types of transportation puts trucks next to trains, boats and planes.
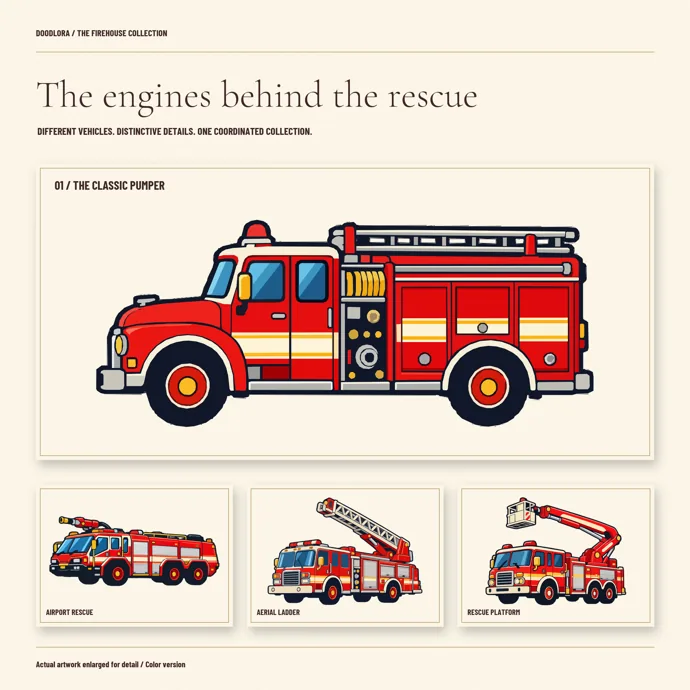
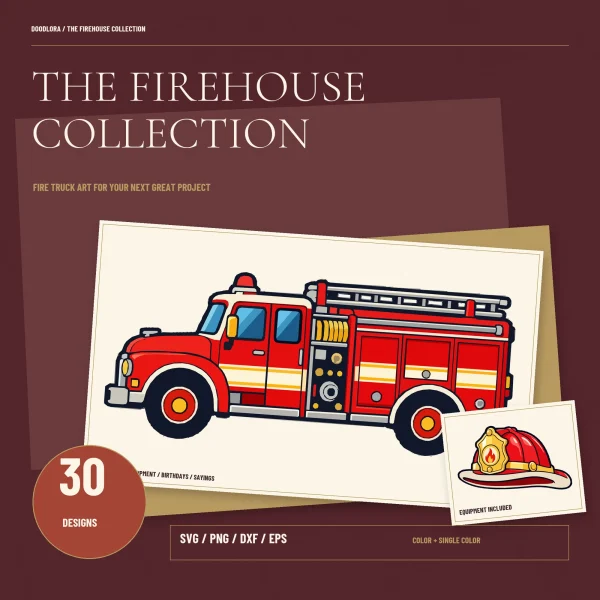
Fire trucks have their own tutorial, with a roof ladder, a hose reel and a head-on view: how to draw a fire truck. The side-view pumper below is a good reference for it, and for the long, flat proportions of any big truck.
How to draw a cartoon truck
A cartoon truck breaks the measurements on purpose, and exaggeration is the whole point. Start the same three blocks, but squash the whole truck to about 4 wheels long instead of 6, and make each wheel about a third of the truck’s height. Round every corner, including the bed.
The face goes in the windshield, not on the grille. Draw two large ovals inside the windshield for eyes, each with a dark pupil and a small white highlight in the same corner. The grille then becomes the mouth: curve its bottom line up into a grin, or draw two or three short teeth-like bars. A slightly bouncy road line, with the wheels sitting at different points on the bump, makes it look like it’s driving.
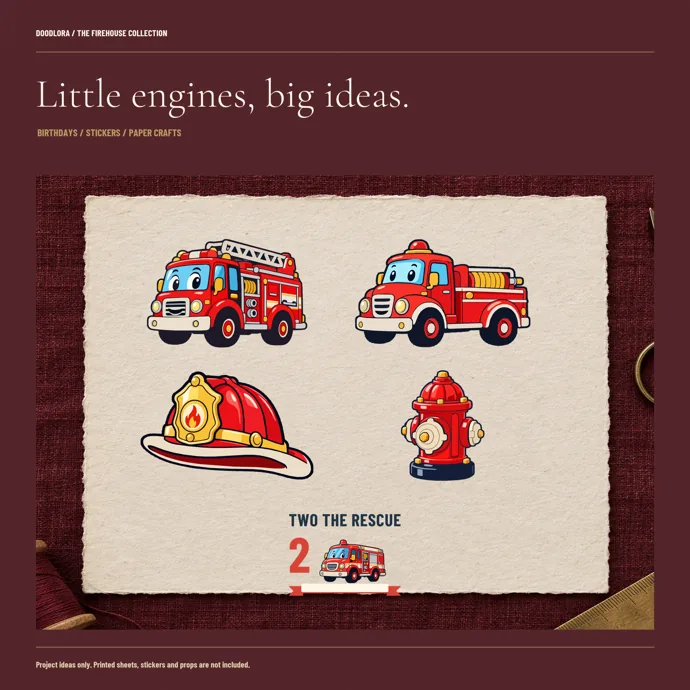
Six of the thirty designs in our fire truck clipart are drawn this way, with big eyes behind the windshield and a grin across the grille. Copying one of them is a quick way to see how much you can exaggerate before a truck stops looking like a truck.
What to leave out at each age
The full pickup is a lot for a small child, and that’s fine. Cut whole steps rather than squeezing the instructions, and keep the order the same: blocks first, wheels second, details last.
| Age | What to draw | What to skip |
|---|---|---|
| 3–4 | Color a printed truck outline, then add a road and a sun with crayon | All measuring |
| 5–6 | A bed, a cab and a hood as three freehand boxes, then two big wheels | The ruler, fenders and the running board |
| 7–9 | The nine pickup steps with a ruler | Nothing, but read the steps aloud |
| 10 and up | The pickup, then the 18-wheeler or a three-quarter view | Nothing |
For 5- and 6-year-olds, the wheel works as a ruler. Draw one wheel first, then say “the cab is two wheels tall, the bed is one and a half.” That’s close enough to our measurements, and children can check it with their fingers.
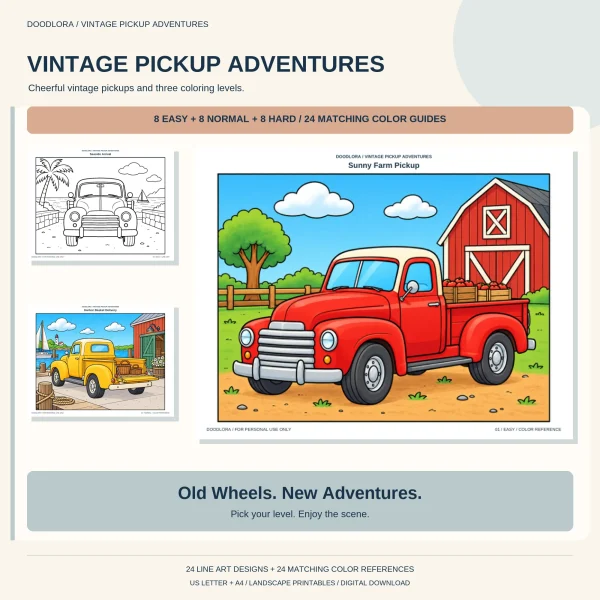
For the youngest kids, a printed outline is the drawing. Our pickup truck coloring pages give them a truck to color while an older sibling draws one, and the one-color outlines in our truck clipart can be printed large on a single sheet using the steps in how to use clipart.
Truck drawing mistakes and how to fix them
| What looks wrong | Usual cause | Fix |
|---|---|---|
| It looks like a van | Bed drawn as high as the roof | Bring the bed rail down to hood height, about 1.5 wheels |
| It looks like a toy | Wheels too small | Make each wheel about a sixth of the truck’s length |
| The truck tips forward or back | Bed or hood line not level | Redraw them with a ruler, parallel to the road |
| The wheels look glued on | No gap between tire and arch | Widen each arch so a sliver of space shows above the tire |
| The truck floats | Body drawn first, wheels added below it | Let the bottom edge of the body cut through the center of each wheel |
| The 18-wheeler looks broken in two | Trailer drawn behind the tractor, not over it | Slide the trailer’s front end forward until it sits above the drive wheels |
| The rig has wheels in the wrong places | Wheels spread evenly along the trailer | Put the trailer’s wheels together at its back end and leave the middle empty |
The van problem is the most frequent one, and it’s understandable. Kids tend to draw the bed the same height as the cab because both are boxes. A quick fix is to lay a ruler across the top of the hood and extend it back. The top of the bed should touch that line.
Coloring the truck
Pick one body color and keep the bumper, the grille and the hubcaps a second, lighter color. Our clipart pickups use cream for all three, which makes them pop against sky blue, butter yellow or coral red. Leave the windows pale blue or white, and color the tires black or dark gray with the hubcaps left light. A strip of slightly darker body color along the bottom of the truck and inside each fender gives it a convincing sense of weight. Our coloring tips explain the light-to-dark order that keeps crayons from going waxy.
Once the pickup feels easy, the same three-block idea works for other vehicles. How to draw a race car starts from a long, low body, and how to draw a boat swaps the road for a waterline.
Using our truck clipart as a drawing reference
Every truck in our clipart is drawn at a slight angle, with the front turned toward you. That angle is especially useful for seeing how the grille, the headlights and the bumper look from the front corner. To copy one as a side view, keep the heights and the side panel and ignore the grille face.
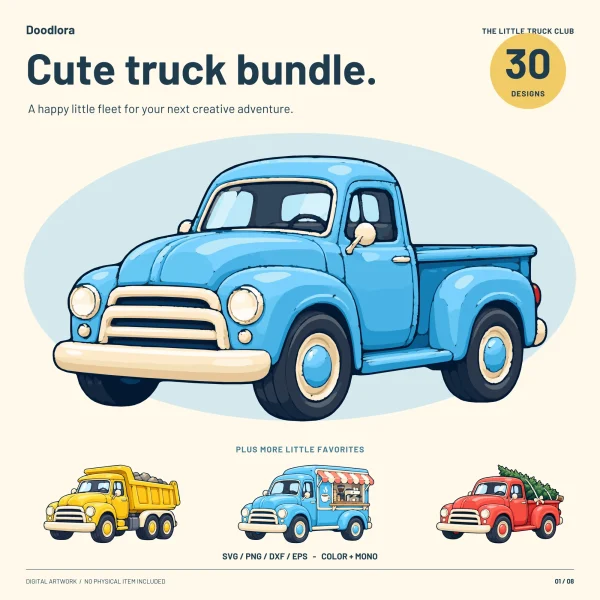
The pack has 30 designs, from pickups and vans to big rigs, fire trucks, garbage trucks, dump trucks, mixers, food trucks and holiday trucks. Each one comes in full color and as a one-color outline. The outline version is the one to print and copy from, since it shows every line without any distracting shading.
Printables from this article
Related articles
Clipart & SVG Cut Files
How to Draw a Train: Steam Engine, Cars and Tracks
Split the page into a 10-square grid, lay a long boiler tube across the middle, set a box cab at the back and a tall stack at the front, hang two big driving wheels under the cab end, then couple cars behind and run the rails to a vanishing point.
Clipart & SVG Cut Files
Hawk vs Falcon: Wings, Size, Hunting Style and Eagles
A falcon has long, narrow wings that taper to sharp points and flies on steady, quick wingbeats; a hawk has broader wings with rounded tips and either soars in slow circles or flaps hard and glides. Falcons kill with a notched beak and hawks with their talons, and eagles are the largest, heaviest-billed members of the hawk family.
Clipart & SVG Cut Files
Monarch Butterfly Migration: Routes, Life Cycle and Facts
Monarchs from east of the Rockies winter in about a dozen mountain areas in central Mexico, and monarchs from the West winter along the California coast. A long-lived fall generation flies south, and several shorter-lived generations carry the species back north.