How to Draw Food: Cute Fruit, Desserts and Snacks
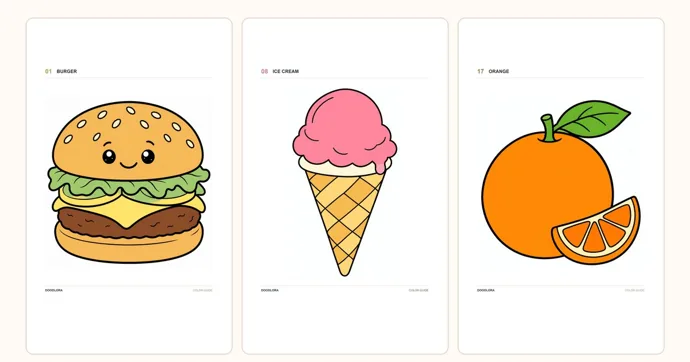
To draw food, give each item one plain base shape, go around it with a single thick outline, then add the one detail that tells people what it is: sprinkles on a donut, a criss-cross grid on a cone, black seeds on a watermelon wedge. A face is optional and always goes on last. As a rough guide, one cute food takes 5 to 10 minutes in pencil and marker, so a page of six fits into a half-hour sitting.
The same four passes work for a kindergartner’s lollipop and a teenager’s sketchbook page of snacks. Once you’ve seen them, pick any food from the table, follow its short set of steps, and color it.
A pencil, a black pen and a handful of warm colors
Cute food is flat and bold, so it asks for very little.
- A pencil and an eraser. An HB pencil drawn lightly erases cleanly after inking.
- A black marker or felt-tip pen. A medium tip for the main outline and a fine tip for seeds, grid lines and eyes. Washable markers are the easy choice for young kids.
- Something to color with. Crayons, colored pencils or markers all work. You’ll lean on reds, oranges, yellows, a light tan and a green; a pink and a brown cover most desserts.
- Paper. Any printer sheet takes pencil, crayon and colored pencil. Marker ink soaks into thin sheets, so put a spare page under your drawing or switch to cardstock; our marker guide covers bleed and streaks.
- A white gel pen (optional). Handy for adding shine marks back on top of dark colors.
The four passes behind any cute food
Food drawings get easier when you stop thinking about the whole object and draw it in four rounds, finishing each round before the next.
Pass 1: the base shape. Almost every food fits a shape you already know: a circle (cookie, orange), a flattened oval (donut, pancake), a triangle (pizza slice, watermelon wedge, cone), a half-moon (taco), a rounded box (fries carton, milk carton) or a dome (burger bun, cupcake frosting). Sketch it lightly and big; a food that fills most of the page is easier to detail than a small one.
Pass 2: one bold outline. Ink over the shape with one confident line. Keep the line smooth where the real food is smooth (a cone, a banana) and let it wobble where the food is soft or frilly (lettuce, glaze drips, a cookie’s lumpy edge). Thick outlines are what make food look cute rather than realistic.
Pass 3: the giveaway detail. Add the one or two marks that name the food. A plain flattened oval with a hole could be a tire or a bagel; add a drippy glaze edge and sprinkles and it can only be a donut. Stop once the food is recognizable, because extra lines crowd the coloring later.
Pass 4: a face, if you want one. Faces turn food into characters. They have their own section below because placement matters more than drawing skill.
Base shape and giveaway detail for 20 foods
Use this table as a menu. The base shape is pass 1; the detail column is pass 3.
| Food | Base shape | Detail that names it |
|---|---|---|
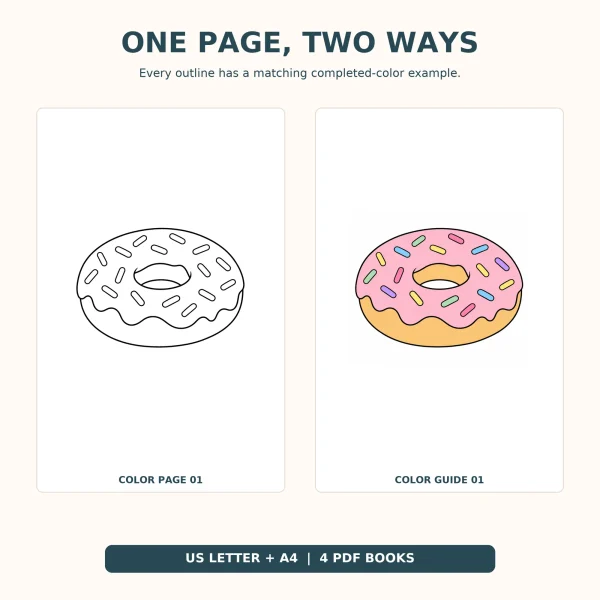
| Donut | Flattened oval with a small hole near the top | Wavy glaze edge with drips, sprinkles |
| Ice cream cone | Circle sitting on a tall, narrow triangle | Scalloped rim, criss-cross grid on the cone |
| Pizza slice | Long triangle with a rounded wide end | Puffy crust band, round pepperoni |
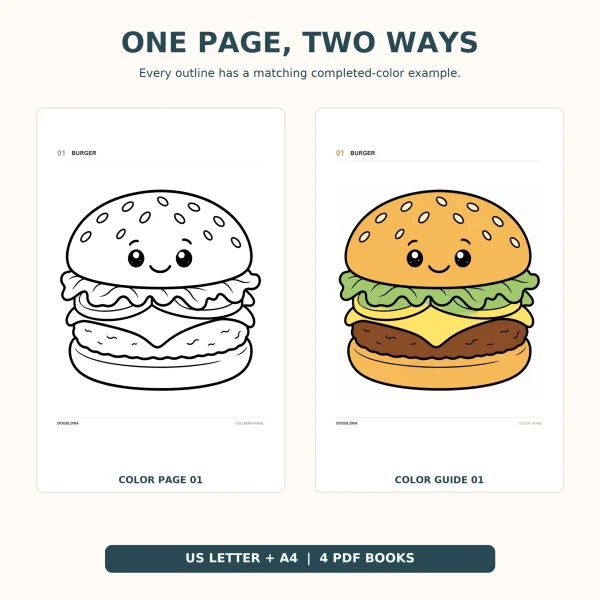
| Burger | Dome stacked on flat slabs | Sesame seeds, frilly lettuce, a cheese corner |
| Sushi roll | Short cylinder | Rice-grain texture, a colored center |
| Cupcake | Trapezoid wrapper under a swirl | Pleat lines on the wrapper, a cherry |
| Taco | Half-moon | Frilly lettuce poking out of the top |
| French fries | Tall box, wider at the top | Long sticks of different heights |
| Watermelon | Triangle wedge | Rind band, teardrop seeds |
| Strawberry | Rounded triangle, point down | Leafy cap, seed dots |
| Apple | Circle with a dip at the top | Stem, leaf, a curved shine mark |
| Banana | Long, curved crescent | Stem nub at one end, a dark tip at the other |
| Pancakes | Three or four stacked flat ovals | Square of butter, syrup drips |
| Cookie | Lumpy circle | Chocolate chips, a bite notch |
| Lollipop | Circle on a straight stick | Spiral, a ribbon bow |
| Grapes | Small circles stacked in an upside-down triangle | Stem and one leaf |
| Waffle | Square or circle | Grid of little squares, a pat of butter |
| Hot dog | Long rounded bun | Squiggly line of mustard |
| Milk carton | Box with a peaked roof | Fold line at the top, a straw |
| Hot cocoa | Rounded mug with a handle | Marshmallows, curls of steam |
Ten foods in a few steps each
Draw every step in light pencil, then ink and erase at the end.
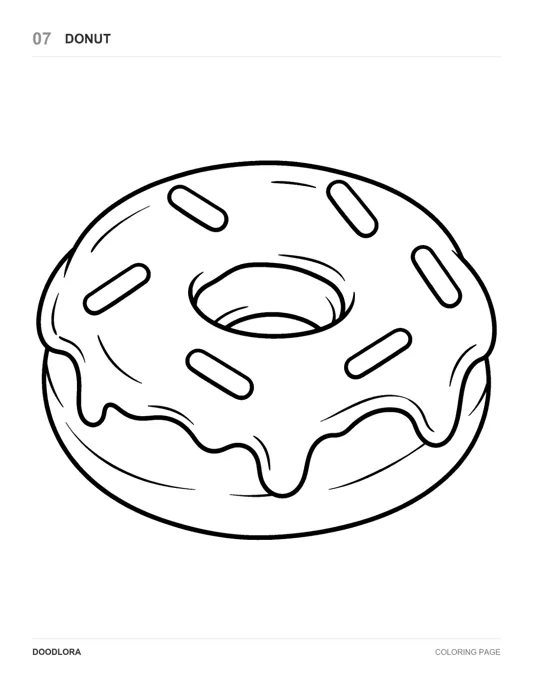
Donut
- Draw a wide, flattened oval, about twice as wide as it is tall.
- Place a much smaller oval for the hole slightly above the center. Putting it high makes it look like you’re looking down at the top of the donut.
- Draw the glaze: a wavy line that circles the top and hangs down the side in three to five rounded drips.
- Add a short curve inside the hole, just under its top edge, so the hole has depth.
- Scatter sprinkles as short rounded bars pointing in different directions, on the glaze only.
Ice cream cone
- Draw a long, narrow triangle pointing down. Round off the very tip.
- Sit a circle on top that’s a little wider than the cone’s opening.
- Where the scoop meets the cone, draw a bumpy, scalloped rim, then let one drip run down over the cone’s edge.
- Fill the cone with four or five diagonal lines one way, then four or five crossing them for the waffle grid.
- Add one short curved line on the upper left of the scoop for shine.
Pizza slice
- Draw a long triangle with its point at the bottom and a curved top edge.
- Along the top edge, add a thick, puffy crust band with a few bumps.
- Just inside the outline, draw a wavy cheese edge, and let one drip hang off a side.
- Add three round pepperoni, each with a thin second edge to show thickness and a few small dots inside.
Burger
- Draw the top bun as a dome, flat on the bottom.
- Under it, draw a frilly lettuce edge that sticks out a little past the bun on both sides.
- Below the lettuce, add a flat cheese slice with one corner hanging down in a point.
- Draw the patty as a thick slab with a slightly bumpy edge.
- Finish with the bottom bun, a flatter rounded shape, and sprinkle small ovals on the top bun for sesame seeds.
Sushi roll
A maki roll is a cylinder, and Wikipedia’s sushi entry notes that it’s generally wrapped in nori, a dark seaweed sheet. Thin rolls usually hold just one filling, often tuna or cucumber.
- Draw an oval for the top of the roll, then two short straight lines down from its sides and a curved bottom edge.
- Shade or color the side band dark for the nori.
- Inside the top oval, draw a smaller circle in the middle for the filling.
- Fill the ring between them with little rounded grain shapes for rice.
- Color the center pink for tuna or green for cucumber.
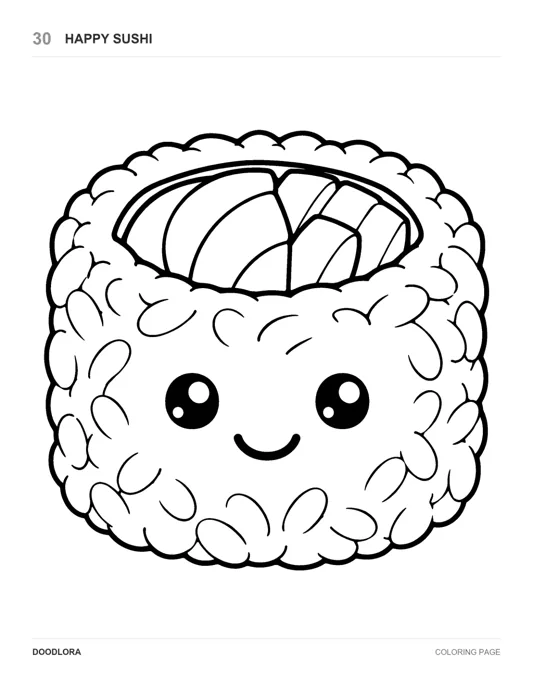
Our Happy Sushi page takes a different route: its roll shows bumpy rice all the way around the outside and slices of fish on top, with no dark wrapper showing. Both looks are easy to recognize.
Cupcake
- Draw the wrapper as a short trapezoid, wider at the top.
- Add four or five vertical pleat lines on the wrapper.
- On top, stack two or three shrinking, rounded swirls of frosting so they come to a soft point.
- Put a small circle on the peak for a cherry, with a curved stem.
Taco
- Draw a half-moon with the flat side down.
- Draw a second curve just inside the top edge to show the shell’s thickness.
- Along the top, add a frilly line of lettuce that pokes out above the shell.
- Add a few small half-circles for tomato and short strokes for cheese.
French fries
- Draw a carton shaped like a box that’s wider at the top than at the bottom.
- Above the opening, draw six or seven tall, thin rectangles at slightly different heights and angles.
- Let the front fries overlap the back ones so they don’t look like a fence.
Watermelon slice
- Draw a wide triangle with the point at the top and a curved bottom edge.
- Draw a second curve just above the bottom edge for the white band, and a third along the very bottom for the green rind.
- Add six to eight teardrop seeds, points up, spaced unevenly.
Strawberry
Draw a rounded triangle with the point at the bottom, put a star-shaped leafy cap and a short stem on top, then dot small teardrop seeds in staggered rows. Color it red, leave the seeds yellow, and you’re done.
Putting a kawaii face on food
The smiling-food style comes from kawaii, which Wikipedia describes as a Japanese culture of cuteness built on rounded shapes, soft colors, big eyes and small mouths. Those last two are the whole recipe for a food face.
- Eyes go low and wide. Put them below the middle of the food and far apart. Eyes placed high make a character look older.
- Make the eyes big and black, with two white dots. Draw a large oval for each eye, fill it in and leave one big and one small dot of white paper unfilled. Those highlights are what make the face look alive.
- Keep the mouth tiny. A small U-shaped smile between the eyes and a little lower is enough.
- Choose the plainest area. Put the face on the part of the food with no detail: the bun, the taco shell, the fries carton, the side of a carton. A face drawn over sprinkles or seeds gets lost.
- Add extras sparingly. Small arched eyebrows or two pink ovals for cheeks are optional.
Seven of the 30 foods in our Food Coloring Pages book wear faces: the burger, the fries, the milk carton and the four “Happy” pages at the end (taco, pear, cupcake and sushi). The other 23 are drawn plain, which shows that a food reads just as well without one.
Making the colors look good enough to eat
Food looks tasty when its colors are warm, layered and have a bit of shine.
- Plan the shine before you color. Choose one spot on glaze, an apple or a cherry and leave it white. It’s much easier than adding white back later.
- Go from light to dark. Color the big pale areas first (bun, cone, cheese, rice), then the stronger ones, and save small dark details like sprinkles, seeds and chocolate chips for last.
- Toast the edges. Add a darker shade of the base color around the rim of a crust, bun or cookie. It makes baked food look baked.
- Keep gray and black off the food itself. A tan or light orange reads as bread; gray reads as stone.
- Let the outline separate the colors. Thick outlines mean you don’t need to blend; stay inside each shape and the drawing stays crisp.
Toasted edges come out smoother with the layering in how to blend colored pencils. Staying neatly inside thick outlines is covered in our coloring tips.
Matching the food to who’s drawing
The steps don’t change with age, but the starting foods and the amount of help do. Times below are rough guides, not targets.
| Who’s drawing | Good first foods | About how long | What to leave out |
|---|---|---|---|
| Ages 3 to 5 | Lollipop, apple, cookie, watermelon wedge | 5 minutes each | Layers and grid lines. An adult can sketch the base shape lightly and let the child ink it and add the dots. |
| Ages 6 to 8 | Donut, ice cream cone, pizza slice, fries | 10 minutes each | Thickness lines and shading. Big sprinkles and pepperoni are plenty. |
| Ages 9 to 12 | Burger, cupcake, sushi roll, taco, all with faces | 10 to 15 minutes each | Nothing. Let them invent new foods from the table. |
| Teens and adults | A full page of 9 to 12 small foods, kawaii style | 45 to 60 minutes per page | Nothing. Add toasted edges and white-pen shine. |
A pretend café menu: a class or rainy-day project
Turning the drawings into a menu gives kids a reason to finish several foods instead of one. It works for 1 to 25 kids and takes about 40 minutes.
You need: one sheet of paper per child, folded in half like a card, plus the supplies listed earlier.
- Name the café (5 minutes). On the front, each child writes a café name and draws one large “signature” food from the table.
- Draw the menu (20 minutes). Inside, they draw four foods about 2 to 3 inches tall, two on each side, with the name of each under it.
- Add faces and color (10 minutes). Faces are optional; fast finishers can add a drink like a milk carton or hot cocoa.
- Swap and order (5 minutes). Kids trade menus and “order” from each other by pointing to a dish and describing what it looks like.
Fast finishers can color a printed food page from our sets. Printing them for the students in your own class is allowed under the personal license; selling the printed copies is not.
When a drawing doesn’t say “food” yet
Most problems come from a missing giveaway detail or a shape that’s slightly off.
- The donut looks like a tire. Add the drippy glaze edge and sprinkles, and move the hole up and make it smaller.
- The ice cream looks like a microphone. The cone is too short or too wide. Make it at least one and a half times as tall as the scoop, and add the scalloped rim.
- The pizza looks like a wedge of cheese. The crust band is too thin. Make it puffy and bumpy, at least as wide as a pepperoni.
- The burger leans. Draw a light vertical line through the middle first, and center every layer on it.
- The sushi looks like a tin can. Add rice texture to the ring and a colored center so it reads as food.
- The face looks odd. The eyes are usually too high, too small or missing their white dots.
- The colors look muddy. A dark color went down first, or two strong colors were layered on top of each other. Start again with the pale color and let it dry or settle before adding the next.
Our food coloring pages as a side-by-side reference
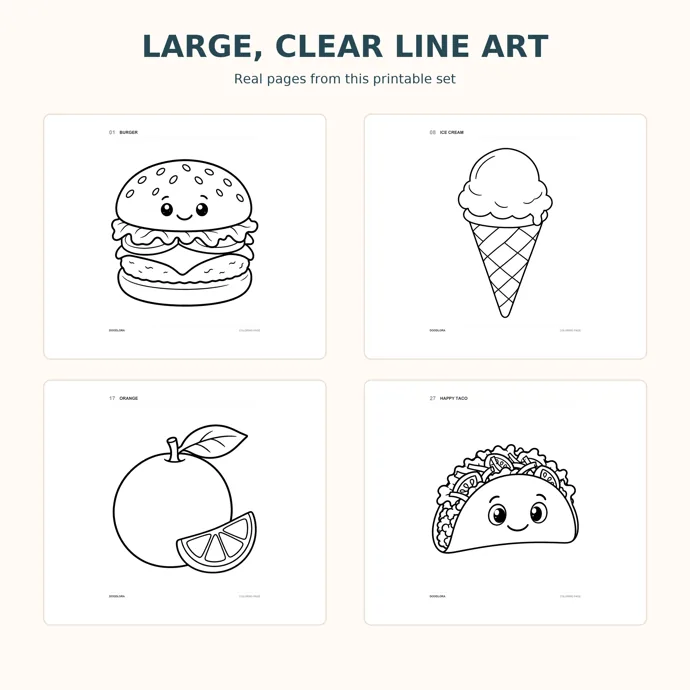
Every food in the table above also appears on a page of our Food Coloring Pages, so the book doubles as a reference sheet while you draw. It comes as two 31-page PDFs, each with a cover and 30 numbered foods: one book in bold line art and a matching color guide with every food filled in. Both come in US Letter and A4.
Ways to use it beside your own drawing:
- Compare proportions. Print a page, set it next to your sketch and check where the details sit, such as how high the donut hole is or how wide the pizza crust runs.
- Test a palette first. Color the printed page with the colors you plan to use, then color your drawing once you like the result.
- Finish a session. Younger kids who tire of drawing can color the printed version of the food they just drew.
The book was created digitally with AI assistance. It’s sold for coloring and looking at, with a personal-use license that covers your household or a teacher’s own class.
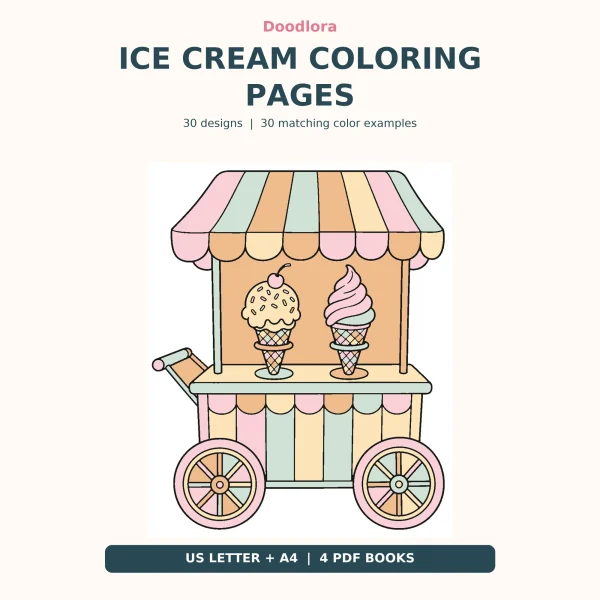
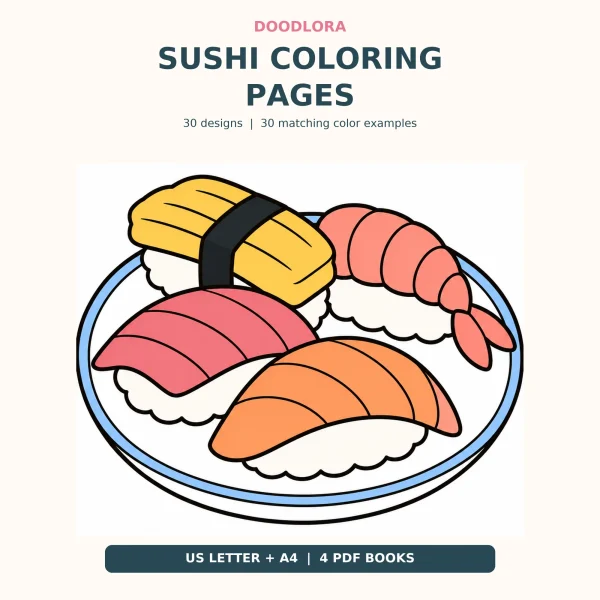
For one food in many variations, our donut coloring pages, ice cream coloring pages and sushi coloring pages each stick to a single theme, which helps when a child wants to draw the same food over and over.
If flowers are next on the list, these flower drawing ideas use the same shape-first approach.
Still wondering about food drawing?
What’s the easiest food to draw first?
A lollipop or an apple. Both are a circle plus one small detail, a spiral or a stem and leaf, and both color well with a single crayon.
Do cute foods need faces?
No. A face adds personality, but the giveaway detail is what tells people what the food is. Try the same donut with and without a face and see which you prefer.
How do I draw food that looks realistic instead of cute?
Drop the thick outline, use a thin pencil line or none at all, and build the form with light and shadow instead of flat color. Look at real food from one direction and draw what you see, including the uneven parts.
How big should each food be on the page?
For a first try, make one food fill most of a Letter sheet. Once the steps feel easy, shrink each to about 2 to 3 inches and fit six to twelve on a page.
Printables from this article
Related articles
Printable Coloring Pages
Is a Tomato a Fruit? Is Corn a Vegetable? Cucumbers Too
A tomato is a fruit in botany because it grows from the flower and holds the seeds, and a vegetable in the kitchen; the Supreme Court took the kitchen side in Nix v. Hedden in 1893, for the tariff only.
Printable Coloring Pages
Types of Sushi: Nigiri vs Sashimi, Rolls and Sushi for Kids
Sushi is vinegared rice plus a topping or filling, and the shape gives each type its name: nigiri, maki, uramaki, temaki, gunkan, chirashi, inari and oshizushi. Sashimi is sliced fish with no rice. Here's how to spot each one, what to order first and which pieces have no raw fish.
Printable Coloring Pages
What Is STEM? Meaning, STEM Activities and Careers
STEM stands for science, technology, engineering and mathematics, a label the National Science Foundation adopted in 2001 for four subjects that work best when taught together. Here is what each letter covers, how STEAM differs, one hands-on activity per age group, the jobs behind the letters and five women whose work shaped them.