Letter R Crafts for Preschool: Raccoon, Rabbit & Rainbow
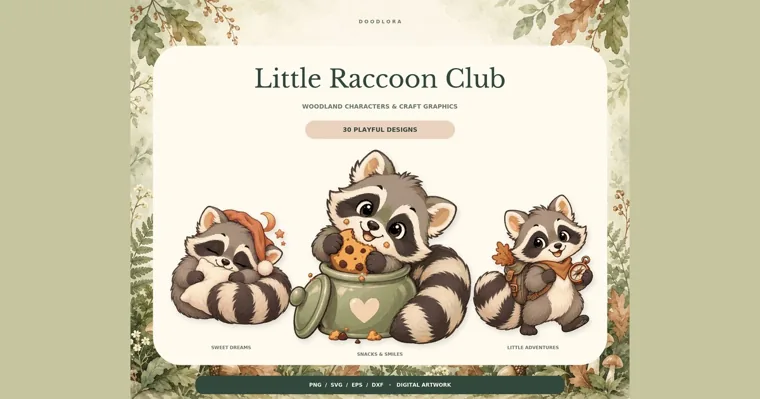
For a letter R week with young kids, start from the R words they already care about: rainbows, rain, rabbits, raccoons, roads, rockets and robots. A 2-year-old can press tissue squares onto a sticky rainbow R without touching glue. A 4-year-old can cut black stripes and turn an R into a raccoon with a ringed tail. A kindergartner can build a robot R from paper rectangles or cut out a raccoon shadow puppet from a printed silhouette.
The chart below sorts the crafts by the R word, so a child who only wants rockets can stay with rockets. The ages and table times are estimates for a small group at one table. Paint and white glue keep working after the kids leave, so leave room to dry.
| R word | Craft | Ages | Minutes at the table | Child uses scissors? | Needs drying? |
|---|---|---|---|---|---|
| Rainbow | Sticky tissue rainbow R | 2–4 | 15 | No | No |
| Rain | Raindrop dot R | 2–4 | 10 | No | Yes, about an hour |
| Road | Road R with a toy car | 3–5 | 15 | A little | No |
| Rabbit | Cotton-ball rabbit R | 3–5 | 15 | No | Yes, overnight |
| Raccoon | Ringed-tail raccoon R | 4–5 | 20 | Yes | No |
| Raccoon | Paper-plate raccoon mask | 3–5 | 20 | Adult cuts the eyes | Yes, if painted |
| Rocket | Rocket R with tissue flames | 4–6 | 20 | Yes | No |
| Robot | Robot R from paper shapes | 4–6 | 25 | Yes | No |
| Raccoon | Raccoon shadow puppet | 4–7 | 20 | Yes, with help | No |
| Rabbit | Rabbit trace-and-color page | 4–6 | 15 | Optional | No |
| Read | Reading raccoon bookmark | 4–7 | 15 | Yes | No |
Rabbit or bunny? Pick the R word before the glue comes out
The letter R makes one sound at the start of a word, the /r/ in red, run and rocket. The catch in an R week is the names children use for things, not the letter itself.
A child who calls every rabbit a bunny is naming a B word. So when the craft is the cotton-ball rabbit, say “rabbit” every time, and put the word on the finished page. The same goes for “raccoon” over “trash panda,” and “rocket” over “spaceship.”
Some preschoolers still say something like “wabbit.” The craft is for hearing the sound and linking it to the shape, not for fixing speech, so let them hear you say the word clearly and move on. If a child’s speech worries you, that’s a question for their pediatrician.
Sticky, dotty and drivable: R crafts with no cutting for 2- and 3-year-olds
These three need nothing sharp in a toddler’s hand. Draw a capital R with a fat marker, about 9 inches (23 cm) tall, so it nearly fills the page. Make the round part big and open, because small hands have to fill it.
Sticky tissue rainbow R
Cut an R from clear contact paper and peel off the backing. Fix it to the table, sticky side facing up, with a strip of tape on each corner. Give the child a pile of tissue paper squares in rainbow colors. They press squares onto the sticky letter until it’s covered, and then you seal the whole thing under a second sheet of clear contact paper.
A real rainbow has red on its outer edge and violet on the inside, and the colors run red, orange, yellow, green, blue, indigo, violet. For a toddler, six colors are plenty: start with red at the top of the R and work down. It takes about fifteen minutes. The snag is contact paper that curls up and grabs a sleeve, which is why the tape goes on before the backing comes off.
Raindrop dot R
Pour a little blue washable paint into a jar lid and hand over a cotton swab. The child dots “raindrops” all along the lines of a pencil R, one dot at a time, until the letter is a rain shower. Ten minutes is about right.
A swab dipped too deep leaves a puddle, not a drop. Show the child how to touch the swab to the lid’s edge before each dot. Lay the page flat for about an hour before anyone moves it. For a whole week of weather play, see our weather activities for preschool.
Road R with a toy car
Cut a fat R from black construction paper ahead of time. Cut white paper into short dashes. The child glues the dashes down the middle of the R like the lines on a road, then drives a small toy car along the whole letter, from the top of the line, around the curve and down the leg.
Driving is the part that teaches the letter, because the car traces the R the way a pencil would. The usual problem is dashes crowded together at one end. Make light pencil marks down the road first, and the child glues one dash on each mark.
Raccoon and rabbit crafts for R week
Animal crafts are where most R weeks spend their time. The raccoon is the more useful of the two for this letter, because its face mask and ringed tail are easy for a child to recognize and easy to make out of paper.
Blunt-tip children’s scissors cover every cut in these crafts. Any cut that needs a craft knife or a sharp point, like the eye holes in a mask, is a job for the adult.
Ringed-tail raccoon R
Start with a printed or hand-drawn capital R, colored gray by the child. The straight leg that kicks out at the bottom right becomes the raccoon’s tail. Next come four or five strips of black paper, snipped by the child and glued across that leg with gray showing between them, so the tail looks ringed.
On top of the round part, glue a raccoon face: a gray circle, a black band across the eyes, two triangle ears and a black nose. Plan on twenty minutes when the strips are the child’s own cutting.
Watch the direction of the stripes. Children tend to lay them along the leg instead of across it, and then the tail looks like a black stick. Hold one strip across the leg and let the child copy that angle.
Paper-plate raccoon mask
A raccoon’s best-known feature is the black patch of fur around its eyes, which looks like a mask, so a raccoon mask is a natural R craft. The child colors a paper plate gray with a crayon or paint, adds a black band across the middle, and glues two gray triangle ears to the top edge. A white crayon line just above and below the black band brightens the face.
An adult cuts the two eye holes. A craft stick taped along the bottom edge works as a handle, so the child holds the mask up instead of wearing it on a string. Coloring takes about twenty minutes. If you used paint, let it dry before the eye holes go in, or the plate tears.
Raccoon shadow puppet
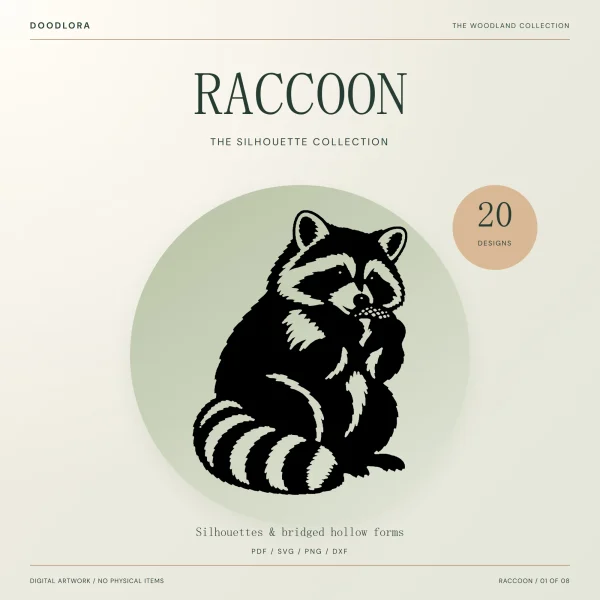
This one starts from a printed raccoon silhouette, the solid black shape of a whole animal. Our Raccoon Silhouettes set has 20 designs, and each one also comes as a hollow outline with small gaps that hold the inside pieces in place. The US Letter and A4 printbooks are 39 pages each. They open with pages that put one raccoon’s solid silhouette next to its hollow outline.
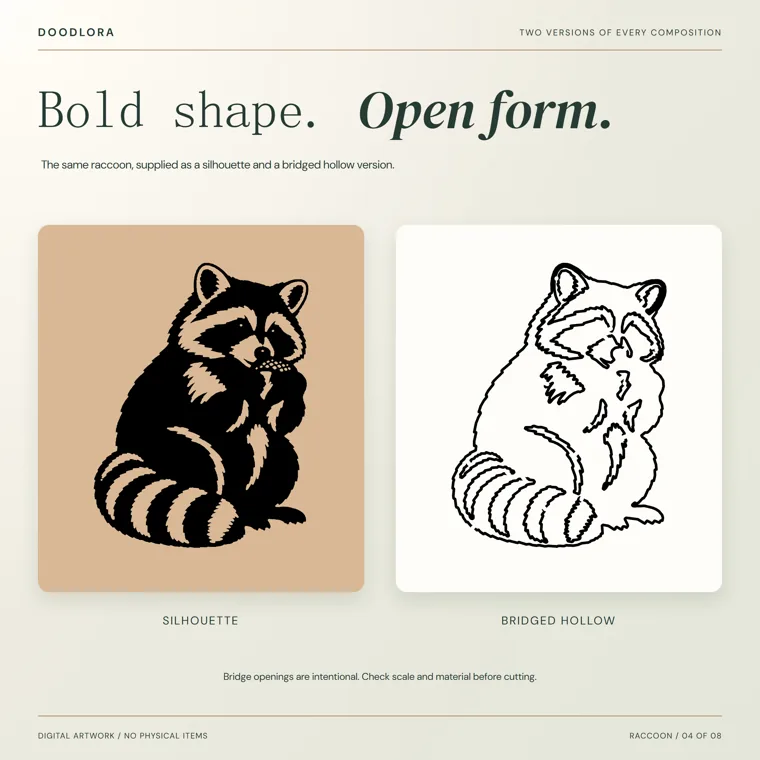
Print a solid raccoon and glue the page to light cardstock. The child cuts along the shape, and a strip of tape fixes a craft stick behind it. Turn off the main light, shine a flashlight at a wall, and the raccoon walks across it. It takes about twenty minutes, plus as long as the show runs.
Thin parts are the trouble spot. Ears and tail tips are fiddly for a 4-year-old, so tell them to cut a loose line around the whole raccoon rather than following every bump. The shadow still looks like a raccoon. These files are licensed for personal use, so the puppets are for your own home or classroom, not for selling.
Cotton-ball rabbit R
Draw an R on blue or green paper, which makes white cotton show up. The child dips cotton balls in a puddle of white school glue and presses them along the lines. Two long paper ears go on top of the R’s straight line, and a small pink paper nose goes on the round part.
Pull each cotton ball open a little before it goes on. A stretched ball covers more letter and looks more like fur. A glue stick won’t hold cotton, so this one needs white glue and a night flat on a shelf. Allow about fifteen minutes.
Rabbit trace-and-color page
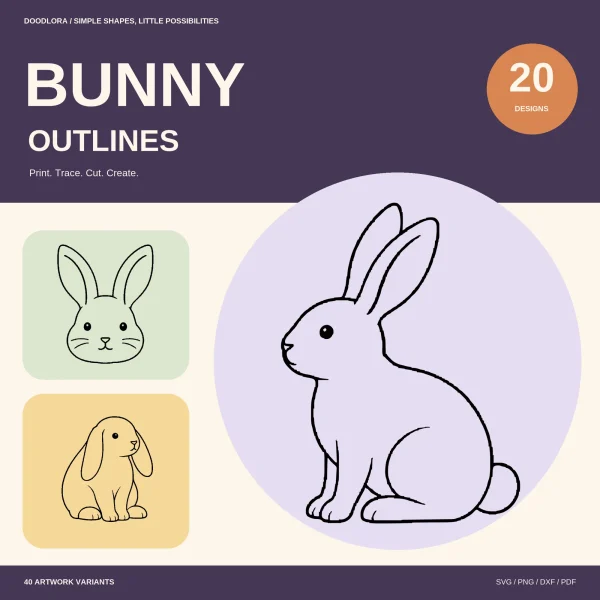
For a quieter rabbit craft, use a printed outline as a tracing page. Our Bunny Silhouettes set has 20 rabbit designs, each as a line outline and as a solid silhouette, and the full-size tracing pages hold one large rabbit each. The first page of the Letter file is design 01, a rabbit sitting in profile.
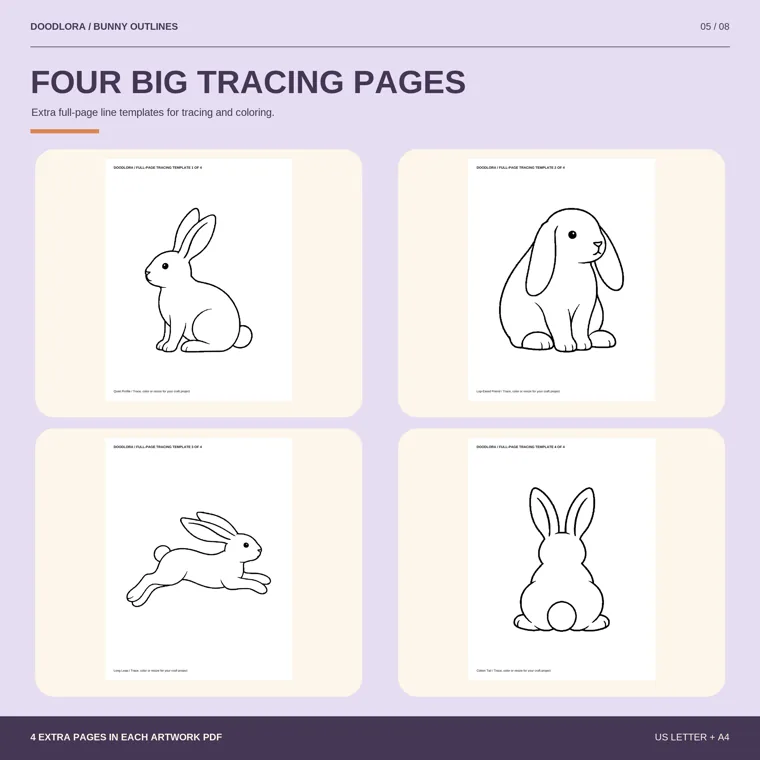
Tape the outline to a window with plain paper on top, and the child traces the rabbit with a crayon. Then they color it in, glue a cotton ball on as the tail, and you write “R is for rabbit” underneath. It takes about fifteen minutes.
The set’s print guide points out that the rabbit you see is smaller than the square of the file. If you want the rabbit a certain size, measure the drawing, not the page. In the print dialog, keep the scale at actual size so a rabbit you measured stays the size you expect.
Rocket and robot R crafts for kids who like to build
Some children walk past animals and rainbows every time. These two crafts suit the builder, and both use a lot of cutting, so they fit the end of preschool and kindergarten. Our list of fine motor activities has more ways to work the same hand skills.
Rocket R with tissue flames
Cut a capital R from red paper, which adds a second R word. Turn it so the straight line stands up like the body of a rocket. The child cuts a triangle nose cone for the top and glues a few paper circles down the line as windows. Strips of orange and yellow tissue paper go at the bottom of the line and the leg as flames.
Glue each flame strip at one end only. That way the flames flutter when the child “launches” the rocket off the table. It takes about twenty minutes. For more space-themed table activities, see our space activities for preschoolers.
Robot R from paper shapes
A robot is a good R craft for a child who likes rectangles. Draw a block-style R and have the child cover it in squares and rectangles cut from gray paper or scraps of aluminum foil. Then add the robot details: two circle eyes on the round part, a row of sticker dots as buttons down the straight line and a spring-shaped antenna on top.
The antenna is a paper strip folded back and forth like an accordion, and it pops up when it’s glued at one end. Allow about twenty-five minutes. Real buttons, bottle caps and googly eyes look great on a robot, but they’re small enough to end up in a mouth. If a child at the table still mouths toys, leave those out and use sticker dots.
Quiet R crafts: reading and rainbows
The last two are calmer, for a story time or the end of the day.
Reading raccoon bookmark
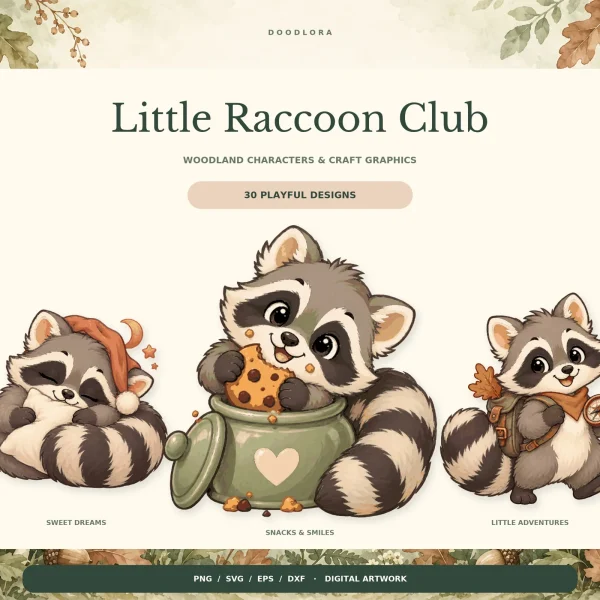
“Read” is an R word too, which makes a bookmark a good closing craft for an R week. Our Woodland Raccoon clipart has 19 raccoon characters, and one of them is reading a green book. Print it about 2 inches (5 cm) tall. The child trims around it and glues it to the top of a cardstock strip roughly 2 by 7 inches (5 by 18 cm).
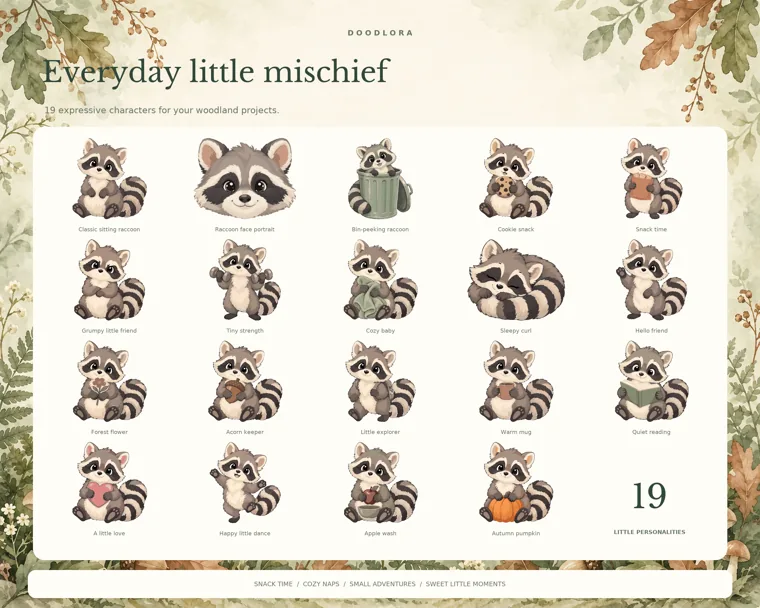
The child writes their name and “R is for read” on the strip, or traces it if you write it lightly first. It takes about fifteen minutes. Glue stick works here, but run it all the way to the edges of the picture, because the corners peel up first once the bookmark goes in and out of a book. To print the clipart at a set size, follow the sizing steps in how to use clipart.
Rainbow and raincoat bunny bead charts
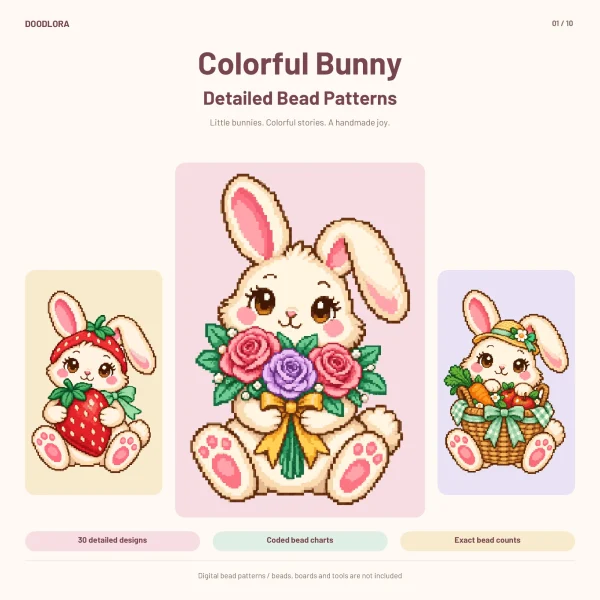
Our colorful bunny fuse bead patterns include two R pictures: a bunny under a rainbow arch and a bunny in a yellow raincoat. These are big charts, not preschool crafts. Rainbow Arch is 160 squares wide and 185 rows tall, with 18,529 beads in 32 colors. Raincoat is 160 by 264 and takes 27,656 beads.
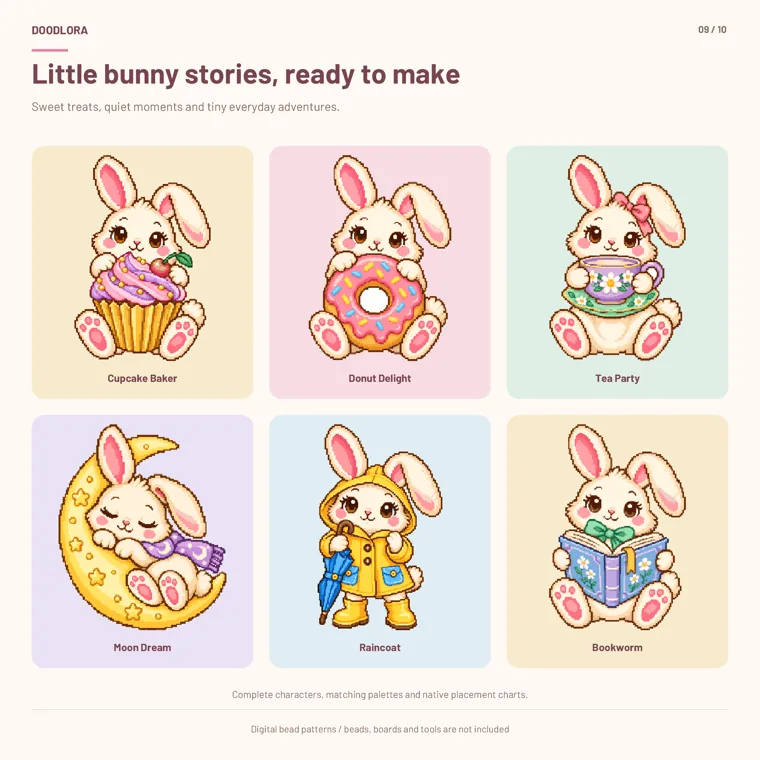
By our math, 160 mini 2.6 mm beads across comes to about 16 inches (42 cm), so this is a long project for an adult or a patient older child. A preschooler can still join in: print the raincoat bunny picture and ask them to find everything that starts with R in it. An adult does all the ironing, and the heat, paper and flipping steps are in how to iron fuse beads.
Planning an R week that doesn’t repeat itself
The crafts above fall into three kinds of mess: dry (tissue rainbow, road, trace-and-color, bookmark), gluey (cotton rabbit, raccoon R, rocket, robot) and painty (raindrop dots, a painted mask). Mix one of each kind across the week, and no day leaves the table covered in paint.
One five-day plan: Monday the tissue rainbow R, Tuesday the raindrop dots, Wednesday the ringed-tail raccoon R, Thursday the cotton-ball rabbit, Friday the reading raccoon bookmark. Keep a shoebox labeled R for leftover strips and half-finished pieces, and pull it out when a child finishes early.
A craft that falls apart halfway through means it was one step too hard. Swap to one higher up in the chart next time instead of taking over the scissors. At the end of the week, line the R’s up on a wall and have each child name their R word out loud. That last round of rainbow, rain, raccoon, rabbit and read is where the sound sticks.
For the same idea with other letters, see our letter A crafts and letter D crafts. For craft ideas that aren’t tied to a letter, our crafts for preschoolers list has more.
Printables from this article
Related articles
Kids Activity Books
Letter M Craft Ideas: Monkey, Mouse & Mushroom for Preschool
Twelve letter M crafts grouped by who is at the table, from a foil-print moon for one toddler to monkeys swinging on a paper-chain vine for a whole class, with ages, minutes, supplies, steps and where each one tends to go wrong.
Kids Activity Books
Letter D Crafts: Dinosaur, Dog & Donut Ideas for Preschool
Eleven letter D crafts sorted by age, from a play dough D for 2-year-olds to a fuse bead dinosaur footprint, with supplies, times, steps and the snag in each one.
Kids Activity Books
Toddler Crafts: Easy, Mess-Free Crafts for 2 Year Olds
Fourteen toddler crafts sorted by mess and age, from no-glue sticky walls to printable cut-and-paste pages, with what to set out, how each one ends and what to keep off the table.