How to Draw a Race Car Step by Step (Formula, Kart, Rally)
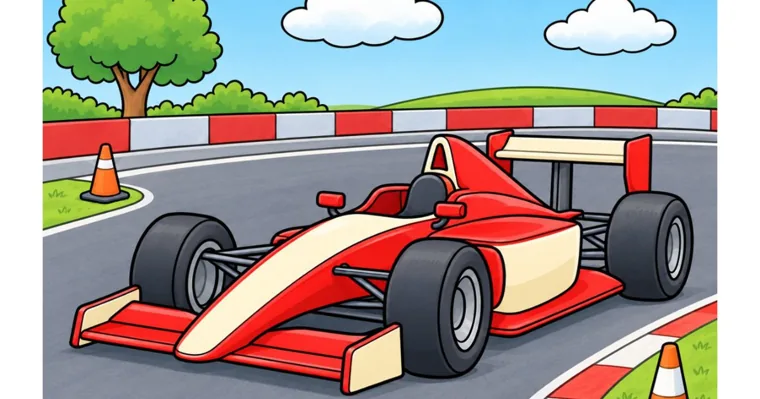
A race car looks fast on paper for one reason: its silhouette is long and low, with the wheels pushed out to the corners. Draw the ground line and the two wheels first, keep the body barely taller than the tires, and almost any shape you hang between them will read as a race car. That proportion matters far more than any individual detail.
The side-view formula car below takes 9 steps and about 20 minutes in pencil. After it, you’ll swap a few parts to get a go-kart, a rally car, a stock car or a dune buggy, turn the car to an angle, and add a race number that looks painted on rather than stuck on top.
Every type starts from the same skeleton, and each one is recognizable by a single feature. Leave that feature out and the car becomes a different vehicle entirely.
| Race car | The feature that gives it away | Difficulty |
|---|---|---|
| Formula car | Uncovered wheels, a pointed nose, wings at both ends | Medium |
| Go-kart | A tiny frame with the driver sitting up in the open | Easy |
| Stock car | A closed, boxy body with big flat doors for the number | Easy |
| Rally car | A small hatchback raised up on its springs, with mud flaps | Medium |
| Dune buggy | An open tube cage on huge knobby tires | Medium |
| Vintage roadster | A long rounded body on tall, thin wheels | Hard |
Supplies, ages and time for one race car
Most of the kit is probably in a kitchen drawer already: something to sketch with, something to rub out mistakes, and copy paper laid sideways. Two extras help more on cars than on animals, because mechanical shapes depend on precision rather than personality. A ruler keeps the ground line and the underside of the body perfectly horizontal, and a coin or a bottle cap gives you two wheels of identical size, which is surprisingly difficult freehand. Keep a black fine-tip pen for the final lines and markers or colored pencils for the paint. If you’d like a printed reference page beside you while you work, how to print coloring pages explains the printer settings that keep a page at its original size.
The formula car has the most parts, so it suits second graders and up, with a grown-up calling out each step and pausing until everyone catches up. Five- and six-year-olds have more success with the stock car or the go-kart from the next section, since both are mostly a box and two circles. For an older drawer, the pencil stage takes 15 to 20 minutes, and the number, decals and paint roughly double that.
How to draw a formula race car from the side in 9 steps
Step 1: Draw the ground and two equal wheels
Rule a ground line across the lower third of the page. Trace your coin twice so both circles sit on the line, leaving room for about four more wheels between them. Formula cars have a long wheelbase, so a distance that feels too generous is usually correct.
Step 2: Run the low body between the wheels
Draw a long, flat shape from just behind the front wheel to just in front of the rear wheel. Its bottom edge sits a little above the ground, and its top edge should come no higher than the top of the tires. If the body rises above the wheels, the car starts looking like an ordinary sedan.
Step 3: Stretch the nose forward
From the front of the body, draw two lines that run forward past the front wheel and slope down to a blunt point. The nose ends ahead of the wheel and close to the ground, so the whole car leans forward like a wedge.
Step 4: Add the front wing under the nose
Draw a thin, flat plate just under the tip of the nose and almost touching the ground. Close each end of the wing with a small upright rectangle, called an endplate. The front wing should extend a little farther forward than the nose itself.
Step 5: Build up the engine cover and the air intake
Behind the driver’s position, draw a hump that rises from the body and peaks above the rear half of the car. Cut a small rounded opening at the top front of that hump for the air intake. Then let the back of the hump slope down toward the rear wheel in one continuous curve.
Step 6: Cut in the cockpit and the helmet
Just behind the front wheel, scoop a shallow dip out of the top of the body. Draw the driver’s helmet as a small circle sitting in it, with only the top half showing. Most modern formula cars also have a curved protective bar over the cockpit, so you can add a thin arch from the front of the dip back to the engine cover.
Step 7: Raise the rear wing
Above and slightly behind the rear wheel, draw a wide horizontal plate on two short posts. Give it endplates like the front wing. Its top edge should sit a bit higher than the peak of the engine cover, since a low rear wing disappears visually behind the body.
Step 8: Turn the circles into tires
Inside each wheel, draw a second circle about two-thirds the size of the first. The ring between the two is the thick rubber tire, and the inner circle is the wheel rim. Add a small dot or a few short spokes in the center. Erase any body lines that run across the wheels, because on an open-wheel car the tires sit completely outside the bodywork.
Step 9: Ink, erase and set it on the track
Go over the lines you want to keep with the black pen and wait for the ink to dry before you erase the pencil. Add two small mirrors beside the cockpit, a short exhaust under the rear wing, and a flat oval shadow under the car that touches both tires. That shadow is what anchors the wheels to the ground instead of leaving them floating above it.
Swap a few parts to draw a different race car
Keep steps 1 and 8 exactly as they are, since the ground line, two equal wheels and tires work for every type. Change only the construction that sits between and above the wheels.
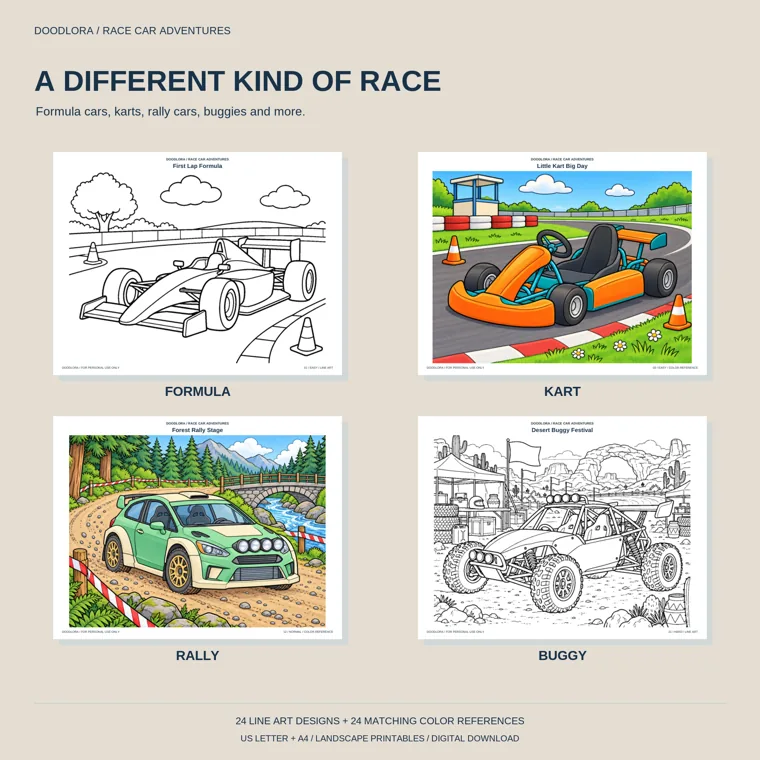
Go-kart
Shrink the wheels and the distance between them, and draw a flat frame only a little thicker than a ruler, sitting low between the wheels. Put a bucket seat in the middle and draw the driver sitting upright in it, from the helmet to the hands on a small steering wheel. The driver is the dominant element in a kart drawing, so make the helmet about the same size as a wheel.
Stock car
Draw a closed, rounded box that covers the top half of each wheel, with a sloping windshield and a flat roof. Leave the doors as one big, uninterrupted panel. Stock cars race on oval tracks with large numbers on their doors and roofs, and that empty panel is where your number goes.
Rally car
Start from a small hatchback shape with a short hood and an upright back. Then lift the whole body so you can see a gap of road between the bottom of the car and the ground. Add mud flaps behind each wheel, a row of extra lights across the front, and a spray of dirt from the rear tire. The visible clearance under the car is what suggests gravel and rough terrain.
Dune buggy
Draw very large tires with square bumps around the edge for tread, and keep them far apart. Instead of a body, draw a cage of thick tubes: one arch over the driver, and two or three straight bars running down to the axles. The driver should be visible through the open structure.
GT and touring cars
A GT racer is a sleek closed coupe with a long hood, a big rear wing and fenders that bulge over the wheels. A touring car is closer to a family sedan, lowered, with a small wing on the trunk and a flat splitter under the front bumper. Both still keep their headlights, which formula cars don’t have.
Turning the race car to a three-quarter angle
A side view is flat, so once it feels comfortable, try the car turned slightly toward you. Lightly sketch a long, low brick in perspective first, with the near end bigger than the far end. The horizontal edges along the sides of the brick should converge toward a point beyond the edge of the page.
Wheels are where angled cars usually go wrong. Seen from an angle, a wheel becomes an ellipse, a squashed circle, rather than a perfect circle. The near wheels are larger ellipses than the far ones, and the far wheels hide partly behind the body. Make all four tires touch the same flat ground, and give every ellipse the same tilt. If one wheel tilts in a different direction, the whole car looks bent.
On a formula car, draw the far-side front wheel peeking out past the nose. That half-hidden wheel is the visual clue that tells the viewer the car has width.
Common race car drawing mistakes
Most race cars that look wrong share one of these five problems, and each one has a quick correction.
- Tiny wheels. Wheels about the size of buttons make a race car look like a toy. On a formula car, each wheel should be about as tall as the body, so draw the wheels first and size the body to them.
- A tall body. If the roofline or engine cover climbs well above the tires, the car loses its sense of speed. Pull the top line down toward the wheels.
- Mismatched wheels. Two freehand circles of different sizes make the car look like it’s tipping. Trace the same coin for both.
- Floating. Without a shadow or a road line, the car hangs in empty space. A flat oval shadow under the body fixes it in seconds.
- Speed lines everywhere. Three or four straight lines behind the rear wheel are enough to suggest motion. Lines drawn through the car or in front of it look like accidental scratches.
Race numbers, stripes and imaginary sponsors
The number is the part kids care about most, so give it generous space. Before you draw any digits, draw a white shape for it to sit on: a circle on a vintage roadster, a rounded rectangle on the side of a formula car’s engine cover, or the entire door of a stock car. Then write one or two bold digits that nearly fill that shape, and outline them twice so they separate clearly from the paint.
Repeat the same number in a second location, such as on the nose or the roof, so the car looks like a genuine race entry. Stripes go along the length of the car, never across it, and two thin stripes look faster than one wide one.
For decals, invent sponsor names instead of copying real brand logos. A few small rectangles on the sidepods that say “Pancake Racing” or the family dog’s name look more authentic than a blank body, and inventing them is half the entertainment for kids.
Coloring the finished race car
Pick one main body color and one accent for the wings, the nose tip or the stripes. Color the tires a dark gray rather than solid black, and leave a thin lighter ring around the rim, so the tread and the rim don’t merge into one black blob. Windows and the helmet visor look reflective if you color them light blue and leave a white diagonal streak across them.
Leave a long white highlight along the top edge of the body, where the light would naturally hit. With crayons or colored pencils, go light first and build up the darker shade under the body and around the wheel arches. These coloring tips walk through that light-to-dark order.
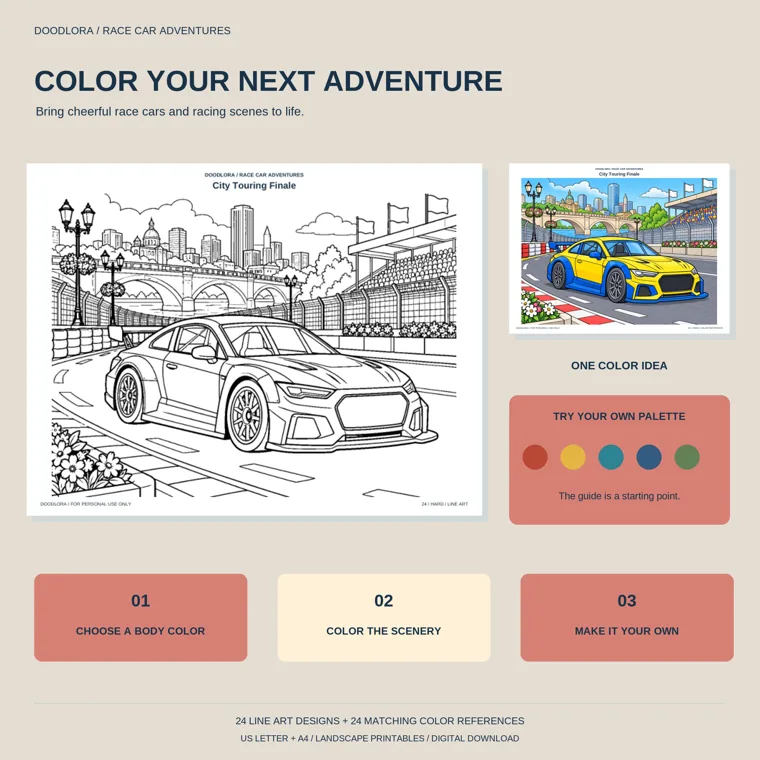
Marker color looks the most like real race livery. Layering it, though, wets cheap copy paper until it pills or bleeds onto the sheet underneath, so pick card stock for any car you mean to finish in marker.
Using a race car coloring page as a drawing reference
Copying a finished line drawing is the fastest way to learn where the parts of a car belong. Put a printed page next to your paper and draw the same car, one shape at a time, starting with the wheels. Younger kids can trace the outline first on a window or a light box, then draw the car again freehand right beside it.
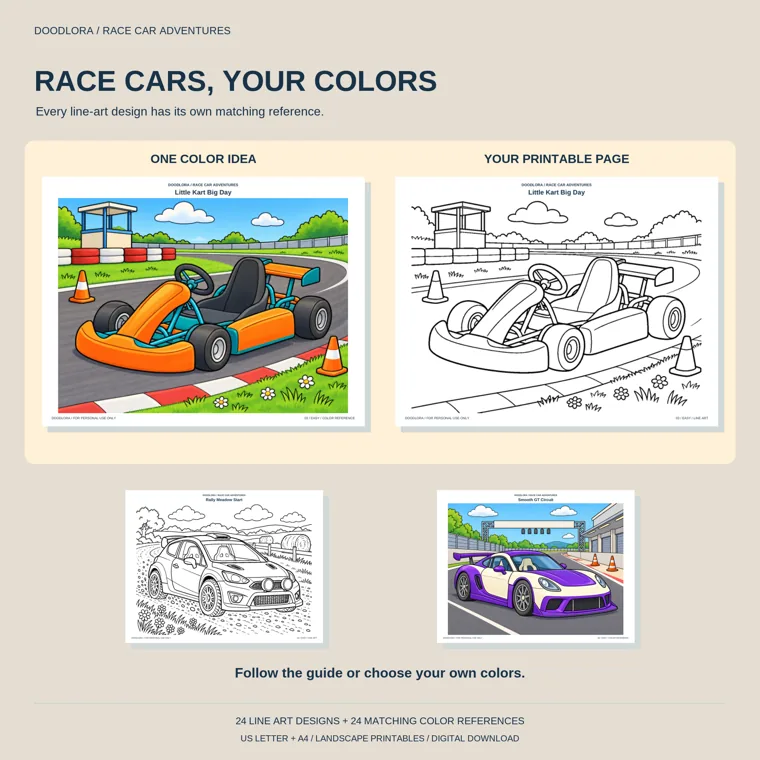
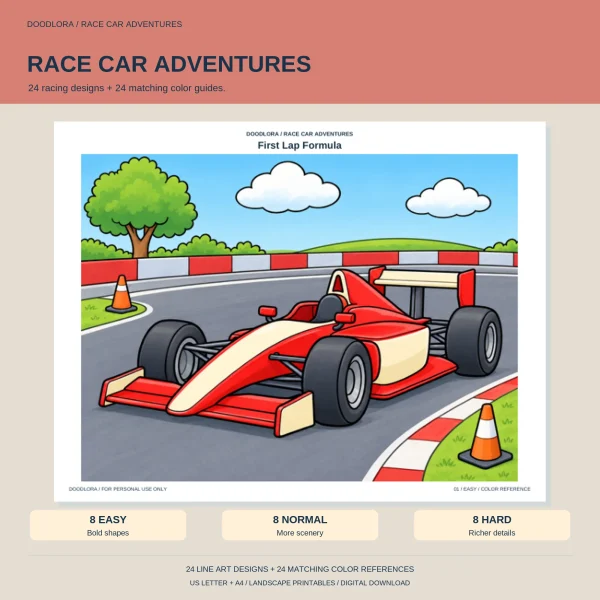
Our race car pack has 24 designs. Its US Letter book runs to 48 pages because every outline is followed by its matching colored page, which puts each outline on an odd page number. These pages are useful copying references for the types on this page:
| To practice | Outline pages in the Letter book |
|---|---|
| Formula car | 1 (First Lap Formula), 17 (Formula Pit Lane), 33 (Grand Circuit Festival) |
| Go-kart | 5, 21, 39 |
| Stock car | 3 (Sunny Oval Stock Car), 25 (Oval Evening Practice) |
| Rally car | 7, 23, 37 |
| Dune buggy | 9, 27, 41 |
The 24 designs are split into 8 Easy, 8 Normal and 8 Hard, and the difficulty level changes the background, not the car. Easy pages keep the car big against a simple track, so they’re the ones to copy from first. The Hard pages fill the scene with grandstands, pit garages and city streets. The cars are drawn with no numbers or logos, so every outline has space for a number of your own.
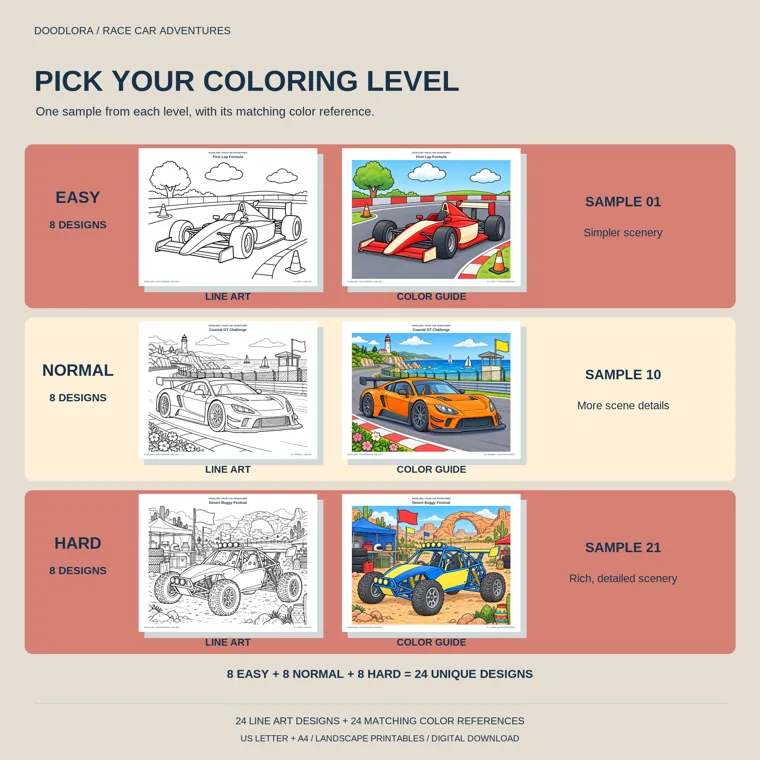
Print the pages landscape at Actual Size so the car isn’t shrunk to fit. They’re licensed for personal use, which covers home and classroom coloring.
Race car or sports car? What to change
If your drawing keeps turning into a sports car, the explanation is that a sports car is a road car. It has headlights, door handles, side mirrors, a full roof or a folding top, and it sits at a normal height. A race car strips most of that equipment away and adds wings, a lower body and a number. To go the other direction and draw a sports car, keep the low, curved body from the GT racer, remove the rear wing and the number, and add headlights and a windshield frame.
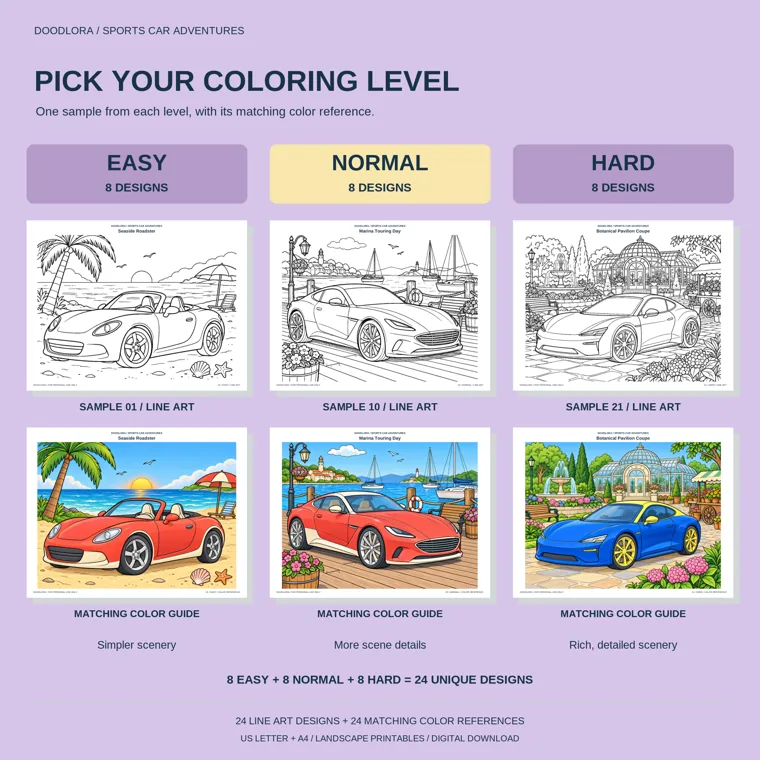
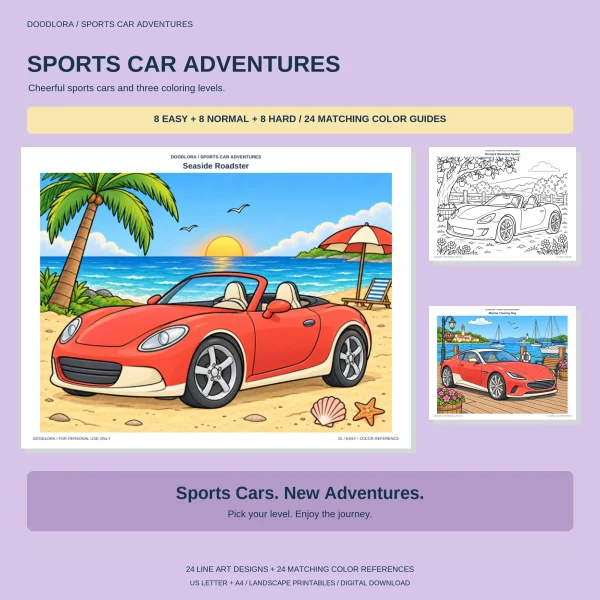
Our sports car pack is all present-day two-seaters with no race numbers: roadsters, coupes and targa tops. Pages 1 (Seaside Roadster), 3 (Parkland Sport Coupe) and 7 (Lakeside Targa) of its Letter book show three different roof shapes to copy.
Running a race car drawing session for a group
For a class or a birthday table of 6 to 20 kids, plan on about 40 minutes. Spend 5 minutes drawing the formula car big on a whiteboard while you name the parts, 20 minutes drawing it together one step at a time, and 15 minutes on numbers and color.
Settle the race numbers before anyone picks up a marker. Duplicate numbers are a reliable source of arguments, so let each child draw a number from a cup or use their own age plus their seat number. Kids who finish early can draw a second car from the swap list, usually a go-kart, since it’s quick.
To end the session, tape all the cars to the wall in two rows like a starting grid, ordered by their numbers. Kids then get to find their own car on the grid, which gives the activity a more satisfying conclusion than a contest with one winner. For a vehicle that suits younger kids, how to draw a fire truck builds a truck from the same wheels-first beginning.
Race car drawing questions
What’s the easiest race car to draw?
The stock car. It’s a rounded box over two wheels with a windshield and a big flat door, so there are no wings or exposed components to get right. Go-karts are next, as long as you remember to draw the driver big.
Why do race cars have wings?
A race car wing works like an airplane wing turned upside down. Instead of producing lift, it pushes the car down onto the track, which gives the tires more grip in corners. That’s why the wings sit at the front and the back, close to the wheels.
How do I make my race car look like it’s moving?
Tilt the whole car forward a degree or two, add three or four short speed lines behind it, and draw a little smoke or dirt coming off the rear tire. Rally cars and buggies look best with a trail of dust behind them.
How far apart should the wheels be?
Measure the gap in wheels. On a formula car, about four wheels would fit between the front and rear tires. A stock car needs about three, and a go-kart only two or three small ones, which is why karts look short and stubby.
Printables from this article
Related articles
Printable Coloring Pages
Community Helpers for Kids: List, Jobs and Activities
A community helper is anyone whose job makes daily life in a town work for other people. Teach them through three questions, what do they do, where do they work and what do they use, then pick activities by age, from a tool basket for preschoolers to a neighborhood map for second graders.
Printable Coloring Pages
World Kindness Day: Random Acts, Activities & Kindness Week
World Kindness Day falls on November 13 every year. Here is who started it, plus random acts of kindness for home, the classroom, the neighborhood and young kids, each with how long it takes, what to gather and how to wrap it up.
Printable Coloring Pages
Community Helpers Crafts: Firefighter, Police, Mail & More
Fourteen community helper crafts sorted by helper, age and time, from paper plate firefighter hats to a class map, with what to prepare and where each one goes wrong.