How to Draw a Fire Truck Step by Step, Easy for Kids
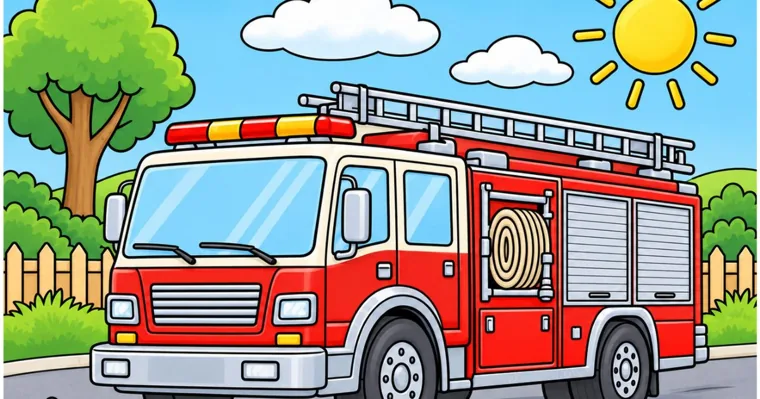
A fire truck seen from the side is two boxes riding on two wheels. The long, low box is the body that carries the hose and the ladder, and the shorter, taller box at the front is the cab where the crew sits. Draw the wheels first and set the boxes on top of them, and the truck can’t end up floating above the road or rolling on wheels the size of buttons, which are the two things that make most fire truck drawings look off.
The side view below takes 15 to 20 minutes and works for kids who can draw a circle and a rectangle, usually around age 5 with a grown-up drawing alongside. After it come a head-on front view, three variations (a vintage engine, a water tanker and a ladder truck), a plan for drawing with a group and how to color the finished truck.
| Version | Who it suits | Time | The shape that makes it work |
|---|---|---|---|
| Side view | First drawing, kids 5 and up | 15–20 min | Wheels drawn before the body |
| Front view | Kids 7 and up, adults | 20–25 min | Bumper wider than the cab |
| Vintage engine | Older kids, adults | 25–30 min | Long rounded hood with curved fenders |
| Tanker or ladder truck | Anyone who has done the side view | 20–30 min | Swap one part of the side view |
Set up the page before you draw the truck
Turn a sheet of letter-size printer paper (11 × 8.5 in) sideways. A fire truck is long and low, and on an upright sheet it either shrinks to fit the width or runs off the edge. A pencil you can erase, an eraser, a black fine-tip pen for the final lines and crayons, colored pencils or markers are all you need.
Draw one light line straight across the page about 2 in above the bottom edge. This is the road. Then make two small marks on it, one about 1.5 in from the left edge and one about 9.5 in from the left edge. Those marks are the back and front ends of the truck, so the whole vehicle is about 8 in long, with room left over on the right for a fire hydrant and above for a sky.
For kids, a light yellow crayon works better than pencil for these guide lines. It disappears under red and black later, so nobody has to erase, and erasing is how thin printer paper tears. If the truck is going to get a coat of marker red, use a heavier sheet, since markers bleed through plain copy paper; how to print coloring pages matches paper weights to crayons, pencils and markers.
How to draw a fire truck from the side, step by step
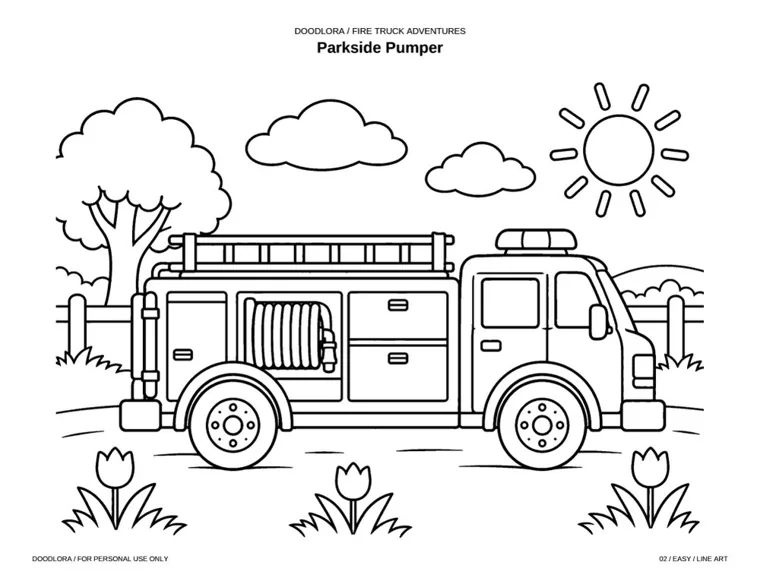
The truck in these steps faces right, the same way the Parkside Pumper in our coloring pack does. Keep every line light until the last step, because at least one box will need nudging.
Step 1: Put two big wheels on the road
Draw the back wheel first. It’s a circle about 1.5 in across, sitting right on the road line, with its center about 1.5 in in from the back mark. Draw the front wheel the same size, with its center about 1.25 in behind the front mark. That leaves a gap of roughly 4 in between the two wheels.
Big wheels look right. A 1.5 in circle may feel too large while you draw it, but a fire truck rides on tall tires, and small wheels make it look like a toy van.
Step 2: Rest the long body box on the wheels
Draw a long rectangle from the back mark forward to about 2.5 in short of the front mark. Its bottom edge runs straight through the middle of both wheels, about 0.75 in above the road, and it stands about 2 in tall. The bottom half of each wheel hangs below the box. Leave the lines that cross inside the wheels for now.
Step 3: Add the taller cab at the front
Draw the cab as a second rectangle that fills the last 2.5 in up to the front mark. It shares the body’s bottom edge but rises about 0.75 in higher, so its roof sits about 2.75 in above the bottom edge. Round off the top front corner, or cut it with a short slant, so the cab looks like it has a windshield instead of a flat wall.
Inside the cab, draw two windows across the upper half: a narrow one by the front for the windshield edge and a wider one behind it for the door. Add a short vertical line under the windows for the door seam and a small rectangle for the handle.
Step 4: Cut out the wheel arches
Draw an arch over each wheel, a curved line about 0.25 in outside the top of the circle, starting and ending on the bottom edge of the truck. Erase the straight body line inside each arch. Then draw a smaller circle in the middle of each wheel for the hubcap, about half the width of the wheel, and a dot or a ring of five small dots in its center for the bolts.
The arches are what stop the truck looking like two boxes. If the wheels look like they are pasted on the side, the arch is too tight; widen it a little so a sliver of gap shows above each tire.
Step 5: Divide the body into doors and add the hose reel
Split the long body into three equal sections with two vertical lines. These are the equipment compartments. In the middle section, draw a rectangle that is a little smaller than the door and fill it with a tight row of tall, narrow loops side by side, like a coiled spring seen from the side. That row of loops reads as a rolled-up fire hose. Give the other two doors a small handle each, and draw one horizontal line along the whole truck, about halfway up, for the stripe.
Step 6: Lay the ladder along the roof
Draw two long parallel lines about 0.25 in apart, floating about 0.3 in above the roof of the body. Start them near the back of the body and stop them just behind the cab. Join the lines with short rungs about 0.5 in apart, then hold the ladder up with two short posts down to the roof, one near each end.
Draw the ladder last of the big parts. When it comes first, kids tend to make it longer than the truck and then stretch the body to match.
Step 7: Add the lights, bumper and small parts
Put a light bar on the cab roof, a rounded rectangle about 1 in wide with a line or two dividing it into separate lights. Add a bumper across the very front at wheel-center height, a small square headlight above it, a side mirror sticking out beside the windshield and a short handrail at the back of the body. A handful of these is enough. Every extra part is something to color later, which matters more to a six-year-old than to an adult.
Step 8: Ink it and clean up
Trace the lines you want to keep in black pen. Wait a minute for the ink to dry before you erase the pencil, since wet ink smears under an eraser, and then erase the guide marks, the stray body lines inside the wheels and the road line wherever it runs behind the truck.
How to draw a fire truck from the front
A front view is harder because everything has to match on both sides. Start with a vertical guide line down the middle of the page and draw each part as a mirrored pair.
- Draw a tall rectangle for the cab, about 4 in wide and 4 in tall, centered on the guide line with its bottom about 2.5 in above the bottom edge of the sheet.
- Fill the top third with the windshield, a wide rectangle with rounded corners, and draw two wiper lines slanting across its lower edge.
- Under the windshield, draw the grille in the center, a rectangle about 1.5 in wide filled with horizontal bars. Put one headlight on each side of it, at the same height and the same distance from the guide line.
- Draw the bumper as a long rectangle across the bottom of the cab, wider than the cab by about 0.5 in on each side.
- Below the bumper, draw the two front tires as short, thick rectangles with rounded corners. From the front you only see their tread, not a circle.
- Add the light bar across the roof and a mirror sticking out at each top corner.
Expect to need the guide line more than you think. Most lopsided front views go wrong at the headlights, so measure the distance from the guide line to each one before you go any further.
Three fire truck variations to try next
Every variation below starts from the side-view truck. Draw the wheels, body and cab the same way, then change one part.
A vintage fire engine
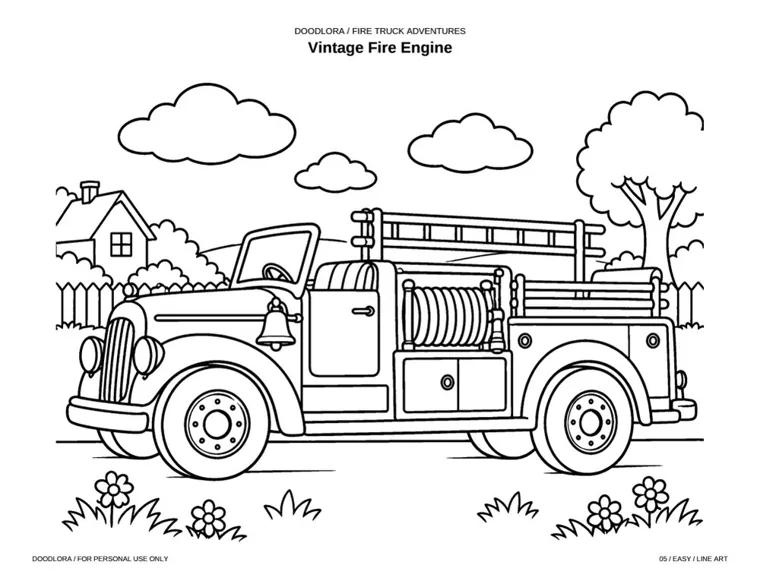
Older engines have an open driver’s seat and a long hood out in front of it. Keep the wheels, but swap the boxy cab for a low hood about 2.5 in long with a rounded front end and a tall grille made of vertical lines. Draw a curved fender over each wheel like a quarter of a circle, add a big round headlight on the fender and hang a bell beside the seat. The Vintage Fire Engine page in our pack is a good one to copy for this shape.
A water tanker
Replace the boxy body behind the cab with a long oval tank lying on its side. Draw the tank about 2 in tall and the same length as the body would have been, then add bands around it every inch or so and a short ladder up one end. Keep the hose reel on a small box under the tank.
A ladder truck with the ladder raised
Draw the side view, but instead of laying the ladder flat, start it at a pivot point near the back of the body and angle it up and forward at about 45 degrees. Draw the two long ladder lines first, then the rungs straight across between them. As you go higher, shorten the gap between the ladder rails slightly, and the ladder will look like it is reaching away from you.
A word on names, since kids ask. In North America “fire truck” is the everyday word and “fire engine” is the usual one in Britain and Ireland, but some fire departments use the two words for different vehicles. The tiller truck is a ladder truck built like a semi-trailer, and it has two drivers, one steering the front wheels and one steering the back.
Drawing fire trucks with kids or a class
The side view works as a draw-along for one child at the kitchen table or for a class of 25. Plan on about 30 minutes in all: 5 minutes to set up, 15 to draw and 10 to color, with a few minutes to clean up.
Before you start, turn every sheet sideways and draw the road line on each one ahead of time. That one line stops most of the trouble, because kids then have a place to put the wheels. Draw your own truck big on a whiteboard or a large sheet of paper, one step at a time, and wait for everyone to finish each step before showing the next. Saying “wheels, box, tall box” out loud gives younger kids an order to remember.
Expect a few common snags. Some kids draw the wheels completely under the truck instead of overlapping it; show them how the body line cuts across the middle of each wheel. Others want to draw the ladder first, so keep it for the last big step. A truck that ends up short and tall is still a fire truck, and correcting a child’s lines is the fastest way to lose interest, so leave the drawings as they are.
To wrap up, line the trucks up along a wall or a hallway with a strip of gray paper as a road, so the group ends with a whole fleet. Kids who finish early can draw the fire station behind their truck, a big rectangle with a garage door and a round window. Kids who aren’t drawing boxes yet can color a ready-made fire truck page while the others draw.
Once the fire truck is done, a police car and an ambulance follow the same wheels-then-box method, and our police car coloring pages and ambulance coloring pages give kids something to copy from.
Coloring the finished fire truck
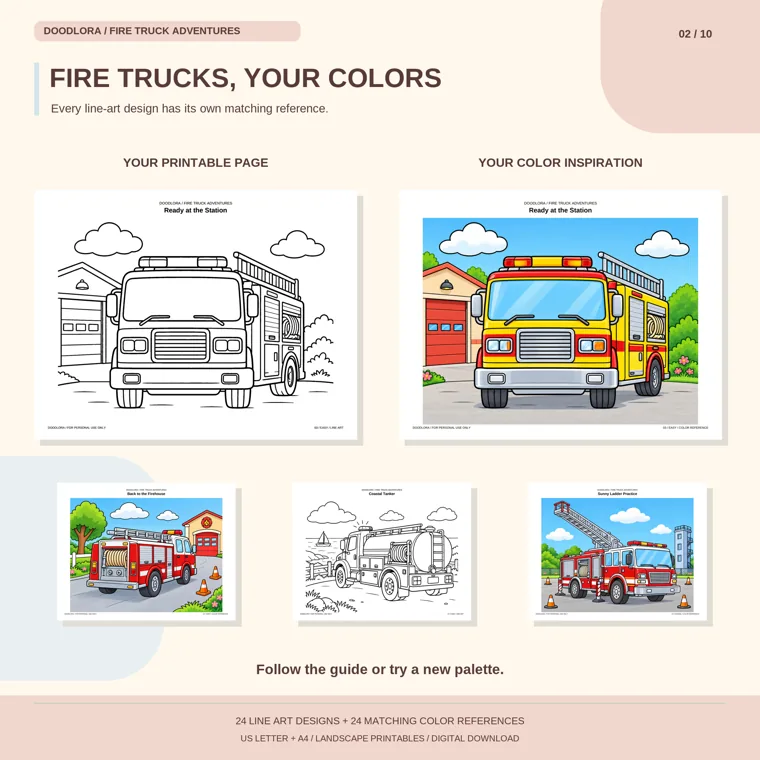
Red is the classic choice, but it isn’t the only one. The colored guide for Ready at the Station in our pack is a yellow engine with red trim, which gives kids a way to make their truck different from everyone else’s. Whatever the main color, leave the windows pale blue or white, make the wheels black with gray hubcaps and color the ladder, bumper and hose reel gray or silver so they stand apart from the body.
Color the big body panels first with light, even strokes, then go back over the bottom edge and the area around the wheel arches a second time to make them darker. That small shadow is what makes the truck look solid. Crayon and colored pencil both build up well this way, and our coloring tips cover the light-to-dark order in more detail. Markers give a bright, flat red, but test them on a scrap first, since a second pass can soak through thin paper, as coloring with markers explains.
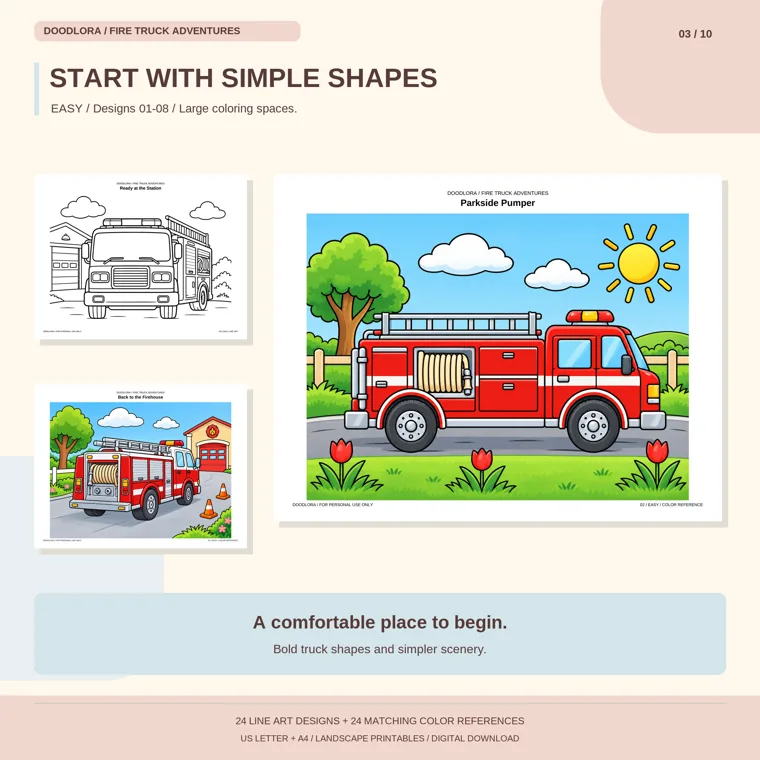
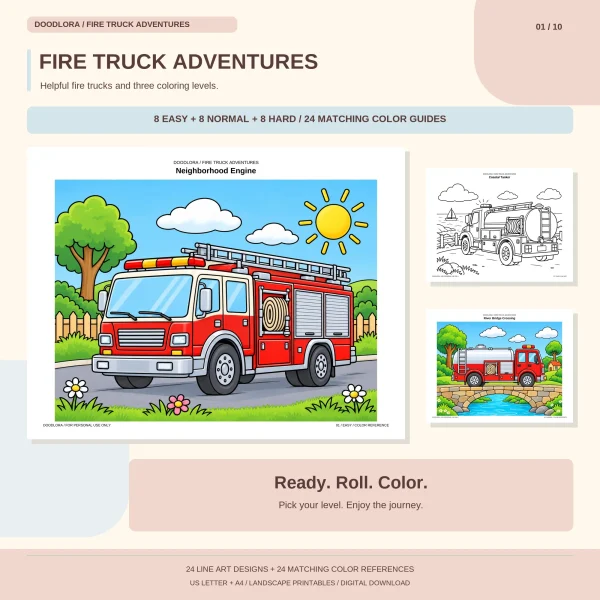
If you’d rather color than draw, or want reference pages to copy from, our fire truck pack has 24 designs in three levels: 8 Easy, 8 Normal and 8 Hard. Each one comes with a colored guide. In the 48-page US Letter book, the odd pages are the outlines and the even pages are the matching colored guides, so printing just the odd pages gives you a coloring book without the guides. The pack’s printing guide recommends landscape, one side only and Actual Size, so check that your printer isn’t set to fit or scale the page before you print a stack for a class.
Printables from this article
Related articles
Printable Coloring Pages
Community Helpers for Kids: List, Jobs and Activities
A community helper is anyone whose job makes daily life in a town work for other people. Teach them through three questions, what do they do, where do they work and what do they use, then pick activities by age, from a tool basket for preschoolers to a neighborhood map for second graders.
Printable Coloring Pages
World Kindness Day: Random Acts, Activities & Kindness Week
World Kindness Day falls on November 13 every year. Here is who started it, plus random acts of kindness for home, the classroom, the neighborhood and young kids, each with how long it takes, what to gather and how to wrap it up.
Printable Coloring Pages
How to Draw a Race Car Step by Step (Formula, Kart, Rally)
A side-view formula car in nine pencil steps, the few parts you swap to turn it into a kart, rally car, stock car or buggy, wheels at an angle, and a race number that looks painted on.