Animal Crafts for Kids: Preschoolers to Fuse Bead Animals
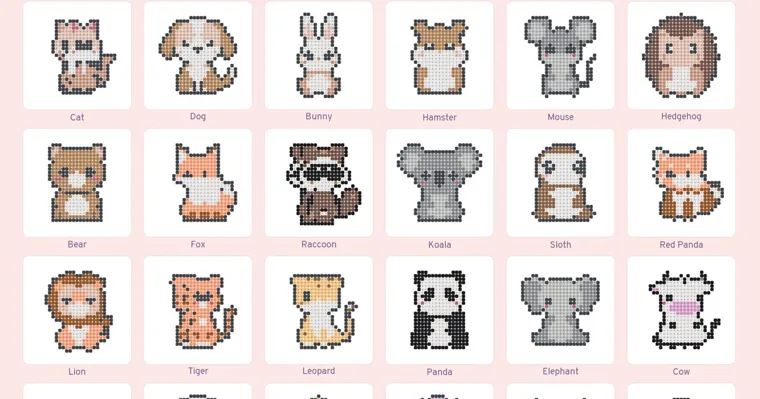
Animal crafts for kids work best when the craft matches the hands doing it: a 3-year-old can glue paper strips around a paper plate lion, a 6-year-old can follow a fuse bead chart, and a teenager can design animal stickers. Most of the ideas below take 15 to 45 minutes and use paper, glue sticks and crayons you probably have already.
Each idea lists the age it suits, what to set out and how the session ends. The ages and times are our planning suggestions, so adjust them for your own kids. Where a craft tends to go wrong, the fix sits right inside that idea.
Preparation decides most of it. Supplies rarely do.
Pick an animal craft by age, time and mess
| Craft | Good from age | Time | Main supplies | Mess |
|---|---|---|---|---|
| Paper plate lion | 3 | 20 min | Paper plate, paper strips, glue stick | Low |
| Paper bag puppet | 3 | 20 min | Lunch bag, paper scraps, glue | Low |
| Fingerprint animals | 3 | 15 min | Washable ink pad, markers | Medium |
| Coloring-page stick puppets | 3 | 20 min | Printed animal page, craft stick, tape | Low |
| Animal coloring bookmarks | 3 | 20 min | Cardstock print, crayons | Low |
| Design-your-own animal bookmark | 5 | 30 min | Blank bookmark outline, pencils | Low |
| Cardboard tube owl | 4 | 30 min | Paper towel or toilet paper tube, paper | Low |
| Folded paper cat face | 5 | 10 min | Square paper, marker | None |
| Paper animal garland | 5 | 45 min | Printed animals, string, hole punch | Low |
| First fuse bead animal | 6 | 45–60 min | Pegboard, fuse beads, chart, iron (adult) | Medium |
| Fuse bead magnet or keychain | 7 | 60 min + cooling | Finished bead piece, magnet or ring | Medium |
| Animal stickers from clipart | 10 | 30 min | Sticker paper, printer | None |
| Animal greeting card | 8 | 30 min | Card stock, printed animal | Low |
| Animal tote or T-shirt transfer | 12 | 60 min | Transfer paper, iron (adult) | Medium |
For a mixed-age group, set out the paper plate lion and the coloring bookmarks together. Younger kids can glue and color while older siblings move on to a fuse bead chart at the same table.
Animal crafts for toddlers and preschoolers, ages 3 to 5
Crafts for this age need big shapes, a glue stick instead of liquid glue, and an adult who does all the cutting. Plan on 15 to 20 minutes of real attention per craft; a preschooler’s concentration usually runs out before the glue does.
Supervision is the safety plan at this age. Keep loose beads, googly eyes and small paper bits away from any child who still puts things in their mouth.
1. Paper plate lion
Give each child a paper plate, a crayon in yellow or orange, and a pile of paper strips about 1 inch wide and 3 inches long. They color the plate center for the face, then glue the strips around the rim so they stick out like a mane. Draw or glue on two eyes, a nose and a mouth to finish.
Precut the strips before the kids sit down. Cutting 30 strips is too much for a 3-year-old, and the lion turns into an adult’s craft. Leave a few strips curled around a pencil for kids who want a fluffy mane.
Don’t worry if the mane ends up lopsided. That’s the charm.
2. Paper bag puppet
A flat-bottomed brown lunch bag turns into a bear, pig or owl. The folded bottom is the face, and the mouth goes in the fold so it opens and closes when a hand moves inside. Glue on paper ears, eyes and a nose cut ahead of time, then let the glue dry for a few minutes before anyone puts a hand in.
End with a short puppet show. Each child gets a turn saying one sentence in their animal’s voice, which is a clear stopping point for a group.
3. Fingerprint animals
Press a finger on a washable ink pad, then onto paper, and the oval becomes a body. Pink prints turn into pigs, brown ones into bears or owls, gray ones into mice. An adult or older child adds ears, legs and faces with a fine marker once the ink is dry.
Put the ink pad and a pack of baby wipes on one tray. Ink travels from hands to sleeves fast, so roll sleeves up before the first print.
4. Coloring-page stick puppets
Print a few animal coloring pages, let each child color one, then cut around the animal and tape a craft stick to the back. Large, closed outlines suit this age because a small child can fill a whole panda with one crayon.
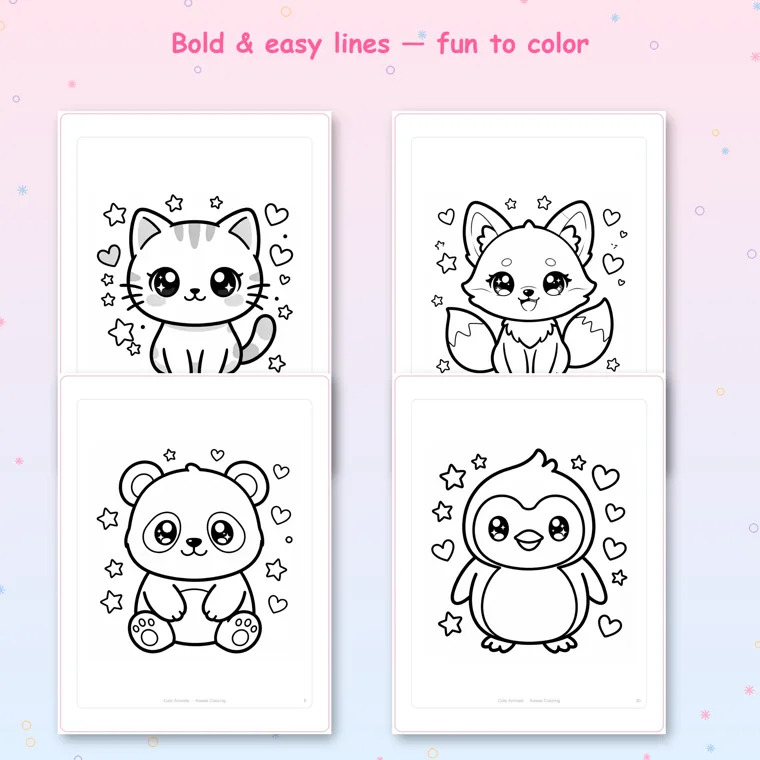
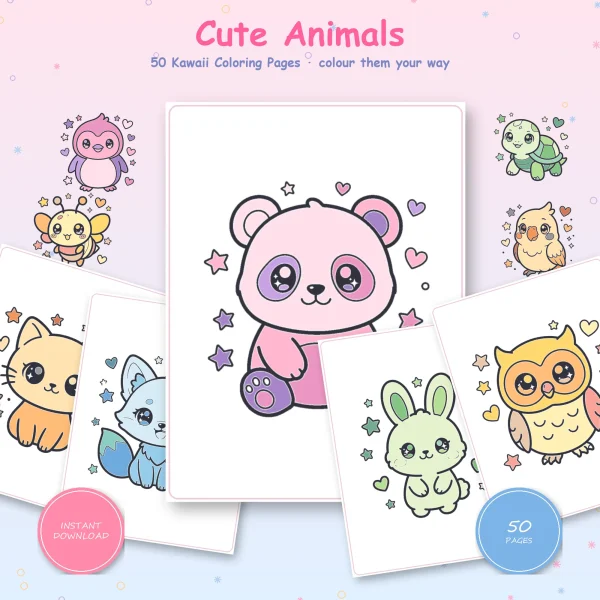
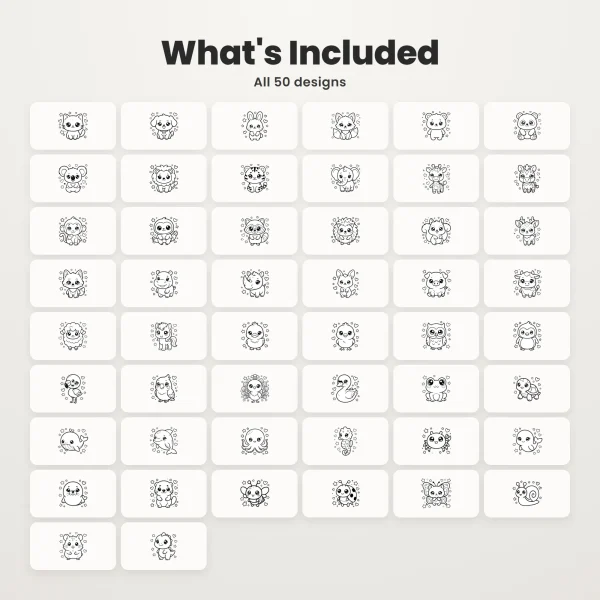
The Kawaii Animals Coloring Book has 50 animals, one per page, in US Letter and A4 files. The first four pages are the cover and instructions, so start printing from page 5. Glue the colored page onto cereal-box cardboard before cutting if the puppet keeps folding over.
Animal crafts for kids ages 4 to 8 at the kitchen table
From around 4, kids can color inside smaller shapes, and by 6 or 7 many can manage safety scissors on straight lines. These crafts run 20 to 45 minutes and end with something the child uses afterward.
5. Animal coloring bookmarks
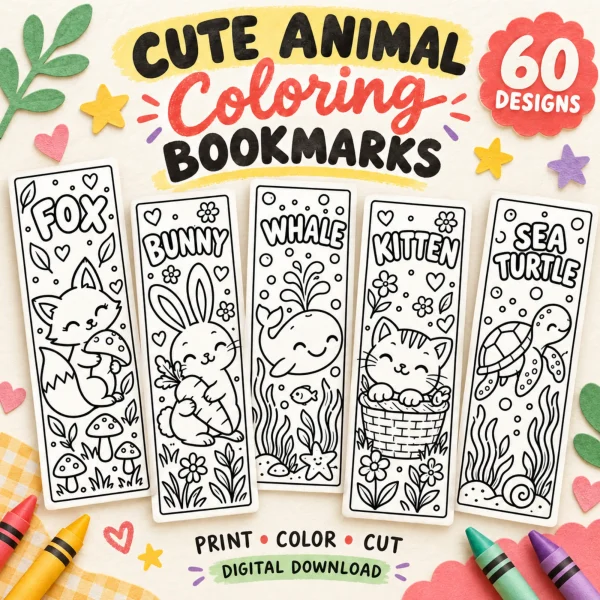
A bookmark gives a coloring page a job, so kids care about finishing it. Our Cute Animal Coloring Bookmarks file has 60 animals in six groups (farm, woodland, ocean, jungle, fantasy and tiny animals), two bookmarks to a page. The cover suggests ages 3 to 8 with an adult helping.
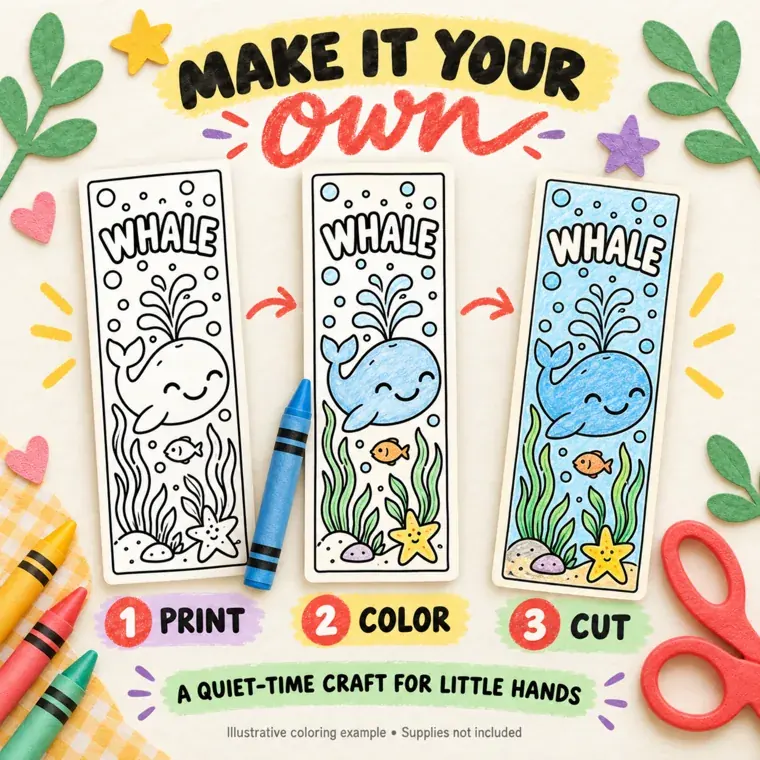
Print single-sided at Actual Size on cardstock around 65 to 80 lb, if your printer takes it. Before printing the whole set, measure one bookmark: it should be 2 × 6 inches, and page 2 has a 1-inch test line to check against. Fit to Page shrinks everything, and a shrunken bookmark looks fine until it slides out of a paperback.
6. Design-your-own animal bookmark
Kids who finish the coloring quickly can invent their own animal. The same bookmark file has five design-your-own pages with ten blank outlines, labeled My Animal, My Adventure, Magic Friend, My Favorite and My Mascot. Without the file, a 2 × 6 inch rectangle drawn on cardstock does the same job.
Ask for three things before they start: what the animal is, what it’s called and where it lives. A child with a plan finishes. A child staring at a blank rectangle often erases until the paper tears, because imagination needs a starting point more than it needs freedom.
7. Cardboard tube owl
Fold the top of a toilet paper tube down from both sides so the rim makes two pointed ears. Wrap the tube in brown or gray paper, glue on two big paper circles for eyes, a small triangle beak and two paper wings at the sides. Paper towel tubes cut in half give two owls.
Glue the wrapping paper on before folding the ears. Paper glued over the folded top wrinkles, and the ears pop back open.
8. Folded paper cat face
Take a square of paper and fold it in half corner to corner to make a triangle, point down. Fold the two side corners up past the top edge so they stand up as ears, then fold the top edge down a little to flatten the head. Turn it over and draw eyes, nose and whiskers.
This takes about 10 minutes and needs no glue, so it works on a restaurant table or in a waiting room. Use paper that holds a crease. Thick construction paper won’t stay folded.
It’s the best emergency craft on this list.
9. Paper animal garland
Print eight to twelve small animals, let kids color them, then cut each one out with a margin. Punch a hole near the top of each and thread them on string or yarn, knotting between animals so they stay spaced.
Line art with white-filled outlines prints well here, two or three to a US Letter page. A garland is also a good group project because each child adds one animal, and the string can be hung across a classroom window at the end of the session.
Fuse bead animals for kids 6 and up
Fuse bead animals are the slowest craft here and the one kids are proudest of. Placing hundreds of beads takes concentration and careful hand coordination, which is exactly why a finished piece feels like an accomplishment. A child places small plastic beads on a pegboard following a chart, then an adult irons the beads so they melt together. Perler’s own instructions say the ironing is an adult’s job, and our guide to ironing fuse beads covers the iron settings and what to do when a piece curls.
10. A first fuse bead animal
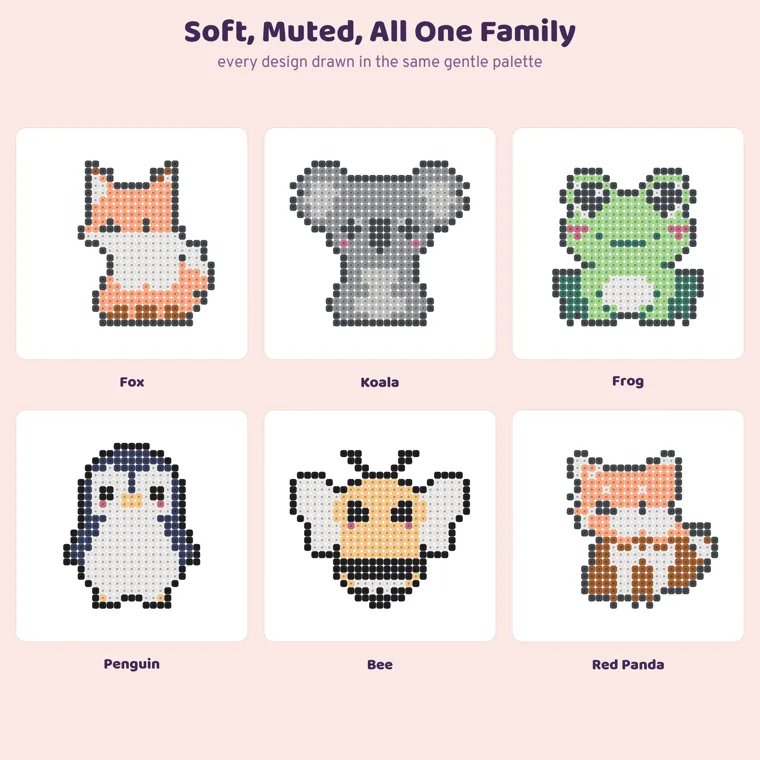
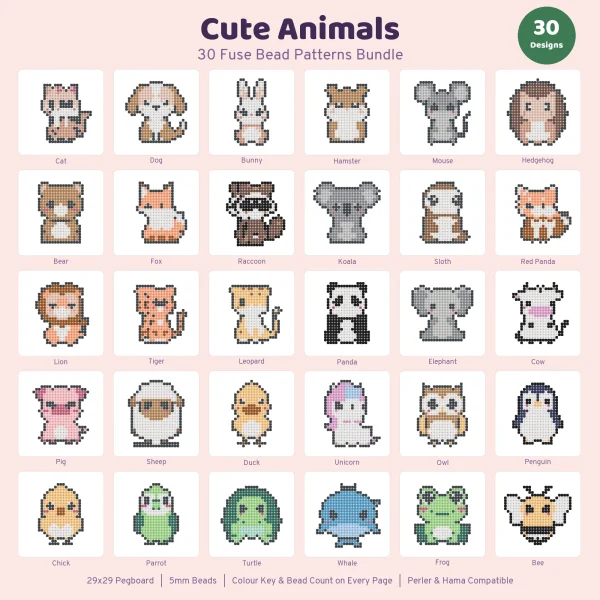
Choose an animal with few beads and few colors for a first try. In our Cute Animal Fuse Bead Patterns, every one of the 30 animals fits a 29 × 29 square pegboard and comes out about 5.5 inches (14 cm) across on standard 0.2-inch (5 mm) beads. The bunny uses the fewest beads at 255 in four colors. The panda needs only three colors. The hedgehog, at 431 beads, is the one to save for later.
Each chart marks every square with a letter for its color and numbers the rows and columns. A heavier line falls every four squares, so a child can count in small blocks. Sort the beads into cups by letter first, and place the dark outline before the fill so mistakes are easy to spot.
Allow 45 to 60 minutes for a 6- or 7-year-old. Bump the table and loose beads jump off the pegboard, so work on a tray or a rimmed baking sheet.
You’ll hear about it if you don’t.
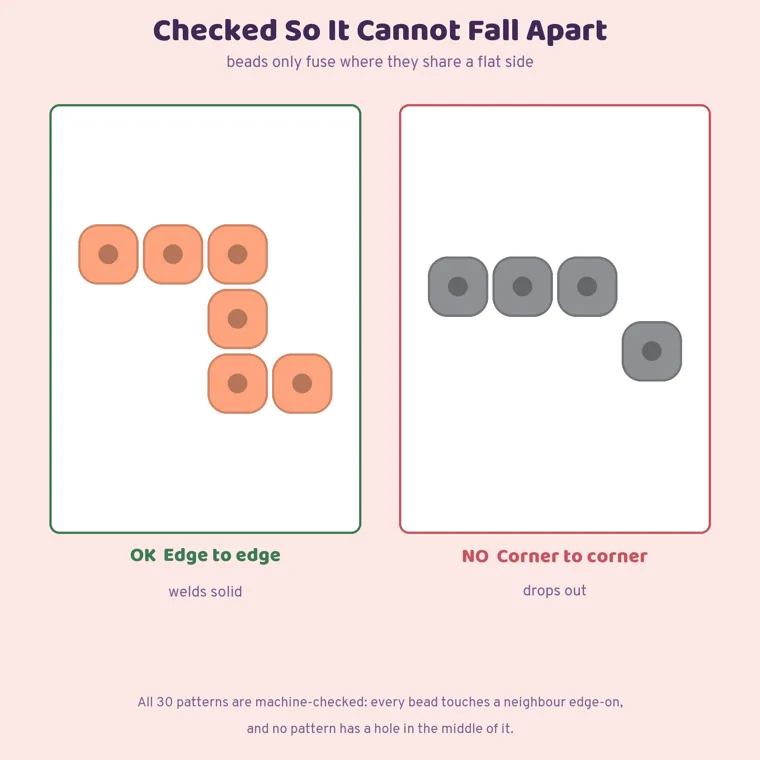
When a child designs an original animal, check that every bead shares a flat side with another one. Single beads joined only at a corner fall off after ironing, usually at whiskers, tails and the tips of ears.
11. Fuse bead magnet or keychain
Once a bead animal has cooled flat, glue a small magnet to the back for the fridge, or plan a hole for a keyring before ironing. The fuse bead keychain guide explains where to leave that hole and which patterns are small enough to hang from a bag.
Let glue cure fully before the magnet goes on a fridge. A half-dry magnet slides down the door overnight.
Animal crafts for older kids, teens and adults
Older kids want a craft that ends as something real: a sticker on a water bottle, a card for a friend, a shirt. They also want independence, so hand over the files and the instructions and step back. These three use animal clipart, which is a set of digital illustrations you print or place in a document.
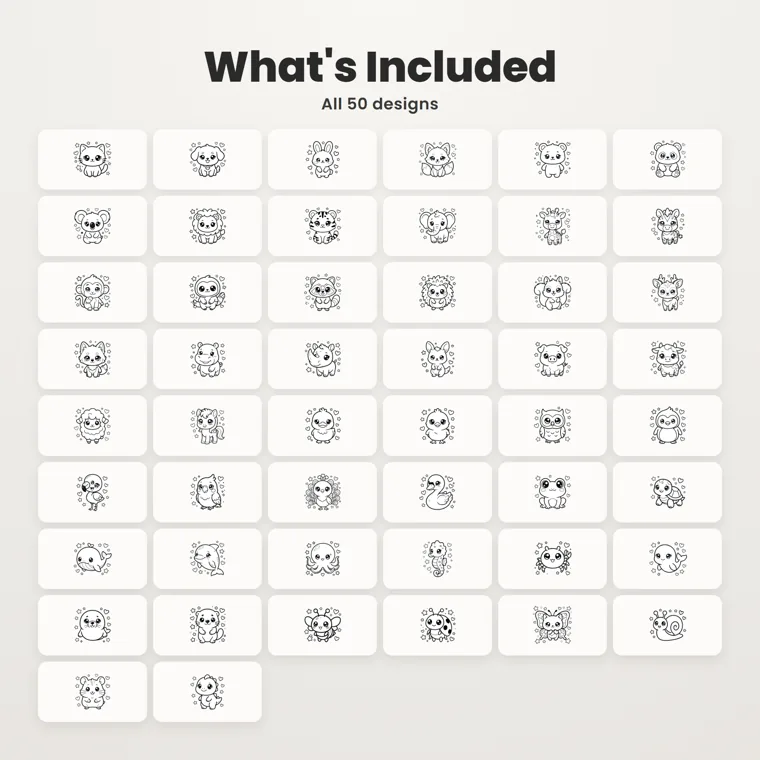
Our Cute Animal Line Art Clipart has 50 animals, each as a 2400-pixel PNG with a transparent background and as an SVG. The PNG prints about 8 inches wide at 300 pixels per inch, which is more than enough for stickers and cards. Our clipart guide explains when to use the PNG or the SVG and how print size works.
12. Animal stickers from clipart
Place six to twelve animals on a US Letter page, print on sticker paper, color them in, then cut around each with a small white border. Teens can scale the animals in any document app; keep each one at least 2 inches tall so the outlines stay thick enough to color.
Print one test page on plain paper first. Sticker sheets cost far more than printer paper, and the first print often lands a little off center. There’s no reason to waste an expensive sheet on alignment.
13. Animal greeting card
Fold a piece of cardstock in half, print one animal on the front, and color it before writing inside. A hamster or a sloth with a short line (“Hang in there”, “Thinking of you”) covers most occasions. For a class, print one animal per card and let each child pick.
Print on the flat sheet first, then fold. Cardstock folded before printing can jam a home printer.
14. Animal tote or T-shirt transfer
Print an animal onto iron-on transfer paper made for your printer type, mirrored if the paper’s instructions say so, cut it out and iron it onto a cotton tote or shirt. Follow the transfer paper’s own instructions for heat and time, because they vary by brand, and keep the ironing with an adult for younger teens.
If anyone plans to sell what they make, check the license tier on the product page first. Our clipart comes with a Personal or Commercial license, and the clipart guide lists what each one allows.
Animal crafts by theme for a classroom unit
Teachers often pick crafts by habitat instead of by age. These pairings use the crafts above:
- Farm: pig fingerprints, a cow coloring bookmark and a paper bag pig puppet. More farm ideas, from games to songs, are in our farm activities for preschool.
- Forest: cardboard tube owls, a fox or hedgehog on the pegboard, and woodland bookmarks.
- Safari and jungle: paper plate lions, an elephant or giraffe stick puppet and jungle bookmarks.
- Pets: folded paper cat faces, a hamster fuse bead magnet and a puppy greeting card.
- Dinosaurs: the baby dinosaur in the clipart set makes a quick sticker; for a full unit, see dinosaur activities for preschool.
Ocean animals, butterflies, bees and other bugs each deserve a full unit of their own. The ocean, jungle and tiny-animal bookmark groups cover them for a single session.
Running an animal craft session with a group
For 6 to 10 kids, one adult can run a single craft; past that, set up two tables with different crafts and swap halfway. Before anyone arrives, cut every piece the youngest child can’t cut, put supplies for each child on a paper plate, and write names on the backs of the papers.
Plan the ending as carefully as the start. Most frustration in a group comes at cleanup, not during the craft. Glue needs a few minutes, and fuse bead pieces need cooling under something flat, so have a drying shelf or tray ready where finished crafts can sit untouched. A 5-minute “show your animal” round signals that the session is over, and any child who finishes early can color a bookmark while waiting.
When something goes wrong, the fix is usually small. A torn mane strip gets a new strip, not a new plate. A bead animal that curls or comes apart after ironing has its own fixes in the ironing guide linked above. A child who hates how a coloring page turned out can start a fresh print, which is the quiet advantage of printable animals: the second copy costs a sheet of paper.
Printables from this article
Related articles
Fuse Bead Patterns
Pony Bead Animals: Keychain Ideas and How to Lace Them
How pony bead animal keychains are laced on one folded cord: what beads and cord to buy, how to start on a keychain ring, read a row recipe, widen and narrow rows with clear support beads, tie off the last row, and run it with kids at a party or in a classroom.
Fuse Bead Patterns
How to Make Kandi Bracelets: Singles, Cuffs and Trading
What kandi is and where PLUR and the trading handshake come from, what beads and cord to buy, how to string and knot a single, how to build a flat peyote cuff and a multi-stitch cuff, and how to read a row-by-row kandi pattern.
Fuse Bead Patterns
Crafts for Kids 6-12: Ideas for 8 and 10 Year Olds
Sixteen crafts for school-age kids, split into one-sitting projects for younger kids and longer builds for 9 to 12, with supplies, time, stopping points and common mistakes.