Junk Journal Ideas: 19 Page and Theme Ideas to Try
Good junk journal ideas start from the paper already on your desk, not from a blank book. Pick a theme that ties the whole journal together, then give each page a job: hold tickets in a pocket, show off one layered collage, or record a trip, a season or an ordinary week. Most single pages take 15 to 60 minutes, and the basic kit is short: scissors, glue, a pen and a pile of scraps. The 19 ideas below are sorted by that job. For each one you get the supplies, the steps, a rough time and the mistake that most often spoils the page.
If you came to this from scrapbooking, the difference is mostly about the paper. A scrapbook page is built around photos and kept photo-safe, while a junk journal is built from the paper itself: envelopes, ticket stubs, book pages, tea tags and printed sheets. It’s expected to get thick. Our scrapbook page ideas cover photo layouts; everything here works with few or no photos.
Start with whichever row matches the time and paper you have right now. Every time in it is our own estimate for one half-letter page (a Letter sheet folded in half, 5.5 x 8.5 inches), not a timed test.
| Idea | About how long | What you need on hand | Pick it when |
|---|---|---|---|
| One-color-family theme | 1–2 hours to gather and print | Papers in one color range plus neutrals | You want the book to look planned |
| Envelope pocket page | 15 minutes | A used envelope, a glue stick | You have letters or tickets to keep |
| Tags | 10 minutes for three | Light cardstock, a hole punch, string | You want more space to write |
| Belly band | 15 minutes | A long strip of paper | A page needs to hold loose pieces |
| Three-layer collage page | 30–45 minutes | A base sheet, torn scraps, one focal piece | You have an evening and a full scrap bin |
| Trip pocket page | 45–60 minutes | A landscape print, tickets, a map scrap | You’re back from a trip with no prints |
| Receipt week page | 20 minutes | Seven days of receipts and wrappers | Nothing special happened, which is the point |
| Tea-stained paper page | 30 minutes plus drying | Plain paper, a tea bag | Bright white paper looks too new |
Junk journal theme ideas that carry a whole book
A theme is the decision that turns a box of mismatched scraps into one book. It can be a color, a single object, a subject or a kind of paper, and it saves you from staring at the scrap bin before every page. Choose it before you bind, because the theme decides which papers go into the book in the first place.
1. A one-color-family journal
Choose one color range, such as purple, sage or blush, and collect only papers in that range plus creams and browns. Sort scraps into a tray as you find them, and print two to four background sheets in the same family to use as base layers. Gathering and printing takes an hour or two; after that, pages come together fast because every scrap already matches.
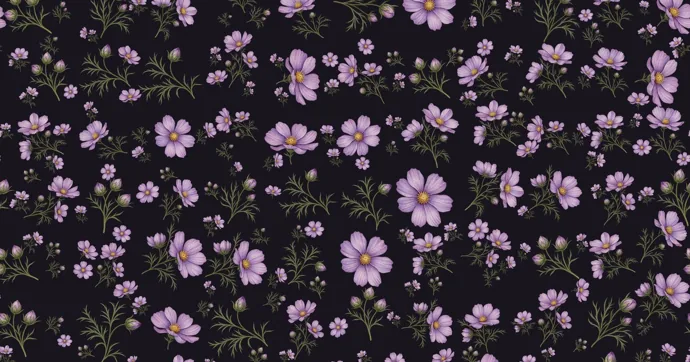
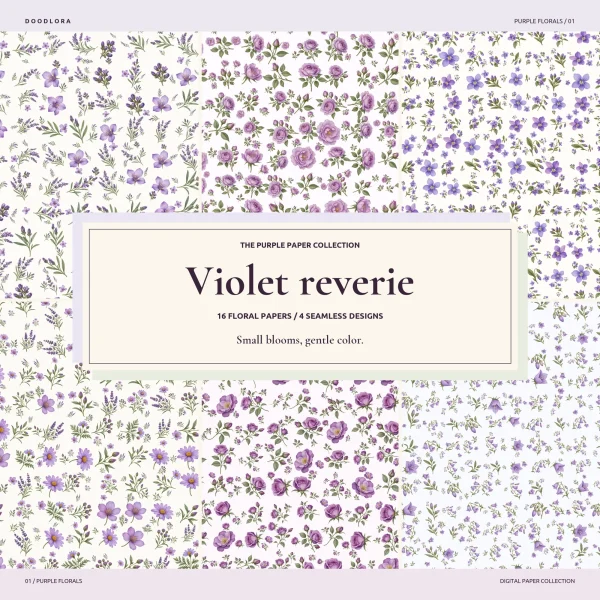
The snag is a book where everything is the same middle tone and nothing stands out. Give each spread one light paper, one dark paper and one patterned paper. Our purple flower backgrounds happen to be built that way: four light lavender papers, four lilac and mauve rose papers, four florals on a near-black ground and four small all-over prints.
2. A single-motif journal
Pick one small object, such as cherries, keys or birds, and repeat it in different forms on every spread: a patterned base, a cut-out motif, a stamp, a quick doodle in the margin. The repetition makes the book feel deliberate even when every page is built from different scraps. Allow about 30 minutes a page once you have a stash of motif papers.
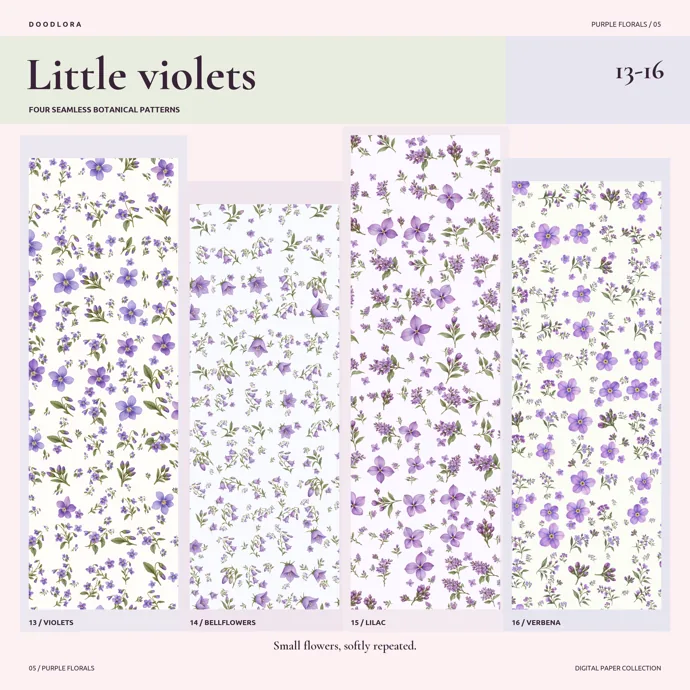
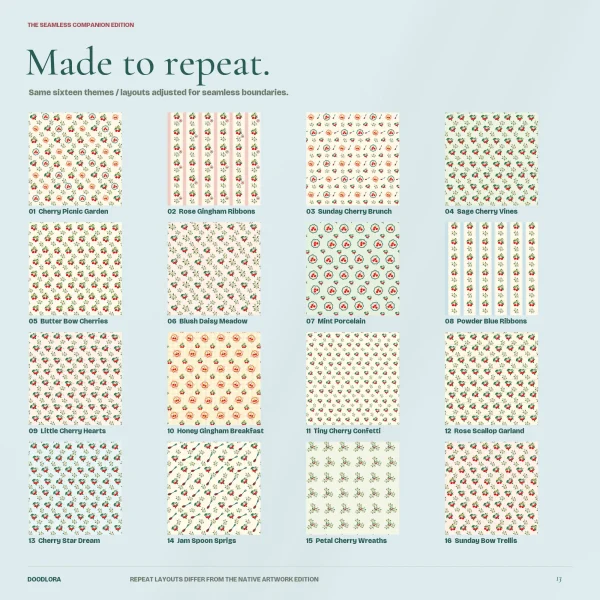
Vary the scale, or the motif turns into wallpaper. Use a fine, all-over pattern for base layers and save bigger versions for focal pieces. Our cherry backgrounds are a good example of both scales: 16 seamless patterns where a cherry pair is small, plus 16 larger-motif versions of the same themes that are easier to cut out.
3. A garden or nature journal
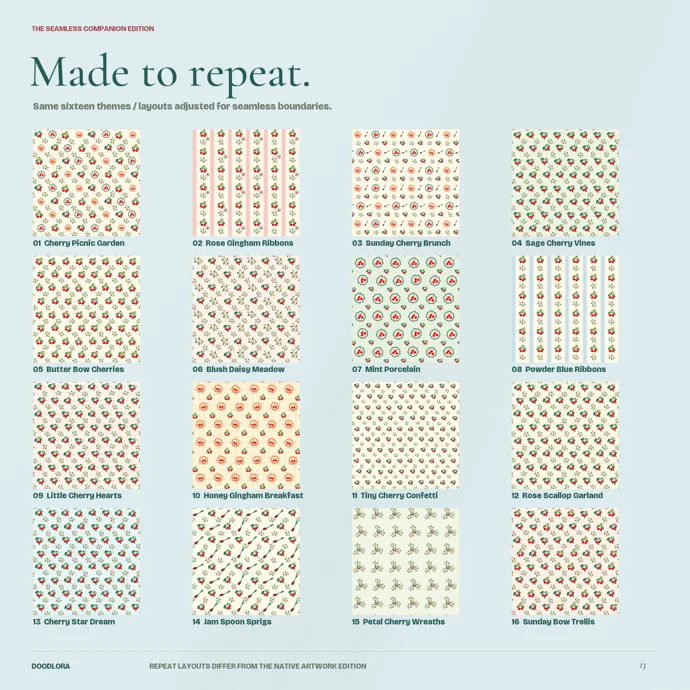
Save seed packets, plant labels, a garden center receipt and leaves pressed flat between sheets of scrap paper inside a heavy book. Add a printed botanical paper for the base and a tag listing what you planted and when. Once the leaves are flat and dry, a page takes 30 to 45 minutes.
Glue down only pieces that are completely dry and flat. Thick stems, berries and fleshy petals never press thin, so they make the page bulge and can stain the paper around them. Leave those out and draw them instead.
4. A kitchen and recipe journal
Fill this one with recipe cards, tea tags, a menu from a meal out, labels soaked off jars and a handwritten shopping list. Each page gets a pocket for a recipe card you’ll actually pull out and use. Plan on 30 minutes a page.
Kitchen paper often carries grease. Wipe labels and wrappers dry and let them sit flat for a day before gluing, or the oil can spread a translucent patch into the papers on either side.
5. A letters journal
Every page holds a piece of mail: a card from a friend, a postcard, a canceled stamp, an envelope with handwriting you want to keep. Envelopes double as pockets, which makes this the easiest theme to fill. A page takes 15 to 20 minutes.
Don’t glue a letter flat if it has writing on the back. Hinge it along one edge instead (see the tip-in in idea 10) so it lifts like a page and both sides stay readable.
Junk journal page ideas for pockets, tags and tuck spots
Pockets and tags make a junk journal something you dig through rather than flip past. They also solve a real problem: where to keep tickets, notes and small photos without gluing them down for good. These five pieces fit almost any page and use paper you’d otherwise throw away.
6. Envelope pocket page
You need a used envelope, scissors and a glue stick. Trim the envelope so it sits a little inside the page edges, leave the flap open, and glue only the back of the envelope to the page. Cut a small half-circle notch at the opening so you can reach in with a thumb. The whole page takes about 15 minutes.
An envelope that reaches the edge of the page gets crushed every time you close the book. Keep a small border of page showing on all sides, and trim any bulky inner flap.
7. Folded pocket from a printed sheet
Cut a 5.5 x 8 inch panel from a printed background sheet. Fold the bottom 3 inches up along a ruler, crease it with a bone folder, and seal each side edge with a thin line of glue stick or a strip of double-sided tape. You get a pocket 3 inches deep on a 5-inch back, ready to glue to any page in about 10 minutes.
Copy paper is thin, so a stuffed pocket can split at the fold. Slip a cardstock tag inside to stiffen it, and run the bone folder along the crease away from your fingers, flat on the table.
8. Tags
Cut rectangles about 2.5 x 4 inches from light cardstock, or glue printed paper to cardstock first. Snip the two top corners at an angle, punch a hole about half an inch below the top edge and thread string or ribbon through it. Three tags take about 10 minutes, and the backs give you writing space that won’t fit on a busy page.
Printed paper alone is too floppy, and the hole tears out with use. Back it with cardstock and glue a small paper circle over the hole on both sides. A busy paper suits the front of a page, while a quiet one makes a better tag because your handwriting still shows up on it. Printable stickers work the same way as small focal pieces; our sticker ideas include planner and journal designs.
9. Belly band
A belly band is a strip of paper wrapped around a page, loose enough to tuck tickets, tags or a folded note under it. For a 5.5-inch-wide page, the strip needs to go around the front and back plus an overlap, so cut it about 2 to 3 inches tall and 12 inches long. Wrap it, glue the overlap to itself (not to the page) and slide it into place. It takes about 15 minutes.
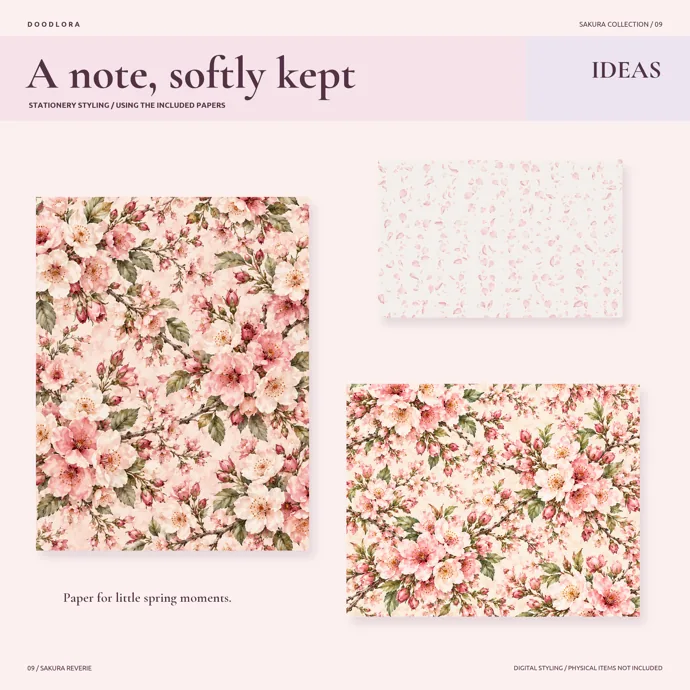
The usual mistake is wrapping it tight. Junk journal pages get thicker as you add to them, and a snug band rips. Leave a finger’s width of slack. If your printed sheets are only 8 inches across, glue two strips end to end; a small, all-over print hides that join, while a scene would show it.
10. Tip-in or flip-out
Take a smaller sheet, such as a half page, a letter or a map, and glue only a half-inch strip along one edge to the page. It lifts like a flap and hides more writing or a second layer underneath. Mark the glue strip lightly in pencil first. One tip-in takes 5 to 10 minutes.
A flap that hangs past the page edge gets bent and torn. Fold it in or trim it so it closes inside the book.
Layered collage page ideas without a fat spine
Layering is what gives a junk journal page its look, but every layer adds thickness, and a book with 30 layered pages won’t close. The ideas here build depth with thin paper and one strong focal piece. For more collage prompts beyond the journal, see these collage ideas.
11. The three-layer page
Build from the back: a base layer (a printed background or an old book page), a middle layer (torn strips, a ticket, a doily, a scrap of text) and one focal piece (a cut-out motif, a tag, a short quote). Lay everything out dry first, move it around until it works, then glue from the base up. A page takes 30 to 45 minutes.
Two or three focal pieces fight each other and the page looks like a pile. Pick one, put it slightly off center, and let the middle layer point toward it.
12. Torn-edge strips
Tear printed paper into strips and overlap them across the bottom or one side of a page. Tear slowly and try both directions on a scrap first: one direction leaves a soft white edge, the other a clean colored edge. Strips for one page take about 15 minutes.
Handle fresh inkjet prints with dry hands. Wikipedia’s article on inkjet printing notes that the ink in many low-cost home inkjets is water-soluble, so even a small drop of moisture can make it blur or run.
13. Fussy-cut motifs
Fussy cutting means cutting one object out of a patterned paper along its outline. Use small, sharp scissors and leave a hair of white border around each piece. Scatter three or four motifs across a page, or use one as the focal piece. Plan on 20 minutes.
Some patterns are too fine to cut. On a sheet printed 8 inches across, the seamless cherry patterns repeat so small that a pair of cherries is tiny, so cut from a larger-motif version instead.
14. Stamped or doodled texture on top
Finish a page with a top layer of marks: a rubber stamp, a pen line around the edge of each scrap, little drawn stitches along a seam. This ties pieces from different sources together and takes 10 to 15 minutes.
Test every pen on a scrap of the same print first. Wikipedia notes that water-based highlighters can blur inkjet-printed documents, so treat any water-based marker with the same caution.
Travel, seasonal and memory page ideas
These pages hold a stretch of time rather than a single object. They work with whatever ephemera, the everyday paper meant to be thrown away, such as tickets, menus and postcards, you brought home.
15. Trip pocket page on a printed landscape
Use a printed landscape as the base, so the scene stands in for the photos you haven’t printed. Glue a pocket over the lower third to hold tickets and receipts, add a torn scrap of map, and write the dates on a tag. A page takes 45 to 60 minutes.
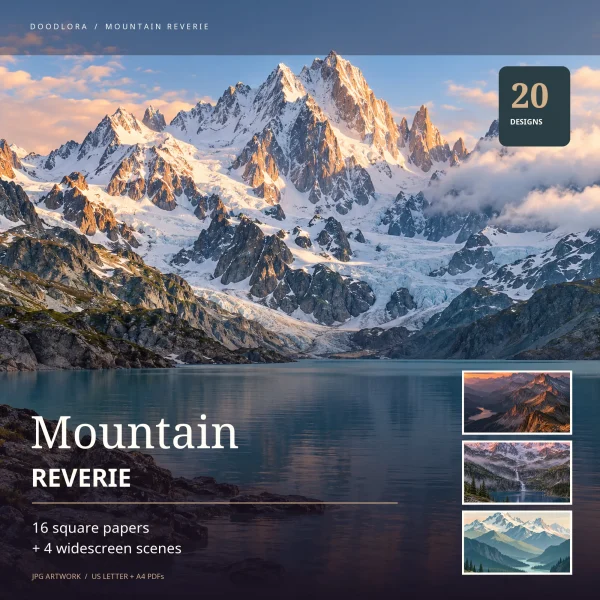
A busy scene plus busy ephemera turns into noise. Put the pocket over the foreground and leave the sky clear for writing. The mountain backgrounds work well for this: a page like the one below has a wide, pale sky above the peaks.

16. Beach day page
Start with a seascape base, then add the paper side of the day: a parking stub, an ice cream wrapper, a tide chart scribbled on a scrap. Draw shells rather than gluing real ones, which are too thick and strain the binding. Allow about 30 minutes.
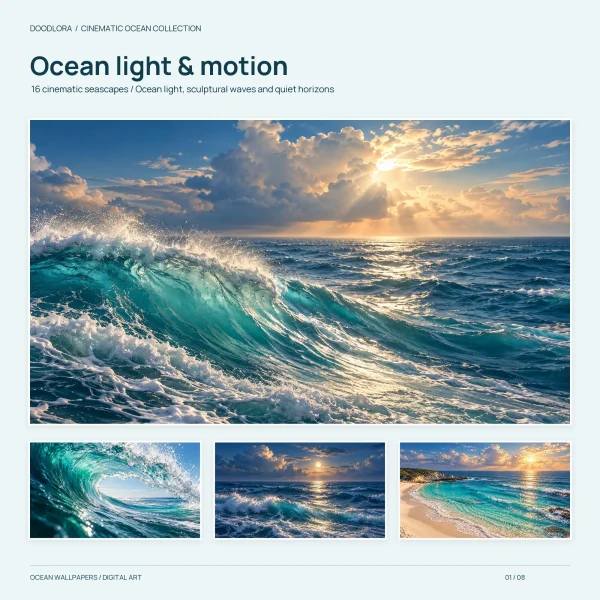
Deep blue prints put down a lot of ink. The read-me file in our ocean wallpapers warns that the deep blues use substantial ink, so print one page and let it dry before cutting it up. The scenes are digitally generated, not photographs, so they work as a mood rather than a record of a real beach.

17. A season spread
Give one season two facing pages. Spring might be blossom papers, a seed packet and a pressed petal; autumn, leaf scraps and a fair ticket; winter, a snowy mountain print and a hot-drink sleeve. Collect over several weeks and assemble in about 45 minutes.
Seasonal motifs get generic fast. Add at least one real thing from that season, such as a note of the weather on a given day or a receipt from a place you went, so the spread could only be yours.
18. The receipt week page
Keep every receipt, wrapper and tea tag for seven days, glue one item for each day in a column, and write one line next to it. It takes about 20 minutes and becomes a surprisingly honest record of an ordinary week. If the writing part stalls, these journal prompts for beginners give you a first line.
Most till receipts are printed on thermal paper. Wikipedia’s thermal paper article notes that the printing tends to fade over time and that heat, even from a coffee cup, can discolor the paper. Copy or scan the receipt and glue the copy, or write the store and amount beside it.
19. Tea-stained paper page
Brew a strong cup of tea and let it cool completely. Dab or brush it onto plain copy paper or old book pages, let them dry flat, then press them under a heavy book overnight. Use the aged sheets for writing pages and tags. Staining takes about 30 minutes plus drying time.
Wet paper tears, so handle it by the edges until it’s dry. Stain before you print or write, never after: brushing tea over an inkjet print makes the ink run. Stained sheets that dried wavy can jam a printer, so flatten them well before you feed one through.
What to do with printed background papers
Printed background papers fill the base layer when your found paper runs low, and they’re the easiest way to keep a theme consistent across a whole book. A few choices about the file, the paper and the glue decide whether a printed sheet looks good in a journal or curls, smears and pixelates.
Which file to print, and on what paper
Our background sets include US Letter and A4 PDFs with one square design per page. Printed at Actual Size or 100%, the square comes out about 8 inches wide on Letter with white margins around it. The separate 3600-pixel square JPGs are meant for a 12 x 12 inch print on larger paper. If your printer keeps shrinking the page, the scale setting is covered in how to print coloring pages.
Plain copy paper is best for pockets, belly bands and layers, because it folds cleanly and stays thin. Light cardstock suits tags and covers. Check your printer manual for the heaviest paper it feeds, and remember that a journal full of cardstock pages gets stiff and hard to bind.
Cutting one 8-inch square into journal pieces
A half-letter journal page is 5.5 x 8.5 inches, so one printed 8-inch square gives you a page base plus a strip. Trim the white margin first, then cut:
| Piece | Size | Use it for |
|---|---|---|
| Panel | 5.5 x 8 inches | A base layer (leaves a thin border of page showing) or the folded pocket in idea 7 |
| Strip | 2.5 x 8 inches | Two 2.5 x 4 inch tags, or half of a belly band |
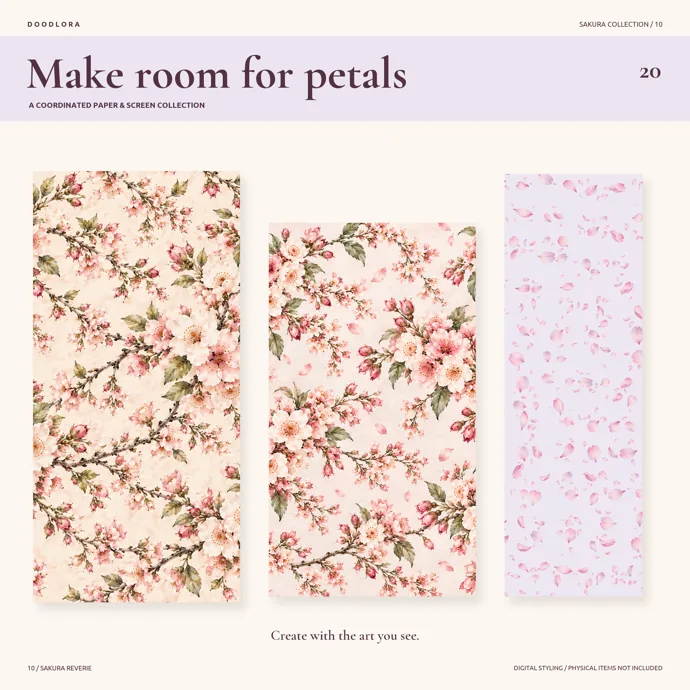
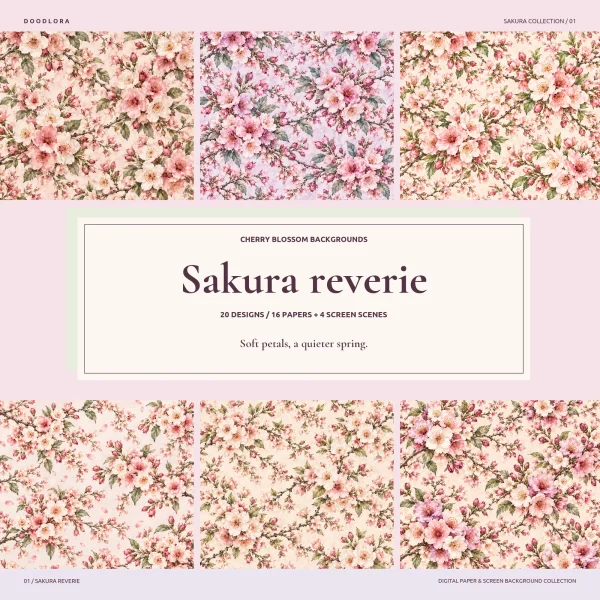
Seamless designs join without a visible break when you place two trimmed squares edge to edge at the same scale, which helps for covers. In the purple flower set that’s designs 13 to 16, in the cherry blossom set 07 to 09, and in the cherry set all 16.
Glue, ink and water
Stick printed pieces down with a dry adhesive, such as a tape runner, double-sided tape or a glue stick. Wet glue brushed across the printed face can make home inkjet ink blur, for the same water-soluble reason as above. Let fresh prints dry before you cut or stack them. If you build heavy pieces such as keys or buttons with a hot glue gun, use a low-temperature setting, keep fingers off the nozzle and press the piece down with a craft stick rather than a fingertip.
Dark designs need extra care. The four near-black designs in the purple flower set use more ink than the light ones, and the print guide says purple can print bluer on paper than on screen. Print one test sheet before a batch.
How big the prints stay sharp
Most of these designs started as smaller images that were enlarged. The cherry blossom print guide puts it at roughly 157 source pixels per inch at 8 inches wide and about 105 at 12 inches, and the mountain squares started at the same 1,254-pixel size. Journal pieces are small, so they stay crisp. Don’t blow a design up past the 8-inch page if you want fine petal edges.
Who can use the papers
A personal license covers using the papers yourself and within your household. It also covers a teacher using the papers with their own students, and printing inside one school for that school’s own activities. Putting a finished journal up for sale falls outside the personal license. The cherry blossom and purple flower sets also offer a commercial license, which lets you sell finished journals made with those designs (not the files). The cherry, mountain and ocean sets are personal use only.
Printables from this article
Related articles
Backgrounds & Digital Paper
New Year Traditions: Eve, Day and Around the World
Twenty New Year's Eve and New Year's Day traditions, from the Times Square ball drop and Spain's twelve grapes to Japan's 108 bell strikes and Greece's coin cake, each with where it comes from, what people do and a small way to try it at home.
Backgrounds & Digital Paper
Christmas Scrapbook Ideas: 16 Layouts with Printable Paper
Pick a Christmas scrapbook page by how many photos you have and what you want to keep, print one background paper at Actual Size, then cut it into mats, pockets and tags so the photos and keepsakes stay the main thing.
Backgrounds & Digital Paper
How to Draw a Snowman: Easy, Cute Steps for Kids
Stack three snowballs that shrink from bottom to top, sink each one a little into the ball below, and stand the whole snowman on a ground line. Then add the hat, face, scarf and twig arms, and shade the white with pale blue instead of coloring it.