Christmas Scrapbook Ideas: 16 Layouts with Printable Paper
The best Christmas scrapbook page starts from what you actually have: one great photo, a stack of twenty, or a letter to Santa you want to keep. Count your photos first, then pick a layout that holds that many. The paper comes last, and one printed background sheet is enough for a page base, a photo mat and a pocket or a few tags. Most of your attention belongs on the journaling, because the handwriting and the small details are what turn a page of photos into a family memory.
Here’s a quick way to choose before you read the full ideas.
| If you have | Try | Page size | Rough time |
|---|---|---|---|
| One favorite photo | 1. Christmas morning one-photo page | 8.5 x 11 or 12 x 12 | 30 minutes |
| Two or three photos from a snowy day | 2. Snow day page | 8.5 x 11 | 30 minutes |
| Photos of the tree and its ornaments | 4. Ornament story page | 12 x 12 | 45 minutes |
| Eight or more photos | 5. Four-square patchwork page or 6. Christmas Eve spread | 12 x 12 | 1 to 2 hours |
| A photo a day through December | 8. December mini album | 6 x 6 or smaller | 10 minutes a day |
| A letter, cards, a program or a recipe | 9 to 12, the keepsake pocket pages | 8.5 x 11 or 12 x 12 | 45 minutes |
| A child who wants to make their own page | 13. Wish list page or 14. “My Christmas” page | 8.5 x 11 | 30 minutes |
| A journal rather than an album | 15. Christmas junk journal tag spread | Half-letter | 1 hour |
Times are planning guesses for one person working from printed paper and photos already in hand.
Page sizes and printer settings for Christmas scrapbook paper
Decide the album size before you print anything, because it changes how you use each sheet. A 12 x 12 inch page is the classic scrapbook album size. An 8.5 x 11 inch page fits a home printer and a standard binder, so it’s the easier start if you’re making a page or two.
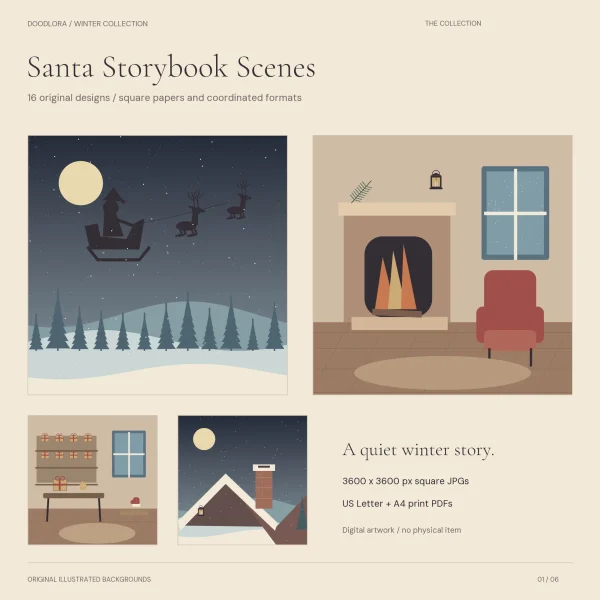
Our printable background sets come as US Letter and A4 PDFs with one design per page. Print the Letter PDF at Actual Size and each design comes out as a 7.5-inch square with white margins around it. The square isn’t stretched to fill the sheet, so a Fit or Shrink setting will make it smaller than 7.5 inches. If your printer keeps shrinking pages, the scale setting is explained in how to print coloring pages.
For a full 12 x 12 inch background, use the square JPG instead. Each one is 3600 x 3600 pixels, which the files describe as 12 x 12 inches at 300 dpi. You need a printer and paper that handle that size, or a print shop.
Some designs also come as seamless PNG tiles. Placed at 100% with no gap, the tiles join without a visible seam, which helps when you want one pattern to cover a bigger area. The scene papers aren’t tiles, so they won’t line up edge to edge.
Print one test page before a batch. The holiday set’s print notes say dark designs use a lot of ink and that dark reds and subtle shadows need a print test, and screen colors often shift on paper. Let the ink dry before you cut or glue.
Quick Christmas scrapbook pages for one to three photos
These pages work when you have a few good photos and one evening. Each one uses a single printed paper, so the colors stay calm around busy holiday photos and you won’t spend the evening matching patterns.
1. Christmas morning one-photo page
Use this for the one photo you’d frame: the first look at the tree, a child holding the gift they asked for, or the family still in pajamas. On an 8.5 x 11 page, glue a printed 7.5-inch square near the top and mat a 4 x 6 photo on cream cardstock with a quarter-inch border, then set it slightly off center on the square. The space below takes a date and two or three lines about what happened just before the photo.
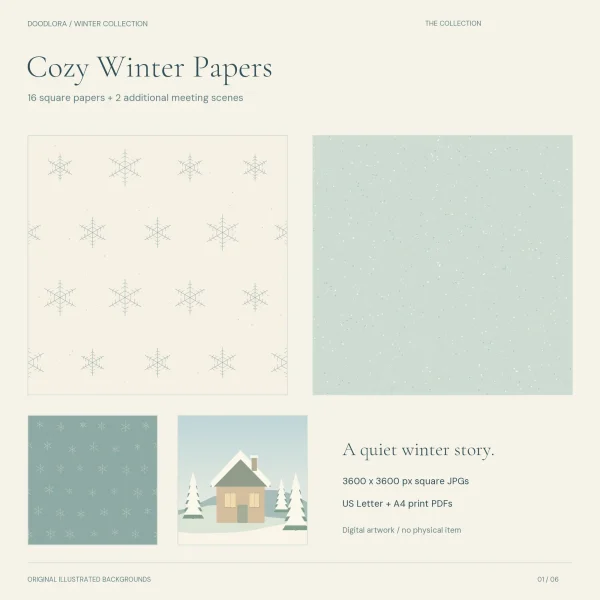
A small, scattered pattern suits this page better than a scene. The holly paper below has plenty of plain cream between its sprigs, so a photo doesn’t look crowded.
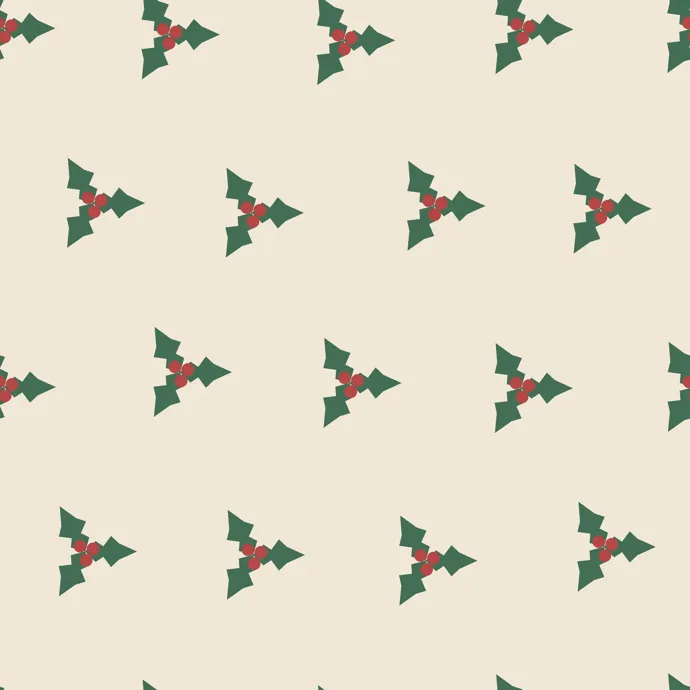
Watch out for one thing: a red-and-green photo on a red-and-green paper disappears. If the photo is full of color, mat it in plain cream or white first.
2. Snow day page
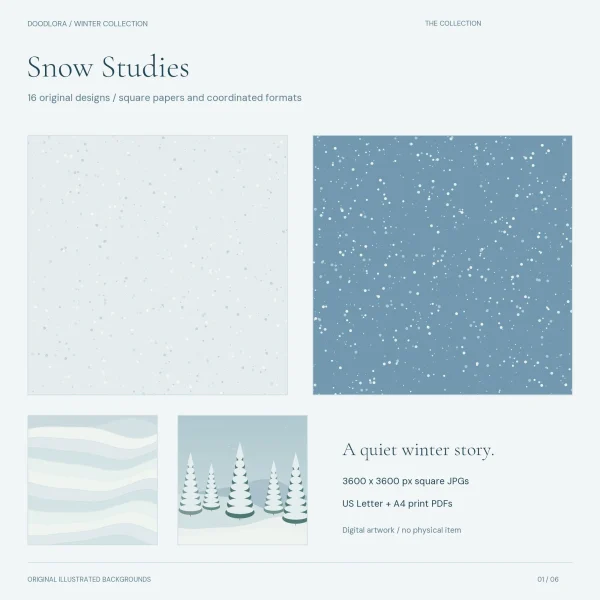
A snow day page holds two or three photos of sledding, a snowball fight or the first snowman. Glue a 7.5-inch square of falling-snow paper onto an 8.5 x 11 page, then overlap two photos at a slight angle across it. Put a third photo or a journaling card in the open corner.

Outdoor snow photos are mostly white, so a blue paper behind them gives the edges something to stand against. Write down who was there, how cold it was and what everyone did next. Those details fade from memory faster than the photos do.
3. Pajama and cocoa morning page
This one is for the slow mornings: matching pajamas, a mug of cocoa, a pile of wrapping paper on the floor. A knit-texture paper looks like a sweater, which suits indoor photos.

Glue two photos side by side across the top half of the page and add a short list underneath, such as what everyone wore, what was on the table and the first gift opened. The knit design is one of the six in that set that also come as a seamless PNG tile. For a wider sweater band on a 12 x 12 page, repeat that PNG at 100% with no gaps in a layout app and print the band, because two trimmed squares from the PDF won’t line up stitch for stitch.
4. Ornament story page
Families with handmade or inherited ornaments can give them their own page. Use one wide photo of the decorated tree and three to five close-ups of single ornaments. On a 12 x 12 page, put the tree photo on the left half and stack the close-ups down the right.
Each close-up gets a small tag that says who made the ornament or where it came from. Cut the tags from leftover pattern paper, about 2.5 x 3.75 inches each. This is the page people come back to, because the stories behind the ornaments are the part nobody writes down. Family traditions often live in those small stories, and that information is easy to lose once nobody remembers who made what.
Christmas scrapbook layouts for a lot of photos
These layouts handle the full stack of December photos. They take longer, so lay everything out dry before you glue anything.
5. Four-square patchwork page
This layout turns four printed papers into one 12 x 12 page. Trim four 7.5-inch squares down to 6 x 6 inches each and butt them together on a 12 x 12 cardstock base. Pick two quiet papers and two busier ones, and place the quiet ones diagonally across from each other.
Then add one 4 x 6 photo to each square, or a single larger photo across the center seam. Use papers from the same set so the colors agree. Cover the center seam with a photo if the corners don’t meet perfectly, which happens often with hand-cut squares.
6. Christmas Eve to Christmas morning spread
A two-page spread tells the story in order: the night before on the left page, the morning on the right. Use a dark night-scene paper for the left page and a lighter pattern for the right, so the change of time shows before anyone reads a word.
On the left, put photos of Christmas Eve dinner, a church service or the cookies left out. On the right, put the stockings, the gifts and the people opening them. Keep the photos in a grid of six on each side, three rows of two, and run one journaling strip along the bottom of both pages.
7. Holiday lights drive page
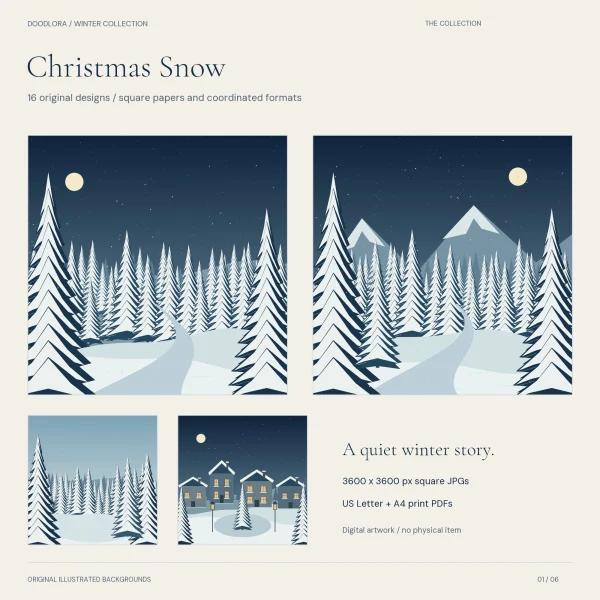
Photos of neighborhood lights are usually dark and blurry, so they need a background that makes that look intentional. A night village with lit windows does the job.

Glue the night scene as the base and add three or four light photos in white mats, so they don’t sink into the dark paper. Write the street names or the house everyone voted the best. Dark papers use more ink, so print this one at normal quality and let it dry completely before gluing.
8. December mini album, one photo a day
A small album with one photo a day from December 1 to December 25 is easier to keep up with than a big album made all at once. Use 6 x 6 inch pages, or half-letter pages if you’d rather bind a journal. Each page gets one photo, the date and one sentence.
Cut all 25 backgrounds before December starts, so each evening is just a photo and a line. If you miss a day, leave the page and fill it with a ticket, a receipt or a child’s drawing later. A missed day usually turns into the most interesting page in the album.
Christmas scrapbook pages for letters, cards and other keepsakes
Some of the best things to save from December aren’t photos. These pages give paper keepsakes a pocket, so they can come out and be read again.
9. Letter to Santa page
A child’s letter to Santa is worth keeping exactly as it was written. It’s a record of excitement and imagination at one particular age, and you can’t recreate it later. Glue a North Pole scene as the page background, then make a pocket from a pattern paper and slip the letter inside, folded once.
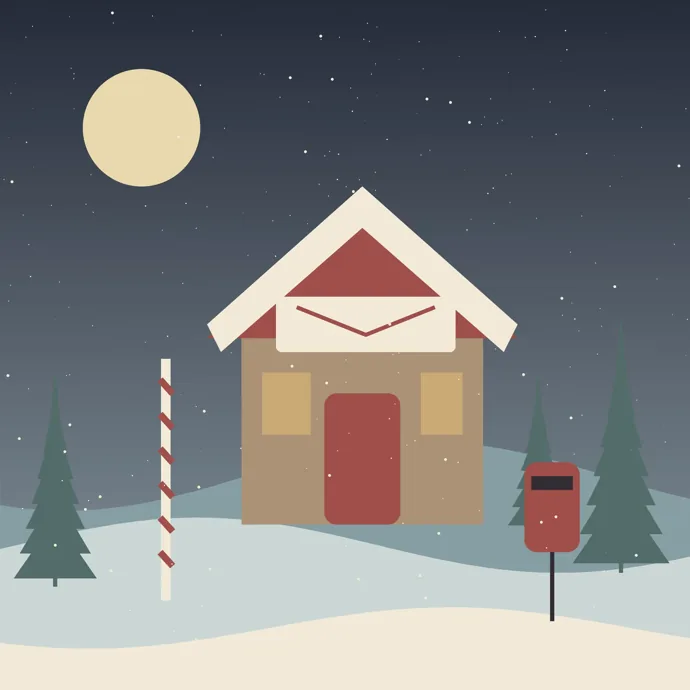
Add a photo of the child writing or mailing the letter if you have one. Write the child’s age and the top item on the list beside the pocket. Reading old wish lists is one of the funnier parts of looking through a Christmas album later.
To make the pocket, take a printed 7.5-inch square, fold the bottom 3.5 inches up and tape the two side edges to the page. Leave the top open. A letter folded in half fits inside with its top edge showing.
10. Christmas card pocket page
Cards from family and friends usually end up in a drawer. A pocket page keeps the ones that matter, like a grandparent’s handwriting or a photo card from a new baby.
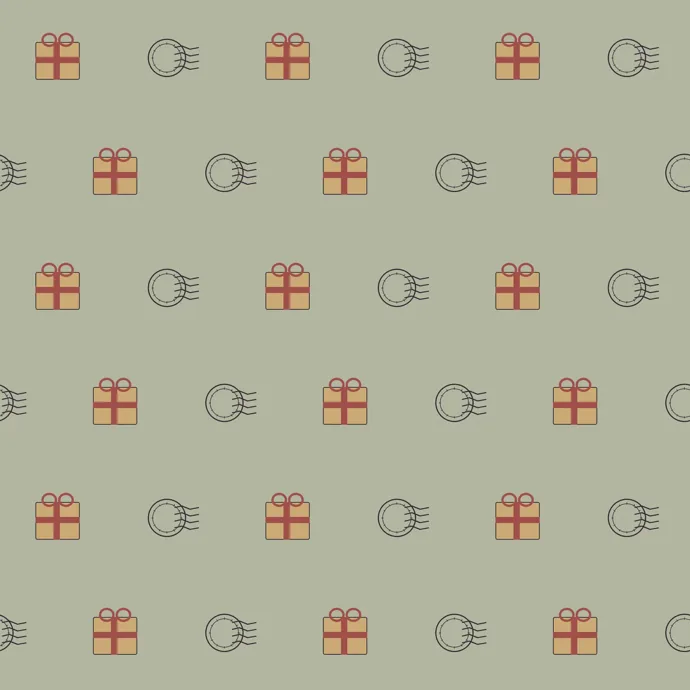
Make two or three pockets down one 12 x 12 page, each from a printed square folded up about 3.5 inches. A parcel-and-postmark pattern looks like mail, which suits a card page. Tuck one or two cards in each pocket and keep the envelopes with return addresses if you’d like a record of who sent what.
Don’t overfill these pockets. Three cards in one pocket is about the limit before the album stops closing flat.
11. School concert or pageant page
School concerts, nativity plays and holiday recitals leave a printed program behind. Glue the program onto a quiet pattern paper, or put it in a pocket if it has more than one page. Add one photo of the performer and write the song or part they had.
Concert photos are often taken from far back in a dim room. Crop them tighter before printing, and use one sharp photo rather than four blurry ones.
12. Family cookie recipe page
A handwritten recipe card from the person who always bakes is a keepsake on its own. Photocopy or scan it, so the original stays in the kitchen, and glue the copy onto a warm-colored paper. Add a photo of the baking or the finished plate.
Write who taught the recipe and when they make it. If the recipe changed over the years, note the change on a small tag beside it.
Kids’ Christmas scrapbook pages they can make themselves
Kids like making a page of their own, and the result is more honest than anything an adult would plan. Their personality shows up in the handwriting, the spelling and the decisions about what’s important enough to include. Keep the materials simple: pre-printed paper, a glue stick, child-safe scissors and markers. Do any cutting with a craft knife yourself, away from the table.
13. Wish list page
Ask the child to write or draw their wish list on a plain card, then glue it onto a printed background they chose. Tags cut from a gift-tag pattern make good labels for each wish. For kids who can’t cut neatly yet, cut the tags ahead of time and let them do the gluing and writing.
Date the page. A wish list is only funny or touching years later if you know how old the child was.
14. “My Christmas” page
This page is a set of prompts the child answers in their own words: my favorite gift, my favorite food, the best part of the day, what I want to do again. Write each prompt on a small card cut from printed paper, and let the child fill in the answers.
Younger children can answer out loud while you write. Keep their exact words, spelling included, because that’s the part the family will want to read later.
Christmas junk journal ideas and pages for more than one holiday
15. Christmas junk journal tag spread
A junk journal spread is looser than a scrapbook page, with layers, tags and things tucked in. Start with a half-letter page, 5.5 x 8.5 inches, cut by halving a sheet of Letter cardstock, then trim a printed square to 5 x 7.5 inches and glue it on as the background. Add one pocket along the bottom and three or four tags tucked into it, each with a ticket, a gift tag, a photo or a short note.
The mitten-and-gift-tag paper in the Santa set already looks like tags, so it works as the base layer. For the full set of pocket, belly band and tuck spot ideas, see junk journal ideas. For folding and binding the journal itself, see how to make a junk journal.
Keep the spine thin. A Christmas journal with a pocket on every page gets too thick to close, so put pockets on every other spread.
16. One page for Christmas, Hanukkah and Kwanzaa
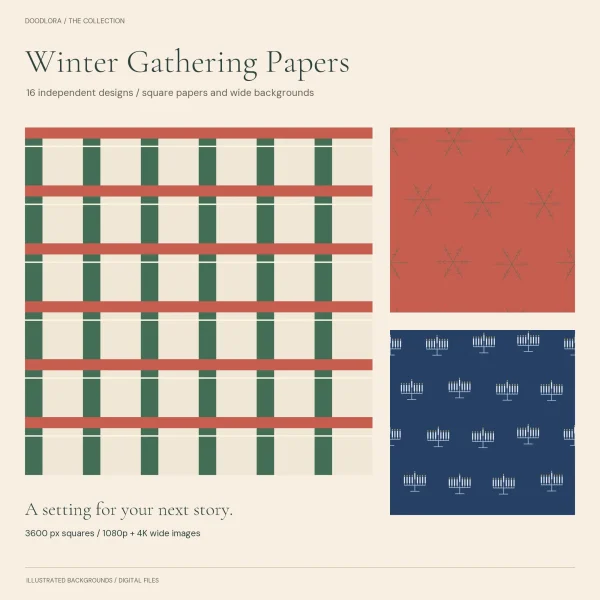
Some families celebrate more than one holiday in December, and one shared page keeps them together. The holiday background set includes 12 Christmas designs, two Hanukkah designs and two Kwanzaa designs in the same flat style. Papers from one set sit well side by side.
Divide an 8.5 x 11 page into two or three strips, one per holiday, with a photo and a date in each. Put the same paper behind each strip’s journaling card, so the three strips read as one page.
Cut one printed square into tags, pockets and photo mats
One 7.5-inch printed square gives you more than a background. Trim off the white margin first, then cut it for whichever piece the page needs.
| Piece | How to cut it | What it’s for |
|---|---|---|
| Page base | Use the full 7.5-inch square | Background on an 8.5 x 11 page |
| Fold the bottom 3.5 inches up and tape the side edges | Letters, cards, programs | |
| Tags | Cut three 2.5-inch strips, halve each strip, then clip two corners | Six tags of about 2.5 x 3.75 inches |
| Small mats | Cut into four 3.75-inch squares | Instant photos, journaling squares |
| Patchwork block | Trim to 6 x 6 inches | One quarter of a 12 x 12 page |
| Card front | Cut a 4 x 5.25 inch panel | A front for a folded card |
Christmas cards made from the same papers make a matching set with the album. Folds, sizes and card layouts are in card making ideas, and more page layouts that work in any season are in scrapbook ideas.
Christmas scrapbook problems to catch before you glue
The paper prints smaller than you expected. The print dialog is set to Fit or Shrink. Switch to Actual Size or 100% and print one page again.
Photos disappear into the background. Busy patterns compete with busy photos. Mat each photo in plain cream or white, or switch to a quieter paper.
The page curls after gluing. Wet glue on thin printer paper makes it ripple. Use a tape runner or a glue stick, and press the page under a heavy book for an hour.
Ink smears when you write on the paper. Inkjet ink takes time to dry, especially on dark designs. Wait until it’s fully dry before you glue or write on top of it.
The album won’t close. Pockets, tags and thick cards add up fast. Spread the bulky pages through the album instead of putting them all together.
An original photo is the only copy. Keep original photos off glue. Hold them in place with photo corners, or scan and print a copy for the page. The photo-safe basics, including adhesives and albums, are covered in the scrapbook ideas guide linked above.
Who can use the printed papers
The papers come with a personal license. You can print them for your own scrapbooks, cards, journals and gifts, and you can resize and crop them for those projects. A teacher can use them with their own students. Selling finished pages or albums made with them falls outside the personal license.
Printables from this article
Related articles
Backgrounds & Digital Paper
New Year Traditions: Eve, Day and Around the World
Twenty New Year's Eve and New Year's Day traditions, from the Times Square ball drop and Spain's twelve grapes to Japan's 108 bell strikes and Greece's coin cake, each with where it comes from, what people do and a small way to try it at home.
Backgrounds & Digital Paper
How to Draw a Snowman: Easy, Cute Steps for Kids
Stack three snowballs that shrink from bottom to top, sink each one a little into the ball below, and stand the whole snowman on a ground line. Then add the hat, face, scarf and twig arms, and shade the white with pale blue instead of coloring it.
Backgrounds & Digital Paper
How to Draw a Snowflake Step by Step: Easy Snowflake Drawing
Cross three lines through one center point, spaced like 12, 2 and 4 on a clock, and you have six even arms. Give every arm the same branches in the same order, and the snowflake looks right.