How to Draw a Snowman: Easy, Cute Steps for Kids
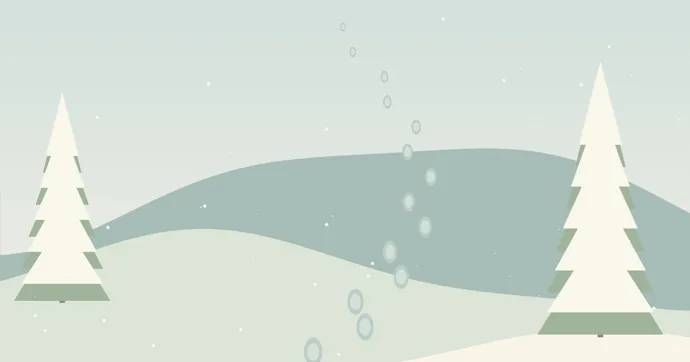
A snowman is three snowballs that shrink as they go up: a wide bottom ball, a middle ball about three quarters as wide, and a head about half the width of the bottom. Let each ball sink a little into the one below it, and stand the bottom ball on a ground line so the snowman doesn’t float. The hat, the coal eyes, a long carrot nose, a scarf and two twig arms all go on after that. Most of a snowman drawing is white, and that’s the part you don’t color: leave the body as bare paper and shade one side with pale blue or light gray for roundness. A simple pencil snowman takes about 10 minutes, and a colored one in a little snowy scene takes closer to 40; both figures are our planning estimates, not timed sessions.
The order of this guide follows the drawing itself. First come the sizes of the three balls on a letter-size sheet and the steps from ground line to buttons. Next are the hat, face, scarf and arms in more detail, then shading a white figure, a background to stand him in, a few variations, notes for each age group and the usual reasons a snowman looks off.
What goes on the table before the first snowball
A snowman needs very little. Have these ready before the first circle:
- A regular pencil, held lightly. Every guideline in this drawing gets erased later, so press softly until you’re happy with the shapes.
- A good eraser. You’ll erase the hidden part of each ball where the next one overlaps it.
- Something round, if freehand circles are a struggle. A roll of tape, a small bowl or a drinking glass makes a clean ball. Trace it lightly, then go over the line by hand so it doesn’t look stamped.
- A black fine-line marker or a darker pencil for the final outline, eyes, buttons and mouth.
- Colored pencils or crayons: orange for the nose, brown for the arms, any color you like for the hat and scarf, and a pale blue or light gray for the shadows on the snow.
Plain printer paper is fine for pencil and crayon. Markers can soak through thin paper, so it’s worth testing a dark one on a scrap before going over the whole outline; coloring with markers covers how to keep them from bleeding.
How big to make each snowball
Getting the proportion right is what separates a snowman from a stack of equal coins, so it’s the first thing to settle. In both snowmen in our winter background sets, the bottom ball is roughly twice as wide as the head, and the middle ball sits halfway between them. Each upper ball also overlaps the ball below it instead of balancing on top.
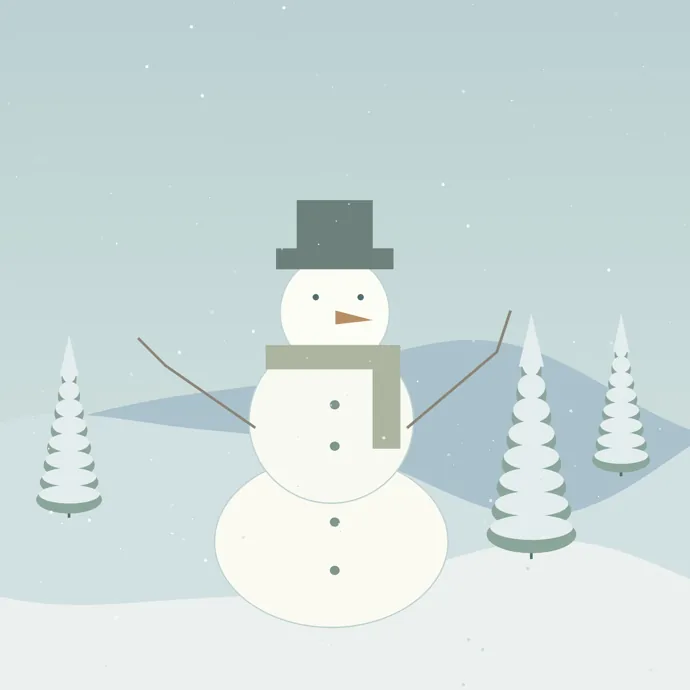
On a letter-size sheet held upright (8.5 by 11 inches), these widths leave room for a hat and a strip of snow:
| Part | Width across | Where it goes |
|---|---|---|
| Ground line | full page | about 1½ inches above the bottom edge |
| Bottom ball | about 3½ inches | resting on the ground line, centered |
| Middle ball | about 2½ inches | overlapping the top of the bottom ball by about half an inch |
| Head | about 1¾ inches | overlapping the top of the middle ball by about half an inch |
| Hat | a bit wider than the head at the brim | sitting on the top third of the head |
For a smaller snowman on a card front, keep the same proportions and shrink everything. A 2-inch snowman is roughly a 1-inch bottom ball, a ¾-inch middle and a ½-inch head.
How to draw a snowman step by step
Work in light pencil through step 9, then ink and erase.
- Draw the ground. Run a gentle, slightly wavy line across the page about 1½ inches from the bottom. This is the snow he stands in.
- Draw a faint center line. A light vertical line from the ground up toward the top of the page keeps all three balls stacked straight.
- Draw the bottom ball. Make an oval a little wider than it is tall, centered on the line. Let its base dip just below the ground line, so the snowman looks heavy and settled instead of perched on top.
- Draw the middle ball. Draw a smaller circle on the same center line, overlapping the top of the bottom ball.
- Draw the head. Add the smallest circle on top, overlapping the middle ball the same way.
- Erase the hidden curves. Where the middle ball overlaps the bottom ball, erase the top arc of the bottom ball inside the middle ball. Do the same for the head. Now each upper ball sits in front, and the snowman doesn’t look see-through.
- Add the hat. For a top hat, draw a flat brim slightly wider than the head across the top third of it, then a taller box on the brim. Erase the part of the head circle hidden by the hat.
- Add the face. Put two dot eyes in the upper half of the head, then the carrot nose just below and between them. Under the nose, curve a mouth of five or six small dots, or one smiling line.
- Add the scarf, buttons and arms. Wrap a band around the neck where the head meets the middle ball and let one tail hang down. Set three or four dot buttons down the center line. Then draw two twig arms coming out of the sides of the middle ball.
- Ink the outline. Go over the final lines with the marker or dark pencil, let marker ink dry for a minute, then erase the center line and any leftover guidelines.
- Shade and color. Shade one side of each ball and the places where they overlap in pale blue or gray, color the nose, arms, hat and scarf, and add a few snowflake dots in the air.
The hat, the face and the scarf
These three parts carry the snowman’s personality. The balls don’t change much from one snowman to the next, but the hat, face and scarf do, and they’re where you can have some fun.
Choosing a hat
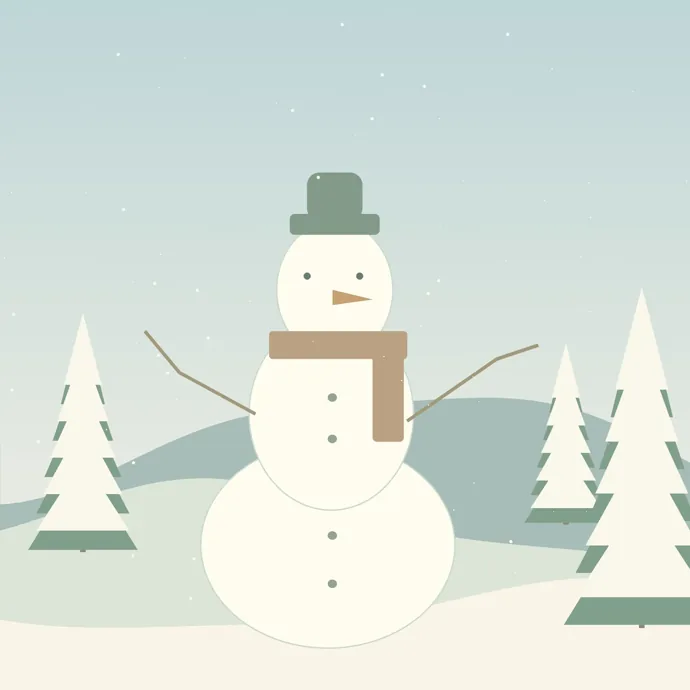
A top hat is the easiest hat to draw well: a flat bar for the brim, a rectangle on top, both with straight sides. Keep the brim thin and a little wider than the head so it doesn’t look like a box balanced on a ball. A rounded hat, like the sage one in our winter set, is the same idea with softened corners. A knit hat is a dome with a folded band at the bottom and a pompom on top, and it suits a cute snowman drawing better than a stiff top hat.
The face
Keep the face simple, since that simplicity is what makes it read as snow. Two solid dots for coal eyes read better than eyes with pupils and lashes, which make a snowman look like a person in costume. Draw the carrot as a long, thin triangle that starts near the middle of the face and points off to one side. A few short curved lines across the carrot make it look like a real carrot rather than a party hat. For the mouth, a curve of small dots looks like pebbles; a single curved line with tiny upturned ends looks friendlier.
The scarf
The scarf is a band, not a line. Draw it as a strip about as tall as the eyes are apart, curving slightly downward around the neck so it looks wrapped around something round. Then hang a tail from one side. Let the tail overlap the middle ball, and erase the body outline underneath it so the scarf sits in front. Stripes should follow the curve of the band and run straight across the tail. A row of short lines at the bottom end makes the fringe.
Twig arms that look like twigs
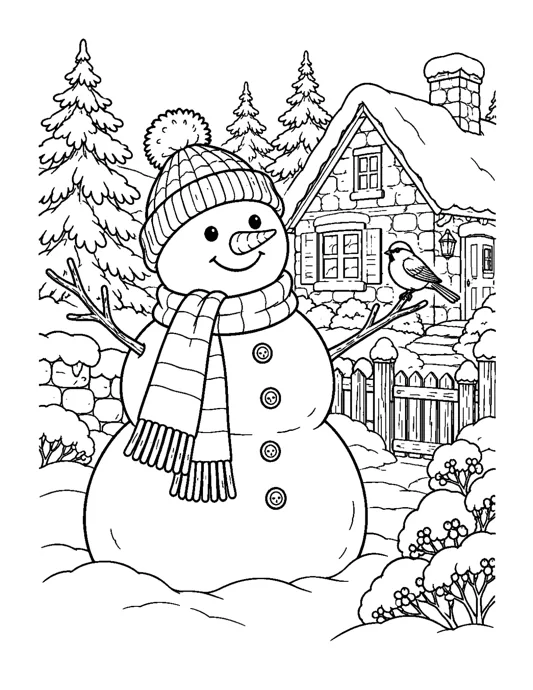
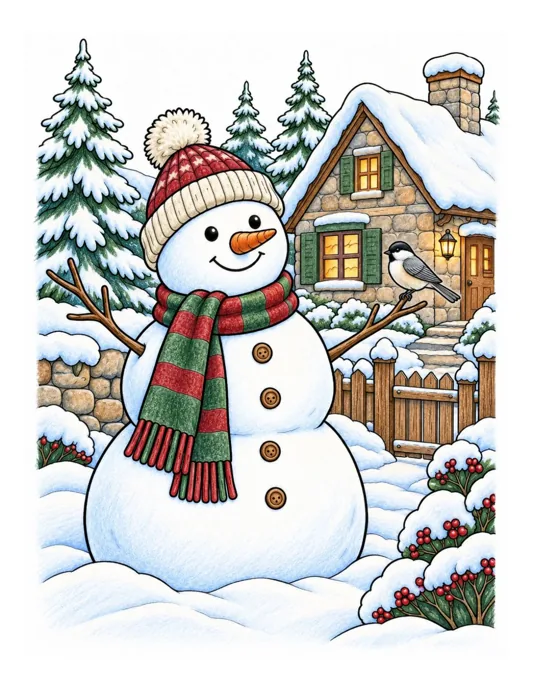
Arms are where a lot of snowman drawings go stiff, and it’s usually the placement that’s off. Start each arm at the side of the middle ball, a little below the scarf, never from the head. Angle one arm up and the other out or down; two matching arms raised at the same angle look like antennae. Draw each arm as a thin line with one bend along the way. Near the end, split off one or two short twigs in a V, as on the coloring page above. If you want a little more life, perch a small bird on the end of one twig. Draw the arms as a single line, or as two close lines if you plan to color them brown.
Coloring a white snowman
Most of the figure stays the paper’s own white, so the coloring happens around it. You aren’t adding whiteness; you’re adding shadow and color next to it.
- Shadows: Pick one side as the shady side and shade a soft band of pale blue or light gray along that edge of each ball. Add a slightly darker crescent under the head and under the middle ball, where one ball overlaps the next. That’s enough to make the balls look round.
- Nose and arms: orange for the carrot, with a slightly darker orange on the underside; brown for the twigs.
- Hat and scarf: any colors you like. Red and green read as Christmas, sage and tan read as cozy winter, and a single bold color on the scarf makes the snowman pop.
- Buttons and eyes: black or dark brown, filled solid.
- Sky: the snowman shows up best against a colored sky. Color the sky pale blue, or pale blue at the top fading to cream near the hills, and stop the color right at the snowman’s outline.
For lighter, smoother shading with colored pencils, the layering tips in our coloring guide apply here too.
Give him a place to stand
A snowman on an empty page looks unfinished, and it doesn’t take much to fix that. A simple scene takes about 10 more minutes by our estimate, and it uses only a few shapes:
- Hills behind him. Draw one or two long, soft curves crossing the page behind the snowman, starting at about the height of his middle ball. Color the farther hill a little darker blue-gray than the nearer snow.
- Trees at the sides. Put a pine tree on one side and two on the other, the farther ones smaller. The quick tree in our Christmas tree drawing guide works here; leave snow bands across the branches.
- Footprints. A trail of small ovals leading up to him, getting smaller as they go back, tells a little story and adds depth.
- Falling snow. Scatter small dots or tiny circles across the sky, a few overlapping the hat and arms. Leave them as white paper if the sky is colored.
- A shadow on the snow. A flat blue-gray oval at the base of the bottom ball plants him on the ground.
Both of our background snowmen use this layout: snowman in the center, hills behind, trees on both sides and dots of snow in the sky. For softer mountains in the distance, how to draw mountains shows how to layer far ridges lighter and near ones darker.
Snowman variations to try next
Once the basic snowman works, change one thing at a time so you can see the difference each change makes.
- Melting snowman. Squash the bottom ball into a wide puddle shape, tilt the middle ball and head a little, and let the hat slip over one eye. Drop the twig arms lower, one lying on the snow.
- Snow family. Draw two or three snowmen of different heights side by side, each with a different hat. Overlap them slightly so they look like they’re standing together.
- Two-ball snowman. Some snowmen have only a head and one big body. This looks rounder and cuter, and it’s easier for small children. The snowman on page 19 of our coloring pages, shown above, is built this way.
- Tiny card snowman. For a holiday card, draw a 2-inch snowman in the lower corner and leave the rest of the card front for a greeting. Christmas card ideas has more card layouts.
- Snowman from behind. Draw the three balls with no face, the scarf tail hanging down the back and the hat brim seen from behind, looking out at a hill.
Matching the snowman to the child’s age
A snowman drawing for kids uses the same steps as one for adults, and the steps don’t change much with age. What changes is the amount of independence a child has, and how many of the steps they’ll do alone.
| Age | What to try | About how long |
|---|---|---|
| 3–4 | An adult draws three circles in light pencil; the child adds the dots for eyes and buttons, scribbles the scarf and colors the sky | 10–15 minutes |
| 5–7 | The child draws the three balls, top hat, dot face, carrot and stick arms, then colors | 15–25 minutes |
| 8 and up | Full steps, overlapping balls with erased curves, shading on one side and a background scene | 30–45 minutes |
Times are planning estimates. Younger children often draw three equal circles. They haven’t noticed the size difference yet, and that’s normal. Saying “big, medium, small” out loud as they draw each one helps more than a demonstration.
Fitting it into a 40-minute lesson
For a class of about 25, a 40-minute lesson can split up like this: 5 minutes to demonstrate the ground line and three balls on the board, 15 minutes to draw the snowman, 10 minutes to color, and 10 minutes for the background and to finish. Give each table one roll of tape or a cup to trace for children who want clean circles. Fast finishers can turn their snowman into a pair by adding a little snow child holding his twig hand. It’s good practice with the same proportion, and it keeps them busy while the others catch up.
If you’d rather some children color than draw from scratch, the snowman page in our winter coloring set can be printed for your own students; a teacher using the files with their own class is covered by our personal license.
Lumpy, floating or leaning: when a snowman looks off
| What you see | Usual cause | Fix |
|---|---|---|
| He looks like a caterpillar or a stack of coins | All three balls are close to the same size | Make the bottom ball about twice as wide as the head |
| He seems to float | No ground, or a perfectly round bottom ball sitting on a line | Sink the base into the snow line and add a shadow oval |
| He leans | No center line, or each ball drawn off to one side | Redraw on a light vertical guide |
| The nose looks like a beak or an ice cream cone | The carrot is short and wide | Make it long and thin, starting near the middle of the face |
| The scarf looks like a collar or a bow tie | No hanging tail, or the band is drawn as a thin line | Make the band a strip and add a tail that overlaps the body |
| The arms look like antlers | Arms start at the head, or both match exactly | Start them at the middle ball and give them different angles |
| The white looks gray and smudged | Guidelines pressed too hard, shading all the way around | Press lightly, erase before coloring, shade only one side |
Where our winter papers and coloring page fit in
None of our backgrounds is a step-by-step drawing or an outline to trace. They’re finished digital illustrations, and here they serve two purposes: a reference for proportions and colors, and a printed backdrop for a snowman you’ve drawn and cut out.
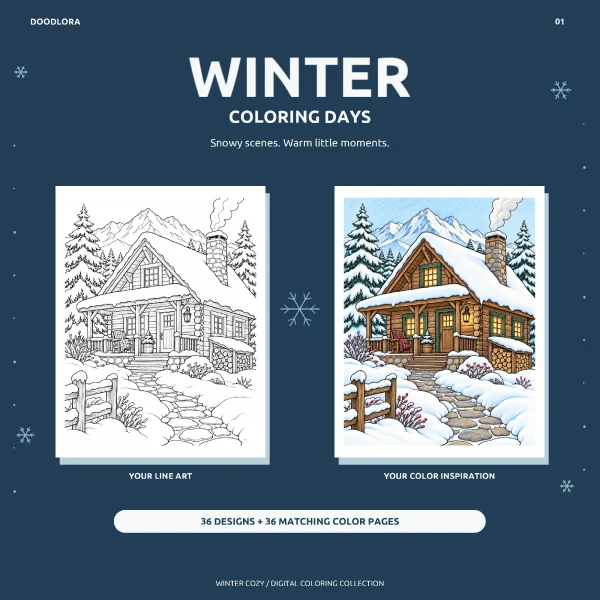
Winter Cozy coloring pages. Page 19 is the knit-hat snowman shown above, and its colored version comes right after it in the paired PDF. The set has 36 designs, each with a matching colored page, and the paired US Letter PDF runs to 72 pages. Use the colored page as a palette guide, or print the outline and color it instead of drawing.
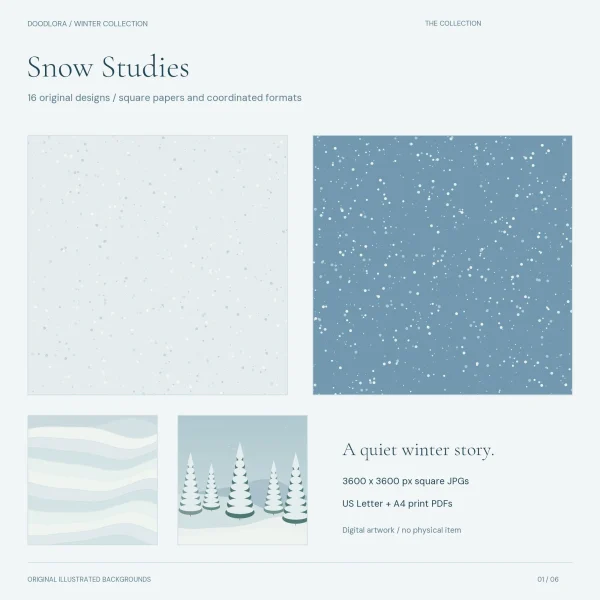
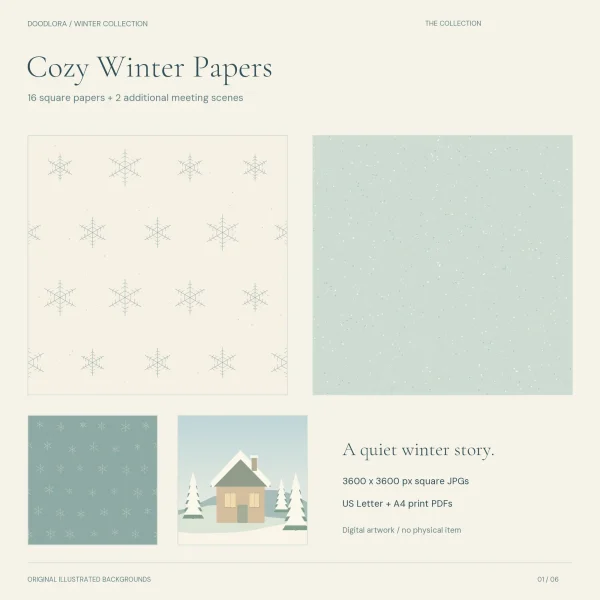
Snow and winter backgrounds. Design 32-13 in the snow set and design 36-05 in the winter set each show a snowman in a snowy clearing. The other papers include empty snowy scenes, such as 36-11, Footprints in Snow, with a trail of prints between two pines. Print one, draw a snowman of about 3 inches on separate paper, cut it out with scissors and glue it into the scene with a glue stick for a card front or a winter journal page. Each set has 16 square designs. In the US Letter PDF, each design prints as a 7.5-inch square with white margins when you choose Actual Size, and screen colors may print a little differently. Both sets carry a personal license for your own crafts, cards and gifts, not for things you sell.
A snowman drawing makes a good start to a snowy afternoon, and winter activities for kids has plenty to fill the rest of it.
Carrot noses, cute faces and other snowman questions
How many balls does a snowman drawing need?
Three is the classic snowman: bottom, middle and head. A two-ball snowman with just a head and a big body also works and looks rounder. Whichever you choose, keep each ball clearly smaller than the one below it.
What makes a snowman drawing look cute?
A bigger head than usual, eyes set a little low and wide apart, rosy pink cheeks and a knit hat with a pompom. Short, rounded arms and a scarf that’s a bit too long help too.
How do you draw a carrot nose that points the right way?
Draw a long, thin triangle with its wide end on the face and the point aimed to one side, slightly downward. Add two or three short lines across it. A nose pointing straight at the viewer isn’t easy to draw, and it usually ends up looking like a dot.
How do you make a white snowman stand out on white paper?
Color the sky behind him, even if it’s just pale blue. Then shade one side of each ball and the areas under the head and middle ball. The uncolored white then looks like snow in the light.
Should the arms or the scarf go on first?
The scarf goes first. Once the scarf and its tail are in place, you can see where the arms need to go, just under the scarf on each side of the middle ball.
When the first snowman is done, draw him a second time on the next sheet as if a warm week has passed: hat tipped, middle ball slumping, one twig lying in a puddle. Set the two pages side by side and you have a two-panel winter story, plus a second round of practice with the same three shapes.
Printables from this article
Related articles
Backgrounds & Digital Paper
New Year Traditions: Eve, Day and Around the World
Twenty New Year's Eve and New Year's Day traditions, from the Times Square ball drop and Spain's twelve grapes to Japan's 108 bell strikes and Greece's coin cake, each with where it comes from, what people do and a small way to try it at home.
Backgrounds & Digital Paper
Christmas Scrapbook Ideas: 16 Layouts with Printable Paper
Pick a Christmas scrapbook page by how many photos you have and what you want to keep, print one background paper at Actual Size, then cut it into mats, pockets and tags so the photos and keepsakes stay the main thing.
Backgrounds & Digital Paper
How to Draw a Snowflake Step by Step: Easy Snowflake Drawing
Cross three lines through one center point, spaced like 12, 2 and 4 on a clock, and you have six even arms. Give every arm the same branches in the same order, and the snowflake looks right.