Art Activities for Kids: 18 Easy Ideas, Preschool to Tween
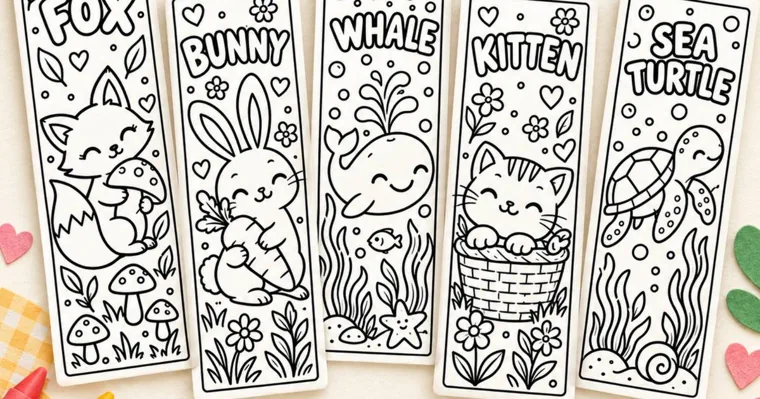
Art activities for kids work best when the project matches the child’s hands, not just their interests. A 3-year-old gets more out of tearing paper and pressing a sponge than out of a detailed drawing. A 7-year-old can color, cut and finish a bookmark in one sitting. A 10-year-old is ready to draw what’s in front of them.
The 18 activities below are grouped by age, then by group size. Each one lists how many children it suits, how long to plan for, what to put out and how to wrap it up. The times and group sizes are our planning suggestions; stretch or shorten them to fit the children in front of you.
| Activity | Best ages | Plan for | Mess | Needs |
|---|---|---|---|---|
| Big-shape coloring page | 2–5 | 10–15 min | Low | Printer, crayons |
| Torn-paper mosaic | 2–5 | 15 min | Low | Glue stick, scrap paper |
| Sponge stamping | 2–6 | 20 min | High | Washable paint, sponges |
| Cut-and-paste scene | 3–5 | 15–20 min | Low | Rounded scissors, glue stick |
| Fingerprint animals | 3–6 | 15 min | Medium | Washable ink pad or paint |
| Coloring bookmarks | 4–8 | 20–30 min | Low | Printer, adult with scissors |
| Design-your-own bookmark | 5–9 | 20 min | Low | Printer, pencils |
| Crayon resist painting | 4–9 | 20 min | Medium | White crayon, watercolors |
| Leaf and texture rubbings | 4–9 | 15–30 min | Low | Peeled crayons, thin paper |
| Fold-and-blot butterfly | 4–8 | 15 min | High | Paint, paper |
| Shape-to-character drawing | 5–9 | 15 min | Low | Paper, markers |
| Kitchen still life | 8–12 | 20–30 min | Low | Pencil, a few objects |
| Mirror self-portrait | 8–12 | 30 min | Low | Mirror, pencil |
| Pattern-filled name letters | 7–12 | 30 min | Low | Fine markers |
| Blending on a coloring page | 8–12 | 30–45 min | Low | Colored pencils |
| Air-dry clay pinch pot | 6–12 | 30 min, then drying | Medium | Air-dry clay |
| Party coloring station | 3–10 | Drop-in | Low | Printed pages, crayons |
| Roll-out paper mural | 3–12, mixed | 30–45 min | Medium | Long paper, tape |
How to set up any art activity so it ends well
Start by deciding where the mess can go before the paint comes out. A plastic tablecloth or a flattened cardboard box under the work saves most of the cleanup. An old adult T-shirt works as a smock. Put a damp cloth within reach so hands get wiped before they touch anything else.
Set out a little less than you think you need. Three paint colors on a paper plate get used; eight colors get mixed into brown in two minutes. Refill rather than overfill.
Decide how the session ends before it starts. “When the timer rings, we wash brushes” is easier to hold than an open-ended art hour. Keep a drying spot ready, such as a clear windowsill, a baking sheet or a line with clothespins, so finished work has somewhere to go.
Preschool art activities for toddlers and 3- to 5-year-olds
At this age the process is the activity. Children are learning to grip, squeeze, tear and press, and the finished picture matters far less than the doing. Sit with them and keep each project to one or two steps. For more ideas built around a single age, our activities for 3 year olds cover play dough, snipping strips and other table play.
Big-shape coloring page
This works for one child or a few at the same table, each with their own sheet, for about 10–15 minutes. Print a page with large, closed shapes and a few thick crayons. Let the child pick one color for the whole animal if they want to; filling one shape is a complete job at this age.
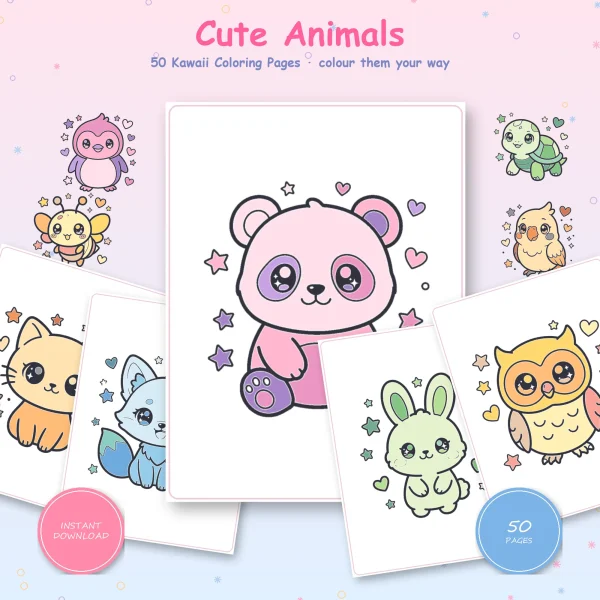
The Kawaii Animals coloring pages have 50 animals, one per page, and each is mostly one big round body. Some small areas, like the kitten’s stripes and cheeks, are already printed in light gray, so a child doesn’t have to color every bit to make it look finished.
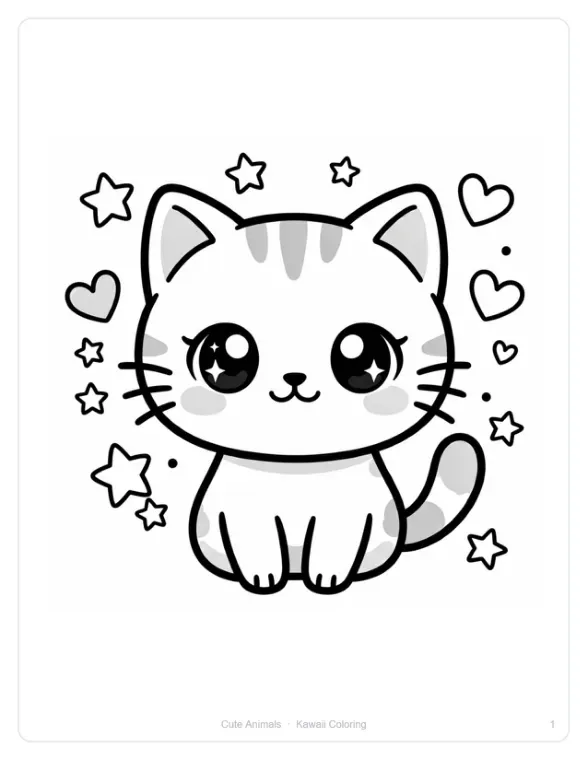
The usual snag is a printer setting rather than the drawing. Print at Actual Size or 100%, which is also what that book’s own print page asks for. For crayons versus markers at this age, see our coloring tips.
Torn-paper mosaic
Plan on one to four children and about 15 minutes. Prepare scrap paper in two or three colors, a glue stick per child and a simple outline drawn on a sheet, such as a circle for a sun or a fish shape.
Show how to tear a strip, then tear the strip into small pieces. The child rubs glue inside the outline and presses the pieces on. Tearing needs no scissors and builds the same pinching grip, so it suits children not ready for cutting yet.
It’s finished when the shape is mostly covered. The common snag is glue everywhere: give the glue stick to the child, but put glue on a small area at a time rather than the whole outline at once.
Sponge stamping
Sponge stamping is printmaking for small hands. Set it up for one to three children for about 20 minutes, outdoors or on a covered table. You need washable paint in two or three colors on paper plates, kitchen sponges cut into simple shapes, and large paper.
The child presses a sponge into the paint, then onto the paper, and lifts it straight up. Repeating the print is the fun part, so give them lots of paper. Halved potatoes or the ends of cardboard tubes work as stamps too.
Stop when the paper is full or interest fades, and lay the sheets flat to dry. Watch for over-dipping: a sponge soaked in paint prints as a blob. Show the child how to tap it once on the plate first.
Cut-and-paste scene
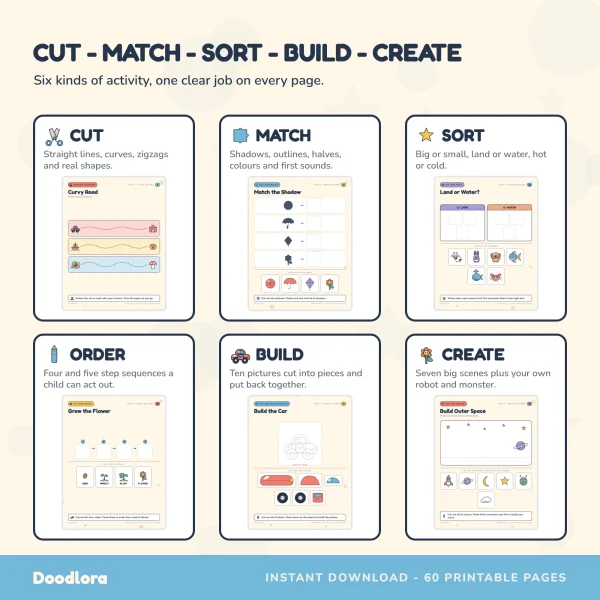
This suits one child working next to an adult, for 15–20 minutes. You need child-safe scissors with rounded tips, a glue stick and a printed page. The preschool cut and paste worksheets are marked for ages 3 to 5 and climb in four levels. Pages 2 to 8 are pure cutting practice, from straight lines to curvy roads and animal outlines. Pages 41 to 47 are open scenes, such as a garden, an ocean or a farm, each with six pieces to paste anywhere.
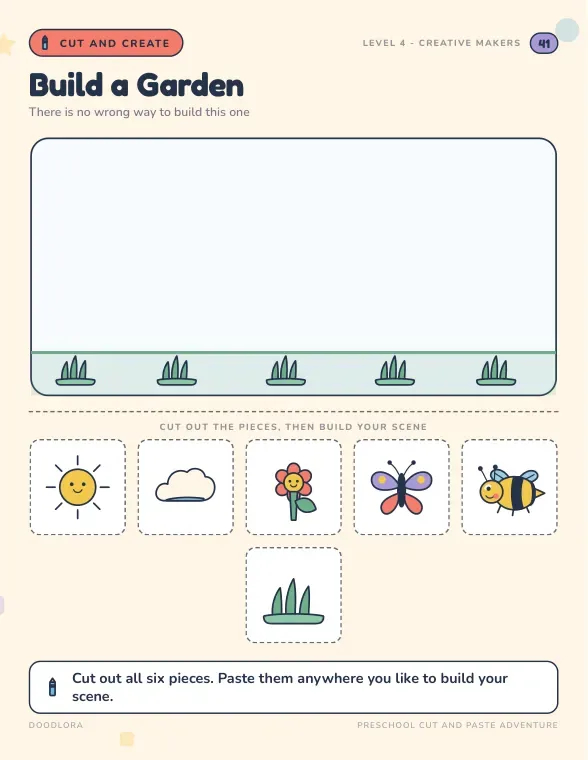
The book’s printing guide gives three tips that save the most trouble. Print at Actual Size, because Fit to Page shrinks the pieces until they no longer match the boards. Use a glue stick, since liquid glue soaks through and curls the page. And cut all the pieces out first, lay them out, then start pasting, so nothing gets glued down too early. Gray dashed lines are cutting lines; the dark lines are part of the picture.
The scene is done when every piece is pasted. The open scenes have no wrong answer, which suits a child who gets upset when a matching page doesn’t come out right. For more collage-style projects, see these collage ideas.
Fingerprint animals
Plan on one or two children for about 15 minutes. Use a washable ink pad or a thin layer of washable paint on a plate, plain paper and a fine black marker for the adult.
The child presses a fingertip on the pad and then on the paper, making a row or a cluster of prints. Once they’re dry, add legs, ears, eyes or wings with the marker together: one print becomes a ladybug, three in a row become a caterpillar.
Finish by naming each creature and writing the names underneath. The snag is smudging. Prints take a few minutes to dry, so do the stamping first and the drawing after a break.
Art activities for kids ages 5 to 8
Children in this range can follow a few steps, hold a pencil with some control and want to keep or give away what they make. Projects with a clear finish, like a bookmark or a card, hold their attention better than open-ended play. Many can work side by side with siblings, each at their own pace.
Coloring bookmarks
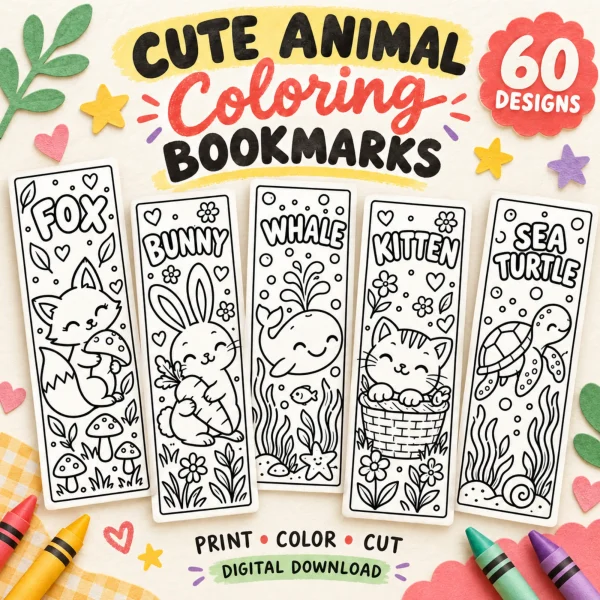
This works for one child or a whole table, for 20–30 minutes. The Cute Animal Coloring Bookmarks print two bookmarks per US Letter page, 60 animals in all, each 2 by 6 inches. The cover marks them for ages 3 to 8 with adult help. Pages 3 to 32 are the animals, grouped as farm, woodland, ocean, jungle, fantasy and tiny animal friends.
Print one page per child, let them color both bookmarks, then cut along the outer solid rectangle. The instructions page asks an adult to do or help with the cutting, which makes sense for younger children because a wobbly cut shows on a narrow strip.
Two snags come from the printer. The file is US Letter only. On A4 paper, center it at Actual Size and turn off Fit to Page. Page 2 has a 1-inch test line, so print that page first and measure it before printing the rest. The guide suggests cardstock around 65–80 lb for a sturdier bookmark, but check what your printer can feed first.
Design-your-own bookmark
Once a child has colored a few printed bookmarks, a blank one invites their own character. Plan on about 20 minutes per child. Pages 33 to 37 of the same bookmark file are blank outlines, two per page, with a label at the top such as My Animal, Magic Friend or My Mascot.
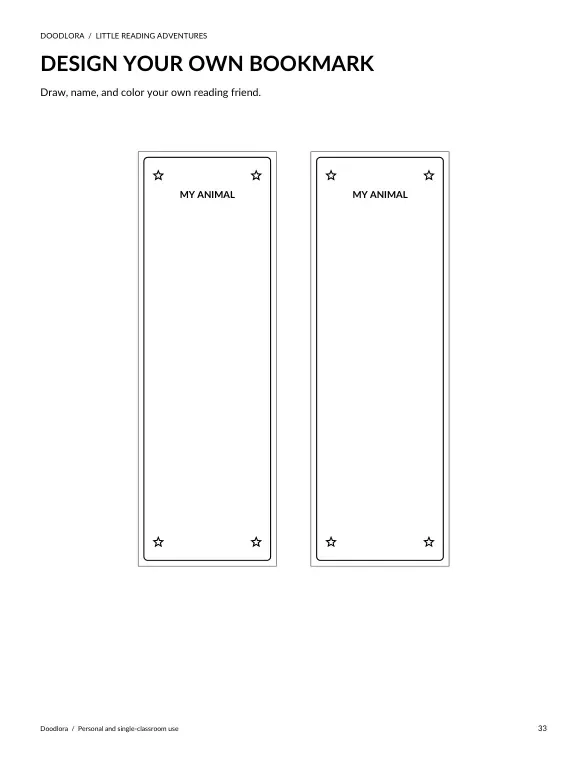
Ask the child to draw one animal, real or invented, and give it a name. Sketch in pencil first, then go over it in marker or colored pencil. A narrow tall shape is harder to fill than a full page, so suggest stacking things: the animal in the middle, its name above and something it likes below.
It’s finished when it’s colored and cut out. If a child freezes at the blank space, let them copy one of the printed animals first, then change one thing about it.
Crayon resist painting
Plan on one to four children for about 20 minutes. You need white or light crayons, watercolor paint or diluted washable paint, brushes and heavier paper.
The child draws a hidden picture or message in white crayon, pressing hard. Then they paint over the whole sheet with watercolor, and the wax lines appear because the paint won’t stick to them. It reads like a magic trick, which is the whole appeal.
Let the sheet dry flat. The snag is light pressure: a faint crayon line disappears under the paint. Have children go over their drawing twice before painting.
Leaf and texture rubbings
This works for one child or a small group, indoors or out, for 15–30 minutes. Collect leaves, coins, a textured placemat or anything with a raised surface. You need thin paper, such as printer paper, and peeled crayons.
Place the object under the paper, hold the paper still and rub the side of the crayon across the top. The shape and veins appear. Children can fill a whole sheet with overlapping leaves in different colors or turn a rubbing into a drawing.
End with a guessing game: show a rubbing and have someone guess what’s underneath. The snag is a sliding page. Tape the corners down, or have a partner hold the paper flat.
Fold-and-blot butterfly
Plan on one or two children at a time for about 15 minutes, on a covered table. You need paper folded in half and opened again, and washable paint in squeeze bottles or on a plate with a spoon.
The child puts a few blobs of paint on one half only, close to the fold. Then they fold the paper over, press and smooth it with their hands, and open it to find a matching pattern on both sides. Cut around the shape once dry to make a butterfly, or leave it as a symmetrical painting.
The snag is too much paint, which squishes out the edges and onto the table. Three or four blobs the size of a coin are plenty.
Shape-to-character drawing
This works for any number of children for about 15 minutes, with plain paper and markers. Draw a simple shape on each sheet, such as a circle, a tall rectangle or a cupcake outline, and ask each child to turn it into a character with a face, arms and a story.
Keep it to one shape per sheet. Children who say “I can’t draw” usually can add eyes and arms to a shape that’s already there. Share the characters at the end and let each artist tell the group one thing about theirs.
The usual snag is copying the child next to them. That’s fine at first. Ask “What does yours like to eat?” and their characters start to differ.
Art activities for tweens and older kids (about ages 8–12)
Older children often lose interest in art at this age because their drawings don’t look the way they want. Activities that teach one skill, like seeing proportions, blending or controlled lines, give them a way forward. Most of these work alone, which suits a quiet afternoon. For more activities that keep a whole afternoon screen-free, see our screen-free activities for kids.
Kitchen still life
Plan on 20–30 minutes for one child or a few side by side. Set three objects on a table, such as an apple, a mug and a spoon, with light coming from one side. You need a pencil, an eraser and paper.
Ask the child to draw only what they see, not what they think an apple looks like. Start with light outlines to place each object, then look for the darkest shadows and fill those in. Moving between the drawing and the objects every few seconds is the skill being practiced.
Finish by comparing the drawing to the setup. The snag is drawing everything too small in the middle of the page. Ask them to make the objects touch the edges of an imaginary box that fills most of the sheet.
Mirror self-portrait
Allow about 30 minutes for one child. You need a small mirror propped up, a pencil and paper. Older children can switch to colored pencils for skin, hair and eye colors at the end.
Have them lightly draw an oval, then a faint line halfway down for the eyes. Most beginners put the eyes too high. Next come the nose, the mouth and the ears, which usually line up between the eyes and the bottom of the nose. Looking at their own face in the mirror while drawing is the point of the exercise.
It’s done when they’re happy to sign it. If a child gets frustrated, have them draw only one feature, such as their eye, several times larger on a separate sheet.
Pattern-filled name letters
Plan on about 30 minutes for one child or a group. Each child writes their name in big outlined letters across a sheet, then fills each letter with a different pattern: stripes, dots, scales, checks, waves. Fine-tip markers or gel pens work best.
This one fits a child who likes careful work and a quiet room. It also makes a door sign or a notebook cover. The snag is letters that are too thin to fill. Draw the outlines with a thick marker first, then check each letter is wide enough to hold a pattern.
Blending on a coloring page
Allow 30–45 minutes for one child with a set of colored pencils. Pick a coloring page with a few medium-sized areas, such as a leaf, a cupcake top or an animal’s body.
Show how to color one area lightly in one color, then layer a second color over part of it, pressing gently, so the two meet without a hard line. A detailed page works better at this age than the big-shape pages younger children use. Our guide on how to blend colored pencils walks through layering and burnishing step by step.
The snag is pressing hard at the start. Heavy first layers fill the paper’s texture and stop new colors from blending in. Begin light every time.
Air-dry clay pinch pot
Plan on one to three children for about 30 minutes, plus drying time. You need a ball of air-dry clay about the size of a small orange per child, a cup of water and a covered table. Follow the drying time and any age note printed on the clay package.
Each child rolls the clay into a ball, presses a thumb into the center and pinches the walls gently while turning the ball, until it forms a small bowl. Smooth any cracks with a damp fingertip. Once it’s fully dry, it can be painted.
End by setting the pots somewhere they won’t be moved until dry. The snag is walls pinched too thin, which crack while drying. Aim for walls about as thick as the child’s finger.
Art activities for a group: parties, classrooms and siblings
Group art works when every child has their own space and the same start. Shared supplies cause more arguments than shared projects, so give each child their own small pile of crayons or markers whenever you can.
Party coloring station
A coloring table runs well during a birthday party as something guests can drift to between games. It suits any number of children, ages about 3 to 10, with no set time. Put out printed pages, crayons in a few cups and a sign that says “Take one.”
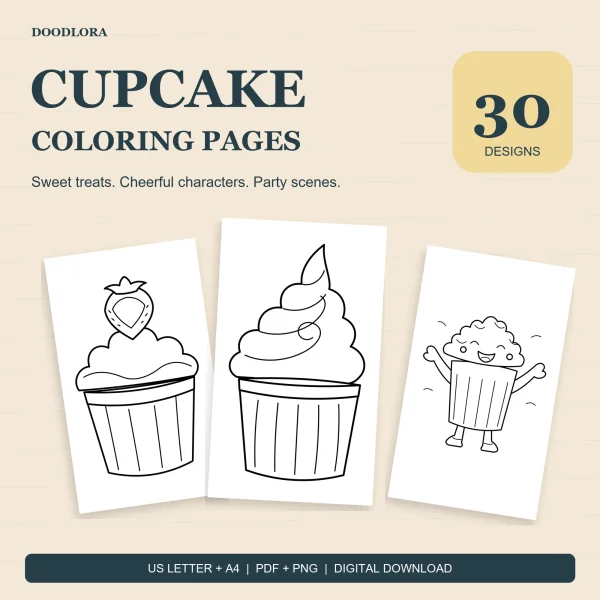
The cupcake coloring pages fit a birthday table. The set has 30 designs: single cupcakes as numbers 1 to 10, holiday cupcakes 11 to 16, cupcakes with happy faces 17 to 22, towers and parties 23 to 26, two cupcake shops and two lettering pages, one reading Happy Birthday. Print the single cupcakes and happy faces for younger guests and the party scenes for older children.
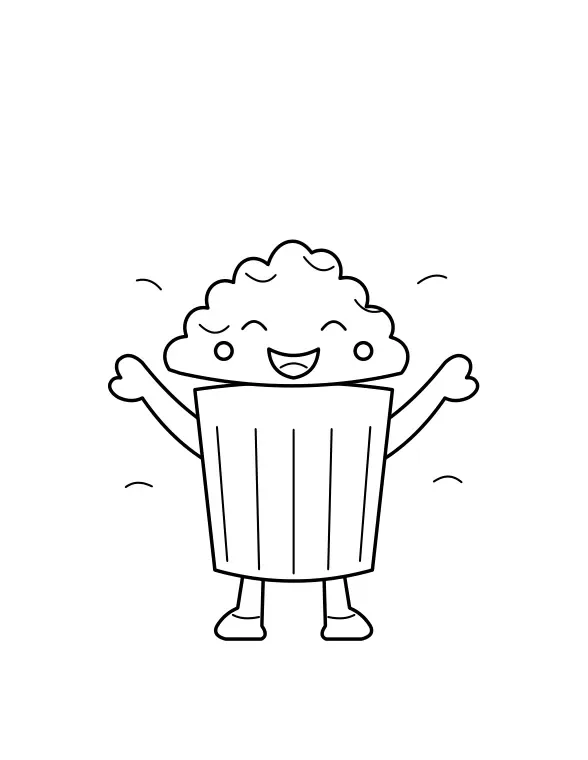
The station wraps itself up: children take their page home in the goody bag. The snag is running out of the favorite design. Print a few extra copies of the simplest pages, because those are what the youngest guests reach for.
Roll-out paper mural
A mural is the group project for siblings, cousins or a class. It works for 3 to 12 children of mixed ages, for 30–45 minutes. Tape a long sheet of paper, such as a roll of kraft paper, to a table or along a hallway floor. Pick one theme everyone can add to: an ocean, a city, a jungle.
Give each child a section to start in, then let them add to the shared background once their own part is drawn. Younger children can paint or stamp the sky and water; older children can add detailed creatures or buildings.
End with a walk along the mural so each child can point out their part, then hang it up. The snag is one child taking over a neighbor’s section. Mark each child’s starting area with their name in pencil before anyone begins.
Choosing art supplies for kids: the label to check
Most art supplies sold for children are fine for them, but read the label before buying anything new. Under U.S. federal law, an art material that has the potential to cause chronic health effects has to carry a hazard warning label. That label must also include a statement that the material is inappropriate for use by children (15 U.S.C. §1277). The labeling rule applies to art materials meant for users of any age, not only children’s products.
In practice, for a kids’ table:
- Choose crayons, markers, paints and clay with no hazard warning on the label.
- If a product carries a chronic hazard warning and a “not for children” statement, keep it for adults.
- Solvents and blending fluids used for colored pencils belong in the adult-only category too.
- Some packages also carry a seal from the Art & Creative Materials Institute, an organization that certifies art materials, mainly with children in mind.
Washable paint and markers are worth the small extra cost for children under about 6. Thick crayons and chunky brushes are easier to grip than thin ones. Rounded-tip scissors are the standard for preschoolers.
When an art activity goes wrong
The child says “I can’t draw.” Switch to a process activity, like stamping, rubbings or the fold-and-blot butterfly, where there’s no right picture to match. Or start them with a printed outline and let them change one thing.
The project is taking too long. Stop at a natural break and leave it out to finish later. Coloring pages and cut-and-paste pages wait well; wet paint doesn’t, so save painting for days with a full block of time.
Siblings want the same thing. Print two copies, or give each child a different animal or cupcake from the same set so they’re working side by side on different pages.
The mess is bigger than expected. Move paint projects outdoors or into the bathtub area next time, and switch the indoor table to crayon, pencil and cut-and-paste activities. Printed activities give the same art time with a much smaller cleanup.
Printables from this article
Related articles
Kids Activity Books
Children’s Science Activities: Sorting & Measuring for Kids
Twelve hands-on science activities built on looking, sorting, measuring and recording, with ages, time, supplies, a wrap-up question and the snag to watch for in each.
Kids Activity Books
Thanksgiving STEM Activities: Turkey Challenges for Kids
Nineteen Thanksgiving STEM challenges for home or the classroom, from cup towers and gourd ramps to pattern hunts and coordinate grids, with no flames, chemicals or batteries.
Kids Activity Books
Letter M Craft Ideas: Monkey, Mouse & Mushroom for Preschool
Twelve letter M crafts grouped by who is at the table, from a foil-print moon for one toddler to monkeys swinging on a paper-chain vine for a whole class, with ages, minutes, supplies, steps and where each one tends to go wrong.