Ocean Crafts for Kids: Jellyfish, Whales and Fuse Beads
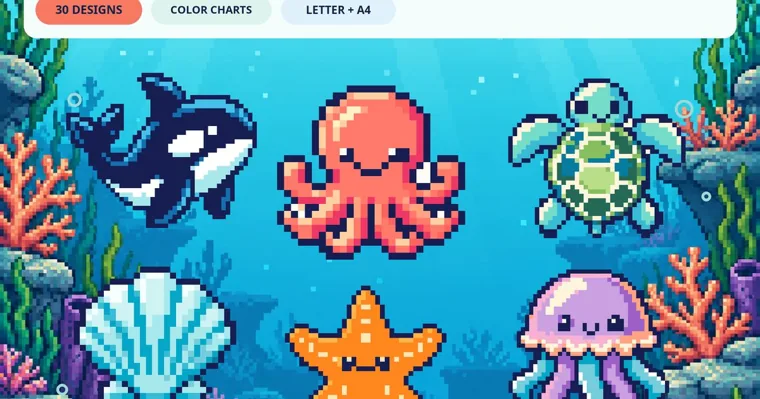
Ocean crafts work best when you match the animal to the hands doing the work.
A three-year-old can glue streamers under half a paper plate and call it a jellyfish. A seven-year-old can paint through a starfish stencil. A ten-year-old can spend an afternoon pressing 488 beads into a pixel octopus. Pick by age and by how much time you have, then print or gather only what that one craft needs.
The times below are our estimates for a first try, not measured sessions.
Add ten minutes for a group, and more if glue has to dry before the next step. You’ll also want a damp cloth nearby for anything involving paint.
| Craft | Ages | Time | What it needs |
|---|---|---|---|
| Paper plate jellyfish | 2–5 | 20 min | Paper plate, ribbon or crepe paper, glue |
| Paper bag octopus | 3–6 | 25 min | Lunch bag, scissors (adult cuts), crayons |
| Coloring page stick puppets | 3–7 | 20 min | Printed coloring pages, craft sticks, tape |
| Sponge-painted sea star | 3–6 | 20 min plus drying | Cardstock, sponge, paint |
| Hermit crab shell swap | 4–8 | 30 min | Coloring page, scrap paper, glue stick |
| Crayon resist reef | 5–9 | 30 min | Coloring page, white crayon, watercolors |
| Whale tail bookmark | 6–10 | 20 min | Cardstock, scissors, ribbon |
| Bridged starfish stencil | 6–12 | 30 min | Cardstock, craft knife or scissors, paint |
| First fuse bead sea creature | 6 and up (adult irons) | 45–60 min | Beads, pegboard, ironing paper, iron |
| Tide pool magnet set | 7 and up (adult irons) | 1–2 hours | Beads, magnets, strong glue |
| Big whale bead panel | 9 and up (adult irons) | 2–3 hours | Several boards, lots of one color |
| Whale silhouette tote | 10 to adult | 45 min plus drying | Canvas bag, fabric paint, stencil |
| Jellyfish window silhouette | 8 to adult | 40 min | Black cardstock, tissue paper or vellum |
| Mother and calf whale card | 8 to adult | 30 min | Cardstock, pencil, fine pen |
Ocean crafts for toddlers and preschoolers, ages 2 to 5
Little kids want big shapes, glue they can see and a finished animal before their attention runs out. Do the cutting ahead of time and let them do the sticking, coloring and naming.
1. Paper plate jellyfish
Cut a paper plate in half and give one half to each child, with the curved edge up as the jellyfish’s bell. Set out 6 to 10 strips of ribbon, crepe paper or yarn per child, cut to about a foot long. The child colors or paints the bell, then glues the strips along the flat edge so they hang down as tentacles. It’s done when the bell is colored and every strip is stuck on.
The trap is glue.
Wet strips slide off a painted plate, so color the bell with crayons first, or let paint dry before the tentacles go on. A loop of tape on the back of the plate lets it hang from a doorway right away.
While they work, share one real fact. Jellyfish aren’t fish at all. Public aquariums started calling them “sea jellies” partly to avoid the word fish, since fish have backbones and jellyfish don’t.
2. Paper bag octopus
A brown lunch bag turns into an octopus with very little prep. Before the craft, cut the open end of the bag into 8 strips, each about 4 inches long, so the bottom of the bag becomes the head. The child draws a face on the flat bottom, colors the strips and curls them around a pencil. Stuff a crumpled sheet of newspaper inside the head and close it with a rubber band if you want it to stand up.
Count the arms together as the child colors them. An octopus has eight arms, and it also has three hearts, which most preschoolers find hard to believe.
Cut the strips yourself for anyone under five. Kids that age usually cut straight through the head, and there’s no fixing a headless octopus.
3. Coloring page stick puppets
Print a handful of single-animal coloring pages, let each child choose two or three, and cut around the outlines after they finish coloring. Tape a craft stick to the back of each animal. The craft ends with a short puppet show: one child makes the octopus swim while another makes the seal clap.
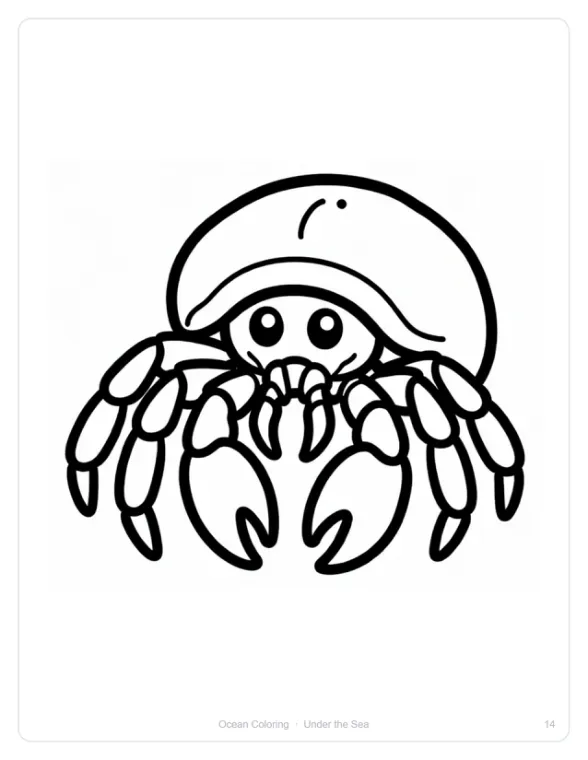
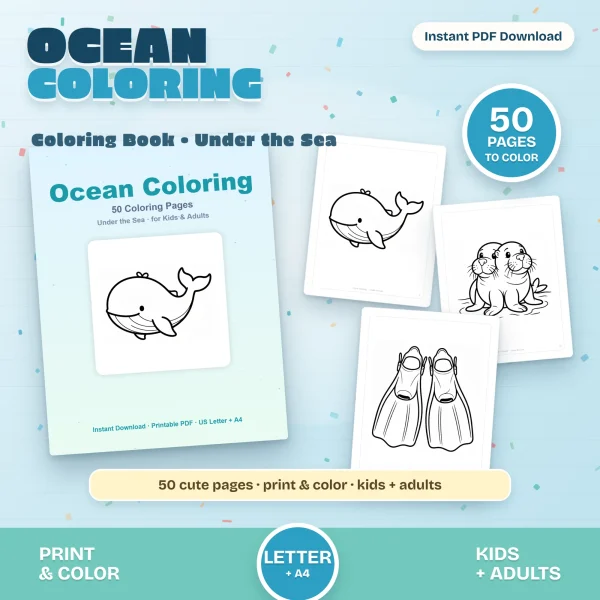
The Ocean Coloring Book has 50 coloring pages after a cover and a how-to-color page. Each page shows one subject drawn with thick outlines, which matters for puppets because thin legs tear when a small child cuts them. The octopus, jellyfish, sea star, crab, seal and penguin pages all have chunky shapes. Keep the lobster and shrimp pages for older kids, since their thin legs and feelers are hard to cut around.
4. Sponge-painted sea star
Trace a five-armed sea star on cardstock, or print a sea star outline, and cut a small square of kitchen sponge for each child. The child dips the sponge in orange, pink or purple paint and dabs it over the star. A sprinkle of sand or salt on wet paint gives it a bumpy skin. It’s done when the star is covered. Let it dry flat for at least an hour before you move it.
Most sea stars have five arms, but some species have more. Many can also regrow an arm they’ve lost.
If a child paints a six-armed star, that one exists too.
Ocean crafts for kids 4 to 9 at the kitchen table
School-age kids can cut, plan a color scheme and stick with one craft for half an hour. These crafts give them a real choice to make in the middle, which keeps them working.
5. Hermit crab shell swap
Hermit crabs live in empty shells, mostly old sea snail shells, and they move into a bigger one as they grow. This craft acts that out. The child colors a hermit crab page, cuts out the crab, then designs two or three new shells on scrap paper: striped, spotted, a soda can, a teacup. They glue the crab under the shell they like best. Keep the spare shells for a “moving day” story at the end.
Allow about 30 minutes.
The tricky part is the claws. If the crab is cut out with its claws attached, the new shell has to sit above them, so show the child where the shell goes before they glue anything.
6. Crayon resist reef
Crayon resist means drawing with wax before painting. The paint won’t stick to the wax lines, so they show through. Give each child a coral, seaweed or sea urchin coloring page. Have them trace over every line and add bubbles with a white crayon, pressing hard. Then they brush blue or green watercolor over the whole page and watch the drawing appear.
Pages from the same coloring book work well here. The branching coral is on page 34 and the seaweed on page 35. The common mistake is a light crayon touch, which leaves nothing for the paint to resist.
Also make sure the paint is watery. Thick tempera covers the wax completely, and the surprise is gone.
7. Whale tail bookmark
A whale tail rising out of the water is a classic shape, and it fits a bookmark well. Print a whale tail outline small, around 2 inches across, and trace or glue it near the top of a 2-by-7-inch cardstock strip. The child colors the tail and the waves below it, punches a hole above the tail and ties on a ribbon. It takes about 20 minutes and makes a good gift to slip into a library book.
The whale outlines include two tail designs, a rising tail and a diving tail. The 4-per-page and 6-per-page PDFs print several copies on one sheet, which is the right size for bookmarks.
For a classroom, one 6-up sheet covers six kids.
Fuse bead sea creatures for kids 6 and up
Fuse beads are small plastic tubes. You press them onto a pegboard, cover them with ironing paper and iron them until they melt together into one piece. Ocean animals suit them well because most sea creatures have simple, bold outlines. Concentration matters more than coordination here, so a patient younger child can do just as well as an older one. An adult should do the ironing, and beads should stay away from babies and toddlers who still put things in their mouths.
8. A first fuse bead sea creature
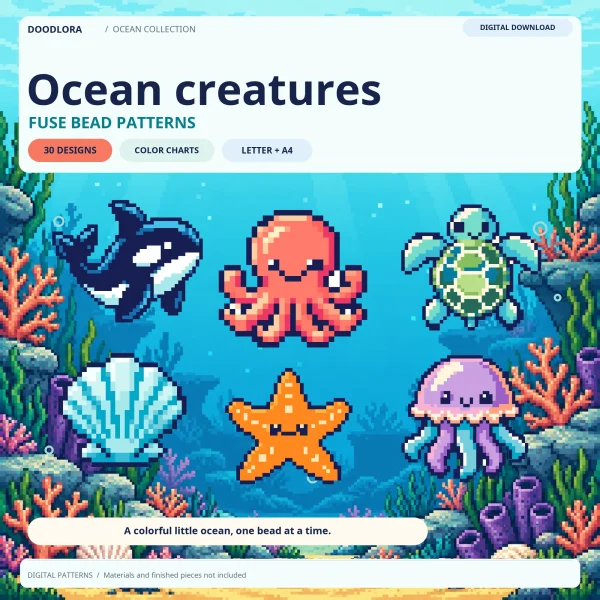
Start with a creature that fits one board and doesn’t need many colors. In our ocean fuse bead patterns, the octopus is 27 by 25 beads and uses 488 beads in 8 colors. The scallop is 474 beads, the penguin 555 and the butterflyfish 445. Those four are the only designs that print on a single page in the standard-bead placement charts. The sea star uses only 4 colors, so it’s the easiest color match, but its 34 columns run onto a second page in those charts.
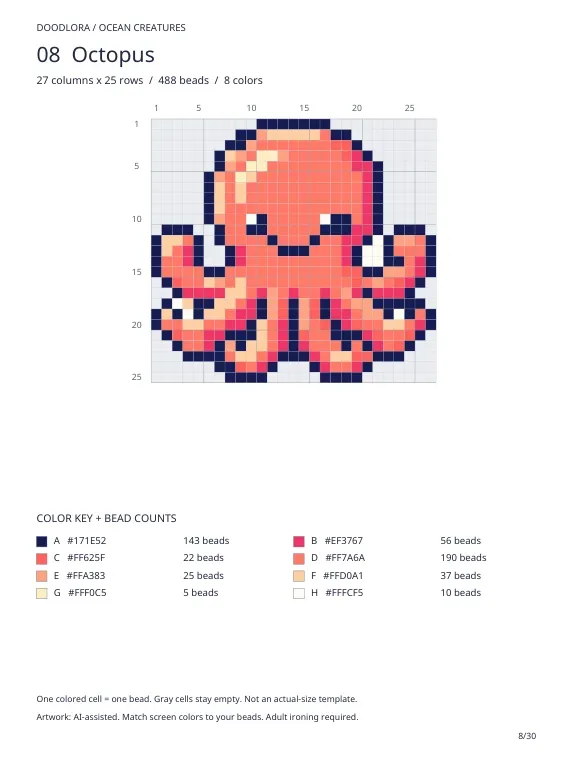
Sort the beads before anyone starts placing them. The color key under each chart gives a count for every color, and counting out 143 navy beads into a bowl first saves a lot of searching later. Allow 45 minutes to an hour of placing for a first-timer, then an adult irons. For the ironing itself, follow our step-by-step guide on how to iron fuse beads.
The trap is printing.
The placement charts tell you to print at 100% / Actual Size and to turn off “Fit to page.” Each one has a 1.97-inch (50 mm) line to measure before you set a pegboard on top. If your printer shrinks the page even a little, the grid stops matching the pegs halfway across.
The charts come in two grid spacings, 0.197 in (5 mm) for standard beads and 0.102 in (2.6 mm) for mini beads. Print the one that matches your beads.
9. Tide pool magnet set
Make four small tide pool pieces and turn them into fridge magnets: a scallop, a sea star, a sea urchin and a conch. The set takes one to two hours of placing, or one sitting per piece for younger beaders. After ironing and cooling, glue a small round magnet to the back of each piece with a strong craft glue and let it cure as long as the label says.
The color keys show HEX values for the screen, not bead brand codes, so line up the beads you own next to the chart and pick the closest shade. The sea urchin uses 9 colors and the scallop 8, so they need more sorting than the 4-color sea star. If you’d rather hang your pieces on a keyring, see our fuse bead keychain guide.
10. Big whale bead panel
For an older child who wants a long project, the blue whale is 51 columns by 30 rows and 954 beads. On the standard-bead charts it prints across two pages. Join the pages by the row and column numbers printed on each one, and don’t overlap or trim the edges. Lay out two square pegboards side by side to match. Most of the whale is shades of blue, so check that you have plenty of one or two blues before you start.
Plan two to three hours, spread over a couple of days if needed.
Leave the board flat and somewhere no one will bump it between sessions. One knock can undo an hour’s work, and that’s a hard disappointment for a ten-year-old. The pearl oyster, at 1,008 beads, and the sand dollar, at 1,137, are similar long projects for a second round.
Ocean crafts for older kids, teens and adults
These crafts lean on cutting and painting with clean shapes, so the result looks good on a wall or a bag. Silhouettes help here because a single solid shape reads clearly from across a room.
11. Bridged starfish stencil
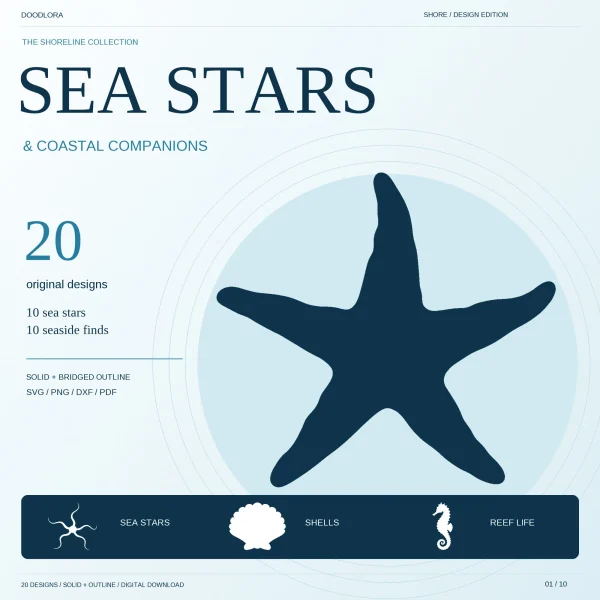
A stencil is a sheet with a shape cut out, and you dab paint through the hole. An outline stencil has a problem: if you cut all the way around a closed line, the middle falls out. The starfish outlines solve this with small breaks in each outline, called bridges, that keep the center attached to the sheet.
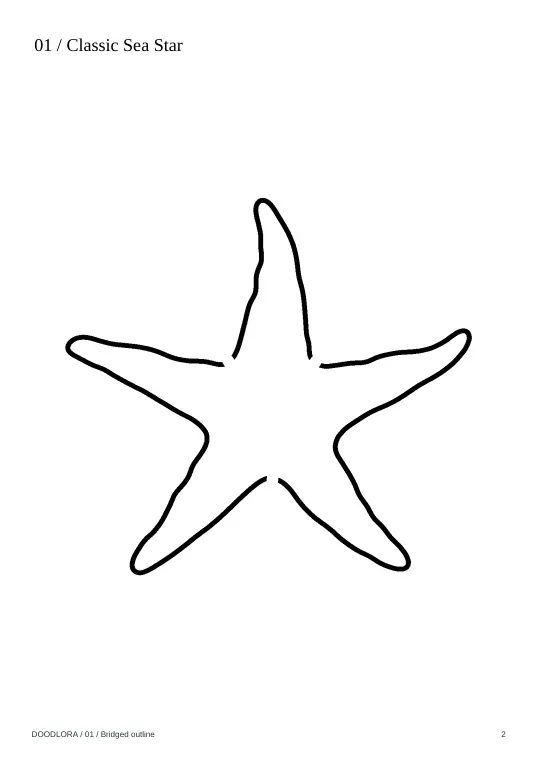
Print a sea star on cardstock, cut along the line with a craft knife on a cutting mat (or small scissors for kids around eight), and leave every gap in place. The set’s guide says not to cut across the breaks. It also warns against printing very small versions of the thin brittle star arms or the sea urchin spines, because the bridges get too narrow. Try the first one on scrap paper.
Then tape the stencil to paper or fabric and dab paint through it with a sponge. Let the stencil dry before you reuse it, or the wet edge smears the next print.
The set has 10 sea stars plus 10 other shore shapes, including a sand dollar, a seahorse, shells, coral and kelp. Mixing them gives you a whole beach border from one download.
12. Whale silhouette tote
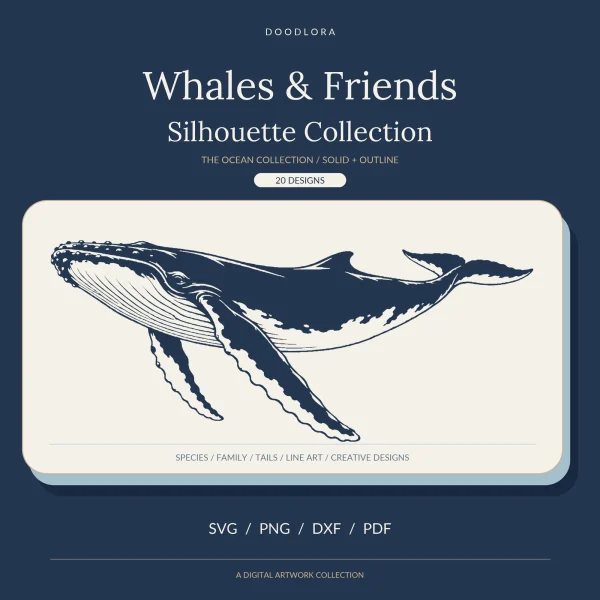
Cut a whale from the solid silhouette page, trace it onto freezer paper and cut it out to make a stencil. Iron the freezer paper shiny side down onto a canvas bag, then dab fabric paint inside the shape. Put cardboard inside the bag so paint doesn’t soak through to the back. Peel the stencil once the paint is touch-dry, and set the paint as its label tells you, which often means ironing it.
Every design in the whale set comes as a solid silhouette and as an outline, and the PDFs print it full-page, 4 per page or 6 per page, in Letter and A4. For a tote, use the full-page version. The breaching humpback or the whale pod gives a big, simple edge to paint around.
Skip the skeleton and geometric designs for this one. They’ve got small inside pieces that are fussy to cut as a stencil.
13. Jellyfish window silhouette
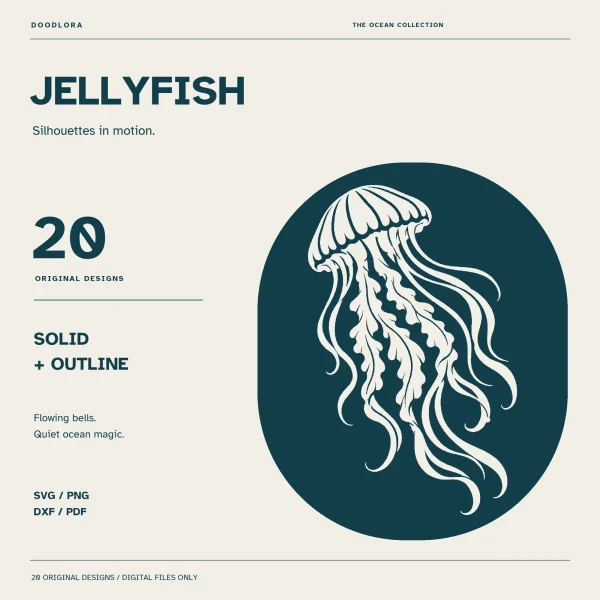
Print a solid jellyfish on plain paper and tape it over black cardstock. Then cut the shape out of both layers at once. Glue colored tissue paper or vellum behind the black frame and tape it to a window. Light comes through the colored parts, and the black lines stay crisp.
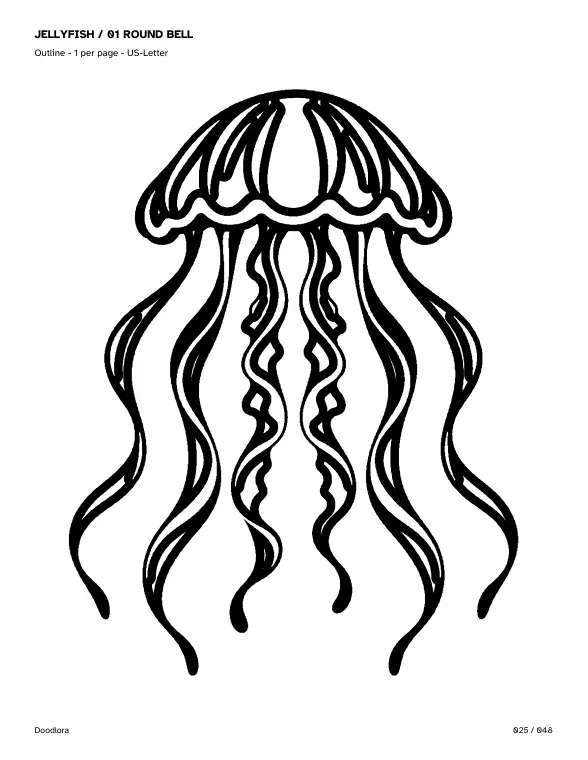
The jellyfish outlines have 20 designs, each as a solid silhouette and as an outline. Each print PDF has 48 pages: every design full-page, plus a few 4-up and 6-up sheets. For window art, start with the Round Bell or the Moon Jelly. Their tentacles are wide enough to cut.
The Jelly Trio and Jelly Pair are for a second project, because thin tentacles that cross each other are where the cardstock tears.
14. Mother and calf whale card
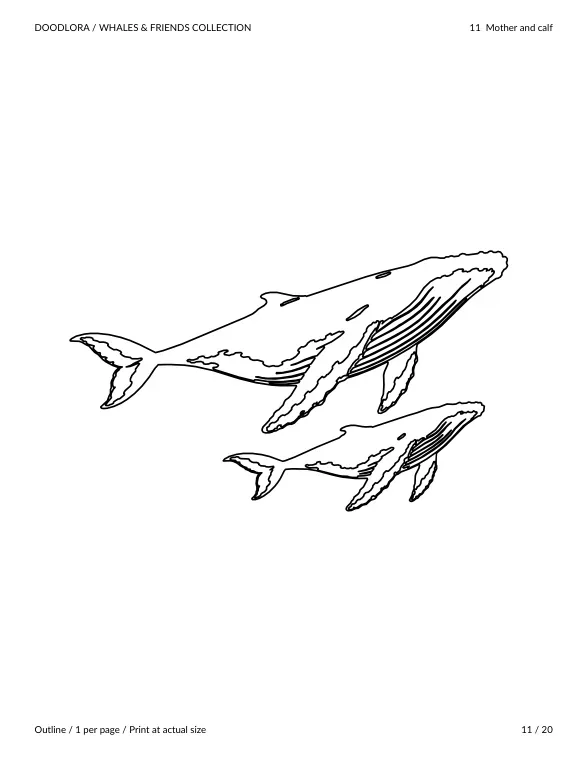
The mother and calf design in the whale set shows a large humpback with a smaller one swimming alongside. Print the outline small, trace it onto a folded card with a light box or a sunny window, and go over the lines with a fine pen. Add a watercolor wash behind the whales. It’s a 30-minute card for Mother’s Day, a baby shower or a new sibling.
Running an ocean craft session for a group
For a class or a party of 8 to 12 kids, set up three tables and rotate every 20 minutes. Rotation keeps the waiting manageable, and the variety gives every child something within their comfort and attention level. Put a coloring and puppet table for the youngest or fastest kids. Add a painting table for sponge stars or crayon resist, with an adult nearby. Set a bead table for kids 6 and up with charts printed in advance. Keep the iron on a separate counter away from the tables and do all the ironing yourself at the end.
Don’t skip the ending.
Finish with a short “ocean show.” Each child holds up one thing and says one fact: jellyfish aren’t fish, an octopus has three hearts, a sea star can regrow an arm, a hermit crab moves into a new shell as it grows. Send bead pieces home only after they have cooled completely.
If the ocean theme goes on outside, our nature scavenger hunt ideas work at the beach as well as in a park. For printing coloring pages cleanly at home, see how to print coloring pages.
Printables from this article
Related articles
Fuse Bead Patterns
Pony Bead Animals: Keychain Ideas and How to Lace Them
How pony bead animal keychains are laced on one folded cord: what beads and cord to buy, how to start on a keychain ring, read a row recipe, widen and narrow rows with clear support beads, tie off the last row, and run it with kids at a party or in a classroom.
Fuse Bead Patterns
How to Make Kandi Bracelets: Singles, Cuffs and Trading
What kandi is and where PLUR and the trading handshake come from, what beads and cord to buy, how to string and knot a single, how to build a flat peyote cuff and a multi-stitch cuff, and how to read a row-by-row kandi pattern.
Fuse Bead Patterns
Crafts for Kids 6-12: Ideas for 8 and 10 Year Olds
Sixteen crafts for school-age kids, split into one-sitting projects for younger kids and longer builds for 9 to 12, with supplies, time, stopping points and common mistakes.