How to Make a Junk Journal for Beginners, Step by Step

A junk journal is a handmade book put together from paper other people would throw away: old letters, book pages, envelopes, packaging, tickets and printed scraps. To make one, fold a few small stacks of mixed paper in half, set them inside a cover made from cardstock, a file folder or an old hardback, and hold them in with elastic, clips or a simple sewn stitch. A first journal takes an evening or two by our estimate, and it needs no special tools. The one choice that decides whether it works is keeping each stack thin, because the finished book still has to close once you start filling it. Cover first, then pages, then signatures, then the binding: that’s the order of the steps below.
What is a junk journal?
Wikipedia describes a junk journal as a handmade journal, of any size, made of recycled or upcycled papers. It can be a piece of art in its own right or a book you write in every day. The papers that fill it are called ephemera, a word for paper things such as menus, ticket stubs, postcards and greeting cards that were never meant to be kept.
Size is up to you. The same article notes that junk journals usually run from miniature up to no bigger than A4. For a first book, a half-letter page (a US Letter sheet folded in half, 5.5 x 8.5 inches) is easy to cut, easy to print for and small enough to finish.
A junk journal also differs from a scrapbook. A scrapbook is usually built on a bought album and organized around your own photos and events. A junk journal is bound by hand from mismatched paper and can hold scraps that have nothing to do with your life, such as an anonymous vintage postcard. If photos are the point for you, these photo-led scrapbook layouts are the better fit.
What you need to make a junk journal
Most of the kit is already in a kitchen drawer. The table splits it into what you need for a first book and what can wait.
| Item | Needed for a first journal? | What to use if you don’t have it |
|---|---|---|
| Paper for pages | Yes | Copy paper, envelopes, old book pages, brown grocery bags |
| A cover | Yes | Letter cardstock, a manila file folder, an old hardback |
| Scissors or a paper trimmer | Yes | A ruler and a craft knife on a cutting mat |
| Glue stick or tape runner | Yes | Double-sided tape |
| Something to bind with | Yes | Elastic cord, binder clips, or a needle and strong thread |
| An awl | Only for sewing | A push pin or a thick sewing needle |
| A bone folder | No | The back of a spoon or a ruler edge |
| A printer | No | Found paper only, or a print shop |
A bone folder is the one tool people ask about. It’s a dull-edged tool for pressing a sharp crease into paper, used in bookbinding and cardmaking, and it can be made of bone or plastic.
Step 1: pick a junk journal cover
The cover decides the size of everything else, so make it first. Each option below works with half-letter pages; they differ in how sturdy the result is and how much cutting is involved. The times in the headings are our estimates.
A cardstock cover (easiest, about 10 minutes)
Fold a sheet of Letter cardstock in half across the long side. That gives you a 5.5 x 8.5 inch cover. Pages folded from the same size sheet would sit flush with its edges, so trim your page stacks to about 5.25 x 8.25 inches later. The cover then overhangs the pages by a quarter inch at the open edge and an eighth at the top and bottom, which protects them.
Cardstock bends, so this cover suits a thin journal of two or three signatures. Glue a printed scene or a piece of patterned paper on the front to make it look less like a school folder.
A file folder cover (sturdy, about 20 minutes)
A manila file folder is stiffer than cardstock and already has a fold. Cut it down so it’s a quarter inch taller than your pages, then trim the open edge to leave the same overhang. Score a second line about half an inch from the first fold if you plan to bind more than two signatures. The two lines give you a flat spine for the extra thickness.
Folders are plain, so this is where a printed paper earns its place. Glue a full sheet across the outside from front to back, wrapping it over the spine, and trim the edges flush.

An old hardback book cover (most durable, about 45 minutes)
A thrift-store hardback gives you a real book case with a spine. Open the front cover and find the inside hinge, where the endpaper bends from the cover onto the first page. Cut through it from top to bottom with a craft knife on a cutting mat, keeping the blade moving away from your body. Do the same at the back, then lift the whole block of pages out. Keep some of those pages for the inside of your journal.
Measure the empty case before you fold any paper. Your pages need to be about a quarter inch shorter and narrower than the boards. Glue a sheet of paper over the inside of each board to cover the torn endpaper.
Step 2: gather paper for the inside pages
With the size fixed, collect more paper than you think you need. Mixed weights and colors give the book its character. They also make it thicker, so sort the pile as you collect.
Found paper, book pages and kraft paper
Start with what’s free. Envelopes, junk mail with a nice print, pages from a damaged book, sheet music, maps and old calendars all work. Brown grocery bags cut flat make good kraft paper pages that take pen and glue well. Iron creased paper flat on a low setting under a cloth, or press it under a heavy book overnight.
Sort the pile into thin paper and stiff paper. Thin sheets fold into signatures. Stiff pieces such as cardstock, cereal-box board and envelopes are better glued onto a page later, because folding them into the stack makes it bulky.
Printed background papers for junk journal pages
Printed papers fill gaps when your found paper runs out, and they let you repeat a color or theme from front to back. Our background sets come as US Letter and A4 PDFs plus square JPGs, and the PDFs are the simpler way to start.
In the cartoon beach backgrounds Letter PDF, each of the 16 pages holds one design as a square 7.83 inches wide, centered with white margins. That square is 2,400 pixels across, roughly 306 pixels per inch, which is plenty for a home inkjet. Print at Actual Size (100%) so it isn’t shrunk; this guide to the Actual Size setting shows where it hides in common print dialogs.
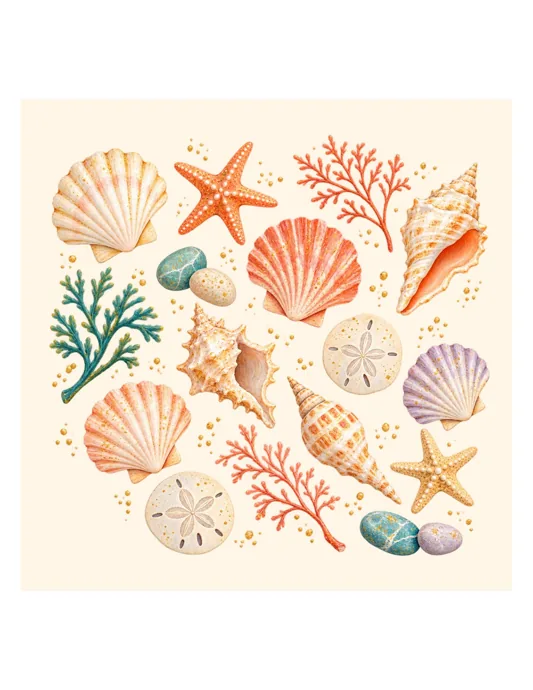
Don’t fold a printed PDF page straight into a signature. The square sits in the middle of a portrait page, so folding the sheet in half splits the picture across the fold and turns it sideways. Trim the square out and glue it onto a page, use it as a pocket front, or wrap it around a cover.
To print a design onto a page that folds into the book, use the square JPG instead. The files are 3,600 pixels square, set to 12 x 12 inches at 300 dpi. Open a blank Letter document in landscape and place the JPG at 5.5 inches wide on the right-hand half. Print it, then fold the sheet with the printed side out. The right half becomes the front page of that folded sheet.
Plain copy paper folds best. A heavier matte paper looks richer but adds bulk, so save it for a few pages. Check your printer manual before feeding anything thicker.
Check the license before a journal leaves your hands. A journal for yourself and your household is fine with any of these sets. So is a classroom project: the personal license lets a teacher run off pages for the class they teach, and it stretches to copies made within a single school for its own programs. A journal you plan to sell is different, and only some sets carry a commercial license for that, such as the purple flower backgrounds and cherry blossom backgrounds. The beach and park backgrounds are personal use only. All of these designs are digitally generated artwork, not photographs.
Step 3: fold the pages into signatures
A signature is a group of sheets folded in half together and bound as one unit. A junk journal is just a few signatures sitting side by side in a cover. Thin signatures are the main way to stop the book getting too fat to close.
Wikipedia’s article on bookbinding sections notes that once binders used paper, they could easily stitch five to seven sheets at a time. That’s a good target for copy paper. Drop to three or four sheets when the stack includes kraft paper, book pages or anything stiff. Three or four signatures make a comfortable first book.
Fold each sheet on its own first, then nest them inside each other with the fold lined up. Run a bone folder along the outside fold. Mix the order so a plain page, a printed page and a found page follow each other, rather than all the printed sheets landing in one place.
Look at the open edge once the signature is nested. The inner sheets stick out further than the outer ones, because each folded sheet wraps around the ones inside it. The Nag Hammadi codices, among the earliest surviving bound books, were trimmed along this edge after folding for exactly that reason. Clamp the signature flat with a ruler and trim the open edge straight, to the 5.25-inch width if you’re using a cardstock cover.
Leave one or two sheets out of each signature if you already know you’ll add pockets, tags or envelopes. Every thick piece you glue in later needs room that a blank sheet would otherwise take.
Step 4, option one: no-sew junk journal bindings
Pick a binding by how permanent you want the book to be. Each time in the table is our rough guess for a three-signature book, not a timed result.
| Binding | Difficulty | Tools | About how long | Can you add or swap signatures later? |
|---|---|---|---|---|
| Elastic cord | Easiest | Elastic cord, an awl or push pin | 10 minutes | Yes |
| Binder clips | Easiest | Two binder clips, a cardstock strip | 5 minutes | Yes |
| Three-hole pamphlet stitch | Easy | Needle, strong thread, awl | 15 to 20 minutes per signature | No |
| Five-hole pamphlet stitch | Moderate | Needle, strong thread, awl, ruler | 25 to 30 minutes per signature | No |
The two no-sew methods are the best start if you’ve never bound anything. You can open the book and rearrange it after a week of use.
Elastic cord binding
Punch two holes through the spine fold of the cover, about half an inch in from the top and bottom. Thread elastic cord through from the outside so a straight strand runs along the inside of the spine. Pull it snug and tie it off on the outside. Open a signature to its center, slip it under the inside strand so the elastic lies in the fold, and close it.
Add one elastic per signature, each through its own pair of holes, spaced a little apart along a flat spine. The elastic is also the weak point: a thin cord lets heavy signatures slide, so pull it tight enough that the signature doesn’t shift when you shake the book gently.
Binder clip binding
Stack loose sheets or folded signatures inside the cover with the spine edges lined up. Lay a narrow strip of cardstock along the front and back of the spine edge, then clip two binder clips over it, near the top and bottom. Fold the clip handles back flat or remove them.
The cardstock strips stop the clips biting marks into thin paper. Clip-bound books don’t lie flat, so this suits a journal you flip like a notepad. If you outgrow the method, unclip it and sew the same signatures properly.
Step 4, option two: sew a junk journal with a pamphlet stitch
Sewing makes a junk journal that holds together for years, and the basic stitch is simpler than it looks. Both versions below come from library conservation guides. They bind one signature into its own cover; for a thicker book, sew each signature through its own row of holes in the cover spine.
Use strong thread, such as waxed linen or embroidery floss, and a sturdy needle. Cut a length about twice the height of the fold plus a generous tail at each end for the knot. Pierce holes before you start sewing; pushing a needle through a stack as you go bends pages.
Three-hole pamphlet stitch
This version follows the Library of Congress pamphlet stitch activity.
- Fold the pages and the cover in half and crease them hard.
- Make a jig: a strip of cardstock the same height as the pages, with a small wedge cut half an inch from each end and one at the exact center.
- Lay the jig in the fold and poke a hole at each notch through the pages, then through the cover the same way.
- Thread the needle with a single strand. Don’t double the thread over.
- Line up the holes in the pages and cover. From the outside, push the needle in through the center hole, leaving a tail outside.
- Go out through one of the end holes.
- Along the outside, go back in through the hole at the other end.
- Come out through the center hole again, so one thread end sits on each side of the long center stitch.
- Tie the ends in a square knot over that center stitch and trim them, or leave them long to hang a charm or bead.
Five-hole pamphlet stitch for taller pages
The five-hole version adds two more sewing stations along the fold, which suits taller pages. This order follows the University of Illinois Library’s preservation services handout.
- Fold the stack with the cover on the outside, and crease the fold with a bone folder.
- Open it and, from the inside, punch a hole at the center of the fold with an awl.
- Punch two more holes the same distance from the top and bottom, no closer than half an inch to the edge.
- Punch two more, halfway between each pair of existing holes. Number the holes 1 to 5 from top to bottom.
- From the inside, sew out through hole 3, leaving a 2-inch tail inside.
- Go in through 4, out through 5, then back in through 4.
- Go out through 2, in through 1, then out through 2 again.
- Go in through 3. The two loose ends now sit on either side of the long stitch running from 4 to 2.
- Tie them in a square knot and trim the extra thread.
The knot ends up inside in this version and outside in the three-hole one. Either is fine; pick based on whether you want it hidden.
What to put on the first page of a junk journal
The first page is the one beginners freeze on, because it feels like it sets the standard for the whole book. It doesn’t need to. Give it a job instead: say what the journal is for and when you started it.
A simple first page has three parts. Write a title or a single word for the theme, add the date you began, and glue an envelope or a folded pocket to hold the first few scraps you collect. A note paper with a plain middle gives you somewhere to write without fighting a busy print.
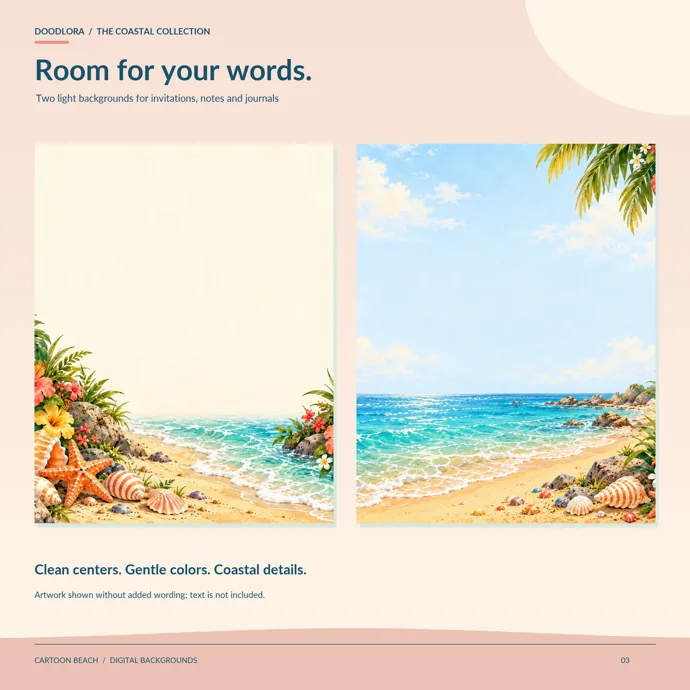
If you’re stuck on the writing, a single line about why you started the book is enough. These prompts for new journal writers give you more first lines if you want them. Leave the facing page empty; you’ll know what goes there after a week of collecting.
Junk journal problems beginners run into
Most first journals hit the same three snags. All three are easy to avoid once you know they’re coming.
Ink that runs when glue or water touches it
Home inkjet prints smudge more easily than people expect. Many inexpensive consumer printers use water-soluble ink, according to Wikipedia’s entry on inkjet printing. In bad cases, damp fingers on a humid day are enough to smear cheaper inks.
Put glue on the back of a printed piece, never on its face. Let prints dry fully before you fold them into a signature, so they don’t mark the facing page. If you want to paint or stain a page, do it on found paper rather than on a print. For which glues hold up and which yellow over time, see the glue section of these collage ideas.
A journal too thick to close
The book closes fine on day one and gapes open a month later. That’s the pockets, tags and tickets, which add thickness that the binding never planned for.
Keep signatures to the sheet counts in step 3 and leave a sheet out for every bulky item you expect to add. Spread thick pieces through the book instead of stacking them on facing pages. With a folder or hardback cover, leave a gap between signature rows on the spine. If the book already won’t close, remove a blank sheet from the fullest signature, or move a pocket into a different signature. The strips you trim off along the way are the right width for some of these bookmark ideas.
Awl and needle slips
The awl causes more cuts than the needle. Pierce holes with the open signature resting on a folded towel or a piece of thick cardboard, never on your lap. Point the awl away from your body, a basic rule in the University of Florida’s hand tool safety guide, and keep the hand holding the paper out of its path.
Park the needle in the spool or a pincushion whenever you put it down, and count needles back in when you finish. A blunt-tipped tapestry needle goes through pre-punched holes just as well and is harder to stab yourself with.
Printables from this article


Related articles
Backgrounds & Digital Paper
New Year Traditions: Eve, Day and Around the World
Twenty New Year's Eve and New Year's Day traditions, from the Times Square ball drop and Spain's twelve grapes to Japan's 108 bell strikes and Greece's coin cake, each with where it comes from, what people do and a small way to try it at home.
Backgrounds & Digital Paper
Christmas Scrapbook Ideas: 16 Layouts with Printable Paper
Pick a Christmas scrapbook page by how many photos you have and what you want to keep, print one background paper at Actual Size, then cut it into mats, pockets and tags so the photos and keepsakes stay the main thing.
Backgrounds & Digital Paper
How to Draw a Snowman: Easy, Cute Steps for Kids
Stack three snowballs that shrink from bottom to top, sink each one a little into the ball below, and stand the whole snowman on a ground line. Then add the hat, face, scarf and twig arms, and shade the white with pale blue instead of coloring it.