How to Draw a Sunset: Sky Colors, Reflections and a Sunrise
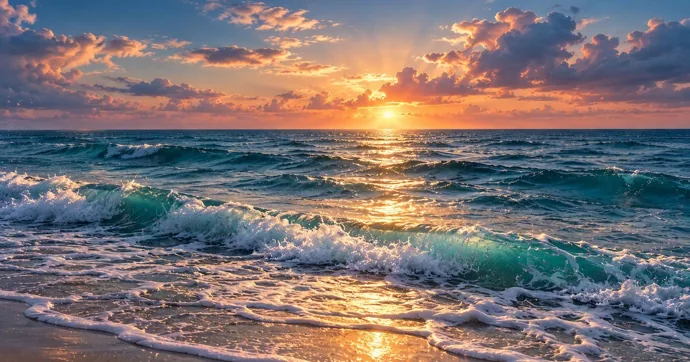
A sunset drawing is almost all sky, so the work goes into the color bands, not the sun. Put the horizon low, draw the sun small and half sunk into the horizon, then color the sky in bands from pale yellow at the bottom to blue or violet at the top. One rule keeps it clean: purple must never touch yellow, or the two turn gray. A colored pencil sunset takes about 30 minutes by our planning estimate, and an oil pastel one closer to 15.
Below are the supplies, where the horizon and sun go, the drawing steps, and the color order for colored pencils, crayons and oil pastels. Then come glowing cloud edges, the path of light on water, dark silhouettes in front, a sunrise version, simpler sunsets for kids and the fixes for a sky that has gone gray.
Colored pencils, crayons or oil pastels: picking a sunset medium
Any of the three works, and each gives a different sky. Colored pencils make the smoothest blends and suit ages 9 and up. Crayons are the easiest to hand a young child. Oil pastels give the brightest, softest sky in the least time, but they smudge onto hands and sleeves. If you’re deciding for a particular child, our coloring tips compare crayons, markers and colored pencils age by age.
Whichever you choose, you need six sky colors and one dark:
- a light yellow, for the sun and the band right above the horizon
- an orange
- a red-orange or warm red
- a pink or magenta
- a violet or purple
- a medium blue, for the top of the sky
- a dark color for silhouettes: black, indigo or a deep purple
Use plain white paper for pencils and crayons. Oil pastels need something heavier, such as drawing paper or card stock, because thin copy paper wrinkles under the pressure. You’ll also want an HB pencil, an eraser, a ruler and, for pastels, a paper towel for blending and wiping fingers.
Where the horizon and the sun go
Placement decides whether the picture reads as a sky or as a strip of ground with some color on top. It’s a composition decision, and it’s much easier to settle these four things before any color goes down than to rescue a crowded page afterward.
Horizon low. Leave roughly twice as much paper above the line as below it. The sky is the subject, so it gets the bigger share. A horizon across the middle splits the picture into two equal halves that compete.
Horizon straight. Use a ruler. A tilted horizon makes the sea look like it’s draining off the page.
Sun off center. Put it a little to the left or right of the middle. Silhouettes then have room on the other side.
Sun small. On a letter-size sheet, a sun about the size of a nickel or a quarter is plenty. The glow you color around it makes it look much bigger than the circle you draw.
For the sun itself, choose one of three moments:
- Just above the horizon: a full circle with a little gap of sky beneath it.
- Half set: only the top half shows, sitting flat on the horizon line. This is the classic sunset.
- Already gone: no sun at all, just the brightest yellow glow on the horizon where it went down.
How to draw a sunset step by step
Keep every pencil line light. Most of them will end up under color, and a dark line shows through yellow.
-
Turn the paper sideways and draw the horizon. Lay a ruler across the lower part of the sheet, with about twice as much paper above it as below, and draw one straight line from edge to edge.
-
Place the sun. For a half-set sun, set a quarter on the horizon line, off to one side, and trace only the half above the line. For a full sun, trace the whole coin just above the line.
-
Sketch the clouds as long, thin strips. Draw two to four flat cloud bands across the sky. Make the ones near the horizon thinner and closer together, and let one or two near the top be wider and lumpier. Leave the area right around the sun mostly clear.
-
Mark the path of light on the water. If there’s water below the horizon, draw two faint lines from the edges of the sun straight down to the bottom of the page, spreading apart as they come toward you. Color will stay inside them later.
-
Draw the land in front. Draw a low shoreline, a hill or a ridge line on one side, overlapping the horizon so it doesn’t sit on it like a shelf. Then outline one tall shape, such as a palm tree or a few pines, opposite the sun.
-
Lighten the guide lines. Press a kneaded eraser over the sketch, or roll a regular eraser across it gently, until the lines are barely visible.
Color always goes on in the same order after that: sky first, then clouds, then water, and the dark silhouettes last.
Coloring the sky in bands, from yellow up to blue
A sunset sky runs warm to cool from the bottom up. NASA’s Space Place explains that as the Sun gets lower, its light passes through more of the atmosphere, more of the blue is scattered away, and the reds and yellows come straight through. That’s why the hottest colors hug the horizon around the sun and the sky overhead stays blue.
From the horizon up, the bands go like this:
| Band | Where it sits | Color |
|---|---|---|
| 1 | Around the sun and along the horizon | Light yellow, or bare paper right at the sun |
| 2 | Just above | Orange |
| 3 | Lower middle of the sky | Red-orange or warm red |
| 4 | Upper middle | Pink or magenta |
| 5 | Near the top | Violet |
| 6 | The top edge | Medium blue |
The bands get wider as they climb and crowd together just above the horizon. Overlap each band onto the one below it, so there are no white gaps and no hard lines.
Colored pencils: light pressure, light colors first
Start with yellow across the whole lower half of the sky, pressing lightly, and leave the sun white. Add orange over the top part of the yellow, then red over the top part of the orange, and so on up to the blue. Each new color covers the upper half of the band before it.
Where two colors meet, go back over the seam with the lighter of the two, in small circles. Two or three light layers blend better than one hard one. For practice, the one-leaf, two-green exercise from how to blend colored pencils uses the same light-over-light method that joins orange to pink. Press hard only on the final layer, if at all.
Crayons: one band at a time, then a gentle overlap
Color each band with medium pressure, working from yellow at the bottom up to blue. Then go back over each seam with the lighter crayon to soften it. Keep the overlaps short, because after two or three heavy layers crayon wax gets slick and won’t take more color.
Younger kids often press hard enough to tear thin paper, so show them a light stroke and a firm one before they start. Chunky crayons are easier for small hands to control.
Oil pastels: lay the stripes, then blend sideways
Draw each band as a stripe of solid color, from yellow at the horizon to blue at the top, with the stripes touching. Then blend each seam by rubbing side to side with a fingertip or a folded paper towel. Wipe your finger clean between seams, or the blue will drag down into the orange.
A white pastel helps on the lower half. Rub it over the yellow and orange near the sun to make that area glow. Don’t use it on the purple and blue, where it turns them chalky and pale.
Glowing cloud edges and sun rays
With the sky colored, the clouds come next. Near the sun, clouds are lit from behind, so they work the opposite way from daytime clouds. Their middles are dark and their edges glow.
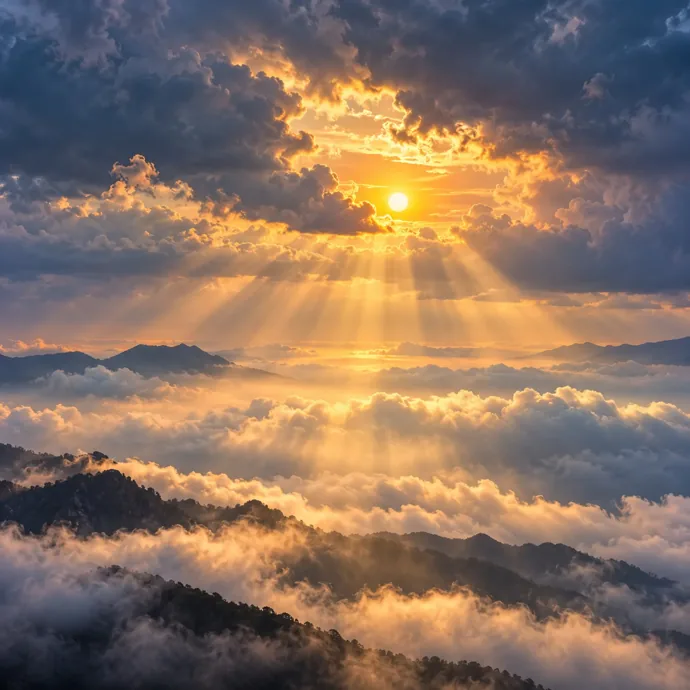
For clouds close to the sun, color the body in purple-gray or blue-gray. Then leave, or add, a thin rim of yellow or white along the edge that faces the sun. That bright rim creates the impression of backlighting. The rim gets thinner the farther the edge is from the sun, and on the far side of a big cloud it disappears.
For clouds farther away, color only their undersides in orange or pink, as if lit from below, and leave the tops in the darker sky color. The low cloud strips near the horizon can be a single flat streak of violet.
Rays are optional. Crepuscular rays, Wikipedia notes, are almost parallel shafts of sunlight that only look like they fan outward because of perspective, the way a long road seems to narrow in the distance. So draw them as straight lines spreading out from the sun, never curved. With colored pencil, leave narrow strips slightly lighter. With oil pastel, drag a light yellow line outward through the blended sky.
The path of light on the water
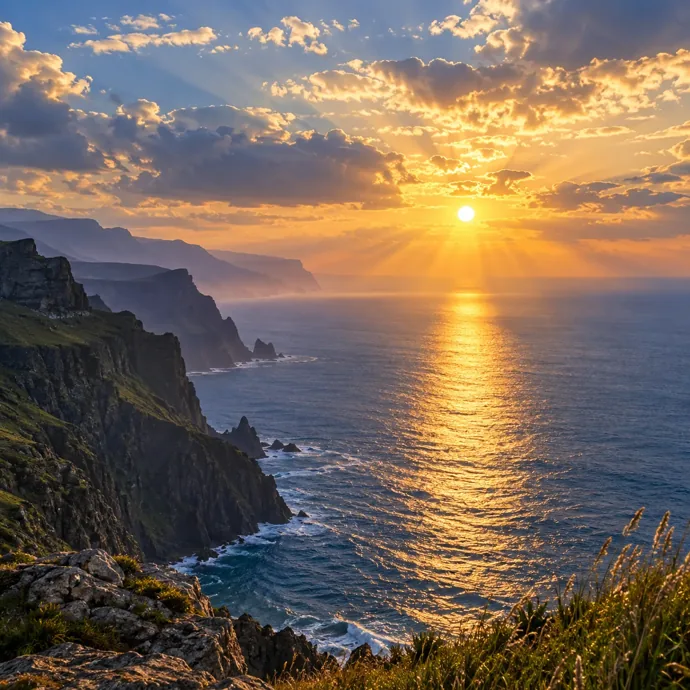
A sun over water throws a path of light straight toward you. Wikipedia’s entry on sun glitter explains that ripples reflect the sun at many angles, so the viewer sees many small images of the sun at once. It adds that the lower the sun sits, the longer and redder that glitter becomes, which is why a sunset path can run all the way to your feet.
Draw the path between the two guide lines from step 4, centered under the sun:
- Color the water first, outside the path. Use the sky’s colors, reflected. Orange and pink go near the path, violet and blue toward the edges of the page. Use horizontal strokes only.
- Fill the path with short horizontal dashes. Yellow and white dashes, packed close together under the sun and spread farther apart toward the bottom.
- Let the water show between the dashes. Leave small gaps of darker water, so the path reads as glitter, not a painted stripe.
- Darken the bottom corners a little. The water farthest from the path is the darkest part of the sea.
Calm water changes the shape. A still lake gives a narrow, smoother column under the sun, closer to a mirror reflection. Choppy sea gives a wider, broken path, so the amount of movement you want in the water decides how wide you make it.
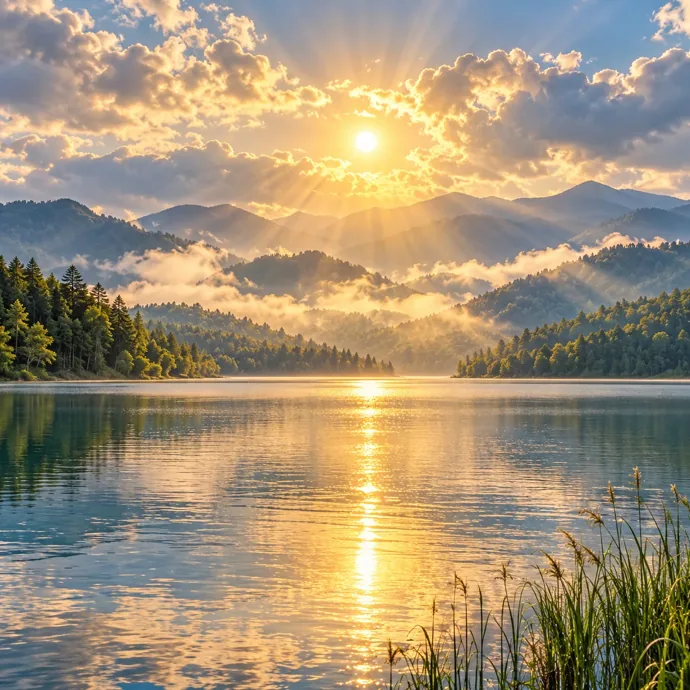
For a half-set sun, the path starts right at the flat bottom edge of the sun, with no gap of water between them.
Silhouettes: trees, hills and birds against the glow
With the sky so bright behind them, the shapes in front read as almost solid dark. That makes them the easiest part of the drawing and the one that finishes it.
Fill each shape with one dark color and no detail; the contrast between dark land and bright sky is what creates the sense of distance. Indigo or deep purple looks richer than black against an orange sky, though black works fine for kids. Keep the edges crisp, and press hard so no sky color shows through.
A few silhouettes that work well:
- Palm tree: a slightly curved trunk, wider at the bottom, with five to seven fronds arching out from the top like a firework. Draw each frond as a curved line with short strokes hanging off it.
- Row of pines: narrow zigzag triangles of different heights along the shoreline.
- Hills: a gently rolling line filled solid. For a second, farther hill, use a lighter purple, so it sits behind the dark one.
- Birds: a few small, shallow “m” shapes high in the sky, all different sizes.
- A boat or a person on the shore: small, so the sky stays the subject.
Over water, a silhouette on the shore casts a dark reflection straight down below it. A short, broken band of dark under the shoreline is enough.
Drawing a sunrise instead of a sunset
Everything above works for a sunrise too, steps and color bands alike. The reason NASA gives for a red sky is the low angle of the sun, and at dawn the sun is just as low. What changes is the mood, and that part is up to you.
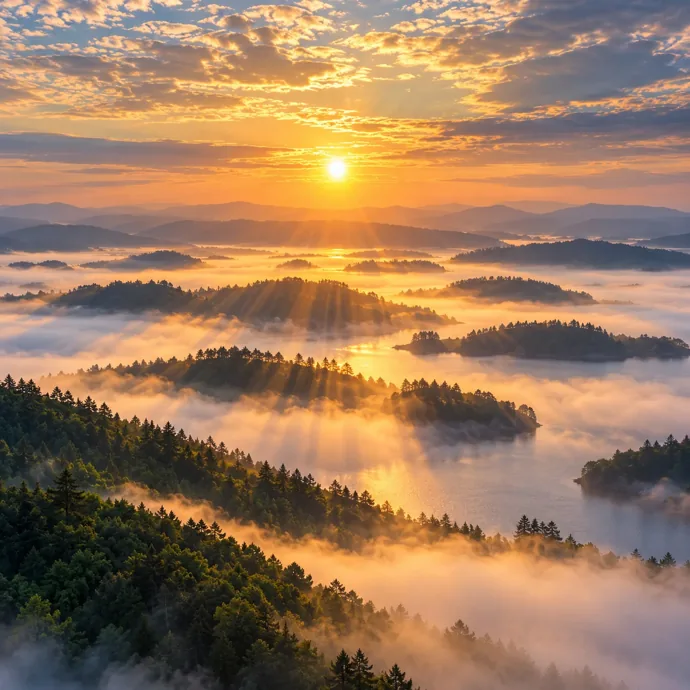
To make a picture read as morning, many artists keep the colors softer: more pale yellow and peach, less deep red and purple. Bands of white or pale mist lying in the valleys and along the water also say “early morning.” Islands in Morning Mist, pictured above, uses that trick, with gold mist wrapped around every island.
Light on the land works the same at either end of the day, and the direction of the light matters more than the time. When you face a low sun, the sides of hills and trees turned toward you are in shadow, because the light is coming from behind them.
A simpler sunset for each age group
Sunsets work at nearly any age, since bands of color look right even when they’re wobbly. Treat the times as rough guides for a session; nobody timed them.
Preschoolers (3 to 5), around 10 minutes. Give a child crayons in the six sky colors and have them color stripes across the page, yellow at the bottom and blue at the top. An adult cuts a palm tree or a hill from black paper for them to glue on top. A torn tissue paper sky works too; layered tissue colors mix where they overlap, and the tissue ideas in our collage ideas show how to glue it down.
Early grades (6 to 8), a quarter hour or a bit more. Use oil pastels or crayons. Draw a ruler-straight horizon, trace half a coin for the sun, color the bands, and add a black marker silhouette when the sky is done. For a surprise version, draw the sun’s path on the water in white crayon first and paint over the bottom of the page with watercolor, the trick explained under crayon resist painting in our art activities for kids.
Nine and older, roughly half an hour to 40 minutes. Follow all the steps with colored pencils, including backlit clouds and the light path.
For a class, oil pastels give the quickest finished sky, but plan for wipes or hand washing before anyone touches a white worksheet. Hand out the dark color only after skies are finished, so nobody blacks out the sun by accident.
If you take kids outside to watch a real sunset for colors, remind them not to stare at the sun itself. NASA’s eclipse safety page says it isn’t safe to look straight at the Sun without proper solar viewing protection, and that regular sunglasses don’t qualify, no matter how dark. Have them watch the colored clouds and the horizon instead.
Why sunset drawings turn muddy, and other fixes
- Purple laid over yellow. Yellow and purple are complementary colors, and Wikipedia’s entry notes that complements mixed together cancel out toward gray. The combination loses its brightness and intensity fast. Always keep an orange, red or pink band between them, and don’t blend purple straight into yellow.
- A huge sun. A sun as big as a dinner plate leaves no room for the bands, and the picture becomes a yellow ball. Shrink it and let the glow do the work.
- A sticker sun. A dark outline or spiky triangle rays make the sun look stuck on. Outline nothing; let the sky color stop at its edge.
- The sun colored over. The sun should be the lightest spot in the drawing. Once orange covers it, it’s hard to get back, so leave it pale yellow or bare paper.
- Hard stripes. Bands with clean edges look like a flag. Blend every seam.
- Blue at the bottom. Blue belongs at the top. If the sky near the horizon is cooler than the sky overhead, the order is upside down.
- A path that slants. The light path runs straight down from the sun toward you, never off to the side.
- Silhouettes with details. Windows, leaves or green trunks pull the eye off the sky. Keep them flat and dark.
Our sunrise and ocean backgrounds as color guides and backdrops
When you’re not sure which pink goes above which orange, a finished scene beside your paper settles it. Our sunrise backgrounds and ocean wallpapers are finished scenes made digitally, in full color. There are no outlines to trace, so they work as a guide to color and layout.
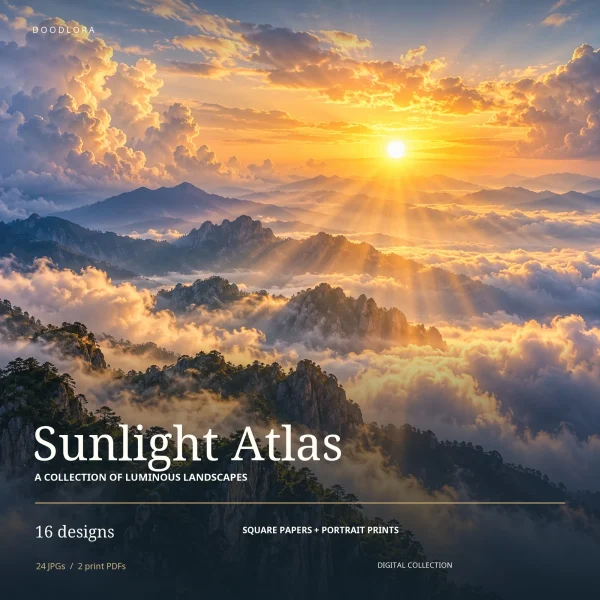
The sunrise set holds 16 square scenes, in four groups of four by Design-Index.csv: Mountain Light, Cloud Oceans, Reflected Light and Morning Landscapes. The START-HERE file calls them AI-assisted, generated compositions rather than views of real places, so treat them as a color study. None of them has the sun half sunk into a sea horizon; for that shape, follow step 2 above. The four in this guide are each useful for one thing:
- Islands in Morning Mist (16) for the order of the color bands
- Storm Window Sunlight (08) for backlit cloud edges and rays
- Coastal Cliff Sunpath (15) for a wide light path on open sea
- Forest Lake Morning Glow (12) for a narrow path on calm water
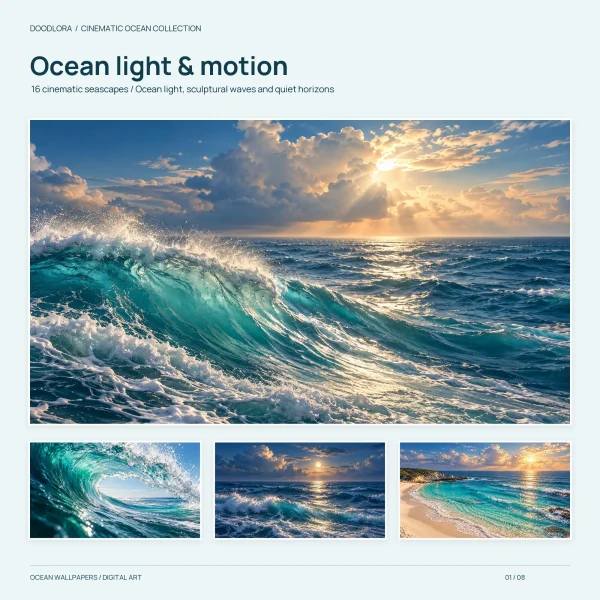
The ocean wallpapers have 16 seascapes, and their Read-Me says the same about origin: AI-assisted, not pictures of a real coastline. Rose Afterglow, design 09, is the one in full sunset colors, with orange and pink cloud and the sun right on the horizon. Silver Shore, design 05, shows the sun’s light reflected on wet sand, a nice change from a path on open water.
For printing, each set has a PDF sized for US Letter paper, one scene to a page, and at Actual Size the picture comes out 8 inches square. If your printer keeps shrinking pages, the Actual Size setting is explained in how to print coloring pages. The ocean Read-Me warns that the deep blues use a lot of ink, so print one page as a test first. A printed scene also makes a ready backdrop: kids cut a silhouette from black paper, such as a palm tree, a cat on a fence or a sailboat, and glue it on top for a card or a bedroom picture.
Both sets are sold under our personal license. Home use is fine, so is a teacher handing prints to the kids in their own class, and so are copies run off within a single school for that school. Selling the scenes, prints of them or anything made from them is not allowed.
Still stuck on a sunset sky? Short answers
What colors do I need to draw a sunset?
Six sky colors and one dark: light yellow, orange, red-orange, pink, violet and medium blue, plus black, indigo or deep purple for the silhouettes. Lay them in that order from the horizon up.
How do you draw a sunset with oil pastels?
Draw the horizon and a half-circle sun, then color touching stripes from yellow at the bottom to blue at the top. Blend each seam side to side with a clean fingertip, rub white over the area near the sun, and add dark silhouettes last.
How do I draw the sun setting into the ocean?
Draw only the top half of the sun, flat side on the horizon line. Under it, fill a path of short yellow and white dashes that starts at the sun and widens toward the bottom of the page, with darker water showing between the dashes.
Which goes on paper first, the glowing sky or the dark shapes in front of it?
The sky first, every time. Dark silhouettes go on last, so their color can’t smear up into the yellow and orange.
How is a sunrise drawing different from a sunset?
The steps and colors are the same. To make it feel like morning, use softer peach and pale yellow, less deep red and purple, and add pale mist in the valleys or over the water.
Before a full drawing, try three small sunsets side by side, each about the size of a playing card, with the bands in a slightly different mix. Comparing them shows faster than any instructions which pink and which violet sit well together on your paper.
Printables from this article
Related articles
Backgrounds & Digital Paper
New Year Traditions: Eve, Day and Around the World
Twenty New Year's Eve and New Year's Day traditions, from the Times Square ball drop and Spain's twelve grapes to Japan's 108 bell strikes and Greece's coin cake, each with where it comes from, what people do and a small way to try it at home.
Backgrounds & Digital Paper
Christmas Scrapbook Ideas: 16 Layouts with Printable Paper
Pick a Christmas scrapbook page by how many photos you have and what you want to keep, print one background paper at Actual Size, then cut it into mats, pockets and tags so the photos and keepsakes stay the main thing.
Backgrounds & Digital Paper
How to Draw a Snowman: Easy, Cute Steps for Kids
Stack three snowballs that shrink from bottom to top, sink each one a little into the ball below, and stand the whole snowman on a ground line. Then add the hat, face, scarf and twig arms, and shade the white with pale blue instead of coloring it.