How to Draw a Snowflake Step by Step: Easy Snowflake Drawing
A snowflake drawing lives or dies on its six arms. Mark a center point, then draw three straight lines through it that run like 12 to 6, 2 to 8 and 4 to 10 on a clock face. That gives six arms spaced evenly around the middle. Everything after that is decoration, and the one rule is to give every arm the same branches, in the same spots. A simple flake with one V on each arm takes about 10 minutes. A detailed crystal with layered branches takes more like half an hour to 40 minutes, depending on how fine you go. Both times are planning estimates for a first try.
Below are three ways to set up the arms, the step-by-step easy snowflake, five arm designs to mix, a detailed frost crystal, white snowflakes on dark paper, a version for each age group, and the mistakes that make a snowflake look wrong.
Why every snowflake gets six arms
Real snowflakes start from the shape of ice itself. Wikipedia’s snowflake entry explains that a single snow crystal often comes close to six-fold symmetry because ice has a hexagonal crystal structure. A young crystal is a tiny hexagon, and the six arms grow out from its six corners.
That’s why a five-point or eight-point snowflake looks off to anyone who has studied one, even if they can’t say why. Keep the count at six. The same goes for cut paper: the six-point fold in our winter crafts matches real snow, while the quicker fold opens into eight points.
The same entry also notes that fewer than 0.1% of snowflakes show that ideal symmetric shape, and that most snow particles are irregular. So your drawing is already tidier than nature. If one arm comes out a little short, the flake still reads as a snowflake. Rare triangular and twelve-branched flakes exist too, but six arms is what people recognize.
A lid, a ruler and a light pencil
Snowflakes are all straight lines and repeats, so the tools are about keeping things even:
- a pencil for guide lines and an eraser that lifts them cleanly
- a ruler, or any straight edge such as a book cover
- something round to trace for the guide circle: a jar lid, a mug or a roll of tape
- a compass, if you have one, for the most exact method below
- a fine black or blue pen for the final lines (optional)
- light blue and gray colored pencils for shading
- dark paper and a white gel pen or white colored pencil, for the white-on-dark version
Plain copy paper works for practice. For a card or a window display, card stock holds up better, and it takes pen without soaking through.
Children under about 6 do better without the ruler. A traced circle and three freehand lines give them a good-enough flake, and the age notes further down show how to split the work. If you’re choosing between crayons, markers and colored pencils for a young child, our coloring tips go through each by age.
Three ways to space the six arms evenly
The angle between neighboring arms is 60 degrees. You never need to measure it if you use one of these setups.
The clock-face method (easiest). Trace a circle and imagine a clock on it. Mark 12 and 6, then 2 and 8, then 4 and 10. Each two hours on a clock is 60 degrees, so the six marks are spaced evenly. Rule a line from each mark to its partner straight through the center.
The compass method (most exact). Draw a circle with a compass. Without changing the compass width, put the point anywhere on the circle and make a small mark on the circle where the pencil lands. Move the point to that mark and step again. The radius fits around the circle exactly six times. Join each mark to the one directly across, through the center.
The two-triangle method (freehand). Draw a triangle pointing up and a matching one pointing down over it, so their points make a six-point star. Rule lines from each point through the center to the point opposite. Erase the triangles, and the arms stay.
The most common slip is the “plus and X” shortcut. A plus sign with an X over it looks right at a glance, but that’s four lines and eight arms. If you count more than six tips, start again with three lines.
How to draw a snowflake step by step
This is the classic flake: six arms, a small hexagon in the middle and two V-shaped branches on each arm. A guide circle 5 to 6 inches wide fits an 8½ x 11 sheet with room to spare. Press lightly through step 9; only the last step uses pen or firm pencil.
- Trace the guide circle. Place a lid or mug in the middle of the page and draw around it.
- Mark the center. Lay the ruler across the circle twice at different angles to find the middle, or fold the paper gently in half both ways and use the crossing point.
- Draw the first line. Rule a straight line from 12 o’clock to 6 o’clock through the center.
- Add the other two lines. Rule one from 2 to 8 and one from 4 to 10, both through the center. Check that you now have six equal wedges, like a pizza cut for six.
- Draw the center hexagon. On each arm, make a small tick about a quarter of the way out from the center. Join the six ticks with straight lines to make a small hexagon.
- Add the first branches. About halfway along one arm, draw a short line slanting out toward the tip on each side, so the pair makes a V. Do the same at the same spot on all six arms before moving on.
- Add the second branches. Nearer the tip, draw a smaller V on every arm. Keep them shorter than the first pair.
- Finish the tips. End each arm the same way: a small V, a short crossbar or a tiny diamond.
- Check the repeats. Turn the paper as you go and compare each arm with the one opposite. They should match like a reflection.
- Erase and ink. Rub out the guide circle and stray marks. Trace the arms, hexagon and branches once with a fine pen, ruling the straight lines again so they stay crisp.
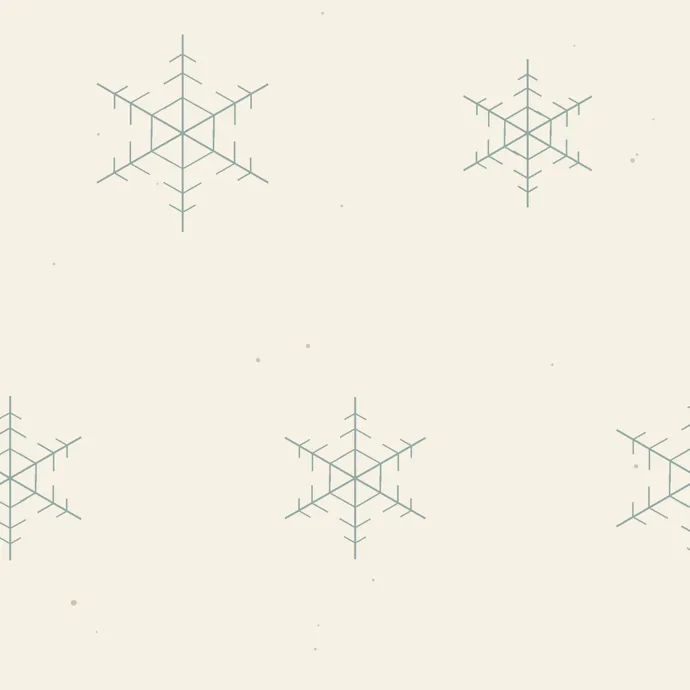
The image above shows how far simple can go. Each of those flakes is just six lines, a hexagon and a few V branches, and that’s enough to read as a snowflake from across a room.
Work feature by feature, not arm by arm. If you finish one arm completely and then try to copy it five times, small differences add up. Doing all six first branches, then all six second branches, keeps them matched.
Five arm designs to mix and match
Once the six arms are in place, the branches decide the snowflake’s character. Pick one design and repeat it on all six arms.
- Simple V’s. Two or three V branches along each arm, getting smaller toward the tip. Clean and quick, and the easiest for kids.
- Fern arms. Lots of short, evenly spaced branches on both sides of each arm, like a feather. This is the closest to the branchy crystals that real snowflake arms often grow into.
- Plate tips. Instead of branches, end each arm with a small hexagon or a diamond. Add a dot inside each one for a jewel look.
- Ring and spokes. Draw a second, larger hexagon that joins all six arms partway out, then branch only beyond it. The flake looks solid and lacy at the same time.
- Loop arms. Swap the straight branches for small teardrop loops pointing outward. These are softer and look good on cards and gift tags.
Tiny flakes scattered around a big one need almost none of this. At half an inch across, three crossed lines with a dot in the middle already read as snow.

Mixing sizes is what makes a page of snowflakes feel natural. Draw one or two large flakes first, then several middle-size ones, then fill the gaps with tiny ones. Leave some empty space; an evenly packed page looks like wallpaper rather than falling snow.
A detailed frost-crystal snowflake
For an older child or an adult who wants a showpiece, build the flake in layers. Allow 30 to 40 minutes.
- Set up the six arms and the guide circle as in the easy steps, about 6 inches across.
- Draw a second set of six shorter arms between the first ones, at 1, 3, 5, 7, 9 and 11 o’clock, reaching only a third of the way out. They stay inside the six-fold pattern, since each one sits evenly between two main arms.
- Give each main arm fern branches: short lines every quarter inch or so on both sides, slanting toward the tip.
- On the longest branches near the middle of each arm, add tiny side branches of their own. Stop after this level; going smaller turns it gray.
- Draw a hexagon at the center, and a second, larger hexagon that links the main arms just inside the first branches.
- Ink only the main arms and hexagons with a pen. Leave the finest branches in sharp pencil, so the flake looks lighter at the edges.

Use a design like this for color and texture ideas, not as something to trace. It’s a digital illustration packed with overlapping crystals, and copying it line by line would take hours. Pick one crystal shape you like and build your own with the steps above.
White snowflakes on dark paper
A white flake on navy or black paper looks the most like snow against a winter sky, and it hides small wobbles better than dark lines on white.
- Plan in light pencil. A regular pencil barely shows on dark paper, which is good for guides. Press lightly so the graphite doesn’t shine through the white later.
- Use a white gel pen or a white colored pencil. Gel pen gives the brightest line. Let each line dry for a few seconds before your hand moves over it, or it smears.
- Go over thin spots once. White ink can skip on textured paper. Wait until the first pass dries, then trace over any gaps.
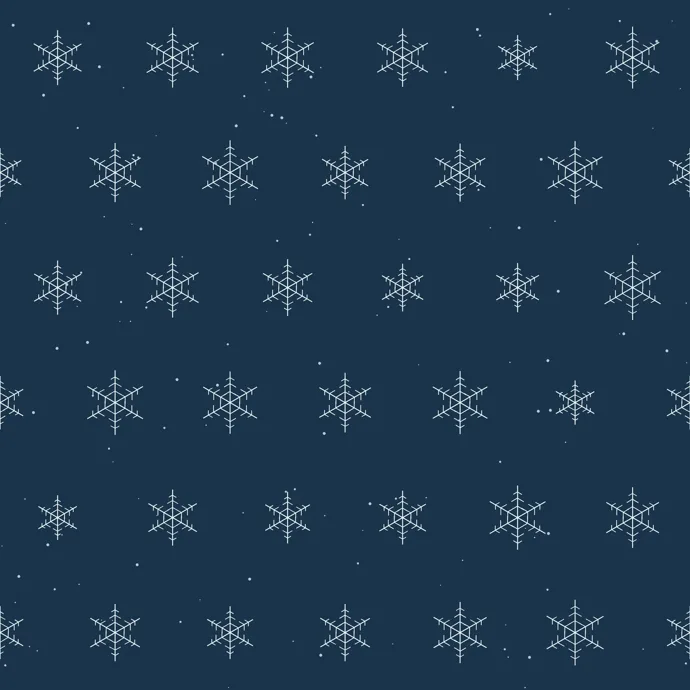
- Add a few dots. Scatter small white dots between the flakes for falling snow, as on the navy paper above.
On white paper, the reverse works: outline the flake in light blue pencil and shade the paper around it in pale blue or gray, so the snowflake stays white. Some people use a white crayon to draw the flake first and then paint over it with watercolor; the wax keeps the paint off the lines.
How far kids can take a snowflake at 3, 6 and 9
Six arms and matching branches are a good first lesson in symmetry, and the steps scale well.
Ages 3 to 5, about 5 to 10 minutes. An adult traces the circle and rules the three lines. The child adds dots at each tip and one V on each arm, counting the six arms out loud. For a hands-on version with no drawing at all, the cotton-swab snowflakes in the winter crafts guide linked above use the same six-arm idea.
Ages 6 to 8, about 15 minutes. Teach the clock-face method with a traced lid. Let them choose one arm design from the list above and repeat it on all six arms. Remind them to do the same branch on every arm before adding the next one.
Ages 9 and up, 30 minutes or more. Use the compass method and the detailed frost-crystal steps, then the white-on-dark version as a second piece.
A 45-minute classroom plan
For ages 7 to 10, one class period of 45 minutes is enough to go from blank paper to a hanging snowflake:
- 5 minutes: show the clock-face method on the board and ask why snowflakes have six arms
- 10 minutes: everyone traces a circle and rules the three lines, then the center hexagon
- 15 minutes: branches and tips, one feature at a time across all six arms
- 10 minutes: shading or a second, smaller flake beside the first
- 5 minutes: cut out the flakes and hang them together on a wall or window
Check each child’s lines before branches start. A flake with eight arms is easy to fix at the line stage and frustrating to fix after the branches are on.
Paper-cut snowflakes with the six-point fold make a good follow-up for the same group. For more cold-weather lessons, see our winter activities for kids, and for December projects, our Christmas activities for kids.
Snowflake drawing mistakes and fixes
- Eight arms. A plus sign plus an X gives eight. Use three lines through the center, not four.
- Arms of different lengths. Without a guide circle, arms drift long and short. Trace a circle first and stop every arm at its edge.
- Crooked arms. If two opposite arms don’t form one straight line through the center, the flake looks bent. Rule each line in one stroke from edge to edge.
- Branches that don’t match. Copying one finished arm five times creates small differences. Work in rounds: all six first branches, then all six second branches.
- Too busy to read. Very small flakes with lots of branches turn into gray smudges. For flakes under an inch, use only the arms and one V.
- A soft, lumpy center. Where six lines cross, pencil builds up into a blob. Draw the hexagon before inking and keep the middle point light.
- Smeared white ink. Gel pen on dark paper stays wet for a moment. Work from the side away from your drawing hand, or rest your hand on a scrap sheet.
Snowflake papers to study, print and draw on
None of the papers below is a line drawing. Each is a full-color digital design, made with AI assistance, so treat it as a model to look at while you draw: how the arms are spaced, which blues and creams sit well together, how flakes fill a page. Once your own snowflake is inked, a printed paper also makes a ready-made backdrop for it.
Our winter backgrounds are the most useful for structure. The set has 16 square papers plus 2 widescreen room scenes: Snow Window Retreat, with a bench under the window, and Winter Reading Room, with a bookshelf, a lamp and a table. Both look out a large window at snowy hills and firs. Design 36-01, Large Sixfold Snowflakes, shown in the step-by-step section, lays out the six arms, center hexagon and V branches clearly, and 36-03 Snowflakes and Star Points shows the same kind of flake in cream on sage.
Our snow backgrounds cover snow itself in 16 designs. Besides the tiny flakes in 32-08 and the frost crystals in 32-11, 32-09 Open Snowflake Field spaces larger flakes farther apart, which is a handy layout model for a page of snowflakes. The 32-08 and 32-09 designs are also among the set’s 4 seamless repeating tiles.
Our winter wallpapers are mostly snowy night scenes, including moonlit forests and a lamplit village, with two snowflake patterns: 27-14, the white-on-navy lattice above, and 27-15 Starlit Snowflake Drift. Each scene also comes as a 1920 x 1080 and a 3840 x 2160 screen image, so a finished drawing session can end with a matching desktop background.
Two easy ways to put a drawing and a background together:
- Card front. Print one of the plain sky or gradient papers, cut out your inked snowflake and glue it on, then fold the card around it.
- Window or wall display. Print a dark paper such as the navy lattice, then pin white-pen snowflakes cut from black paper on top.
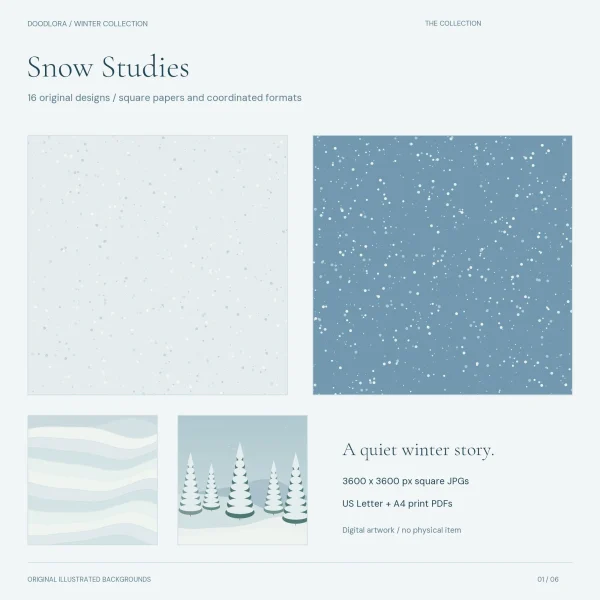
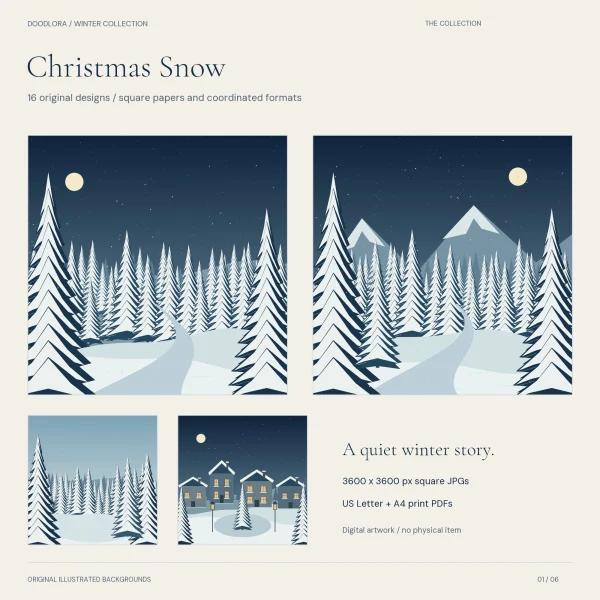
Each set has square JPGs at 3600 x 3600 pixels and 300 dpi, plus 16-page PDFs for US Letter and A4 with one design per page. Print the PDFs at Actual Size; the art stays square inside white margins. If the printer dialog keeps scaling pages down, the steps in how to print coloring pages cover where to find Actual Size. The sets’ START-HERE files warn that screen and printed colors may vary, so test a single sheet first.
All three sets come with a personal license. That covers home use, a teacher using the pages with their own class, and copies made inside one school for its own activities. Selling the papers, or things made from them, is not included.
Questions about drawing snowflakes
What is the easiest way to draw a snowflake?
Draw three lines crossing at one center point, like 12 to 6, 2 to 8 and 4 to 10 on a clock. Add a small V near the end of each arm. That’s a recognizable snowflake in a couple of minutes.
How many points does a snowflake have?
Six. Ice forms hexagonal crystals, so a single snow crystal grows six arms from the corners of a tiny hexagon. Eight-point snowflakes usually come from the quick paper-folding method, not from nature.
How do I make all six arms the same length?
Trace a circle with a lid or a compass first and stop every arm at its edge. Erase the circle after inking.
Do snowflake arms have to match exactly?
Not exactly. Wikipedia notes that real snowflakes are never perfectly symmetrical and that most are irregular. Matching branches make a drawing look neat, but a slightly uneven flake still reads as snow.
What should I color a snowflake?
Leave it white and color around it in pale blue or gray, or draw it in white on dark blue or black paper. Light blue lines on white paper work well for small flakes.
For a first sheet, rule three snowflake skeletons side by side and give each one a different arm design from the list. Seeing them next to each other makes it easy to choose which one to draw large.
Printables from this article
Related articles
Backgrounds & Digital Paper
New Year Traditions: Eve, Day and Around the World
Twenty New Year's Eve and New Year's Day traditions, from the Times Square ball drop and Spain's twelve grapes to Japan's 108 bell strikes and Greece's coin cake, each with where it comes from, what people do and a small way to try it at home.
Backgrounds & Digital Paper
Christmas Scrapbook Ideas: 16 Layouts with Printable Paper
Pick a Christmas scrapbook page by how many photos you have and what you want to keep, print one background paper at Actual Size, then cut it into mats, pockets and tags so the photos and keepsakes stay the main thing.
Backgrounds & Digital Paper
How to Draw a Snowman: Easy, Cute Steps for Kids
Stack three snowballs that shrink from bottom to top, sink each one a little into the ball below, and stand the whole snowman on a ground line. Then add the hat, face, scarf and twig arms, and shade the white with pale blue instead of coloring it.