How to Draw a Christmas Tree: Easy and Realistic Steps
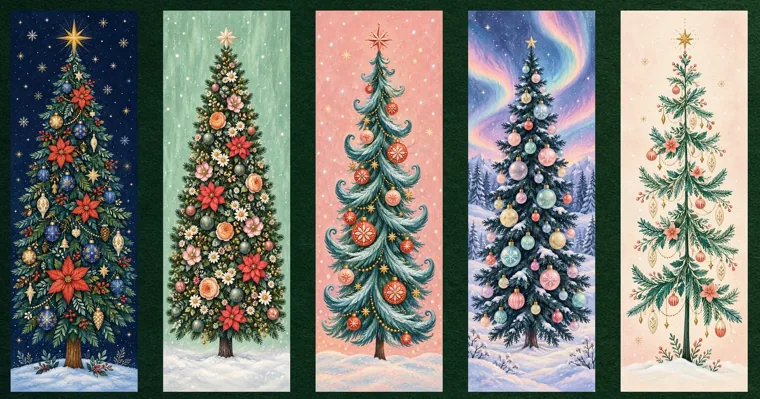
To draw a Christmas tree, run a straight line down the middle of the page, hang three overlapping triangles on it that get wider toward the bottom, then add a short trunk and a star. That easy version takes about 15 minutes with decorations. A realistic fir keeps the same center line but trades the triangles for drooping layers of branches built from short needle strokes, and it takes closer to 45 minutes. Most lopsided trees go wrong before the first branch, so mark the height and the widest point first.
Below are both versions with sizes for a letter-size sheet, a two-minute background tree, then decorating, drawing with kids and coloring.
| Version | Good for | Time | What makes it look right |
|---|---|---|---|
| Easy cartoon tree | Kids, card fronts, a first try | 10–15 min | Three tiers that overlap and widen |
| Realistic fir | Teens, adults, sketchbooks | 30–45 min | Drooping branches with gaps between them |
| Tiny background tree | Snowy scenes, the edge of a card | 1–2 min each | A zigzag that widens as it goes down |
| Decorating a printed tree | Younger kids | 15–20 min | A blank tree outline to fill |
What you need to draw a Christmas tree
A pencil, an eraser and a sheet of printer paper cover every version here. Add a black fine-tip pen if you want a crisp outline, and two or three greens in colored pencil, crayon or marker for coloring. A ruler helps with the center line, though folding the paper works just as well. Plain printer paper is fine for pencil and crayon, but markers can soak through it, and the paper section of how to print coloring pages matches a paper weight to each tool.
For kids, swap the pencil guides for a yellow crayon. Yellow disappears under green, so nobody has to erase, and erasing is where young artists tear printer paper.
Measure first: the guide lines that keep a Christmas tree straight
A tree drawing leans or turns lopsided when the two sides are guessed separately. Fix that with one vertical line and two marks before you draw anything else. Every later measurement hangs off those marks, so it’s worth thirty seconds of attention here rather than ten minutes of erasing later.
Fold a letter-size sheet (8.5 × 11 in) in half the long way, open it, and use the crease as the center line. Make a small mark about 1.5 in below the top edge for the tip and another about 2.5 in above the bottom edge where the branches end. That leaves room under the tree for a trunk and a few gifts. Then mark the widest point on either side of the center line, level with that lower mark, using these sizes:
| Easy cartoon tree | Realistic fir | |
|---|---|---|
| Height, tip to lowest branch | About 7 in | About 7 in |
| Widest point | About 5 in (2.5 in each side of the line) | About 2.5–3.5 in |
| Trunk | 1 in wide, 1 in tall | Two close lines, about 3/4 in showing |
| Star | About 1 in across | About 1/2 in, or leave it off |
The easy tree is wide on purpose, since a chunky shape holds decorations and reads well from across a room. A real fir is much slimmer, and a realistic drawing looks stretched or squat if it borrows the cartoon width.
How to draw an easy Christmas tree step by step
The easy tree is three triangles stacked on the center line, each tucked behind the one above. It’s the version kids can manage, and the overlap is what makes it look like a tree instead of a stack of party hats.
- At the tip mark, draw a light circle about 1 in across. It only holds the star’s place for now.
- From the bottom of that circle, slant two lines down and out to make the top tier. Stop about 2 in lower, when the tier is roughly 2.5 in wide. Leave its bottom edge open.
- Start the middle tier halfway up the top tier. Its sides run outward behind the first triangle, so only draw the parts that show outside it. Bring them down about 2.5 in below the top tier’s bottom, to a width of about 4 in.
- Start the bottom tier halfway up the middle tier the same way, and finish it on your two widest-point marks, about 5 in across.
- Close each tier with a scalloped edge, a row of shallow U-shapes across the bottom of the tier. Let the outer scallops poke slightly past the side lines so each tier looks thick, then erase any tier lines that cross behind the scallops.
- Center a trunk under the bottom tier, a rectangle about 1 in wide and 1 in tall. If gifts sit in front of it, draw the boxes first and only the visible part of the trunk.
- Turn the circle into a star with one continuous line. Start at the lower left point, go up to the top point, down to the lower right point, up to the left arm, straight across to the right arm, and back to the start. Trace around the outer edge, then erase the five-sided shape left in the middle.
- Trace the final outline in pen. Erase the height marks and tier guides only once the ink is fully dry, because wet ink smears under an eraser.
The snag almost everyone hits is tiers that stay the same width, which turns the tree into a column. Check each tier’s bottom against your marks before you scallop it. The second snag is a tiny star; at about 1 in, it should look a little too big while you draw it.
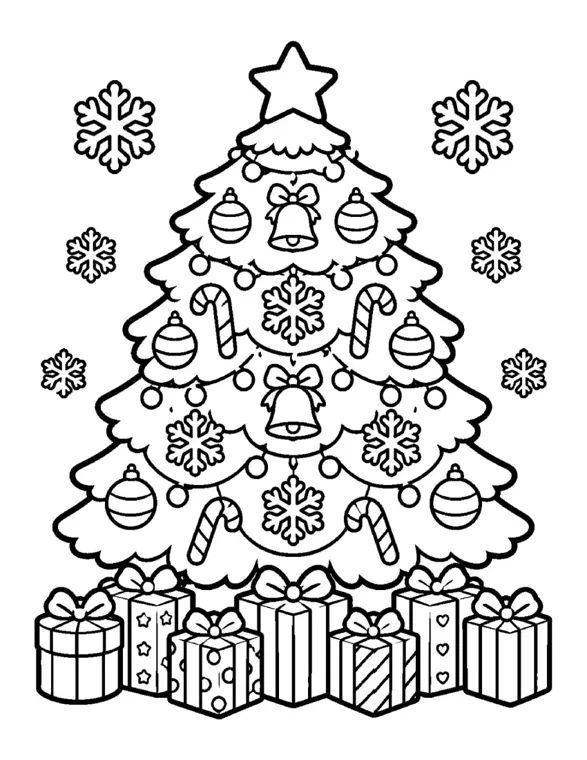
How to draw a realistic Christmas tree with branches and needles
A realistic fir uses the same center line and height marks, but nothing gets an outline. The shape comes from branches layered from the top down, which is why this version takes three times as long as the cartoon tree. The real difference isn’t difficulty but construction: you’ll build this tree from the trunk outward instead of filling in an outline.
- Sketch a tall, narrow triangle very lightly, from the tip mark down to a base about 3 in wide. It’s a boundary for the branch tips, and you won’t ink it.
- Draw the trunk as two lines close together on the center line, slightly wider at the ground. Only about 3/4 in needs to show below the lowest branches, but sketch it up through the middle so the branches have something to grow from.
- Make tick marks down the center line where each layer of branches starts. Space them close near the top, about 1/2 in apart, and wider near the bottom, about 1 in apart. That gives you roughly nine or ten layers.
- From each tick, draw a branch line out to the edge of the triangle on both sides. Angle it slightly downward and let the very end lift a little. Make the left and right branches different lengths, because a real tree isn’t a mirror image.
- Cover each branch with needles: short strokes about 1/4 in long, angled out toward the tip and slightly down. Pack them tight along the top of the branch and let a looser fringe hang underneath. Let each layer overlap the one below it.
- Leave a few small gaps between layers where the trunk shows through. These dark pockets give the tree depth, so don’t fill them with needles.
- Shade with more pencil pressure under each layer and close to the trunk, and less at the branch tips. Pick one side for the light and keep that side’s tips lighter all the way down.
- Draw a wavy snow line across the bottom and a short shadow on the side away from the light.
The common mistake is outlining the whole triangle and filling it with needles, which makes the tree look like a cardboard cutout. The other is drawing every needle in the same direction, like comb teeth. Turn the paper as you work so your strokes always flick outward from the trunk.
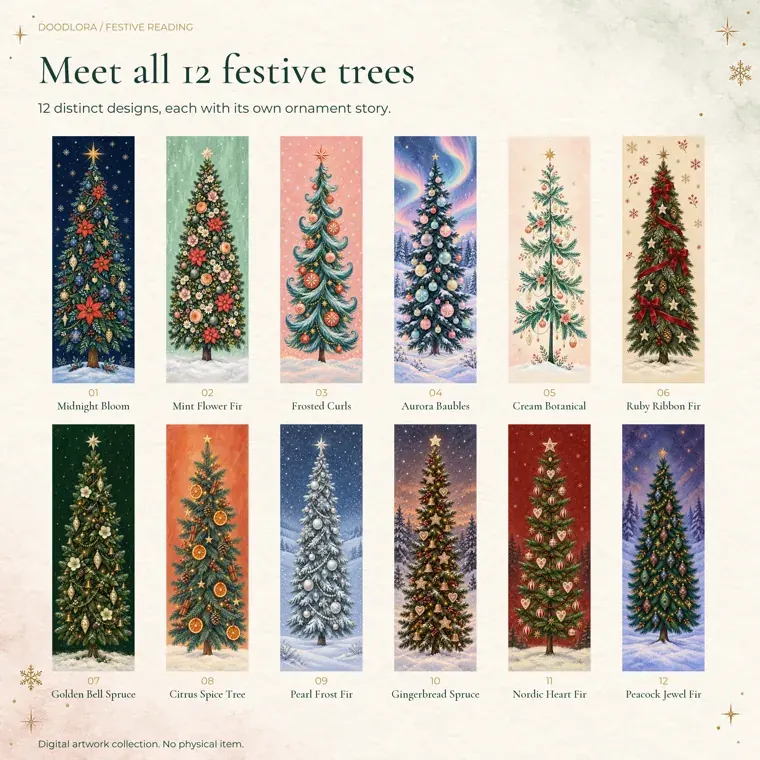
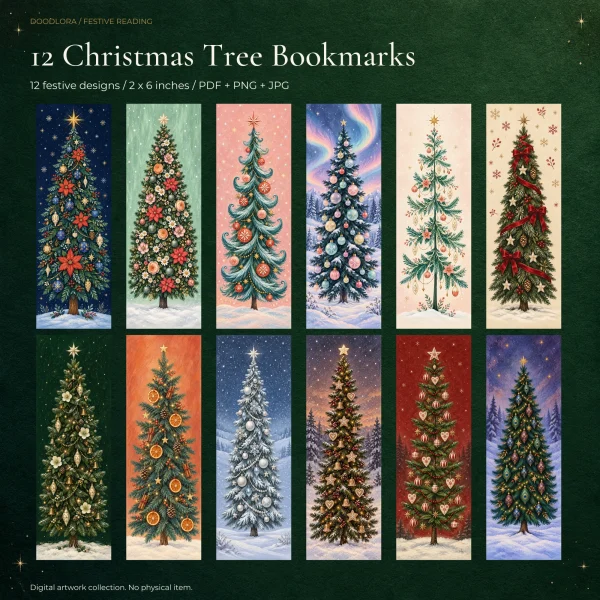
For proportions, look at the trees on our Christmas Tree Bookmarks. Each bookmark is 2 × 6 inches and one tree runs nearly the full height, so every tree is close to three times as tall as it is wide. The Pearl Frost Fir in the set also shows how snow sits on the top edges of the branches, which you can copy by leaving those edges as bare paper.
Quick tiny trees for snowy backgrounds and card fronts
A row of small trees fills the back of a winter scene or the corner of a homemade card, and each one takes a minute or two. Skip the measuring here, since small size hides small mistakes.
Draw a short vertical line for the trunk and center line together. Starting at the top, zigzag down one side with each point reaching a little farther out than the last, then do the other side. Close the bottom with a flat line and leave a tiny bit of trunk showing. For a row, draw the closest tree largest and lowest on the page, then make each tree behind it smaller and higher. That one change makes a flat row read as a forest. If you’re coloring, use a paler, slightly bluer green for the back row; distant trees look lighter in real life too, an effect painters call atmospheric perspective.
Decorating your Christmas tree drawing in the right order
Drawing decorations in the wrong order leaves lines crossing through ornaments that should sit in front. Work from the back of the tree to the front: garland first, then ornaments, bows and lights, with the star last if it isn’t drawn yet.
- Garland. Draw each strand as a curve that dips in the middle, like a shallow smile, running off both edges of the tree. Tilt every strand the same way so they look like one string wrapping around a cone.
- Ornaments. Draw circles from about 1/4 to 1/2 in across, each with a small rectangle cap and a short hook line up to a branch. Hang them at branch tips or along a scallop edge, never floating in the middle of nowhere, and mix the sizes.
- Bows. Two loops and two tails, with a small knot in the middle. Put them where the garland dips.
- Lights. Small ovals or dots along the garland path. For a colored tree, leave a white ring around each light so it glows.
Leave some green showing. A tree covered edge to edge in ornaments loses its shape, and the outline is the part people recognize first. Uneven placement also looks more natural than a perfectly symmetrical grid, so don’t line the ornaments up in rows.
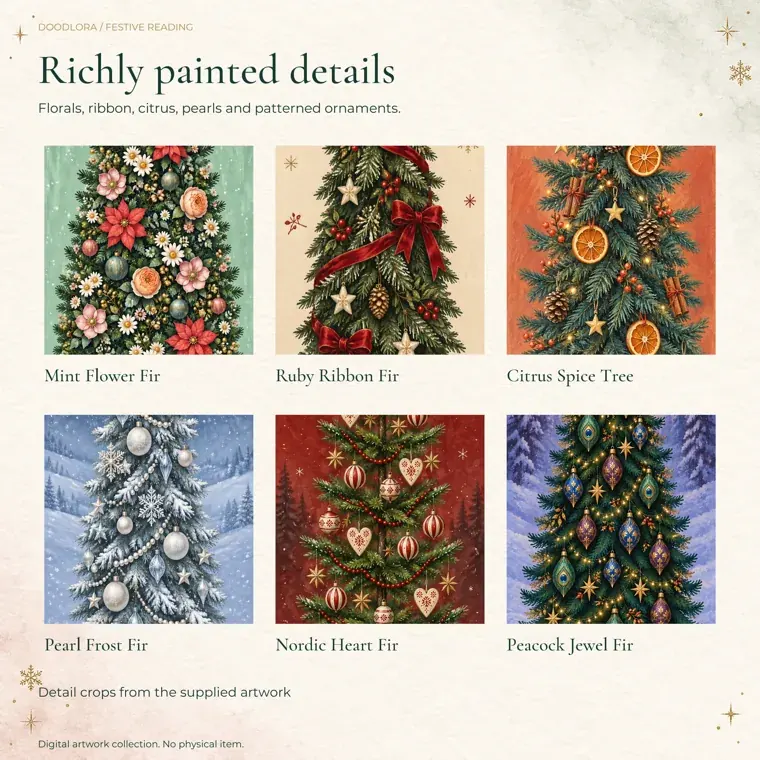
Once the basics work, borrow a theme. The detail crops below come from our tree bookmarks and show ideas you can draw with simple shapes: a dried orange slice is a circle with eight wedge lines, a heart ornament is a heart with a hook, and a pinecone is an oval of overlapping U-shapes.
Drawing Christmas trees with kids at home or in the classroom
The easy tree works as a group activity because everyone starts from the same fold line. Plan on 20 to 30 minutes for a single child or a full class of twenty-five.
Before you start, fold one sheet per child the long way and put out crayons, with a yellow one for guides. Draw a sample tree on the board or a big sheet of paper, one tier at a time, and have the kids copy each tier before you show the next. Saying “small on top, big on the bottom” out loud heads off the upside-down trees younger kids tend to draw. Beyond that, don’t correct individual trees. A crooked tree with enthusiastic decorations is still a finished drawing, and kids lose interest fast when an adult fixes their lines.
A simple plan runs like this: five minutes of demo, ten minutes drawing the tree and trunk, and ten minutes decorating, with a few minutes left to clean up. To wrap up, cut the trees out and tape them in a row along a wall so the class ends with a forest. A tree drawn on a folded half sheet also turns straight into a card front.
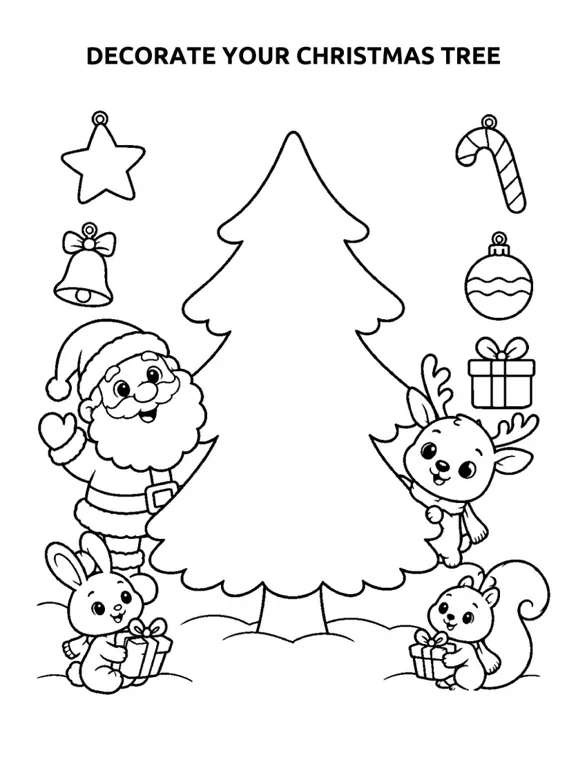
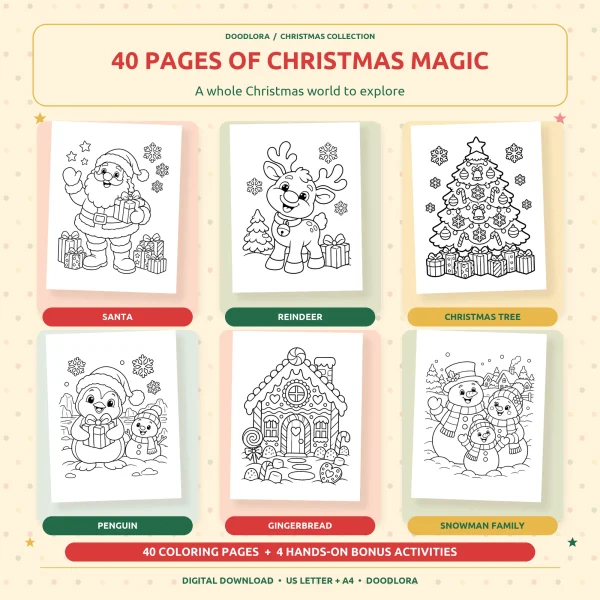
Kids who aren’t drawing triangles yet can skip straight to decorating. Our Christmas Magic pack includes a bonus page with a blank tree outline and a few ornaments to copy around it, so they get the fun part without the measuring. If you’re filling a whole December afternoon, Christmas activities for kids adds crafts, kitchen projects and classroom ideas for the week before winter break.
Coloring the finished Christmas tree drawing
Color the tree the same way you shaded the realistic version: light first, dark last. Lay a light green over the whole tree, then go back with a darker green underneath each tier or branch layer and next to the trunk. That contrast creates the impression of depth even on the flat cartoon version. Leave a small white spot on every ornament as a highlight, give the star yellow with a touch of orange at its points, and color the trunk brown.
Crayons and colored pencils both build up nicely in light layers, the same light-colors-first order laid out in these coloring tips. Markers are less forgiving, since a second dark pass can soak through thin paper. Before you color a whole tree in marker, try your greens on a spare printout, as coloring with markers suggests.
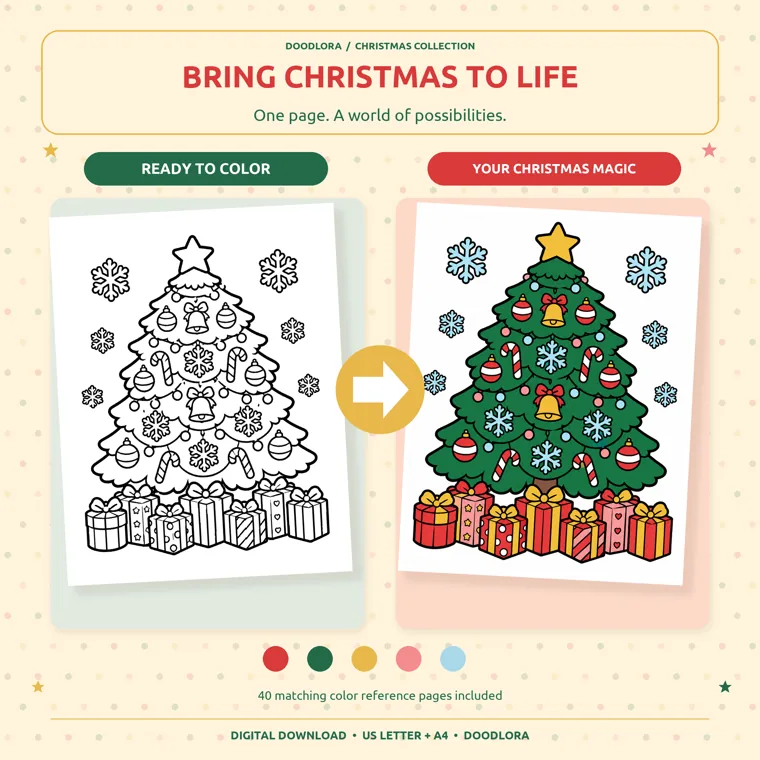
Printables from this article
Related articles
Printable Coloring Pages
Is a Tomato a Fruit? Is Corn a Vegetable? Cucumbers Too
A tomato is a fruit in botany because it grows from the flower and holds the seeds, and a vegetable in the kitchen; the Supreme Court took the kitchen side in Nix v. Hedden in 1893, for the tariff only.
Printable Coloring Pages
How to Draw Food: Cute Fruit, Desserts and Snacks
Every cute food starts as a plain shape. Ink one bold outline, add the single detail that names it, color it warm with a white shine spot, and put a face on last if you want one.
Printable Coloring Pages
Types of Sushi: Nigiri vs Sashimi, Rolls and Sushi for Kids
Sushi is vinegared rice plus a topping or filling, and the shape gives each type its name: nigiri, maki, uramaki, temaki, gunkan, chirashi, inari and oshizushi. Sashimi is sliced fish with no rice. Here's how to spot each one, what to order first and which pieces have no raw fish.