How to Draw Mountains: Easy Mountain Drawing Step by Step
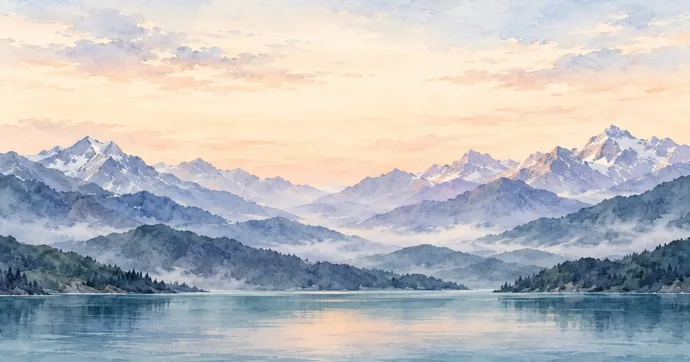
To draw mountains that look solid instead of like a row of paper triangles, give each peak one steep side and one long side, let the ridge line rise and dip as it travels, and shade only the faces turned away from the light. Then make every range behind it paler than the one in front. Those four moves turn a handful of pencil lines into a mountain range with depth.
The pencil drawing below takes about 30 minutes, and coloring it adds another 20 to 30. Treat those times as a rough guide for planning an afternoon; nobody stood over a drawing with a stopwatch. You need an ordinary pencil, a softer dark one, an eraser and plain paper. Colored pencils are optional. Snowcaps and a lake reflection are built into the steps, and after them come colors for each layer, a simpler mountain for young kids, a plan for a class and the mistakes that flatten a mountain drawing.
Supplies for a mountain drawing, and which way to turn the paper
Turn the paper sideways. A mountain range runs wide, and a landscape sheet gives you room for a lake in front and a second range behind. Plain copy paper is fine for practice, while slightly heavier drawing paper takes more shading without going shiny.
Two pencils cover everything. Use an HB (a normal school pencil) for the light layout lines and the far mountains, and a 2B or 4B for the shadow faces and the dark trees along the shore. Kids who only have one pencil can still get two tones by changing how hard they press.
A kneaded eraser earns its place here. You press it onto the paper instead of rubbing, and it lifts graphite without smearing, which is how you pull a bright edge back into a snowfield or soften a far ridge into haze. A plain white eraser works for cleanup. Keep a scrap of paper under your drawing hand, because a side of the hand dragged across fresh graphite will gray the snow you were saving.
If you plan to color, gather a light blue, a lavender or blue-violet, a blue-gray, two greens, a brown and something warm (yellow-orange or pink) for evening light. If you’re choosing coloring supplies for a child, the age-by-age comparison of crayons, markers and colored pencils in our coloring tips helps you pick; for mountains, colored pencils layer best.
How much to try depends on who’s drawing. These are suggestions, not results from a tested class:
| Who’s drawing | What to try | Rough time | How a grown-up helps |
|---|---|---|---|
| Ages 4 to 6 | The three-hump mountain in the kids’ section below | 10 to 15 minutes | Draws the first hump on a separate sheet as a model |
| Ages 7 to 10 | Steps 1 to 6, plus color, skipping the lake | 25 to 35 minutes | Reminds them to press lightly on the back range |
| Ages 11 and up, and adults | All nine steps, then color | 45 to 60 minutes | Not needed |
Why a triangle mountain looks flat
Most first mountain drawings are an upside-down V. It reads as “mountain” right away, but it looks like a cardboard cutout for three reasons. Both sides slope at the same angle, the sides are perfectly straight, and the point sits in the middle. Put three of those side by side at the same height and you get saw teeth.
Real ridge lines are lopsided and restless. One side of a peak usually drops steeply while the other runs down in a long, uneven slope. On the way down the line pauses on a flat shoulder, dips into a notch, climbs to a smaller second peak and drops again. Peaks along the same ridge are never quite the same height.
Before you start the real drawing, spend two minutes on a scrap sheet drawing ridge lines across the page from left to right. Let the line climb steeply, rest, dip, climb a little, then run down long. Five or six of those loosen the hand and stop the V from sneaking back.
How to draw mountains step by step in pencil
These nine steps build one main mountain with a range in front of it, a fainter range behind, a snowcap and a lake. Work lightly with the HB until step 5. Every early line is a guess you may want to move.
Step 1: Draw the shoreline and mark the tallest peak
Draw a light horizontal line about a third of the way up from the bottom of the page. That’s where the mountains meet the lake. If you don’t want a lake, put the line lower, closer to the bottom edge, and let it be the ground.
Now put a small dot for the top of the tallest peak, roughly a third of the way in from the left or right edge and well above the middle of the page. Keeping the peak off-center is the first fix for the triangle problem. A peak in the dead center splits the drawing into two equal halves, and the eye has nowhere to travel.
Step 2: Draw the main ridge line
From the dot, draw the steep side first: a short, fairly sharp drop that reaches the shoreline or disappears behind where the front range will go. Then draw the long side going the other way. Let it pause on a shoulder, dip into a notch and rise to a lower second peak before it runs down to the shoreline.
Keep the line slightly jagged rather than smooth. Small bumps along the top read as rock. A perfectly smooth curve reads as a sand dune.
Step 3: Add a range in front and a range behind
Draw a second, lower ridge line in front of the main mountain so it crosses over the main mountain’s lower slopes. Wherever the front ridge passes, erase the main mountain’s lines below it. This overlap is what tells the eye which mountain is closer, more than size or shading does.
Then add a faint third ridge behind, peeking out in the gaps between the main peaks. It only needs to show for a short stretch on each side.
One thing to check: two ridge lines that touch at exactly the same point, or a peak that sits exactly on the edge of another mountain, look like one strange shape. Nudge one of them up, down or sideways so the lines clearly cross or clearly miss.
Step 4: Draw the crest lines that split light from shadow
Decide where the sun is, upper left or upper right, and make a tiny mark in that corner so you don’t forget halfway through. From each peak, draw a line running down the body of the mountain. These are the crests of the smaller ridges, and they branch as they come down, like the roots of a tree turned upside down. Draw three to five on the main mountain and fewer on the others.
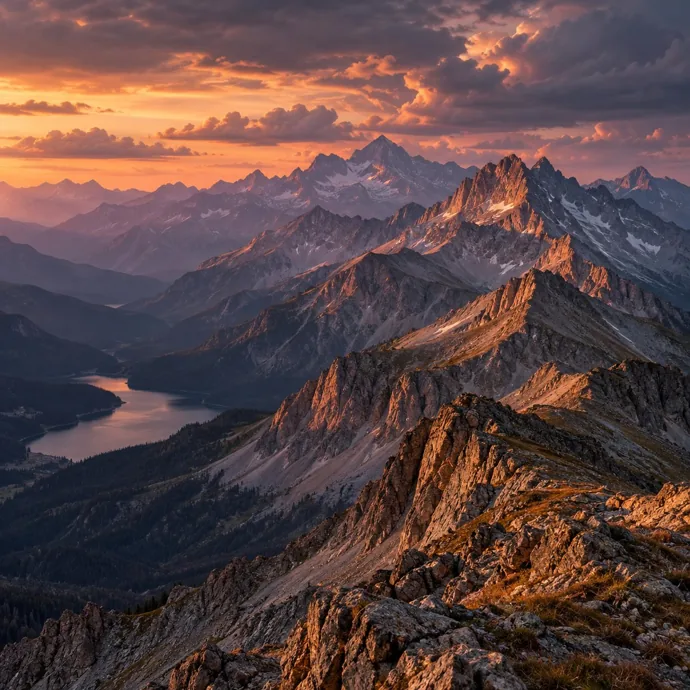
Each crest line divides two faces. The face turned toward your sun mark stays light, and the face turned away will be shaded. In our Amber Ridge Evening scene below, every crest has a warm, bright face on one side and a cool, gray face on the other, which is exactly the split you’re drawing.
Step 5: Shade the shadow faces
Switch to the 2B. Shade each shadow face with strokes that run down the slope, the way water would run off it, not across it. Press hardest right next to the crest line and ease off as you move away from it. The hard edge against the crest makes the ridge look sharp, and the softer far side keeps the face from turning into a flat dark patch.
Leave the lit faces mostly bare paper. A few short, broken strokes in the direction of the slope are enough to suggest rock. On the front range, push the shadows a little darker than on the main mountain, since it’s the closest.
Step 6: Add the snowcap
Snow is simply paper you don’t shade. Lightly draw the lower edge of the snow as a ragged, uneven line around the upper part of the main mountain, never a straight band. Let the snow run farther down in the grooves between crest lines and stop higher on the steepest faces, where bare rock shows through. That broken edge, with rock poking up through the white, is what makes snow look like it’s lying on the mountain rather than painted on top.
On the shadow side, give the snow a very light, even gray tone with the side of the HB. The snow still reads as white, but now it’s white in shade. Don’t outline the snowcap in dark pencil. The edge should come from the gray of the rock meeting the white of the paper.
Snow sits up high because there’s a height on every mountain, called the snow line, above which snow lasts much longer. That line moves up and down with the seasons, so a summer mountain gets a small cap and a winter mountain can be white most of the way down.
Step 7: Make the far ranges paler
Go back to the faint range behind the main mountain. Keep it the lightest thing on the page: light pressure, no rock lines, no dark shadow, just a soft tone on its shadow side. If it got too dark, dab it with the kneaded eraser until it fades.
This matches what you see outdoors. The air between you and a distant mountain scatters light, so the farther something is, the lower its contrast, the fewer details you can see, and the more its color shifts toward the background color, usually blue. Around sunrise and sunset that background color can be warmer instead.
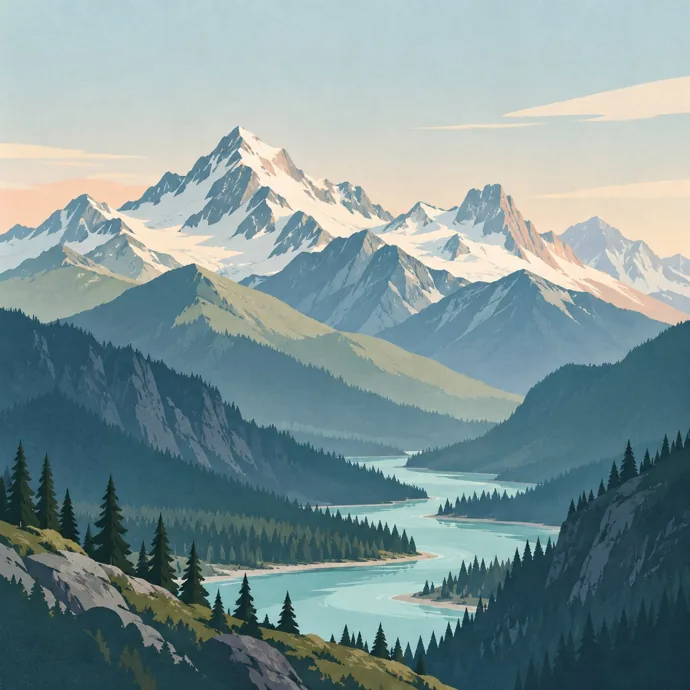
In pencil, the rule becomes three layers of pressure: the back range barely there, the main mountain in middle tones, and the front range carrying the darkest darks and most detail. Our Paper Cut Alpine Layers scene shows the same idea in color, with each range a step lighter and bluer than the one before it.
Step 8: Mirror the mountains in the lake
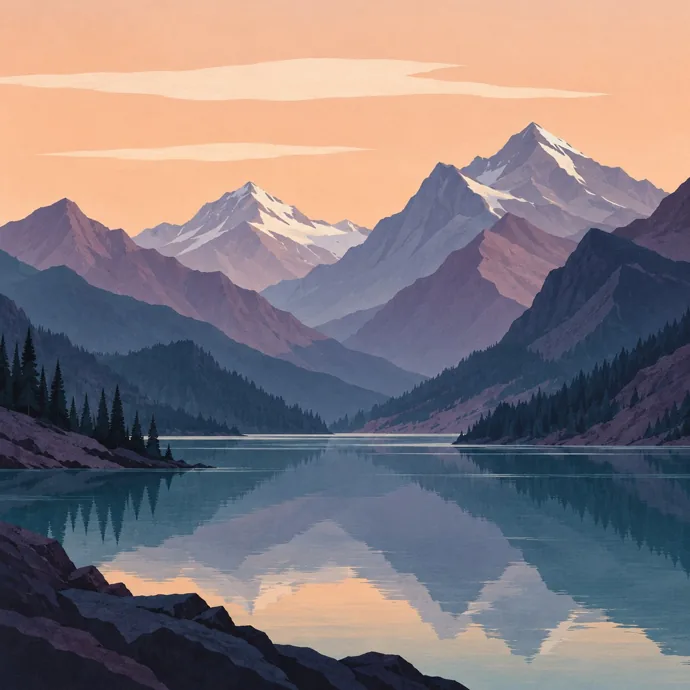
Below the shoreline, the reflection hangs straight down. Each peak’s reflection sits directly under that peak, upside down and the same width. It reaches about as far down as the mountain rises above the shoreline, often a little less, because the near shore hides the bottom of the reflection.
Draw the reflection with horizontal strokes only, and keep it softer and lower in contrast than the mountain itself. Leave a few thin, unshaded horizontal gaps across it. Those breaks read as ripples and tell the eye that this is water. The snowcap’s reflection stays pale like the snowcap, and the dark front range makes the darkest band right along the shore.
If the drawing feels busy, reflect only the main peak and the front range. A calm lake with one clear reflection says more than a full copy of every ridge.
Step 9: Darken the foreground and clean up
With the 4B, add a few pine trees or rocks along the shore. Pines are just a vertical line with short zigzag strokes down both sides, wider at the bottom. Make them the darkest marks in the whole drawing. That dark band in front pushes everything behind it farther away.
Erase any leftover layout lines and the sun mark. If you want to ink the drawing, ink only the front range and the trees. An ink line around the far mountains pulls them forward and undoes step 7.
Coloring mountains with colored pencils
Color in the same order you drew: back to front and light to dark. Start the sky first and keep it lighter near the mountains than at the top of the page, so the peaks stand out against it.
| Layer | Pencil version | Colored pencil version |
|---|---|---|
| Far range | Lightest pressure, no detail | Light blue or lavender, barely pressing |
| Main mountain | Middle tones, crest lines and rock strokes | Blue-gray on shadow faces, a light earth tone or gray on lit faces |
| Front range | Darkest shadows | Greens and brown, with blue-violet layered into the shadows |
| Snow | Bare paper, light gray on the shadow side | Bare paper, light blue or lavender on the shadow side |
| Lake | Horizontal strokes, softer than the mountains | Sky color first, then the reflected colors on top in horizontal strokes |
For an evening scene like the Amber Ridge design, color the lit faces yellow-orange first and then a little pink over the top, and give the shadow faces blue-violet. The warm and cool sides next to each other do the work of the shading.
The easiest way to ruin a far range in color is green. Green belongs to the near hills, and a bright green back range jumps forward. Keep the back ranges blue or lavender even if you know the real slopes are forested.
Press lightly for the first layers so you can add more color on top, and save heavy pressure for the last pass on the front range. When the blue-gray and green on a slope sit in stripes instead of melting together, the layering method in how to blend colored pencils fixes it.
Using our mountain backgrounds as a reference or a backdrop
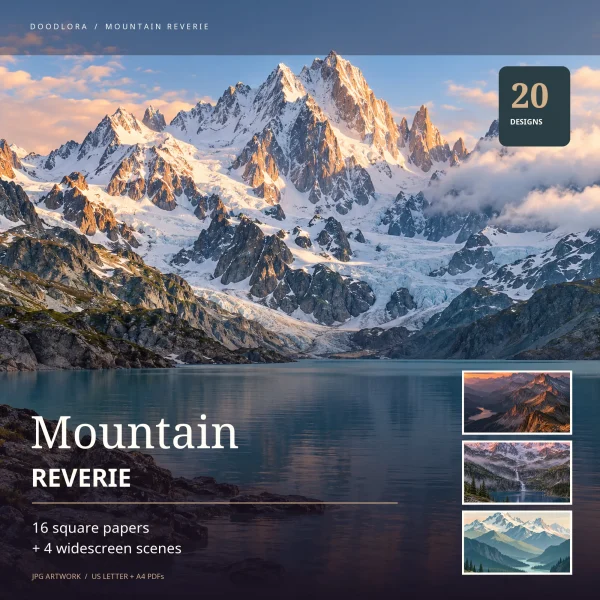
If you’d like a finished scene to study while you draw, the mountain backgrounds download holds 16 square mountain scenes and 4 widescreen ones. They’re AI-generated artwork of invented places, not pictures of real locations, and they’re full-color finished scenes rather than outlines. That makes them a reference for looking, not a page for tracing. Set one beside your paper and study it for the things this tutorial is about.
- Design 12, Paper Cut Alpine Layers, for how much lighter each range gets as it goes back.
- Design 03, Amber Ridge Evening, for the lit face and shadow face on every ridge, in warm and cool color.
- Design 14, Twilight Layered Peaks, for where a reflection sits and how much softer it is.
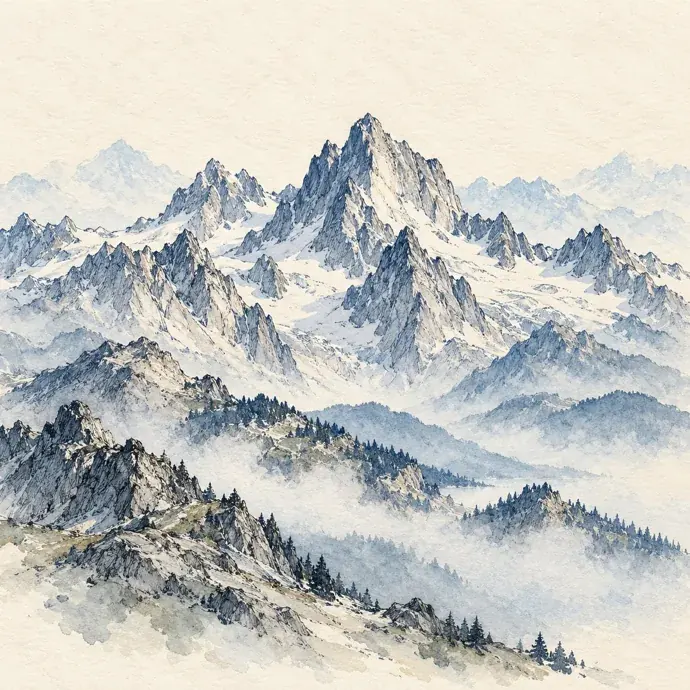
- Design 07, Indigo Line Summits, for snow that is mostly left blank.
Pick one thing to borrow, such as the layer colors or where the main peak sits, and draw your own mountain with it. Copying the whole scene line by line teaches less than taking one idea at a time.
The square scenes also come as a US Letter PDF with one scene per page, in the same order as the design numbers, with the scene’s name printed under it. Printed at Actual Size, each picture comes out 8 inches wide with white space above and below. Print a test page first, since color varies from printer to printer.
A printed scene also works as a finished backdrop. Kids can draw and cut out their own hikers, cabins or mountain goats and stand them in front of it in a shoebox, or glue a cut-out drawing onto it for a card.
These files are for personal use. That covers your family, a teacher using them with their own students and copies printed inside one school for its own activities. It doesn’t cover selling anything made with them.
Mountain drawing with young kids and with a class
The three-hump mountain for ages 4 to 6
Young kids don’t need crest lines and snow lines. They need a mountain that looks like a mountain and a quick win.
- Draw one big hump with a pointed top, a bit like a tent with one side longer than the other.
- Draw a smaller hump in front of it, overlapping the bottom of the big one.
- Draw a cloud-shaped snowcap on the big hump, with a wavy bottom edge instead of a straight one.
- Color the back mountain light blue and the front one green, and leave the snowcap white.
- Add a sun in the corner and a tree or two at the bottom.
That’s the whole drawing, and it already has overlap, a far color and a near color. When the child asks for more, show them how to put a darker color on one side of each hump, the side away from the sun.
A 40-minute mountain lesson for a class
This plan suits ages 7 to 10, each child with a pencil, an eraser and a sheet turned sideways. The timings are our suggestion.
- 5 minutes, ridge warm-up. Everyone draws ridge lines across a scrap sheet: up steep, rest, dip, up a little, down long.
- 15 minutes, three ranges. Steps 1 to 3 together, with the teacher drawing each line on the board first.
- 10 minutes, light and shadow. Stick a paper sun in one top corner of the board, so the whole class shades the faces turned away from the same corner.
- 10 minutes, snow and share. Snowcaps, then everyone holds their drawing at arm’s length and the class picks out whose back range looks farthest away, and why.
The snag in nearly every class is pressure. Children press hardest on the first mountain they draw, which is usually the back range, and then the front range can’t get any darker. Have them draw the back range in light blue colored pencil instead of graphite. It’s almost impossible to make too dark, and it already looks far away.
If you print a reference scene to share, one copy per table is enough, laid flat in the middle where everyone can see it.
Where mountain drawings usually go wrong
All the peaks are the same height. A row of equal points reads as a fence or a saw blade. Make one peak clearly the tallest and let the others step down at different heights.
Every mountain has a dark outline. Outlines flatten distance, especially on far ranges. Let the edge of a far mountain come from its tone against the sky, and save dark lines for the front.
The back range is the darkest. Usually it was drawn first, with the most enthusiasm. Lift it with the kneaded eraser, or redraw it lighter and darken the front range instead.
The snow has a straight bottom edge. A level line around the mountain looks like a frosted cake. Break the edge up, pull it down the grooves and let rock show through on steep faces.
Shading goes in every direction. Scribbled or sideways strokes make the slope look fuzzy. Shade down the slope, and the strokes themselves describe the shape.
The reflection is the right way up, shifted or sharper than the mountain. A reflection flips upside down and stays directly under its peak. Keep it softer and less detailed than the real thing, with a few horizontal gaps.
The shoreline runs across the exact middle of the page. Half mountain and half lake splits the drawing in two. Move the shoreline down to make the mountains the subject, or up to make it a lake picture.
Common questions about drawing mountains
How do I draw a mountain range?
Draw one main ridge line that rises and dips, with one peak clearly tallest. Add a lower ridge overlapping it in front and a faint ridge peeking out behind. The overlap and the lighter back range make it read as a range rather than a row of separate mountains.
How do I draw snow-capped mountains?
Leave the snow as bare paper and shade the rock around it. Make the lower edge of the snow ragged, let it reach farther down in the grooves and shade the snow on the side away from the light with a very light gray or light blue.
What pencil is best for drawing mountains?
An HB for the layout and the far ranges, and a 2B or 4B for shadows and the foreground. One pencil can do it all if you vary the pressure, but two make the contrast between near and far much easier.
How do I make mountains look far away?
Make them lighter, give them less detail and shift their color toward blue or lavender. Then make the closest hills darker and more detailed so the contrast does the rest.
Should I draw the sky or the mountains first?
In pencil, draw the mountains first and add any sky tone last, lightly. In colored pencil, put down the light sky color first, then the far range, and work forward to the darkest front hills.
For your next drawing, keep the same ridge line and move only the sun to the other corner. Every face that was bright becomes the shadow side, and redrawing it shows faster than anything else why the shading, not the outline, makes a mountain look solid.
Printables from this article
Related articles
Backgrounds & Digital Paper
New Year Traditions: Eve, Day and Around the World
Twenty New Year's Eve and New Year's Day traditions, from the Times Square ball drop and Spain's twelve grapes to Japan's 108 bell strikes and Greece's coin cake, each with where it comes from, what people do and a small way to try it at home.
Backgrounds & Digital Paper
Christmas Scrapbook Ideas: 16 Layouts with Printable Paper
Pick a Christmas scrapbook page by how many photos you have and what you want to keep, print one background paper at Actual Size, then cut it into mats, pockets and tags so the photos and keepsakes stay the main thing.
Backgrounds & Digital Paper
How to Draw a Snowman: Easy, Cute Steps for Kids
Stack three snowballs that shrink from bottom to top, sink each one a little into the ball below, and stand the whole snowman on a ground line. Then add the hat, face, scarf and twig arms, and shade the white with pale blue instead of coloring it.