How to Draw a Beach: Easy Beach Scene, Horizon to Shells
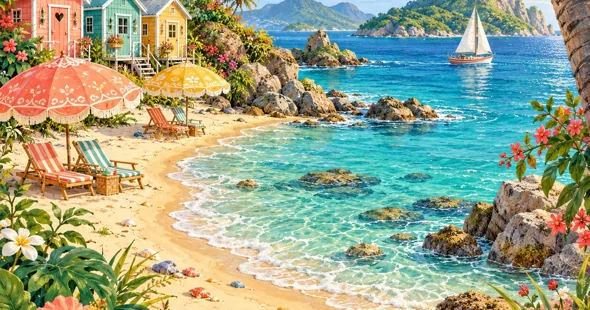
A beach drawing is three stripes, sky, sea and sand, and whether it looks like a real beach or a striped flag depends on where those stripes meet. Rule the horizon perfectly level and keep it off the middle of the page. Slant the shoreline instead of running it parallel to the horizon. Shade the sea from pale near the sand to deep at the horizon, and make the sand, and everything sitting on it, shrink as it goes back. Those four choices do most of the work before you draw a single shell.
Get the composition right first, and every decoration almost places itself.
Plan on 30 to 40 minutes for the full scene in pencil and about 20 more to color it; those are planning figures, not stopwatch results. The kit is short: pencil, eraser, ruler, plain paper, and colored pencils for color. Below are the view to pick, eight steps for the whole scene, how to draw the palm, umbrella, sandcastle and shells, a coloring order, a six-step beach for young kids and the slips that make a beach look flat.
Choose a high or low horizon before you start
The horizon line is where the sea meets the sky, and in a drawing it stands for the viewer’s eye level. Its placement decides what the picture is about.
| Horizon placement | What fills the page | Good for |
|---|---|---|
| About a third down from the top | Lots of sand and water | Umbrellas, sandcastles, footprints, a busy beach day |
| About a third up from the bottom | A big sky and a thin strip of sand | Palm trees, clouds, a quiet, open view |
| Exactly in the middle | Two equal halves | Avoid it; the eye can’t tell which half matters |
Most beach drawings with things on the sand want the high horizon, because that’s where the umbrella, the bucket and the shells live. The low horizon suits a drawing where the palms and sky are the subject.
Turn the paper sideways either way. A beach is a wide view, and a horizontal sheet gives the shoreline room to sweep across.
What goes on the table
A regular HB pencil handles the layout lines you’ll erase later. A softer 2B, if you have one, makes the darkest shadows under the umbrella and inside the palm leaves. A ruler is the one tool most beach drawings skip and need, because a horizon drawn freehand almost always tilts.
For color, colored pencils let you layer the sea from pale to deep. Crayons work for young kids, and markers are fine for the umbrella and bucket but streak on big areas like water. Our coloring tips has a chart of which coloring tools suit which ages, if you’re buying for a child. For the sea, gather a pale turquoise, a medium blue and a dark blue or navy, plus a yellow ochre or light tan for sand and a light blue for the sky.
How to draw a beach scene in eight steps
These steps build one beach with a high horizon: the sea across the top part of the page, a shoreline slanting down from one side, sand in front, a palm and an umbrella, and small things along the bottom edge. Keep the HB light until step 8; you’ll darken it then.
Step 1: Rule the horizon line
Lay the ruler across the page with its edge one third below the top, and pull a light line from edge to edge. Measure from the top of the paper at both ends. Any difference between the two means the line tilts.
A crooked horizon is the single most common reason a beach drawing looks wrong.
Water always lies level, and the eye catches even a slight dip at one end, so the whole scene reads like a picture taken with a tilted camera.
Step 2: Slant the shoreline
Start the shoreline on one side, somewhere below the horizon, and sweep it in a long, gentle curve down toward the bottom corner on the other side. A shoreline that runs straight across, parallel to the horizon, doesn’t lead anywhere; it just cuts the page into flat stripes. A diagonal pulls the eye from the foreground into the background.
Let the curve flatten as it gets closer to the horizon. The far stretch of beach should look almost like a line, and the near stretch should open wide.
If you want a cove like the one at the top of this page, curve the shoreline into a half-moon and bring rocks down to the water on the far side.
Step 3: Divide the sea into three bands
Split the water between the horizon and the shoreline into three bands with light, wavy lines that run sideways, roughly parallel to the horizon:
- a narrow deep band right under the horizon
- a wider middle band
- a pale shallow band along the sand
Don’t make the bands equal. Water farther away is squeezed into less of the page, so the middle band is thinner than the shallow band, and the deep band is thinnest of all. That compression is most of what makes the sea look wide.
The color behind this comes from the water itself. NOAA explains that water absorbs the red part of the light spectrum and leaves the blues for us to see. In a drawing, that becomes a simple rule: where the water is thin over pale sand, let the sand color show through, and where you’re looking across a lot of sea, go deeper and bluer.
Step 4: Draw the foam line where the water meets the sand
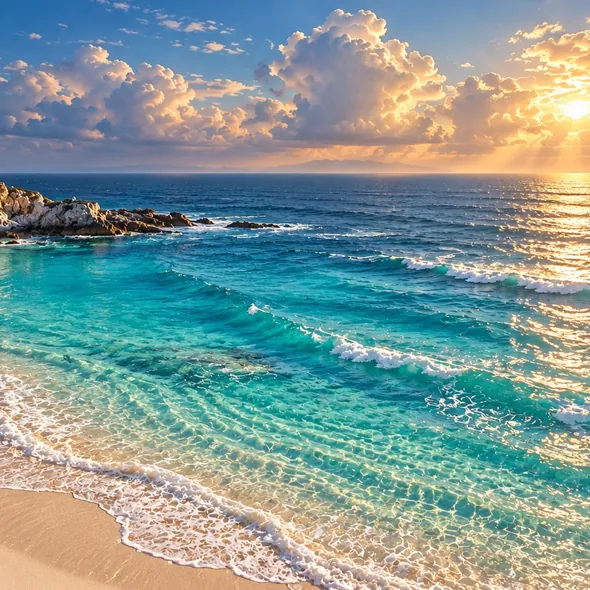
Go back to the shoreline and turn it into the edge of the foam. Draw a bumpy, lacy line along it, like a row of small scallops, and a second, looser line a little way out into the shallow band. Leave the space between them completely unshaded. That white strip is the foam.
Just inside the foam on the sand side, draw a soft line that follows the shoreline. The narrow strip between that line and the water is wet sand, and you’ll color it a shade darker than the rest of the beach.
Keep the water’s edge simple here. Curling, breaking waves are a lesson of their own, and a beach scene only needs a foam edge, maybe one or two thin white lines farther out.
Step 5: Make the sand narrow and shrink toward the horizon
Here the drawing stops looking flat and starts looking like a place you could walk into. Two rules from perspective drawing do it. Objects look smaller the farther they are from the viewer, and lines that are parallel in real life, like the two edges of a path, appear to meet at a single point, called the vanishing point, on the horizon line.
On a beach that means:
- The sand gets narrower as it goes back, until it’s a sliver where it meets the horizon.
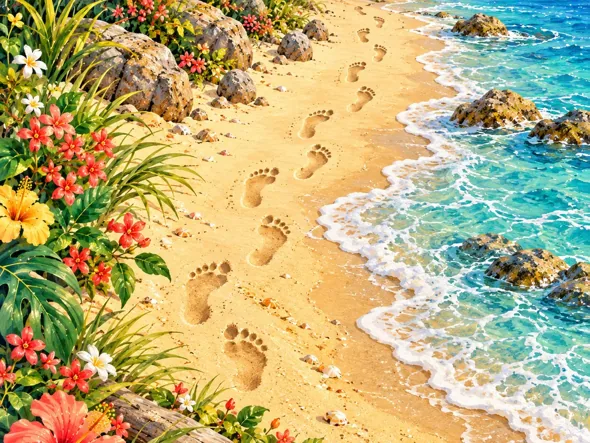
- A boardwalk, path or row of footprints starts wide at the bottom of the page and tapers toward one point on the horizon line.
- Anything you add farther back, a second umbrella, a person, a beach hut, is smaller and sits higher on the page than the same thing up front.
Mark a small dot on the horizon line where you want things to recede. If you draw a boardwalk, rule its two outer edges from the bottom of the page toward that dot, then draw the planks across it closer and closer together as it goes back.
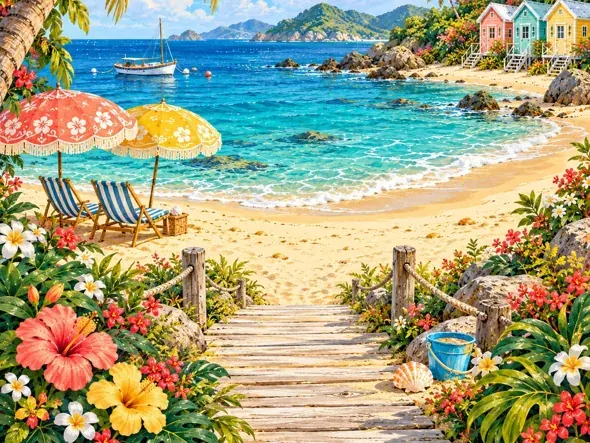
Step 6: Place one palm and one umbrella
Put the tallest thing, a palm tree, near one side of the page so that its leaves cross the horizon and reach into the sky. Anything that overlaps the horizon ties the foreground to the background. Put the umbrella on the opposite side or a little farther back, smaller than the palm.
Two big objects are plenty. A row of evenly spaced umbrellas looks like a parking lot, so if you want more, make each one farther back smaller and higher on the page, as in step 5.
The detail section below covers how to draw each of these.
Step 7: Fill the bottom edge with small things
The front strip of sand is where the shells, starfish, bucket and sandcastle go. Things here are closest to the viewer, so they’re the biggest small objects in the drawing. A shell along the bottom edge can be larger than the far umbrella, and that’s correct.
Group them in twos and threes rather than spacing them evenly. A shell next to a starfish, a bucket beside a sandcastle and some open sand between the groups reads more naturally than a shell every inch.
Step 8: Add the sky and clean up
For a daytime beach, a few soft clouds near the horizon are enough. Keep them light and leave most of the sky open. A sunset sky that fades from orange to purple is its own drawing, so save it for another sheet.
Switch to the 2B and darken the shadows: under the umbrella, on one side of the palm trunk, at the base of the sandcastle and under each shell. Then erase the ruler line wherever the palm leaves cross it, and any leftover layout lines in the sand.
How to draw the palm, umbrella, sandcastle and shells
Palm tree
Start with the trunk: two lines that lean and curve slightly, wider at the bottom than the top. A ruler-straight pole looks like a lamppost. Add a small bump at the top where the leaves come out.
Each leaf is a frond, a long central stem with narrow leaflets along both sides. Coconut palm leaves are pinnate, built exactly like that, and can grow 13 to 20 feet long, which is why they look so long and droopy next to the trunk. Draw five to seven arching stems out of the top, some curving up and some hanging down. Then add short, slanted strokes on both sides of each stem for the leaflets, longer in the middle of the frond and shorter at the tip.
Beach umbrella
Seen from the side, the open canopy is a shallow dome: a curved top and a scalloped bottom edge with five or six dips. Draw a straight pole down from the center of the dome into the sand, slightly tilted if you like. Divide the dome into panels with curved lines that start at the top and spread out toward each scallop, and color every other panel.
Draw the shadow on the sand underneath, not just a dot under the pole. A flat oval of shadow a little to one side tells the eye the umbrella is standing on the ground.
Sandcastle
Sandcastles built with a pail come out wider at the bottom than the top, so draw each tower as a short trapezoid rather than a rectangle. Put a row of small square notches along the top of each tower. Join two or three towers with a lower wall, add an arched door in the middle and a small flag on the tallest tower. A curved line around the base becomes the moat.
Give the castle a shadow on one side and along its base. Without it the castle looks pasted on top of the sand.
Shells and starfish
A scallop is the classic beach shell. It’s fan-shaped, with ribs that spread out from the narrow end, and it has two small flat “ears” on either side of the hinge where the fan comes together. Draw a fan, add the two ears at the narrow end and run lines from the hinge out to a wavy outer edge.
For a spiral shell, draw a rough cone lying on its side, then wrap two or three curved bands around the pointed end. A starfish is a five-pointed star with softly rounded arms and a dotted texture down the middle of each arm.
If you’d like a sea turtle crossing the sand, the top-view sea turtle in how to draw a turtle fits this scene. Keep it small if it’s near the water and larger if it’s in the front strip.
Coloring a beach drawing, sky to sand
Work from the sky down and from pale colors to dark ones. Light colors first means you can still darken them later, but a dark layer laid down first can’t be lightened.
| Order | Area | Colors | Tip |
|---|---|---|---|
| 1 | Sky | Light blue | Press lightly, and fade it a little lighter near the horizon |
| 2 | Deep band | Navy or dark blue over medium blue | The darkest water; a firm, even layer |
| 3 | Middle band | Medium blue, then turquoise over it | Let the two blues overlap where the bands meet |
| 4 | Shallow band | Pale turquoise, very lightly | Let some white paper and sand color show through |
| 5 | Foam | Nothing | Leave the paper white; don’t outline it |
| 6 | Sand | Yellow ochre or light tan | Darker on the wet strip by the water |
| 7 | Palm, umbrella, castle, shells | Whatever you like | Bright colors up front pop against pale sand |
| 8 | Shadows | Light purple or blue-gray | Under the umbrella, beside the castle, under shells |
Purple-gray shadows on sand look sunnier than gray or black ones. Use the same shadow color for every object throughout the scene, all falling to the same side, so the light seems to come from one sun.
Where the middle and shallow bands meet, layer lightly and rub the edge with a light color until the step disappears. Two blues that won’t merge usually had too much pressure in the first layer, and how to blend colored pencils explains the light-first layering that prevents it.
A six-step beach for kids ages 4 to 6
Young kids don’t need perspective rules. They need a beach that’s done before their attention runs out, which with this version is about 10 to 15 minutes by our estimate.
- With the paper turned sideways, fold it in half top to bottom and open it. Fold the top edge down to that middle crease and open it again. Draw along the upper crease, a quarter of the way down. That’s the horizon, and it’ll be straight.
- Draw a wavy line from the left side down to the bottom right corner. Above it is the sea, below it is the sand.
- Color the sea blue, pressing harder near the horizon line and lighter near the sand.
- Color the sand yellow, and leave a thin white strip where the water touches it for the foam.
- Draw an umbrella as half a circle on a stick, and a bucket as a cup shape with a handle.
- Add a sun in the sky and two or three shells along the bottom: a fan with lines for a scallop, a star for a starfish.
The fold in step 1 solves the slanting horizon, which is the problem young kids run into most. For a whole class, have everyone fold the paper together before anyone picks up a pencil.
Kids ages 7 to 10 can usually follow the eight steps above in 30 to 45 minutes if a grown-up helps with the ruler in step 1 and the vanishing dot in step 5. Teens and adults can add the detail section and color.
Why a beach drawing can look flat or tilted
The horizon slopes. A sea that tilts looks like it’s spilling off the page. Redraw it with a ruler, or fold a crease and trace it.
The horizon cuts the page in half. Equal sky and sea split the drawing into two pictures. Move it up for a sand picture or down for a sky picture.
The shoreline runs straight across. Sky, sea and sand in three level stripes look like a flag. Slant or curve the shoreline so it leads into the picture.
The sea is one flat blue. Without bands, the water looks like a wall standing up behind the sand. Go from pale near the shore to deep at the horizon.
The foam is outlined or colored over. A blue or black outline around the foam turns it into a shape stuck on the water. Leave it white and let the colors around it make the edge.
Everything is the same size. A far umbrella as big as a near one puts them side by side instead of one behind the other. Shrink things and raise them on the page as they go back.
Objects float. A sandcastle or bucket without a shadow seems to hover above the sand. Add a small shadow at the base of everything that stands on the beach.
Where our beach backgrounds fit in
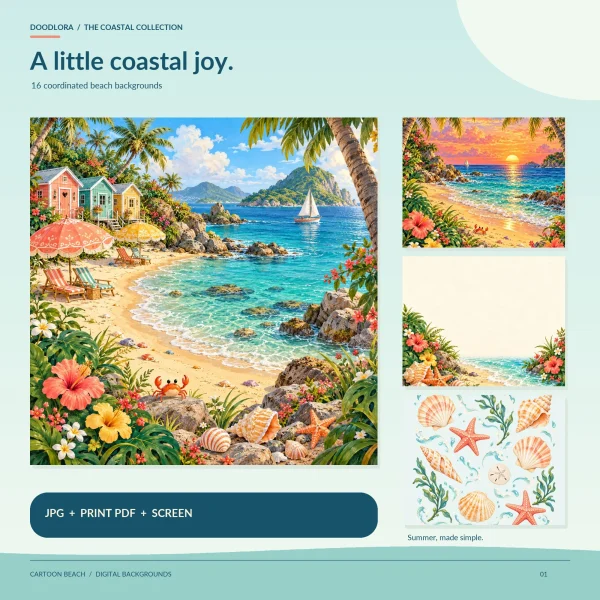
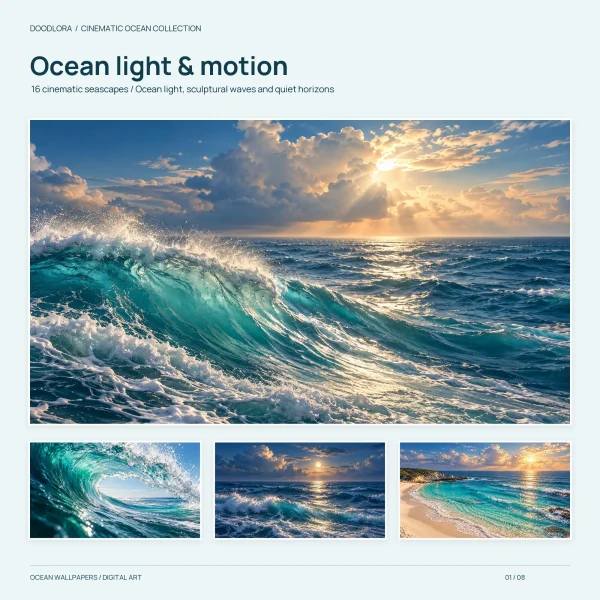
Our cartoon beach backgrounds and ocean wallpapers are full-color digital artwork made with AI assistance, not photographs and not outlines. That makes them something to look at while you draw, not something to trace. Set one beside your paper, on a tablet or printed, and study it for one thing at a time:
- Cartoon beach Design 03, Boardwalk Bay, for a high horizon and a path that narrows as it goes back
- Cartoon beach Design 08, Footprints, for a foam edge that follows the curve of the shore and footprints that shrink with distance
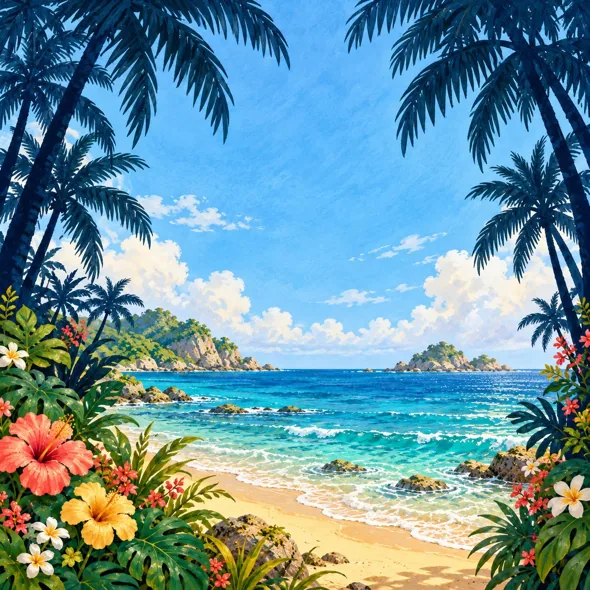
- Cartoon beach Design 11, Palm Silhouette, for a low horizon, with palms framing both sides
- Cartoon beach Design 01, Sunny Cove, for umbrellas, deck chairs, rocks and shells arranged around a curved shoreline
- Ocean wallpaper Design 16, Lagoon Arc, for the three water bands, from clear over sand to navy at the horizon
The cartoon set holds 16 designs in a bright storybook style: beach scenes, close-ups of shells and waves, two light note papers with empty space and two repeating shell and tide pool patterns. The ocean wallpapers are 16 more realistic seascapes. The ocean set’s Read-Me states that they’re AI-assisted and don’t show any real location, which makes them a guide to color and layout rather than to a specific coastline.
For printing, each set has a US Letter PDF holding its 16 designs, one to a page. Printed at Actual Size, a cartoon beach page comes out about 7.8 inches square, and an ocean wallpaper page 8 inches square, each centered with white margins. Those deep navy seas drink ink, as the ocean Read-Me points out, so run a single test page before a stack.
A printed cartoon beach also works as a backdrop. Kids can draw their own sandcastle, crab or sea turtle on plain paper, cut it out and glue it onto the scene, or stand cut-outs in front of a printed beach glued inside a shoebox. For more seaside projects to pair with the drawing, see our ocean crafts.
The license on both is personal. It’s fine for home, for a teacher printing for their own students and for copies run off inside one school for its own activities, but not for selling the files or prints made from them.
When the drawing looks done, prop it up and step back across the room. If the sea still reads as pale-to-deep bands, the sand still narrows toward the horizon and the front shells are the biggest small things on the page, the composition holds, and any shell or umbrella you add next will sit in the right place.
Printables from this article
Related articles
Backgrounds & Digital Paper
New Year Traditions: Eve, Day and Around the World
Twenty New Year's Eve and New Year's Day traditions, from the Times Square ball drop and Spain's twelve grapes to Japan's 108 bell strikes and Greece's coin cake, each with where it comes from, what people do and a small way to try it at home.
Backgrounds & Digital Paper
Christmas Scrapbook Ideas: 16 Layouts with Printable Paper
Pick a Christmas scrapbook page by how many photos you have and what you want to keep, print one background paper at Actual Size, then cut it into mats, pockets and tags so the photos and keepsakes stay the main thing.
Backgrounds & Digital Paper
How to Draw a Snowman: Easy, Cute Steps for Kids
Stack three snowballs that shrink from bottom to top, sink each one a little into the ball below, and stand the whole snowman on a ground line. Then add the hat, face, scarf and twig arms, and shade the white with pale blue instead of coloring it.