How to Draw a Turtle Step by Step: Cartoon and Sea Turtle
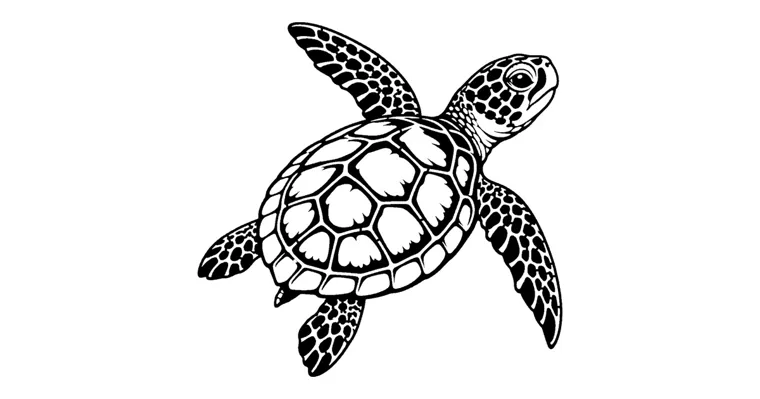
To draw a turtle step by step, start with the shell, not the head. A cartoon turtle is a half-circle dome on a flat rim, with a round head, 2 stubby legs, a tail and a pattern on top, and it takes 8 steps and about 10 minutes in pencil. The one move that makes it look right is a big head: make it about 1/3 as wide as the shell. Below are the cartoon turtle, a sea turtle seen from above, and the small changes that turn either one into a tortoise.
What you need to draw a turtle
A pencil, an eraser and plain printer paper are enough for every turtle on this page. Add a black marker or a fine pen if you want to ink the final lines, and crayons, markers or colored pencils for the shell.
Draw every step lightly at first. The early shapes are guidelines, and you’ll erase parts of them once the head and legs overlap the shell. Press harder only when you trace the final outline.
For a child, plan on about 10 minutes for the pencil drawing and another 10 to color. A classroom or a birthday table can draw along with 1 adult who reads each instruction out loud. Wait until everyone has finished a step before reading the next one, so nobody’s left behind.
How to draw a cartoon turtle in 8 steps
The cartoon turtle stands sideways, facing left or right, so you see the dome of its shell, one side of its face and 2 of its 4 legs. Work from the biggest shape to the smallest.
- Draw the shell dome. Make a wide half-circle with the flat side down, in the middle of the page. Leave room below it for legs and room on one side for the head.
- Add the rim. Underneath the flat edge, draw a thin, rounded strip that sticks out a little past the dome on both ends. That strip is the bottom edge of the shell, and it makes the turtle look solid instead of like half a ball.
- Draw the head. At one end of the rim, draw a circle about 1/3 as wide as the dome, sitting a bit higher than the rim. Join it to the shell with 2 short curved lines for the neck.
- Add 2 legs. Under the rim, draw a short, rounded leg near the front and another near the back. Keep them short and thick, like little tree stumps. Three small bumps at the bottom of each leg make toes.
- Add the tail. At the back end, draw a small pointed triangle peeking out from under the rim.
- Draw the face. Put 1 big eye near the top of the head and leave a small white dot inside it for shine. Then add a curved line for the smile. A small oval on the cheek reads as blush.
- Pattern the shell. Draw 1 six-sided shape near the top of the dome, then draw lines from its corners out to the rim so the dome is split into plates. A second row of smaller shapes along the rim is optional.
- Ink and erase. Go over the lines you want to keep, let the ink dry, then erase the pencil guidelines inside the head and legs where they cross the shell.
Step 3 is where most cartoon turtles go wrong.
A small head on a big dome makes the drawing look like a rock or a hamburger. The proportions do the work here: a head that’s 1/3 of the shell’s width, or even bigger, gives the turtle its personality and makes it read as cute.
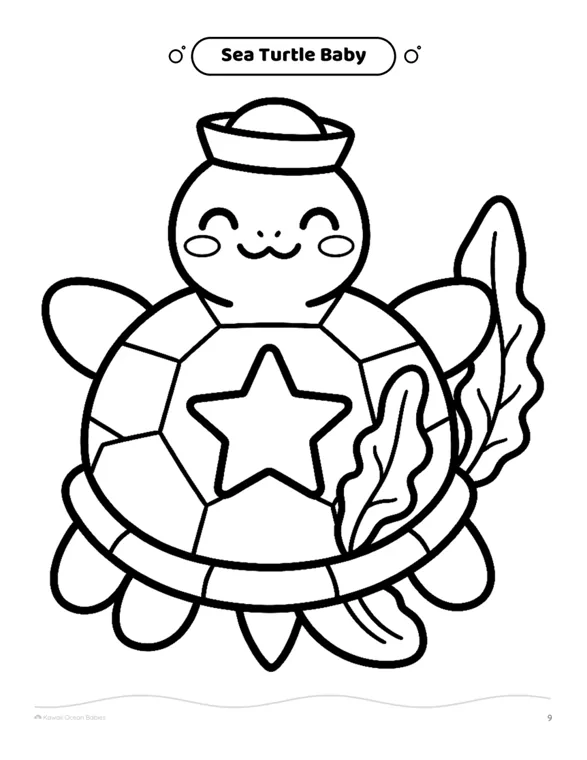
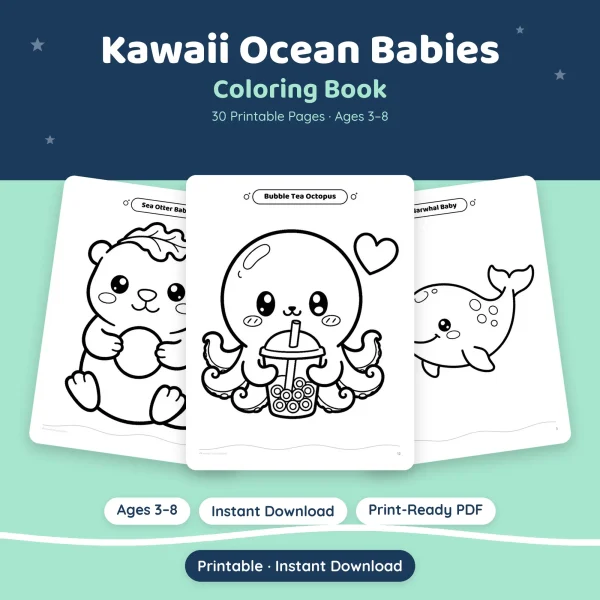
That page shows how far a cartoon turtle can stretch those proportions. It comes from our Kawaii Ocean Babies coloring book, where the head sits right on top of the shell and is nearly as wide. Instead of shell plates, the shell has 1 large star.
For a young beginner, one big shape on the shell is easier than six-sided plates, and the drawing still looks finished.
How to draw a sea turtle from above
A sea turtle seen from above looks harder than the cartoon one, but it uses only 4 basic shapes: an oval shell, a small head, 2 long front flippers and 2 short back flippers. The difficulty is in the shell plates, and those follow a pattern you can count.
- Draw the shell oval. Make an oval a little longer than it is wide, in the center of the page. Tilt it slightly if you want the turtle swimming at an angle.
- Add the head and neck. At the top of the oval, draw a small, blunt oval for the head, with a short neck joining it to the shell. Sea turtles can’t pull their head into the shell, so the neck always shows.
- Draw the front flippers. From each side of the shell, just below the neck, draw a long curved paddle that sweeps back toward the tail like a wing. Make them big, because the front flippers are the longest parts of a sea turtle.
- Draw the back flippers. Near the bottom of the shell, add 2 short, rounded flippers pointing backward and out.
- Add the tail. Draw a small point at the bottom center, between the back flippers.
- Draw the center row of plates. Down the middle of the shell, draw 5 plates in a column, from just below the neck to just above the tail.
- Add the side plates. On each side of that column, draw 4 larger plates that reach toward the edge. Then add a ring of small plates all the way around the rim.
- Add the scales and ink. Fill the head and flippers with small, irregular shapes for scales. Ink the lines you want and erase the guidelines.
Five plates down the middle and 4 on each side is the arrangement on a green sea turtle’s top shell, as described in the Wikipedia article on the species. Other sea turtles vary, but those numbers keep the shell from looking crowded. Drawing a dozen plates down the middle is the most common reason a sea turtle shell turns into a honeycomb.
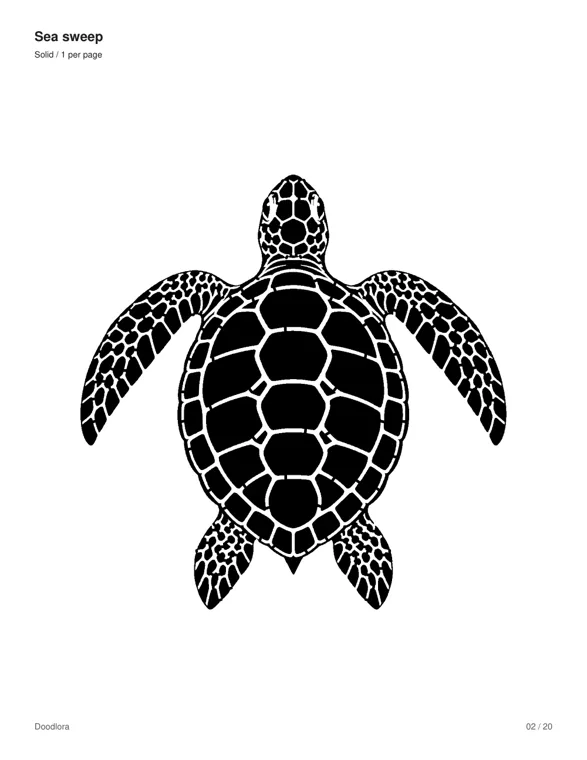
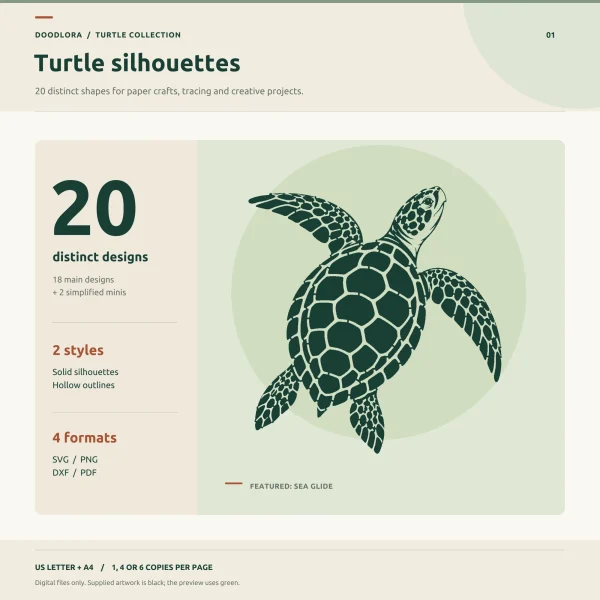
That page is the Sea sweep design from our turtle outline set, the most straightforward top view of the 20 designs. It’s a useful comparison for the flippers: the front pair is far longer than the back pair, and the small plates around the rim frame the bigger ones in the middle.
How to draw a tortoise or a side-view sea turtle
The same 8 cartoon steps make a tortoise or a sea turtle seen from the side. Only the shell height and the legs change, so decide which animal you’re drawing before step 1.
Tortoise: a tall dome and stumpy legs
A tortoise lives on land, and its shell is a tall, rounded dome. Draw the dome higher than the cartoon turtle’s, almost as tall as it is wide. Give it thick legs that go straight down like columns, with 2 of the 4 showing from the side. End each leg in a blunt foot with short claws instead of toes. Tortoises pull their head straight back into the shell, so a shy tortoise can be just the dome, the legs and a head peeking out at the front.
Side-view sea turtle: a low shell and long flippers
A sea turtle’s shell is lower and flatter than a tortoise’s, and it tapers at both ends. From the side, draw the shell as a long, shallow arc instead of a half-circle. Replace the front leg with a long flipper angled down and back, and the back leg with a short, rounded flipper. The head sits out in front on a visible neck.
Don’t give a sea turtle toes or claws. A sea turtle with stumpy legs and toes looks like a tortoise that went swimming.
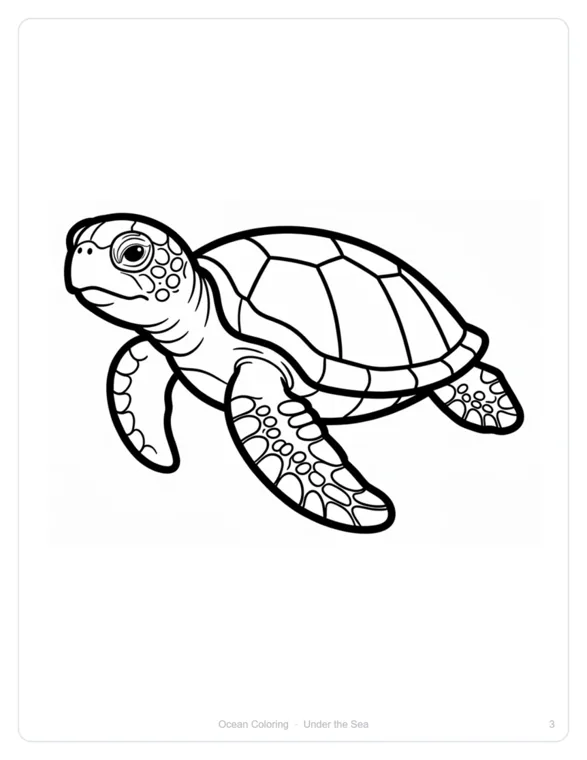
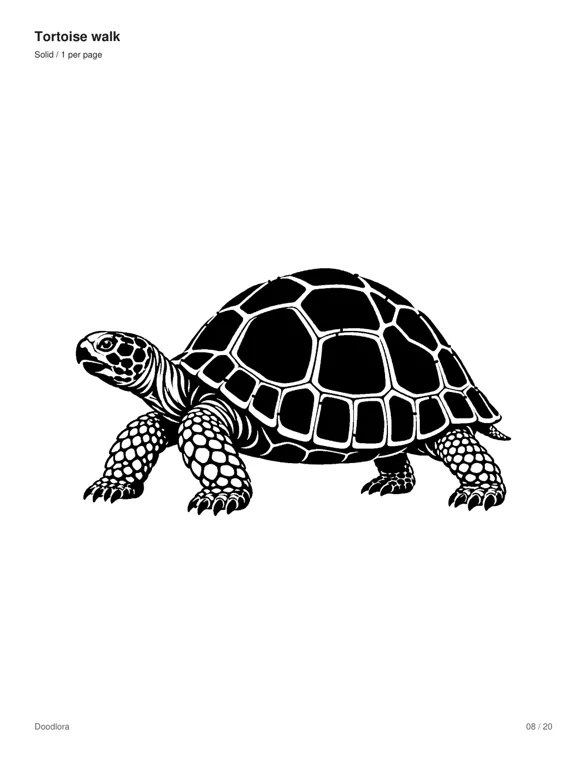
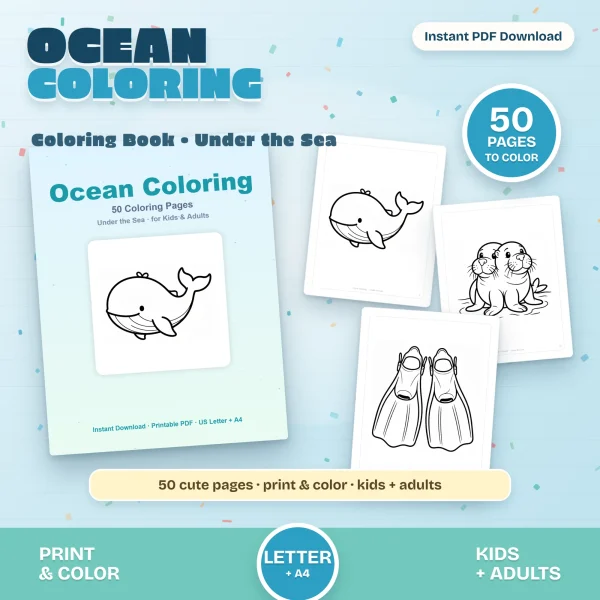
This side view comes from our Ocean Coloring book, where the sea turtle is 1 of 50 pages. Put it next to the tortoise above and every difference in this section shows up at once: the lower shell, the long front flipper and the bare flipper tips.
Tracing a turtle outline first
Tracing a printed turtle outline is a good way to get the body shape right before drawing freehand. You copy the outside edge, then add the face, shell plates and scales yourself. Kids who get frustrated with proportions usually build confidence this way, because the head-to-shell size is already correct.
To trace, print the outline at Actual Size or 100%, not “fit to page,” so it comes out at its intended size. Tape the printout to a sunny window, put a blank sheet over it, and follow the edge with a light pencil line. Tracing paper laid on top of the printout works the same way on a table. If the printout comes out gray or the lines break up, the guide to printing coloring pages covers the printer settings.
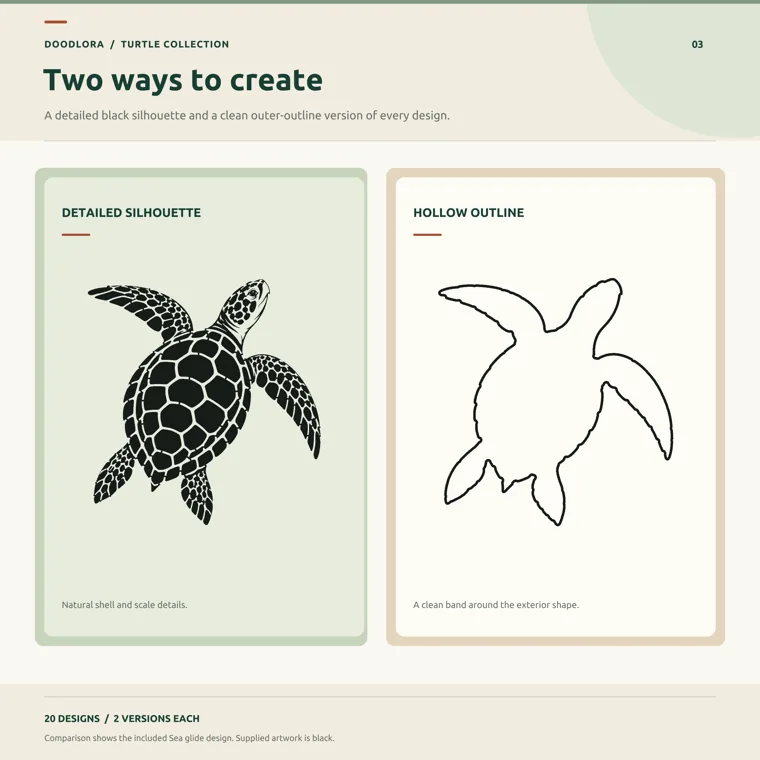
Our turtle outline set has 20 turtles, each in 2 versions. Eight are sea turtles, 6 are tortoises, 4 are decorative shell designs and 2 are simplified minis. The hollow outline is only the outer edge with nothing inside, and that’s the version to trace. The solid silhouette shows every plate and scale, so keep it beside you as a reference while you draw the inside. Each design comes in PDFs with 1, 4 or 6 copies on a page, and the 6-per-page sheet gives a group of kids enough turtles to practice on.
One snag with tracing: the outline is a narrow band, not a single thin line. Pick the outer edge of the band and stay on it all the way around. Switching between the inner and outer edges makes a wobbly turtle.
Common turtle drawing mistakes and how to fix them
Most turtle drawings that look “off” have one of a few problems, and each one has a quick fix.
- The head is too small. Redraw the head about 1/3 as wide as the shell for a cartoon turtle. A realistic sea turtle’s head can be smaller, but never a tiny dot.
- The shell plates came before the shell edge. Finish the shell outline, head and limbs first. Plates drawn too early end up crossing a flipper or running off the shell.
- The sea turtle has feet. Sea turtles have flippers, so take away the toes and stretch the front limbs into long paddles.
- The tortoise has skinny legs. Thicken them until each one is about as wide as the head.
- The shell looks like a honeycomb. Erase down to 5 plates in the center row and 4 on each side, plus the small rim plates.
- The marker smeared. Let the ink dry completely before you erase the pencil. Pay extra attention where the ink crosses an old pencil line.
Coloring your turtle drawing
Real sea turtle shells come in greens, olives and browns, often with lighter edges around each plate. For a quick shell, color each plate a mid-green or brown and leave a thin, pale line between neighboring plates. Those pale lines do the same job as the white gaps in the solid silhouettes above.
Cartoon turtles don’t need to be green. A purple shell with a yellow star is fine, and kids usually have strong opinions about it. For the face and flippers, a lighter shade than the shell keeps the head from disappearing into the body.
If you’re coloring with markers, our page on coloring with markers covers streaks and bleeding on printer paper. For a shell that goes from dark in the middle to light at the edges, the layering steps in how to blend colored pencils work the same on a turtle plate as on a leaf.
Turtle drawing questions
What is the easiest turtle to draw?
The easiest turtle to draw is the cartoon turtle from the side: a half-circle dome, a strip for the rim, a round head, 2 short legs and a triangle tail. Kids who can draw a circle on purpose can usually follow the 8 steps above.
How many plates are on a turtle shell?
A green sea turtle’s top shell has 5 plates down the center and 4 on each side, with a ring of small plates around the edge, according to Wikipedia. Other species vary, but that pattern makes a believable sea turtle drawing.
Can a turtle hide in its shell?
Tortoises can pull their head straight back into the shell. Sea turtles can’t pull in their head or flippers, so when you draw a sea turtle, always show its neck.
What’s the difference between drawing a turtle and a tortoise?
A tortoise has a tall, domed shell and thick, column-like legs with blunt claws. A sea turtle has a lower, flatter shell and flippers instead of feet. Start with the same shell-first steps and change only the shell height and the limbs.
Printables from this article
Related articles
Outlines & Stencils
How to Draw a Mallard Duck: Drake, Hen and Flying Poses
A swimming mallard drake in ten pencil steps, the changes that turn it into a hen, a flying pose, a pair on the water and the color marks that make the bird read as a mallard.
Outlines & Stencils
Turtle Crafts for Kids: Paper Plate and Sea Turtle Ideas
Twelve turtle crafts sorted by age, each with time, materials, steps and the snag to watch for, plus how to use a printed turtle outline as a cutting template.
Outlines & Stencils
Bird Crafts for Kids and Adults: Owl, Nest and Feeder Ideas
Thirteen bird crafts grouped by who is making them, from a toddler's handprint bird to a framed papercut and a cold-weather pinecone feeder, each with ages, time, supplies, steps and the snag to plan for.