Card Making Ideas: 13 Handmade and Homemade Card Ideas
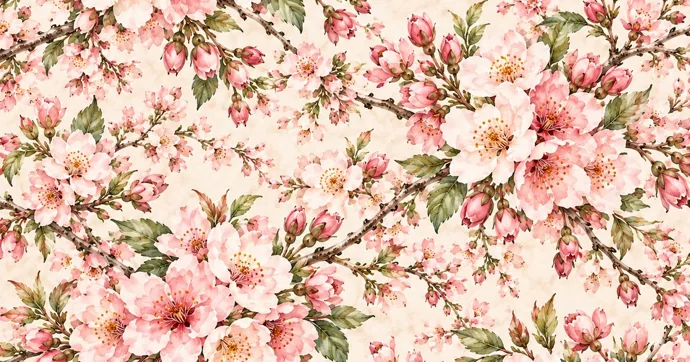
Card making ideas get much easier to choose once you settle the base. Almost every card below starts as the same folded blank, the A2 size, which measures 4.25 x 5.5 inches and comes from half a Letter sheet of cardstock. From there you change one thing, such as a layered front, a cut window, a pocket, a flap or a pop-up, and most cards take 10 to 30 minutes. The 13 ideas are grouped by structure, by occasion and by cards kids make with a parent, each with sizes, steps and the mistake that usually spoils it.
Start from the row that matches your occasion and the time you have. Each time shown is a rough figure we use for planning a single card with supplies already on the table, not a timed test, and the difficulty assumes an adult with scissors and a ruler.
| Idea | Good for | Time | Difficulty | You’ll need |
|---|---|---|---|---|
| Printed panel card | Any occasion, a first card | About 10 minutes | Easy | Folded blank, printed panel, tape runner |
| Layered card | Birthdays, thank-yous | About 20 minutes | Easy | Two cardstock colors, one patterned sheet |
| Window card | A scene framed inside the front | About 25 minutes | Medium | Craft knife, cutting mat, metal ruler |
| Pocket card | Gift cards, notes, small photos | About 20 minutes | Easy | Patterned paper, glue stick |
| Flip-up flap card | Hidden lines, countdowns | 15 to 20 minutes | Easy | Three paper strips, light cardstock |
| Two-step pop-up card | Birthdays, a big reveal | 30 to 40 minutes | Medium | A second piece of cardstock, scissors |
| Big-number birthday card | Kids’ and milestone birthdays | About 20 minutes | Easy | Patterned paper, pencil |
| Thank-you notes in a batch | Ten notes after a party or shower | About 45 minutes for ten | Easy | Letter cardstock, two printed sheets |
| Quiet sympathy card | Condolences | About 15 minutes | Easy | Cream cardstock, a soft floral strip |
| Thanksgiving or Christmas card | Holiday mail | About 20 minutes | Easy | A seasonal paper and a plain mat |
| Pre-cut collage card | Ages 3 to 5 with an adult | 10 to 15 minutes | Easy | Pre-cut shapes, glue stick |
| Balloon birthday card | Ages 5 to 8 | About 20 minutes | Easy | Printed paper, kid scissors, marker |
| Accordion fold-out card | Ages 7 and up | About 25 minutes | Medium | A 2.75 x 11 inch strip, ruler |
Card blank sizes, scoring and paper grain to get right first
Every idea in this list depends on a blank that folds flat and fits a real envelope. Settle three things before you decorate anything: the size, the score line and the direction the paper’s fibers run.
Two card sizes you can cut from a Letter sheet
The A2 card is the everyday size. Cut a US Letter sheet of cardstock (8.5 x 11 inches) across the middle to get two 5.5 x 8.5 inch pieces, then fold each one to 4.25 x 5.5 inches. Wikipedia’s table of North American envelopes lists the A2 envelope at 4 3/8 x 5 3/4 inches, which leaves 1/8 inch spare across the width and 1/4 inch along the length.
For a bigger 5 x 7 inch card, cut a 7 x 10 inch piece from one Letter sheet and fold it at the 5-inch mark. It fits an A7 envelope, listed at 5 1/4 x 7 1/4 inches. You get only one 5 x 7 card per sheet, so the A2 is the better size for a batch. If you’re mailing a big stack, the mailing section of our Christmas card ideas pairs other card sizes with envelopes and explains why square or lumpy envelopes cost more to send.
Score before you fold
Cardstock folds cleanly only along a pressed line. Lay a metal ruler on the fold mark and run a bone folder or an empty ballpoint pen along it with firm pressure. Fold on that line, then burnish the crease flat with the side of the bone folder. Skip the score and the fold comes out wavy, the card won’t stand straight, and dark printed cardstock can show white cracks along the crease.
Fold with the grain where you can
Machine-made paper has a grain, the direction most of its fibers lie. The bookbinding and conservation dictionary on the American Institute for Conservation’s CoOL site defines folding “with the grain” as folding in that direction, and Wikipedia notes that sheets are usually cut long-grain, with the grain parallel to the longer side. To check a sheet, bend it gently one way and then the other. It gives more easily in one direction, and that direction is the grain.
On a long-grain Letter sheet, the A2 card’s fold runs with the grain. The 5 x 7 card cut from a 7 x 10 piece folds across it, which makes the crease stiffer and more likely to crack. Score that one with extra pressure, or look for short-grain cardstock if you make a lot of 5 x 7 cards.
Flat-front card ideas: printed panel, layered and window cards
These three cards stay flat, so they mail like any letter in a standard A2 envelope. What changes is how much happens on the front: one printed panel, a stack of layers, or a cut-out window that frames something behind it.
1. Printed panel card
This is the fastest card that still looks finished. You need a folded A2 blank, one printed panel cut to 4 x 5.25 inches and a tape runner or double-sided tape. Center the panel on the front so a 1/8 inch border of the blank shows all around, press it down from the middle outward, and write inside. It takes about 10 minutes.
Home inkjet prints and wet glue don’t mix. Wikipedia’s article on inkjet printing explains that the ink in many cheap home machines dissolves in water, so the smallest drop of moisture can make a print blur or run. A tape runner or double-sided tape avoids the problem entirely, and a print left to dry for a few minutes is less likely to smudge under your fingers.
2. Layered card
Layers make a plain blank look built rather than printed. Stack three pieces, each 1/8 inch smaller on every side than the one beneath: the A2 base (4.25 x 5.5 inches), a solid cardstock mat (4 x 5.25 inches) and a patterned panel (3.75 x 5 inches). Finish with a sentiment strip about 1 x 3.5 inches, lettered by hand or printed. Glue from the bottom layer up. The whole card takes about 20 minutes.
Two busy patterns fight each other. Keep one patterned layer and make the others plain cardstock in a color picked out of that pattern. Foam tape under the top strip adds depth, but raised layers make the envelope lumpy, so use the thinnest foam you have for a card you plan to mail.
3. Window card
A window card frames a picture or a patterned panel behind an opening cut in the front. You need an A2 blank, a craft knife with a fresh blade, a self-healing cutting mat, a metal ruler, a pencil, a 3.75 x 5 inch panel to show through, and a plain 4 x 5.25 inch piece to cover its back. Plan on about 25 minutes.
- Open the blank flat, outside up. On the front panel, mark a 2.5 x 3.5 inch rectangle 7/8 inch in from each side and 3/4 inch down from the top, which leaves room for a short greeting underneath.
- Slide the cutting mat under the front panel only. Hold the metal ruler on each line and cut along it, keeping the hand on the ruler well out of the blade’s path.
- Turn the card over and glue the patterned panel to the back of the front panel, picture side facing out through the window.
- Glue the plain 4 x 5.25 inch piece over the back of that panel so the inside looks clean, then write on the right-hand inside panel.
Corners are where window cards tear. Stop each cut exactly at the pencil corner and start the next side from that corner, instead of pushing the blade past it. A dull blade drags and frays cardstock, so snap or change it before you start.
Card ideas that open, flip or pop up
Cards with moving parts take a little longer and reward the person who opens them. A pocket holds something, a flap hides a line, and a pop-up stands up off the page. All three start from the same A2 blank as the flat cards.
4. Pocket card
A pocket turns a card into a holder for a gift card, a folded note or a small photo. Cut a 4 x 2.75 inch piece of patterned paper and put glue stick on three edges only: the bottom and the two short sides. Press it onto the lower half of the inside right panel with the top edge open. Cut a shallow half-circle notch in the middle of that open edge so a thumb can reach in. It takes about 20 minutes.
A bank-card-size gift card is the ID-1 size in the ISO/IEC 7810 standard, 85.60 x 53.98 mm or about 3 3/8 x 2 1/8 inches, so it slides into this pocket with room to spare. Glue that creeps more than 1/8 inch in from the edges narrows the opening until the card won’t fit, so keep the glue line tight to the edge and test with the actual gift card before the glue sets.
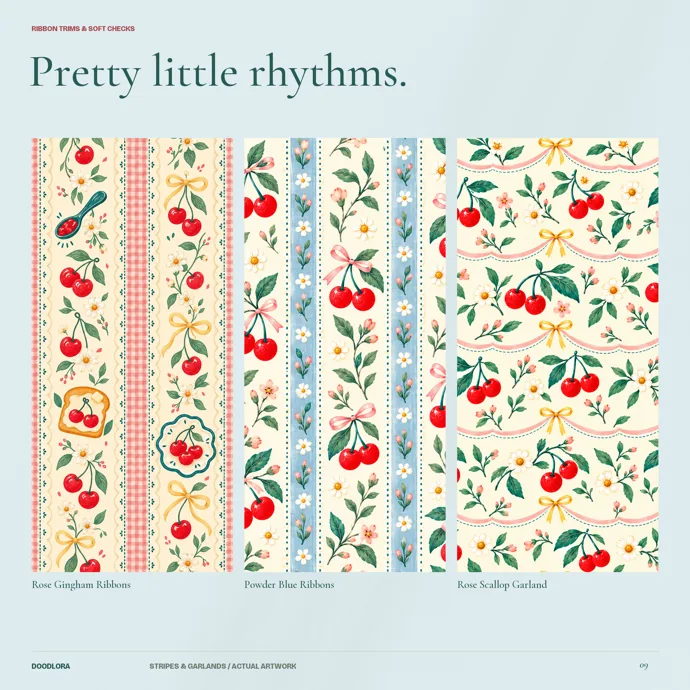
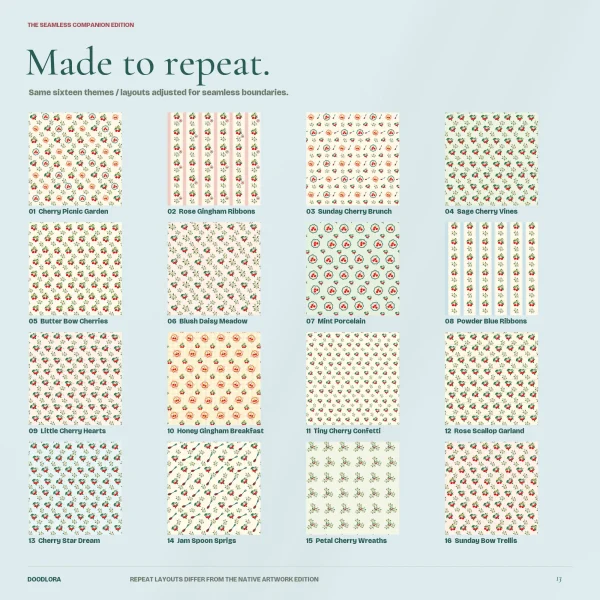
Striped patterns make a pocket look trimmed when a band runs along its open edge. Our cherry backgrounds have three striped designs: pink gingham, powder blue ribbon and a pink scalloped garland.
5. Flip-up flap card
Flaps hide a line of writing until someone lifts them, which suits jokes, countdowns and “guess what” news. Cut three 4 x 2 inch strips of printed paper, each glued to light cardstock. On the card front, write three short lines from the bottom up, spaced about 1.5 inches apart. Glue the bottom strip only along its top 1/2 inch so it hangs over the lowest line, then add the next two the same way, each one covering the glued edge of the strip below. The card takes 15 to 20 minutes.
Plain printer paper curls into a tube once it’s held by only one edge, especially right after printing. That’s why each strip gets a cardstock backing. Press the backed strips under a heavy book for an hour before you glue them to the card.
6. Two-step pop-up card
A box pop-up is cut straight into the fold of an inner card, so there’s nothing to engineer. This version uses two boxes of different depths, which gives a back layer and a front layer, such as balloons behind a cake. You need an A2 blank, a second piece of cardstock 5.25 x 8 inches, scissors, a ruler, a pencil, a glue stick and two cut-out shapes. Allow 30 to 40 minutes.
- Fold the 5.25 x 8 inch piece in half to 5.25 x 4 inches and keep it closed.
- Near the middle of the fold, cut two slits 1.5 inches long and 1.5 inches apart through both layers for the deep box. Off to one side, cut two slits 3/4 inch long and 1 inch apart for the shallow box.
- Open the piece, push each cut strip through to the inside, and close it firmly to crease the new folds. Half open, each strip now stands up as a small box.
- Stick the back-layer shape onto the shallow box and the front-layer shape onto the deep box, each on the side that faces you.
- Run glue stick only around the outer edges of the insert’s back and press it inside the A2 blank with the two folds lined up.
Glue that reaches the back of a box glues it shut. Keep the glue at least 1/2 inch away from the slits, and open and close the card a few times before it dries to check that both steps still rise.
Card ideas for birthdays, thank-yous, sympathy and holidays
The occasion decides more than the colors. A birthday card can be loud and bulky, thank-you notes have to come in a matching batch, and a sympathy card should say little and say it quietly. Pick a structure from the sections above, then use these to fit it to the day.
7. Big-number birthday card
An age number cut from patterned paper is the simplest birthday card that’s obviously for one person. Draw the number about 3.5 inches tall on the back of a printed sheet, cut it out, and glue it to a solid 4 x 5.25 inch mat on an A2 blank. Add the name or “happy birthday” in the space beside it. Two-digit ages fit if each digit is about 1.75 inches wide. It takes about 20 minutes.
Anything drawn on the back of the paper comes out reversed on the front. Cut a paper template of the number first, flip it over and trace around it on the back of the printed sheet. Most digits look wrong when they’re mirrored, and you won’t notice until the number is cut.
8. Thank-you notes in a batch
After a party or a shower you need ten notes that match, not one showpiece. Flat note cards are fastest. Cut a Letter sheet of cardstock into quarters for four 4.25 x 5.5 inch notes, which slide into A2 envelopes unfolded. Print two 8-inch background squares and cut them into 1 x 4.25 inch bands; each square gives eight, so two cover all ten notes with six to spare. Glue a band across the top of each note and write below it. Once the paper is cut, ten notes take about 45 minutes, most of it writing.
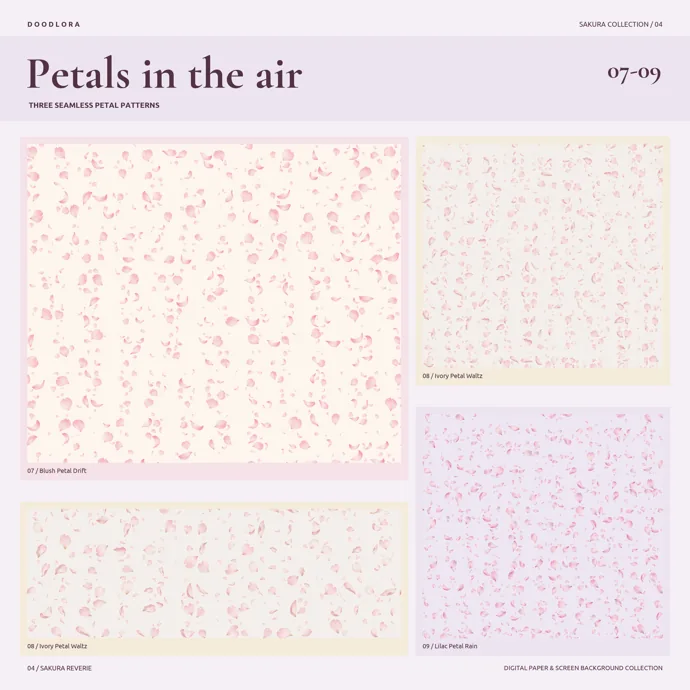
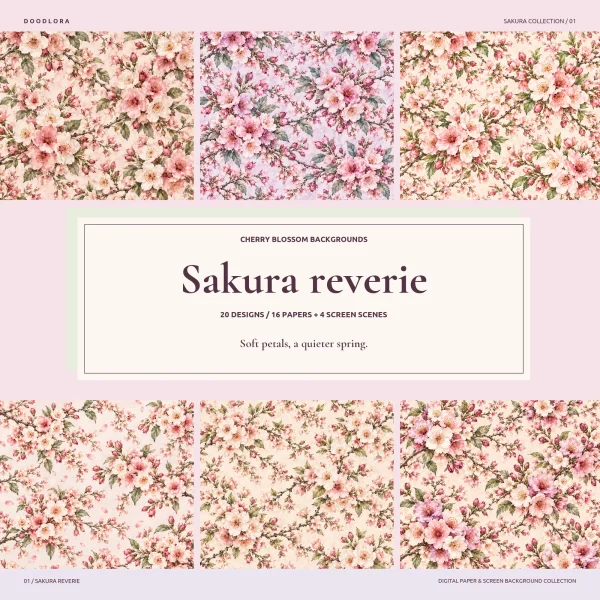
Notes cut one at a time all come out slightly different. Measure and cut the first one carefully, then use it as the template for the rest. Quiet patterns suit this job because your handwriting sits right under the band. The petal designs 07 to 09 in our cherry blossom backgrounds are mostly open ground.
9. Quiet sympathy card
A sympathy card works best when it’s plain. Use a cream or white A2 blank, one narrow strip of a soft floral about 1 x 4 inches across the lower front, and nothing raised, glittery or bright. Inside, two or three sentences are enough: name the person, share one specific memory if you have one, and offer something concrete, such as “I’ll call on Sunday.” The card takes about 15 minutes. The writing takes longer.
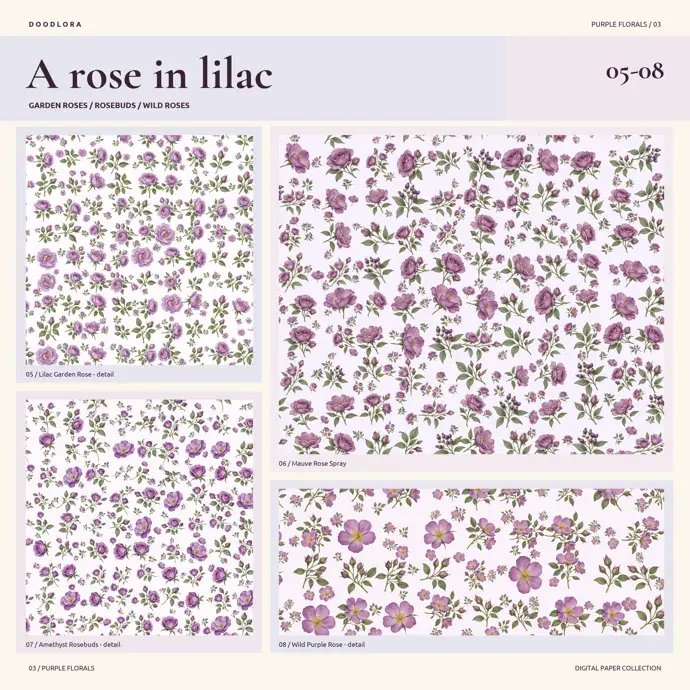
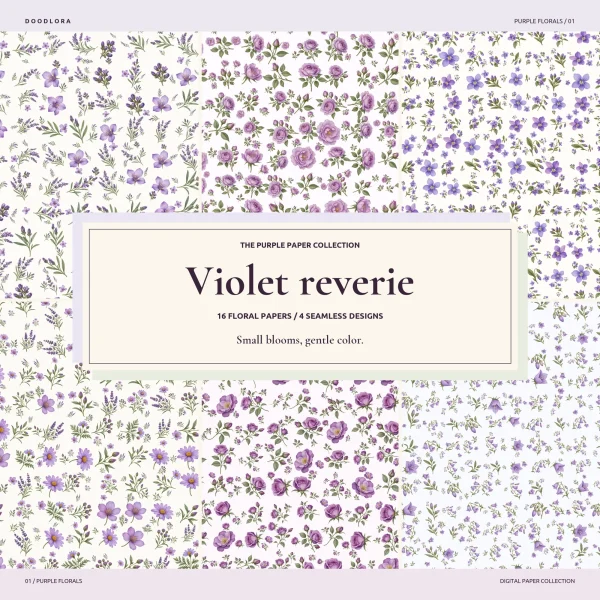
Dark grounds and crowded florals can look like party decoration. Choose a light design with plenty of white showing. The four lilac rose papers (05 to 08) in our purple flower backgrounds suit this, while the four near-black designs in the same set are too dramatic for most sympathy cards.
10. Thanksgiving and Christmas cards
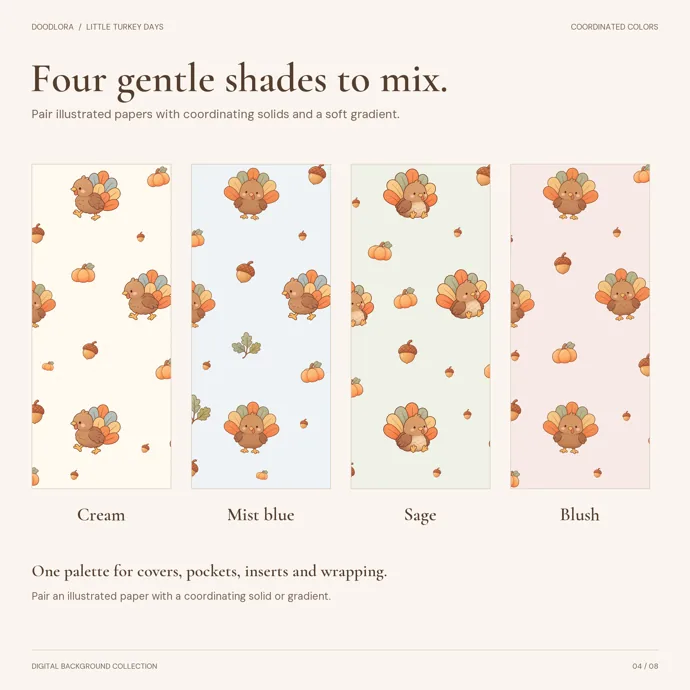
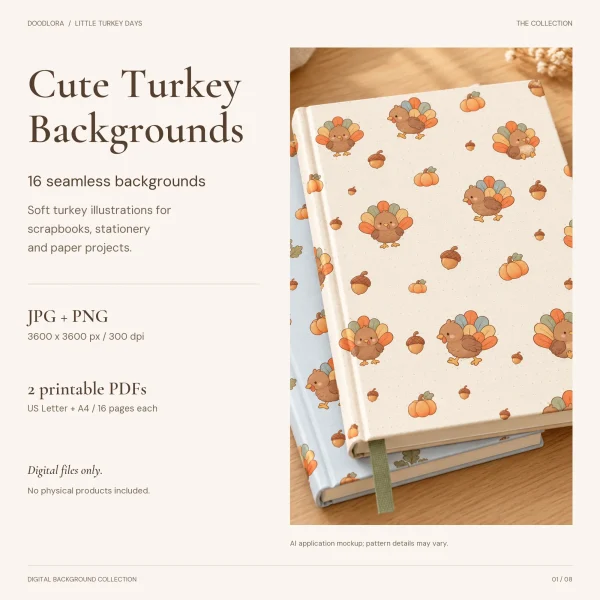
A seasonal pattern says which holiday it is before anyone reads a word. For Thanksgiving, make the layered card from idea 2 with a turkey-pattern panel on a plain sage or cream mat. Our Thanksgiving backgrounds include ten turkey patterns, three plaids with small turkeys and three plain or gradient papers, so the panel and the mat can come from one set. For what to write inside, see these Thanksgiving card messages.
Cute character patterns lose their faces when they’re cut small. Keep at least one whole turkey on the panel rather than slicing through the middle of a bird.
Christmas cards need their own plan, because the list is usually long. The Christmas guide linked in the card-size section above covers printed batches, handmade cards for a craft afternoon and cards kids can make.
Homemade card ideas for kids to make with a parent
Kids can make a real card when an adult handles the cutting that needs a craft knife and the child does the choosing and gluing. Set out a folded blank for each child, glue sticks, child-safe scissors and a tray of printed scraps. Craft knives and hot glue stay on the adult side of the table. The ages below are rough guides, not rules.
11. Pre-cut collage card (ages 3 to 5)
Preschoolers mostly want to choose and stick. Before they sit down, cut circles, hearts and strips about 1 to 2 inches across from printed paper. The child rubs glue stick onto one small area of the card front, presses a few shapes into it, and repeats until the front is full. It takes 10 to 15 minutes.
Glue on the shapes ends up on fingers and the table. Gluing the card front instead keeps the shapes clean and lets them stick where they land. More first cutting-and-gluing projects are in our easy paper crafts.
12. Balloon birthday card (ages 5 to 8)
Children who can cut along a line can make most of this card themselves. On the back of a printed sheet, draw three or four ovals about 1.5 x 2 inches. The child cuts them out, glues them near the top of the card front, and draws a string from each balloon down to one point with a marker. Plan on about 20 minutes.
Cutting an oval out of the middle of a sheet is hard for small hands. Draw the ovals close to the edge of the paper, or cut the sheet into rough squares first, so each balloon starts as its own small piece.
13. Accordion fold-out card (ages 7 and up)
An accordion strip unfolds into a row of small panels, one for each drawing or reason, such as “Four things I like about you.” Cut a 2.75 x 11 inch strip along the long side of a Letter sheet and mark it every 2.75 inches to get four squares. Fold back and forth on the marks like a fan, then glue the last square inside an A2 card so the strip pulls out when the card opens. It takes about 25 minutes.
Folds that drift off the marks leave uneven squares, and the strip won’t lie flat. Score each mark against a ruler first and alternate the fold direction every time. On a long-grain sheet these folds run across the grain, so light cardstock or heavy copy paper folds more easily than thick cardstock.
Printing background papers for card fronts, mats and liners
Printed background papers give a homemade card the same patterned front every time, which matters when you make ten. The designs in our background sets are digitally generated art, not photographs or hand painting, and each one comes as a square. A few choices about the file and the paper decide whether a panel comes out crisp and the right size.
Print the Letter PDF at Actual Size
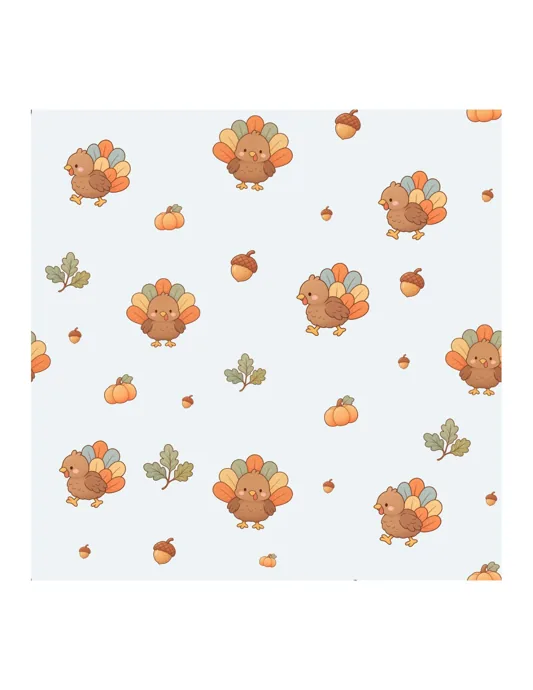
Each of these sets has a US Letter PDF with one square design per page and white margins. Print it at Actual Size or 100%; Fit to Page shrinks the square, and the panel sizes below stop working. The square’s width depends on the set: 8 inches for the cherry blossom and purple flower papers, about 7.9 inches for the cherry papers and 7.5 inches for the Thanksgiving papers. If your printer keeps scaling pages down, our guide on how to print coloring pages walks through that setting.
What one printed square gives you
Trim the white margin off first, so your ruler sits on the printed edge. Then one square covers two card fronts plus a strip.
| Set | Square on Letter | Cut from one square |
|---|---|---|
| Cherry blossom, purple flower | 8 inches | Two 4 x 5.25 inch panels for A2 fronts, plus an 8 x 2.75 inch strip |
| Cherry | About 7.9 inches | Two 3.75 x 5 inch layered-card panels, plus a strip about 2.9 inches deep |
| Thanksgiving | 7.5 inches | Two 3.75 x 5 inch panels, plus a 7.5 x 2.5 inch strip |
The strip is the right size for pocket fronts, flap strips and sympathy bands. Anything still left over works on a scrapbook page; our scrapbook ideas include layouts that need only small pieces.
Envelope liners from the leftovers
A patterned liner makes a plain A2 envelope look matched to the card. Open the envelope flap, lay the envelope face down on the back of a printed sheet, and trace the flap plus about 3.5 inches of the body below it. Cut the shape 1/8 inch inside the line and slide it into the envelope. Glue it only under the flap, and keep it below the flap’s gummed strip so the envelope still seals.
Paper, ink and sharpness
Print card panels on cardstock your printer can feed, since the manual lists the heaviest weight it takes, or print on plain copy paper and glue it to a cardstock mat. Liners and flap strips should stay thin. Let each print dry before you cut it, and keep watercolor and water-based markers off the printed side; Wikipedia’s inkjet article notes that even water-based highlighters can blur inkjet-printed documents.
Don’t enlarge a small piece of a design to fill a card front. The cherry blossom print guide puts most of its square papers at roughly 157 source pixels per inch when printed 8 inches wide. A 2-inch-wide section blown up to 5 inches drops to roughly 60, and the petal edges turn soft. Cut panels from the print at its own size instead.
Who can use the papers for cards
Cards you make to give, mail or hand out are covered by the personal license that comes with every set. So are cards a teacher makes with their own students and cards a school prints for its own events. Selling the finished cards needs more. The cherry blossom and purple flower sets offer a commercial license, which covers printed products you sell, cards included, but never the digital files themselves. The cherry and Thanksgiving sets are personal use only, so cards made from them stay gifts.
Printables from this article
Related articles
Backgrounds & Digital Paper
New Year Traditions: Eve, Day and Around the World
Twenty New Year's Eve and New Year's Day traditions, from the Times Square ball drop and Spain's twelve grapes to Japan's 108 bell strikes and Greece's coin cake, each with where it comes from, what people do and a small way to try it at home.
Backgrounds & Digital Paper
Christmas Scrapbook Ideas: 16 Layouts with Printable Paper
Pick a Christmas scrapbook page by how many photos you have and what you want to keep, print one background paper at Actual Size, then cut it into mats, pockets and tags so the photos and keepsakes stay the main thing.
Backgrounds & Digital Paper
How to Draw a Snowman: Easy, Cute Steps for Kids
Stack three snowballs that shrink from bottom to top, sink each one a little into the ball below, and stand the whole snowman on a ground line. Then add the hat, face, scarf and twig arms, and shade the white with pale blue instead of coloring it.