How to Draw Santa Claus: Easy Face and Full Body Steps
To draw Santa, start with a small circle for his face, hang a big cloud-shaped beard under it, and set a floppy hat with a fur band on top. Below the beard comes a round body, a wide belt with a square buckle, two mittens and two short boots. The part that makes a Santa drawing look like Santa is the white: beard, mustache, hat band, cuffs and coat trim. Leave all of it as bare paper and color only the red, skin and boots around it. Plan on roughly a quarter hour for just the face, and 40 minutes or so for a colored, head-to-boots Santa; those are our estimates, not timed sessions.
The face comes first, then the body from beard to boots. After that you’ll find soft fur and beard edges, a color chart, a shapes-only Santa for preschoolers, a 45-minute lesson plan and the fixes for a Santa that looks off.
Pencils, red and the white you don’t color
You can draw Santa with nothing more than a pencil and an eraser. To finish him, gather these:
- an HB pencil for light guide lines, and an eraser
- a black fine-tip marker or pen for the final outline (optional)
- one strong red, plus a darker red if you want shading in the folds
- a peach or light tan for the face, and a pink for cheeks and nose
- brown or black for the belt and boots
- yellow or gold for the buckle
- a light gray or pale blue for shadows in the white fur
For a young child, chunky crayons are the easiest of these to control, and the age-by-age notes in our coloring tips help you choose between crayons, markers and pencils.
There is no white on the list on purpose. On white paper, the beard and fur trim are simply the paper left alone. A white crayon or pencil on top adds almost nothing and makes later lines slide.
Ordinary copy paper handles pencil and crayon well. Markers tend to bleed through thin sheets, and a dark red marker soaks through faster than most colors, so use card stock or slip a scrap sheet underneath.
Plan the proportions before the first line
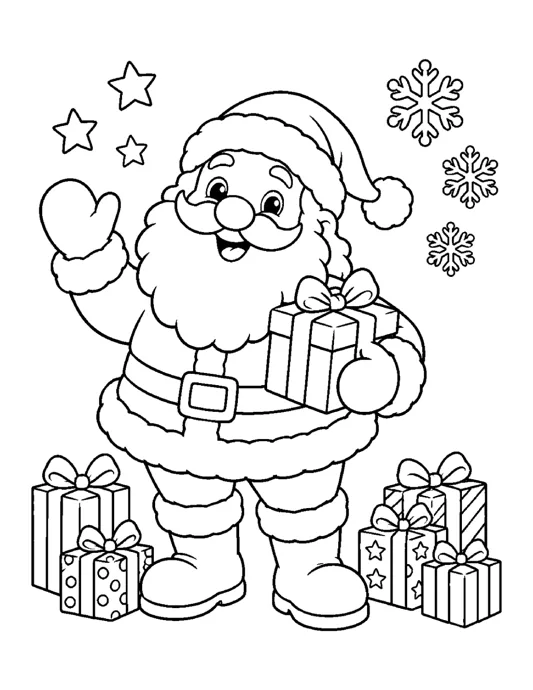
A cartoon Santa is mostly head and belly. Our Santa coloring page, shown below, is a good one to study. Hat and beard together take up almost the top half of the figure, the belt sits a little below the middle, and the legs are short, stubby columns that end in boots almost as wide as the legs are long.
Three shortcuts keep the proportions easy:
- Face small, beard big. The face circle is only about a third as wide as the beard that hangs from it.
- Body as one oval. Draw the body as an egg shape slightly wider than it is tall, before any arms or legs.
- Stand him on a line. Rule a light ground line near the bottom of the page so both boots sit on the same level.
On a letter-size sheet held upright, give the face circle about 1½ inches across and the whole figure about 8 inches from hat tip to boot sole. That leaves a margin for a sack or a few gifts.
How to draw Santa’s face step by step
The face is the part people look at first, so it gets its own steps. Draw lightly until step 9.
- Draw the face circle. Place it in the upper third of the page, a little left of center if the hat will flop to the right.
- Add the hat band. Lay a thick, curved band across the top third of the circle, overlapping it, and let it stick out past the circle on both sides. Draw its edges as a bumpy line, not a smooth one.
- Draw the hat. From the top of the band, draw a soft cone that leans and bends over to one side, then droops down past the band. End the tip with a round pompom roughly as wide as the hat band is tall.
- Place the eyes. Put two small ovals just under the hat band, close together. Leave a tiny white dot in each for a shine.
- Add the eyebrows. Draw two thick, bumpy white brows that curve up over the eyes. On Santa they are fur, not lines, so outline their shape.
- Draw the nose. A round ball right between and below the eyes, a little bigger than one eye.
- Draw the mustache. Two puffy shapes that start under the nose and curl out and up toward each cheek, like a wide, fluffy “w” lying on its side.
- Draw the beard. Starting at each side of the face just below the hat band, draw a bumpy outline that drops down and around into a big rounded cloud. Leave an open smile or a small mouth just under the mustache.
- Clean up and ink. Erase the parts of the face circle hidden under the hat band, beard and mustache, then go over the final lines with a pen or a darker pencil.
For a face-only Santa, stop here and add a curl of hair showing under the band on each side, plus two pink circles on the cheeks.
How to draw Santa’s full body step by step
Draw the face steps first, then keep going down the page.
- Rough in the body. Draw a big egg shape under the beard, wider than the beard, with its top hidden behind the beard.
- Add the belt. Draw two parallel curves across the lower middle of the egg, following its roundness so they bend downward slightly. Put a square or rectangular buckle in the center, with a smaller square inside it.
- Draw the coat trim. Draw a wide, bumpy fur band along the bottom of the egg, where the coat ends. Add a strip of fur running from the beard down to the hem, through the middle of the belt.
- Draw the legs. Two short, wide columns come down from under the coat trim to the ground line, with a small gap between them.
- Add the boots. At the bottom of each leg, draw a fur cuff, then a rounded boot with a toe pointing outward. Give each boot a flat sole sitting on the ground line.
- Draw the arms. Each sleeve is a fat, slightly bent tube that starts at the side of the body. One can wave up beside the head, as on our coloring page, and the other can hang down or hold something.
- Add cuffs and mittens. End each sleeve with a fur cuff, then a mitten: a rounded mitten shape with a separate thumb.
- Add a prop. A sack over one shoulder, a gift held against the belly, or a list. Draw it last, so it overlaps the body instead of fighting with it.
- Erase and ink. Remove the parts of the egg hidden by the beard, arms and prop, then ink the final lines.
Fur and beard that look soft, not stiff
Santa’s fur and beard make or break the drawing. Smooth outlines make the trim look like a plastic tube; bumpy ones make it look like fur.
Fur trim. Draw every fur edge as a row of small connected bumps, like a line of tiny clouds. Keep the bumps uneven, some bigger, some smaller. The trim is thick: on the hat band and coat hem, make it about as tall as Santa’s nose is wide.
Beard. A beard reads best as one big rounded shape with a bumpy edge, wider at the bottom than at the top. Our Beards and Round Glasses pattern reduces it to exactly that: a single rounded cream shape coming to a soft point at the bottom, with round glasses sitting right on top. If your beard looks fussy, step back to that outline.
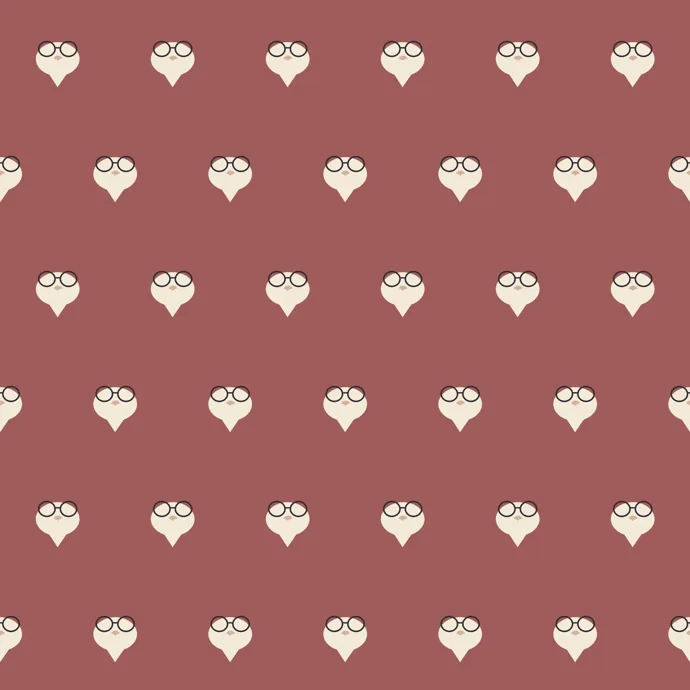
Inside the beard, add only a few curved lines that follow its direction, curling down and out from the mustache. Five to eight lines are enough. Filling the whole beard with lines turns it gray.
Glasses. Wikipedia describes Santa as often drawn with glasses, so they are optional. Use small round rims perched low on the nose, just above the mustache.
Shading the white. To give the white some depth, run a very light gray or pale blue along the bottom edge of the beard, under the mustache and on the underside of each fur band. Keep it to a thin shadow; the rest stays paper.
Coloring Santa: which colors go where
The colors are almost always the same ones. Wikipedia describes Santa as generally depicted wearing a red coat with white fur collar and cuffs. The same entry notes the urban legend that Coca-Cola invented Santa, and says the red-and-white Santa, essentially in his current form, was around before those ads. The cartoonist Thomas Nast was one of the first artists to define that look.
Our coloring page comes with a full-color reference version, which shows one way to lay out the colors:
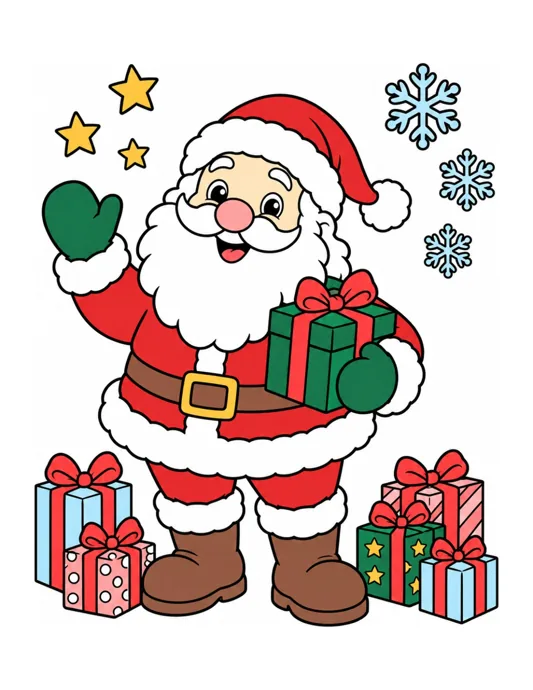
| Part | Color |
|---|---|
| Hat, coat, sleeves, trousers | Red |
| Fur trim, pompom, beard, mustache, brows | Bare white paper, light gray shadow |
| Face | Peach or light tan |
| Nose and cheeks | Pink, a bit darker on the nose |
| Belt and boots | Brown or black |
| Buckle | Yellow or gold |
| Mittens | Green, red, brown or black |
The mittens are the one free choice. Green mittens, as on the reference page, give a nice break from all the red.
Color in this order: face and cheeks first, then the red, then the belt, boots and buckle, and the gray shadows on the white last. Coloring the red before the dark parts keeps black from dragging into it.
Colored pencils. Use light pressure for the first layer of red, then a second layer pressing harder. In the folds of the sleeves and under the beard, add the darker red. To join the two reds without a hard edge, try the layering method in how to blend colored pencils.
Crayons. Press firmly on the red so it looks solid, but stop a little short of the fur edges. Crayon wax is hard to erase, and a red smear on the beard won’t come out.
Markers. Go slowly around the fur bumps, since a marker spreads into the white. Do the red in short strokes all going the same way, which keeps it from looking streaky.
The easiest Santa: built from shapes
For preschoolers and anyone who wants a Santa in two minutes, skip the bumps and build him from shapes. Our Sleigh Across the Snow Moon background shows how little it takes. That Santa is a triangle hat with a small ball on the tip, a circle head and a blocky body, and you still know who it is in silhouette.
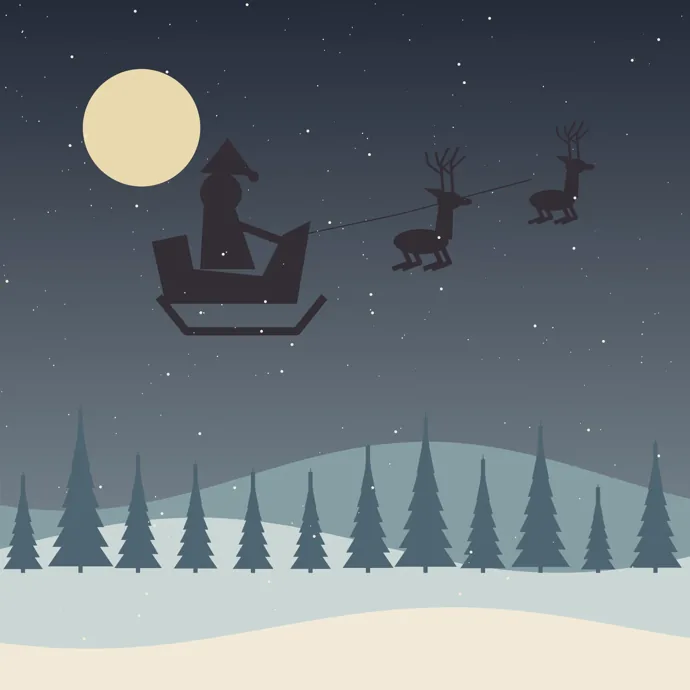
For a simple front-facing Santa from shapes:
- Draw a large circle for the body.
- Draw a smaller circle on top for the head.
- Put a triangle on the head for the hat, with a small circle on its tip.
- Draw a wide upside-down triangle with rounded corners over the bottom half of the head for the beard.
- Draw a band across the body for the belt, with a small square in the middle.
- Add two rectangles under the body for boots.
- Draw two dots for eyes and a circle for the nose.
Ages 3 to 5, about 10 minutes. An adult can draw the circles and let the child add the hat, beard and buttons. Cotton balls glued onto the beard make a soft, touchable Santa and skip the trickiest part of the drawing.
Ages 6 to 8, about 20 minutes. Do the shapes Santa, then swap the straight edges of the beard and hat band for bumpy ones. That one change is the step up to the full face steps above.
Ages 9 and up, 40 minutes or more. Follow the full-body steps with colored pencils and shading.
Drawing Santa with a class
A Santa lesson fits a 45-minute art period for ages 6 to 10. One way to split the time:
- 5 minutes demonstrating the face circle, hat band and beard on the board
- 15 minutes on the face steps, everyone drawing together one step at a time
- 10 minutes on the body, belt and boots
- 15 minutes coloring and cleanup
Two things save trouble with a group. First, say “leave the white for last” before anyone picks up a red, because the most common upset is a red beard. Second, give out the red only after the pencil lines are done, so faces don’t get colored before the beard is outlined.
For kids who finish early, have them draw a sack of gifts beside Santa or a row of chimneys behind him. The tiny trees from how to draw a Christmas tree fit a snowy background too. For more December projects for the same group, see our Christmas activities for kids.
Santa drawing problems and how to fix them
- The beard looks like a bib. A smooth outline with a straight bottom edge reads as fabric. Redraw the edge as bumps and round off the bottom.
- The face is too big. If the face circle is as wide as the beard, Santa looks like a baby in a costume. Shrink the circle and let the beard spread out wider than the face.
- The hat floats. The hat band has to overlap the top of the face. If skin shows between them, lower the band.
- The eyes are lost. With brows, nose and mustache all crowded together, small eyes disappear. Put them close to the band, darken them, and keep the white shine dot.
- The belt is straight. A ruler-straight belt makes the body look flat. Curve it down slightly to follow the belly.
- Red in the white. Once red crayon or marker gets into the beard, it rarely comes out. Color the red slowly near fur edges and stop just short of the line.
- Stiff arms. Arms drawn as straight tubes look robotic. Bend each one at the elbow, even a little.
- Legs too long. Long legs make Santa look tall and thin. Keep them short and the boots big.
Our Santa coloring page and backgrounds as references and backdrops
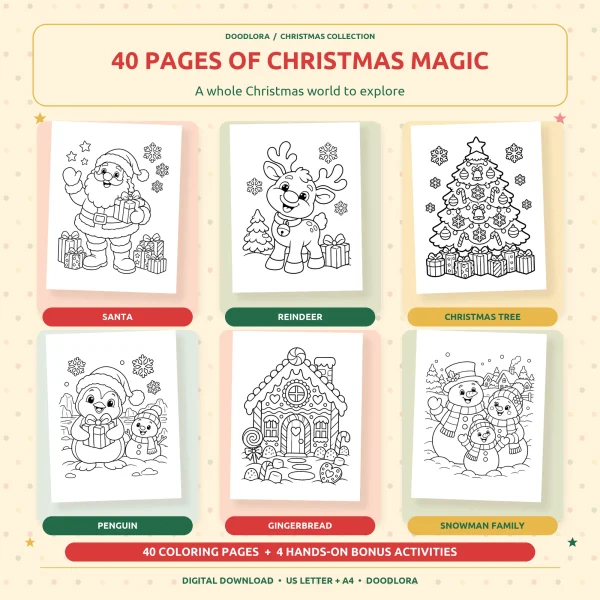
When the proportions or colors aren’t working, a finished Santa beside your paper is the fastest fix. Our Christmas coloring pages start with a run of Santa scenes, including Santa waving with a gift (page 1, pictured above), his sleigh, a chimney, his gift bag, letters to Santa and his workshop. The pack has 40 main pages plus 4 bonus activities as black-and-white PDFs for US Letter or A4, and a full-color reference version of each main page. Kids who want to practice coloring Santa before drawing their own can start on page 1, then try the face steps on a blank sheet next to it.
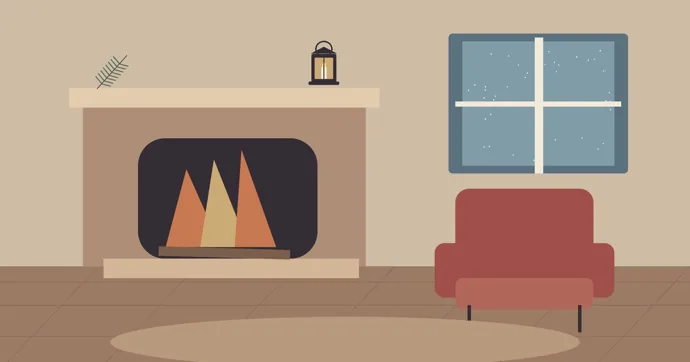
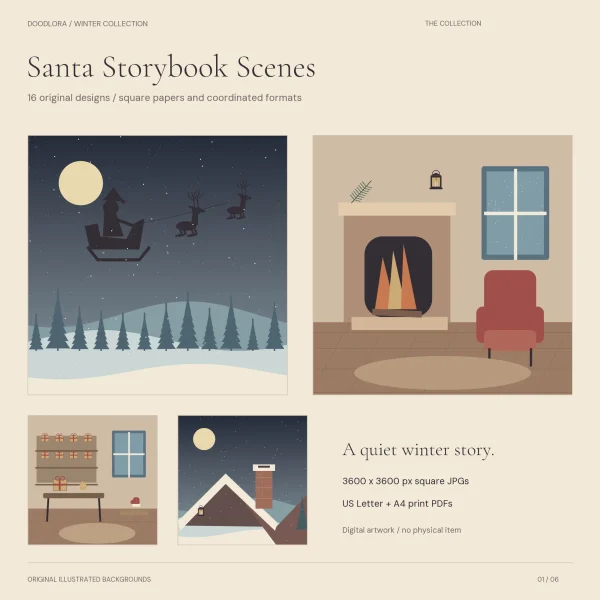
Our Santa backgrounds work differently. They are finished digital illustrations in full color, with no outlines to follow, so use them for color and layout ideas and as a backdrop for a finished drawing. The set has 16 designs: 8 North Pole scenes and 8 small-motif patterns. Santa himself appears only once, as the sleigh silhouette in 37-01. The other scenes, like the fireside chair, rooftop chimney and letter desk, are empty settings where your drawing can go. Cut out your colored Santa and glue it onto a printed rooftop or fireside scene to make a card front or a December window picture. The 37-10 beard pattern and the 37-09 Santa hat pattern also make good wrapping for a small gift.
To print, each set has a US Letter PDF. In the Santa backgrounds, each page holds one design as a 7.5-inch square with a white border, printed at Actual Size. The set’s START-HERE file notes that screen and printed colors may vary, so print one page before a batch. The how to print coloring pages guide explains the Actual Size setting if your printer shrinks pages.
Both are for personal use. Printing at home is fine, and so is a teacher printing copies for their own class. The Santa backgrounds’ license also covers copies made inside one school for that school’s own activities. Selling the pages, the scenes or anything made from them is not allowed.
Quick answers about drawing Santa
How do you draw Santa Claus easily?
Draw a big circle for the body, a small circle on top for the head, a triangle hat with a ball on the tip, and a rounded triangle beard over the bottom half of the head. Add a belt with a square buckle and two rectangle boots.
How do you draw Santa’s beard?
Draw it as one big rounded cloud with a bumpy edge, starting at the sides of the face under the hat band and widening toward the bottom. Add only a few curved lines inside, and leave it as white paper.
Which crayon colors does a Santa drawing take?
Red for the suit and hat, peach for the face, pink for the nose and cheeks, brown or black for the belt and boots, and gold for the buckle. The beard and fur stay white paper, with a light gray shadow if you like.
Should I draw the face or the body first?
The face first. The size of the face and beard sets the scale for everything else, and the body fits underneath it.
How do I make Santa look jolly instead of grumpy?
Curve the eyebrows up, not down, put the eyes close under the hat band, and show a small open smile under the mustache. Round pink cheeks pushed up toward the eyes add to it.
Still deciding on a pose? Flip through the waving, sleigh and chimney Santas in our coloring pack and note which hat, beard and stance you like. Pick the one you like best and use it for the finished picture.
Printables from this article
Related articles
Backgrounds & Digital Paper
New Year Traditions: Eve, Day and Around the World
Twenty New Year's Eve and New Year's Day traditions, from the Times Square ball drop and Spain's twelve grapes to Japan's 108 bell strikes and Greece's coin cake, each with where it comes from, what people do and a small way to try it at home.
Backgrounds & Digital Paper
Christmas Scrapbook Ideas: 16 Layouts with Printable Paper
Pick a Christmas scrapbook page by how many photos you have and what you want to keep, print one background paper at Actual Size, then cut it into mats, pockets and tags so the photos and keepsakes stay the main thing.
Backgrounds & Digital Paper
How to Draw a Snowman: Easy, Cute Steps for Kids
Stack three snowballs that shrink from bottom to top, sink each one a little into the ball below, and stand the whole snowman on a ground line. Then add the hat, face, scarf and twig arms, and shade the white with pale blue instead of coloring it.