Duck Crafts for Kids: 15 Paper and Rubber Duck Ideas
Almost every duck craft comes down to the same three shapes: a round body, a smaller round head and a flat orange bill. That’s why a two-year-old can make a torn-paper duckling in about 15 minutes, while a teenager can spend an hour painting a cardboard decoy. For a quick table activity, pick a paper duckling or a folded paper plate duck. After a read-aloud of Make Way for Ducklings, a class can build a parade of eight named ducklings. Rubber duck fans can make foam bath ducks, a counting line or party stickers.
The table sorts all fifteen by the moment you’ve got. Ages and times are our planning estimates, so give a chatty group more room.
| Craft | Good moment for it | Ages | Hands-on time | Key supply |
|---|---|---|---|---|
| Torn-paper duckling | Quiet table time | 2–5 | 15 min | Duckling outline, yellow paper |
| Folded paper plate duck | Quiet table time | 3–6 | 20 min | Sturdy paper plate |
| Two-circle paper duck | Quiet table time | 3–6 | 15 min | Construction paper |
| Eight-duckling parade | After the book, whole class | 4–7 | 30 min | Duckling outlines, name strips |
| Paper bag quacking puppet | After the book, retelling | 4–8 | 20 min | Lunch bag, orange paper |
| Duck crossing scene | After the book, small group | 5–8 | 30–40 min | Shoebox lid, paper ducks |
| Foam bath ducks | Bath time | 3–7 | 20 min | Craft foam, permanent marker |
| Ten-duck counting line | After 10 Little Rubber Ducks | 3–6 | 25 min | Small duck outlines, clothespins |
| Dress-a-duck coloring table | Duck-themed party | 4–10 | 20 min | Rubber duck outline, scraps |
| Rubber duck sticker favors | Party prep, adult or teen | 12 to adult | 30 min | Duck PNGs, sticker paper |
| Flapping-wing duck | Rainy afternoon | 5–9 | 25 min | Cardstock, brad fastener |
| Swimming duck slider | Rainy afternoon | 4–8 | 25 min | Paper pond, craft stick |
| Painted cardboard decoy | Longer project | 10 to adult | 45–60 min + drying | Decoy template, cardboard |
| Freezer-paper duck stencil | Longer project | 12 to adult | 45 min + drying | Duck silhouette, fabric paint |
| Rubber duck vinyl decals | Cutting machine owners | Teens, adults | 30–45 min | Silhouette files, vinyl |
Duck crafts that fit in 15 to 20 minutes at the kitchen table
These three suit toddlers and preschoolers who want a finished duck before snack time. Each has one main action, either tearing, folding or gluing shapes, and an obvious last step, so a short attention span isn’t a problem. For anyone under three, draw the eye with a marker. Federal toy rules treat small parts as a choking hazard for children under 3 years old (16 CFR Part 1501), and a loose googly eye or pom-pom is exactly that kind of part.
Torn-paper duckling
Ages 2–5 · about 15 minutes · one adult for up to three kids. You’ll need a printed duckling outline, yellow construction paper or old yellow magazine pages, a glue stick and an orange crayon. Tearing is good practice for small fingers, and there’s no wrong shape.
- Tear the yellow paper into pieces about the size of a postage stamp. Kids under three can tear long strips while you snap them into pieces.
- Rub the glue stick over one part of the duckling, such as the head.
- Press yellow pieces onto the glue, overlapping them a little.
- Glue the next part and repeat until the body is covered.
- Color the bill and feet orange.
Done when the body is covered and the feet are orange.
Watch for liquid glue. White school glue soaks thin paper and the outline wrinkles, so glue one small section at a time with a stick.
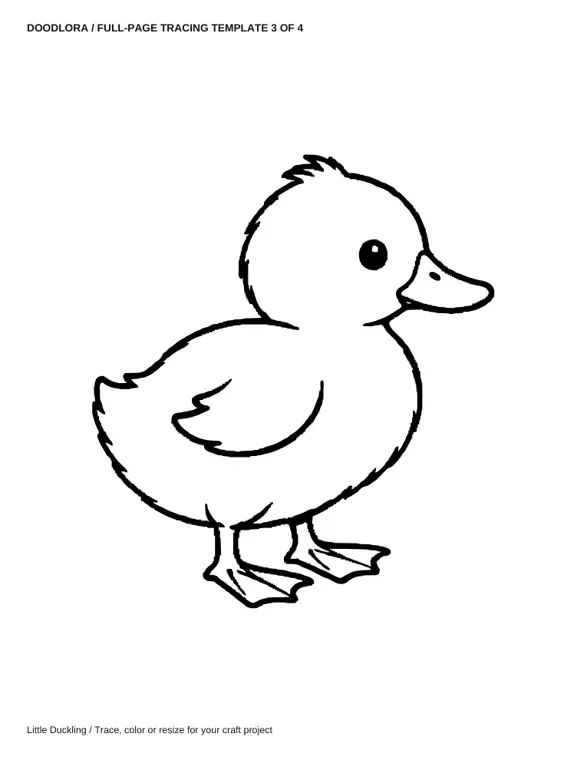
The duckling is page 61 of the duck outline PDF, one of four full-page tracing templates at the end of the file. Printed on US Letter it stands about 6 inches tall, which is a comfortable size for a two-year-old’s paper pieces.
Folded paper plate duck
Ages 3–6 · about 20 minutes · two to six kids at one table. You’ll need one sturdy paper plate per child, yellow paint or crayons, yellow and orange paper, scissors and glue.
- Fold the plate in half so the rim forms the duck’s curved back.
- Color or paint the outside of both halves yellow, then let paint dry.
- Cut a head from yellow paper, about the size of a child’s palm, with a long neck tab.
- Cut an orange bill and glue it to the head. Draw the eye.
- Glue the neck tab inside one end of the folded plate.
- Snip a fringe of paper feathers and glue them inside the other end as a tail.
Done when the duck sits on the table and rocks when it’s tapped.
Watch for thin plates. A flimsy plate folds flat under paint and won’t stand up, so use the coated, heavier kind.
Two-circle paper duck
Ages 3–6 · about 15 minutes · good for a group. You’ll need yellow paper in two circle sizes (trace a mug and a small cup), orange paper, a crayon, scissors and glue.
- Cut a large circle for the body and a smaller circle for the head.
- Glue the head so it overlaps the top edge of the body.
- Cut an orange triangle for the bill and glue it to the side of the head.
- Fold a strip of yellow paper in half and glue it on the body as a wing.
- Draw an eye and add two orange feet below.
Done when the duck has a bill, an eye and feet.
Watch for circle cutting. Preschoolers often snip into the middle, so precut circles for kids under five and let them do the gluing independently.
Kids who enjoyed this can move on to other barnyard animals. Our farm activities for preschool include tracing a pig and farm animal movement games.
Duck crafts to make after reading Make Way for Ducklings
Make Way for Ducklings is Robert McCloskey’s 1941 picture book about a mallard family settling in the Boston Public Garden, and it won the 1942 Caldecott Medal. Mrs. Mallard hatches eight ducklings named Jack, Kack, Lack, Mack, Nack, Ouack, Pack and Quack. Michael, a policeman, stops traffic so the family can cross the road. All three crafts below grow straight out of those details, which gives the retelling some structure.
Eight-duckling parade
Ages 4–7 · about 30 minutes · a whole class. You’ll need duckling outlines, crayons, scissors, eight paper strips for the names, tape and one larger mother duck.
- Give eight children a duckling each to color and cut out.
- Have each child write one name from the book on a strip and glue it under the duckling.
- Put the mother duck at the front of a wall or hallway.
- Line the ducklings up behind her in name order, then tape them down.
Done when all eight are taped in order behind Mrs. Mallard.
The names run J, K, L, M, N, O, P, Q, so lining up becomes a quick alphabetical check. Watch for a class bigger than eight. Give the extra children Mr. Mallard, Michael and a stop sign, so nobody’s left standing around without a duck.
Paper bag quacking puppet
Ages 4–8 · about 20 minutes · for retelling the story. You’ll need a flat paper lunch bag, yellow and orange paper, glue, scissors and a marker.
- Lay the bag flat with the folded bottom flap on top. The flap is the head.
- Cut an orange bill shape and cut it in half across the middle.
- Glue the top half to the lower edge of the flap.
- Lift the flap and glue the bottom half to the bag underneath, so the two halves meet.
- Add eyes on the flap and yellow paper wings on the sides.
Done when the bill opens as the child’s fingers move inside the flap.
Watch for glue in the fold. If glue seeps under the flap, the mouth gets stuck shut, so use a thin line and keep it on the outer edge.
Duck crossing scene
Ages 5–8 · 30 to 40 minutes · two or three kids sharing one scene. You’ll need a shoebox lid, gray and green paper, small duck cutouts, a craft stick and markers. This one takes more patience and cooperation than the puppet, so it suits a small group.
- Cover half the lid with gray paper for the road and half with green paper for the park.
- Draw a crosswalk on the road.
- Make Michael from paper on a craft stick, holding up a hand.
- Glue the ducks in a line crossing the road toward the park.
Done when the ducks reach the green side.
Watch for tiny ducks. Small hands struggle to cut ducklings under about two inches, so print them on a multi-design sheet and precut the smallest.
Rubber duck crafts for bath time and duck-themed parties
Rubber duck crafts swap the mallard for the yellow bath toy with a flat base. A rubber duck can be made of rubber or of vinyl plastic, and it’s usually yellow, which makes the coloring step easy to plan. These four start from a plain rubber duck outline, so print the one you want before you begin.
Foam bath ducks
Ages 3–7 · about 20 minutes · one sheet of foam makes several ducks. You’ll need yellow craft foam sheets, a rubber duck outline, a pencil, scissors and a permanent marker.
- Cut out the printed duck and trace around it on the foam with a pencil.
- Cut the foam duck out. An adult can cut for kids under five.
- Draw the eye, bill line and wing with the permanent marker.
- Let the marker dry before the duck goes near water.
- In the bath, wet the foam and press it on the tub wall.
Done when the duck sticks to the wet tub wall.
Watch for small cutouts. Keep the duck in one large piece for young bathers, with no separate beaks or eyes that could come loose.
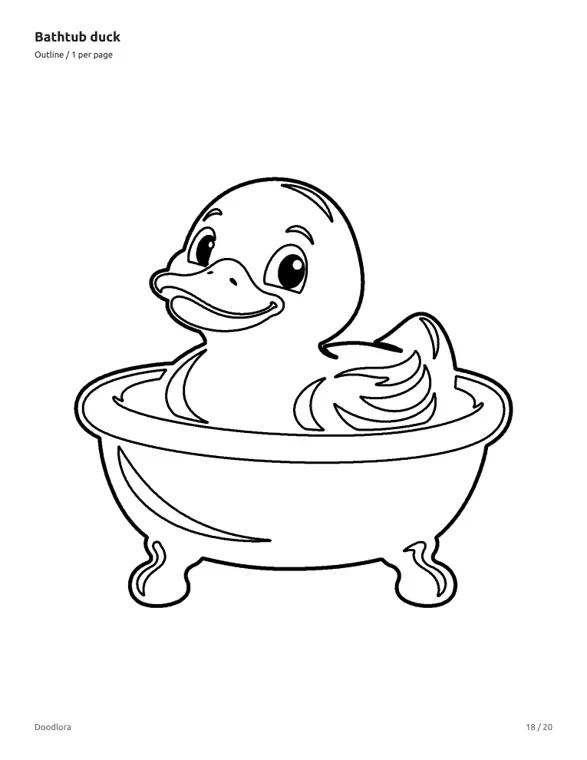
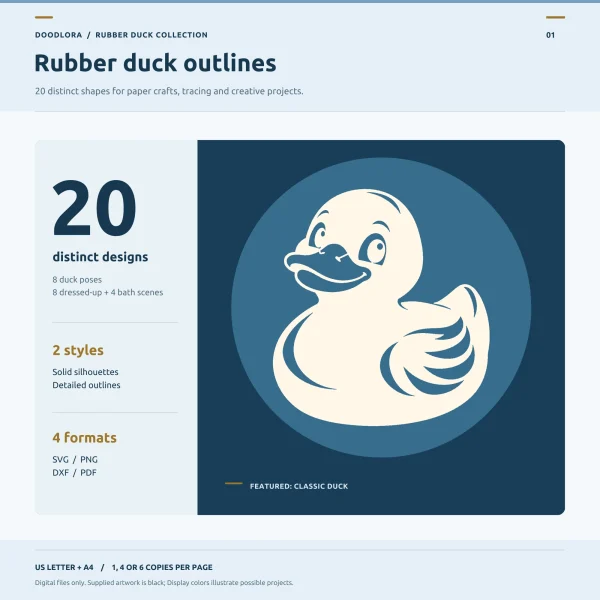
The bathtub duck is one of twenty designs in our rubber duck outlines, which also include a mother with three ducklings and a duck in a swim ring. The classic duck, the first design, has the simplest edge for tracing onto foam.
Ten-duck counting line
Ages 3–6 · about 25 minutes · one child or a small group. Eric Carle’s 2005 picture book 10 Little Rubber Ducks was inspired by a real spill of bath toys at sea in 1992, and its ten ducks make a natural counting craft. You’ll need ten small rubber duck outlines, crayons, scissors, a length of string and ten clothespins.
- Print the duck six to a page. Two pages give you ten, plus two spares.
- Color and cut out ten ducks.
- Write a number from one to ten on each duck’s body.
- Tie the string between two chairs.
- Clip the ducks on in order with clothespins.
Done when all ten hang in order.
Watch for number order. Some kids clip the ducks on as they finish coloring, so mix up the pile first and count up together while hanging. The counting is the real activity here, and the coloring is the warm-up.
Dress-a-duck coloring table
Ages 4–10 · about 20 minutes · good for a party table. You’ll need plain rubber duck outlines, crayons, glue and scrap paper, ribbon or foil for hats. It’s a craft that runs on imagination, so there’s no single right answer.
- Print one plain duck per guest.
- Put scraps and glue in the middle of the table.
- Ask each guest to make the duck a hat or outfit for the party.
- Color the duck and glue the hat on.
Done when each duck wears something.
Watch for kids who stall on a blank duck. Keep a few ready-dressed ducks for them to color, such as the dressed-up designs in the rubber duck outline set, which wear sunglasses, a top hat, a Santa hat or a crown. For coloring advice, see our coloring tips.
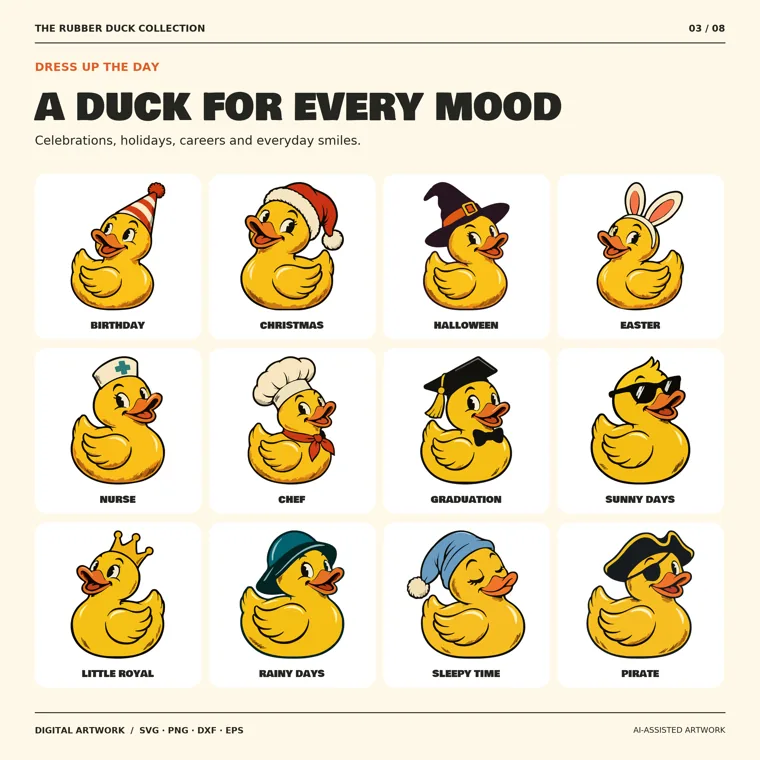
Rubber duck sticker favors
Ages 12 to adult · about 30 minutes · party prep. You’ll need duck PNG files, printable sticker paper, a printer and scissors.
- Place the duck PNGs in a document, each about 3 to 4 inches wide.
- Print one test sheet on plain paper and check the size.
- Print on sticker paper and let the ink dry.
- Cut around each duck, leaving a narrow white border.
Done when each guest’s favor bag has a sticker or two.
Watch for wet ink. Inkjet sticker paper smudges if you cut it straight off the printer, so leave it for a few minutes.
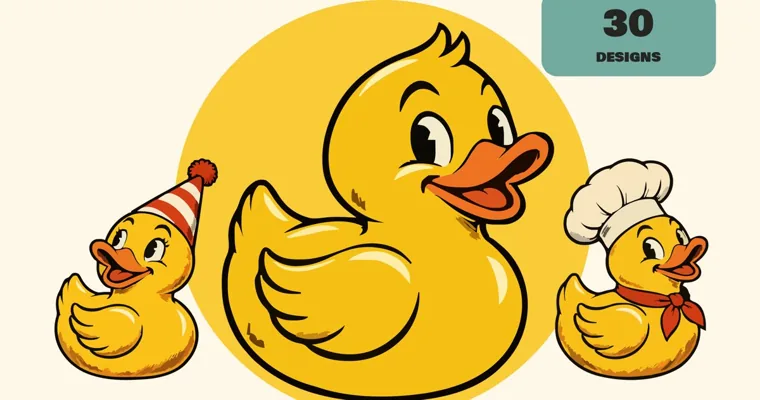
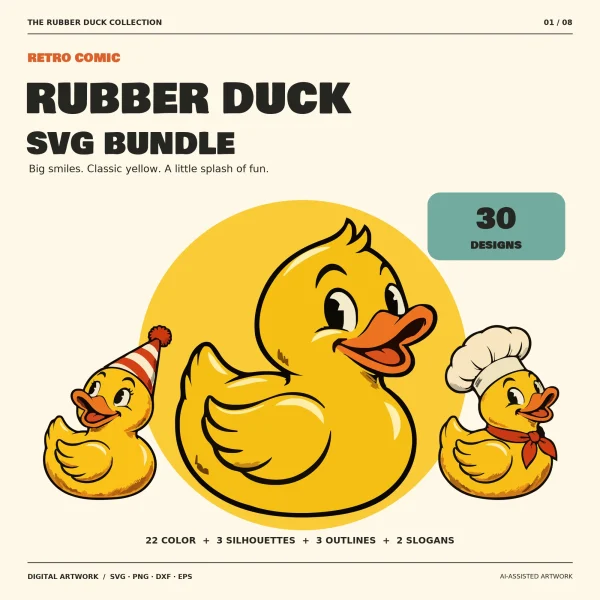
That width comes from the quick-start guide in our rubber duck SVG and clipart set, which has thirty retro comic ducks, most of them in color. Check the size on a plain test print rather than trusting a number on the page, since the set’s guide gives more than one measurement for its art. Our guide to using clipart covers placing PNGs in a document.
Duck crafts that move: flapping wings and a swimming duck
Moving crafts suit kids from about five who’ve finished the simple ones and want a duck that does something. Both take about 25 minutes and need an adult for one small step, and both build a bit of hand coordination.
Flapping-wing duck
Ages 5–9 · about 25 minutes · one adult for the hole punching. You’ll need cardstock, a standing duck outline, scissors, a pencil, a lump of play dough and one brad fastener.
- Trace the duck body on cardstock and cut it out.
- Draw a wing on a separate piece and cut it out.
- Place the wing on the body at the shoulder.
- Push a pencil point through both layers into the play dough to make a hole.
- Push the brad through and open its legs on the back.
Done when the wing swings up and down.
Watch for a hole too close to the edge. The cardstock tears when the wing moves, so make the hole at least half an inch inside the outline.
Swimming duck slider
Ages 4–8 · about 25 minutes · one adult for the slit. You’ll need a sheet of cardstock, blue and green crayons, a small duck cutout, a craft stick and tape.
- Draw a pond with reeds on the cardstock.
- An adult cuts a slit across the water, about 6 inches long.
- Tape the duck to the top of the craft stick.
- Push the stick up through the slit from behind.
- Slide the duck along the water.
Done when the duck swims from one end of the slit to the other.
Watch for a narrow slit. The stick jams, so cut it as wide as the stick.
These two fill an afternoon indoors. Our rainy day activities for kids cover more ways to keep a group busy.
Duck crafts for teens and adults: decoys, stencils and decals
Older crafters can work on realistic ducks and more careful cutting. All three take longer and use tools that small kids shouldn’t handle, such as a craft knife and an iron, so they’re best for a teenager’s afternoon or an adult’s weekend project.
Painted cardboard decoy
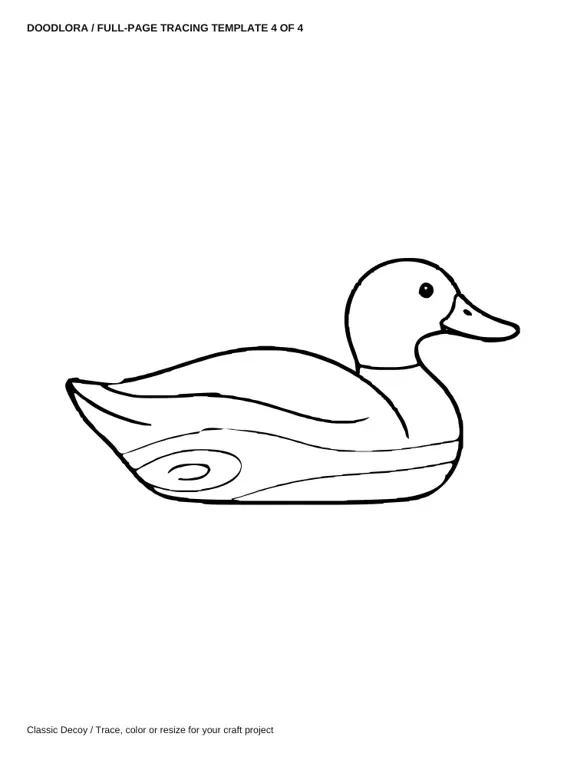
Ages 10 to adult · 45 to 60 minutes plus drying. A decoy is a carved, painted wooden duck. This one copies the look in cardboard, and it doesn’t need any woodworking. You’ll need a decoy template, a piece of corrugated cardboard, a craft knife and cutting mat, acrylic paint and brushes.
- Cut out the printed decoy and trace it on the cardboard.
- Cut the outline with the craft knife on the mat.
- Paint a base coat and let it dry.
- Paint the head, bill and body markings.
- Copy the wood-grain lines from the template with a fine brush or marker.
Done when the paint is dry and the grain lines show.
Watch for crushed edges. Scissors squash corrugated cardboard, so use a fresh blade and cut in several light passes.
Freezer-paper duck stencil
Ages 12 to adult · about 45 minutes plus drying. You’ll need a solid duck silhouette, freezer paper, a craft knife and mat, an iron, a cotton tote bag or T-shirt, fabric paint and a sponge.
- Trace the silhouette on the dull side of the freezer paper.
- Cut out the duck shape and keep the sheet around it.
- Iron the sheet shiny side down on the fabric.
- Slip a piece of cardboard inside the bag or shirt.
- Dab fabric paint into the opening with the sponge.
- Peel the paper off and heat-set the paint as its label says.
Done when the paper is off and the paint is set.
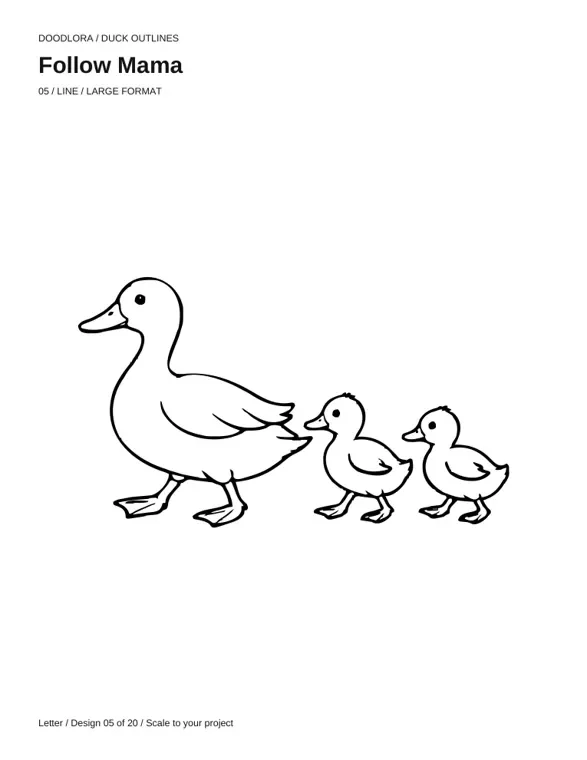
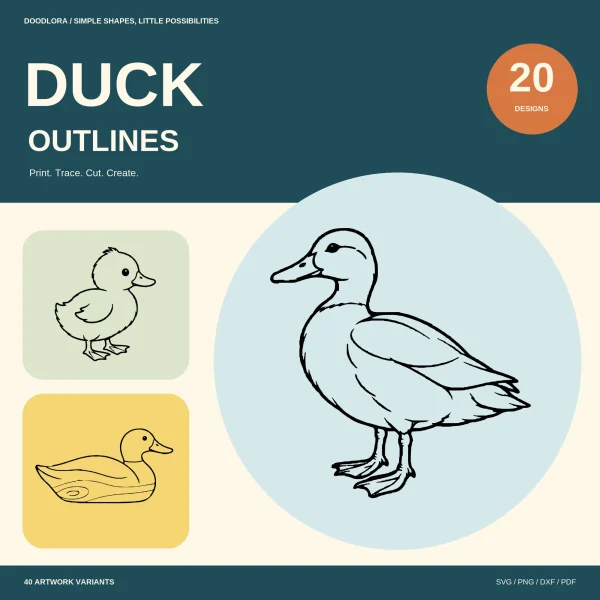
Watch for missing details. A plain silhouette has no eye, so add one afterward with a fabric marker. In our duck outline set, 12 of the 20 solid ducks are a single shape. The rest, such as the flying trio and the duck family, come in several pieces that you’ll cut and place one by one.
Rubber duck vinyl decals
Teens and adults with a cutting machine · 30 to 45 minutes. You’ll need rubber duck silhouette or one-color files, adhesive vinyl, a cutting machine, a weeding tool and transfer tape.
- Import a silhouette or one-color duck file.
- Size it to 5 inches or larger for a first cut.
- Cut, weed and apply with transfer tape.
Done when the decal’s on a water bottle or laptop.
Watch for fine lines. The rubber duck SVG guide warns that its vintage ink accents may be too fine for small vinyl cuts, and it says to choose a one-color file, not the color DXF, for a single-color cut. Test one duck on your vinyl before cutting a batch.
Printing duck templates for these crafts
Most of the crafts above start from a printed outline, so a few print settings save paper and frustration. Print at 100% or Actual Size, not Fit to Page. Our duck outline PDF includes a 1-inch calibration bar on its multi-design sheets, so measure it with a ruler before you print a stack.
- One big duck per page suits tearing, tracing and coloring. Each large duck in the duck outline set fills about 6 inches of a Letter page.
- Four or six per page suits counting lines and parades. The duck outline set’s four-per-page sheets mix different ducks on 3-inch artboards, while the rubber duck outline set repeats one duck once, four times or six times per page.
- Line drawings or solids? Line drawings are for coloring and tracing. Solid silhouettes are for stencils and decals.
Our guide to printing coloring pages covers paper weight and scaling. You’ll find more outlines, coloring pages and clipart in the Doodlora shop.
Printables from this article
Related articles
Outlines & Stencils
How to Draw a Mallard Duck: Drake, Hen and Flying Poses
A swimming mallard drake in ten pencil steps, the changes that turn it into a hen, a flying pose, a pair on the water and the color marks that make the bird read as a mallard.
Outlines & Stencils
Turtle Crafts for Kids: Paper Plate and Sea Turtle Ideas
Twelve turtle crafts sorted by age, each with time, materials, steps and the snag to watch for, plus how to use a printed turtle outline as a cutting template.
Outlines & Stencils
Bird Crafts for Kids and Adults: Owl, Nest and Feeder Ideas
Thirteen bird crafts grouped by who is making them, from a toddler's handprint bird to a framed papercut and a cold-weather pinecone feeder, each with ages, time, supplies, steps and the snag to plan for.