How to Draw a Lion: Easy Lion Face, Mane and Body Steps
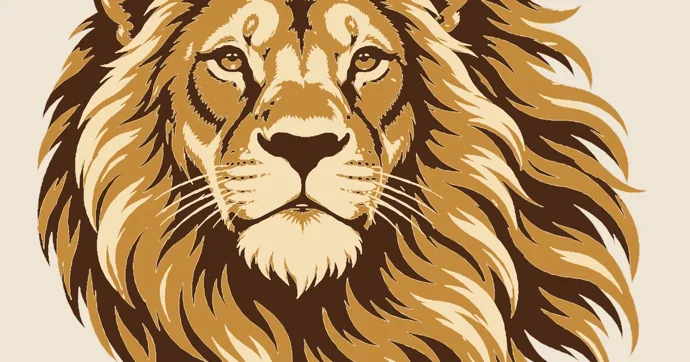
Draw the face first and the mane second. A lion’s face is short and broad, with a wide nose, round ears and eyes that sit close to the bridge of the nose. The male’s mane is a separate shape behind that face: it grows down and back over the neck, shoulders and chest, and it looks like fur only when you build it in layers instead of drawing a ring of spikes. The body is heavy at the chest and narrow at the hips, and every lion, male or female, ends its tail in a dark tuft.
The three lions below get harder as you go. The first is a round, friendly cartoon that a preschooler can manage, the second is the head and mane on their own, and the third is the whole animal in profile, legs and tail included. After those come the mane in detail, the lioness and cubs, a roaring mouth, coloring, a class plan and fixes for the lions that come out looking like a dog, a bear or a sunflower.
Choose the lion that fits the artist
Start with the version that matches who is holding the pencil. The ages are a loose guide and the times are my estimate for pencil work alone, before any color.
| Version | Steps | Pencil time (estimate) | Good for |
|---|---|---|---|
| Sitting cartoon lion | 6 | About 10 minutes | Preschool and early grades (about 4 to 7), or a beginner warming up |
| Lion face, front view | 8 | 15 to 20 minutes | Ages 8 and up, posters, cards, school reports |
| Standing lion, side view | 9 | About 25 minutes | Ages 10 and up, learning the body and legs |
The mane is what eats the time, so budget extra minutes there rather than rushing it.
For supplies, a pencil and an eraser carry the whole drawing. Keep the first lines faint enough that a single pass of the eraser removes them, because the mane will cover a lot of your early guide marks. A fine black pen helps if you want to ink the outline at the end. For color, the useful set is small: a golden yellow or tan for the body, an orange or rust and a medium brown for the mane, a dark brown or black for the nose, the eye lines and the tail tuft, and nothing at all for the cream areas, since the paper can stay white there. Picking crayons, markers or colored pencils for a younger artist is its own question, and the coloring tips guide answers it age by age.
What makes a drawing read as a lion
Before the steps, it helps to know which features people recognize. Wikipedia’s lion article describes the animal as a muscular, broad-chested cat with a short, rounded head, a reduced neck and round ears, and says the tail of every lion ends in a dark, hairy tuft. Adult males are larger than females and carry a mane that runs from the head to the shoulders and chest. That gives you five things to get right:
| Feature | How to draw it |
|---|---|
| Short, rounded head | Keep the face nearly as wide as it is tall. A long face turns the lion into a dog or a horse. |
| Round ears | Use half-circles, not triangles. Pointed ears belong to a fox or a house cat. |
| Short neck | Let the head sit low and close to the shoulders. On a male, the mane hides the neck entirely. |
| Broad chest | Make the front of the body deeper than the back, so the chest drops lower than the belly near the hips. |
| Dark tail tuft | End the long, thin tail in a dark, pointed brush on every lion, including lionesses. |
The mane only belongs on adult males. According to the same article, lionesses rarely have manes, the mane starts growing when a male reaches adolescence, and it reaches full size at around four years old. Wild males vary, too: almost all the males in Pendjari National Park have either no mane or a very short one. So a maneless lion isn’t wrong, but most people will read it as a lioness.
How to draw an easy cartoon lion
Seen head-on, this lion is the same on the left and the right, and its legs stay tucked under the body. It’s the right first lion for preschoolers and early grade-school kids.
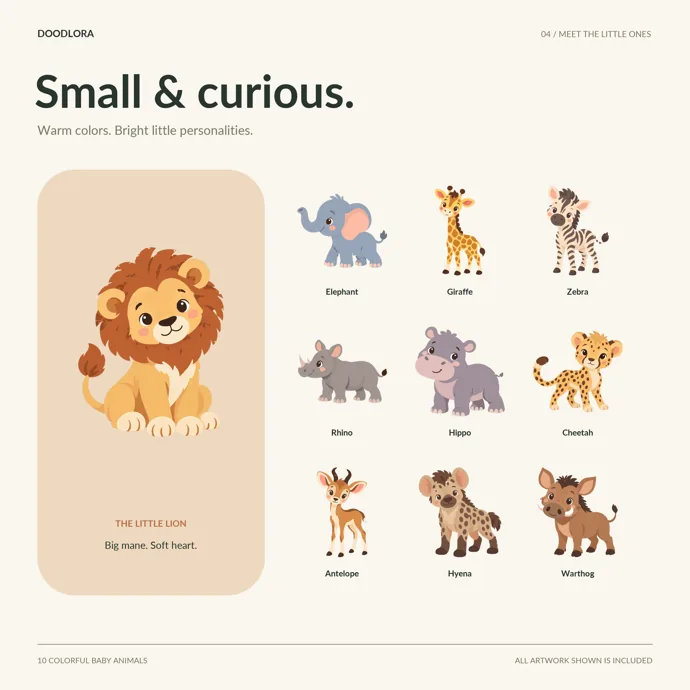
- Face. Draw a circle in the upper middle of the page, about the size of a large cookie. This is the face only, so leave room around it for the mane.
- Muzzle and nose. In the lower half of the face, draw a small rounded shape like a wide letter “m” lying on its back. Put a rounded upside-down triangle on top of it for the nose, then a short line down from the nose that splits into a small smile on each side.
- Eyes and ears. Add two large dots for eyes just above the nose, one on each side. Draw two small half-circle ears on the top edge of the face, with a smaller half-circle inside each one.
- Mane. Around the face, draw a bigger wavy or zigzag ring, starting just behind the ears and closing under the chin. Keep the gap between face and ring roughly even, about the width of an ear.
- Body and paws. Under the mane, draw a rounded body shaped like an upside-down “U”. Add two front legs running straight down the middle, each finished with a round paw and two short toe lines, and a wider oval back paw peeking out on each side.
- Tail. Curve a long thin tail out from one side of the body and up, and finish it with a small flame-shaped tuft. Color the tuft darker than the body.
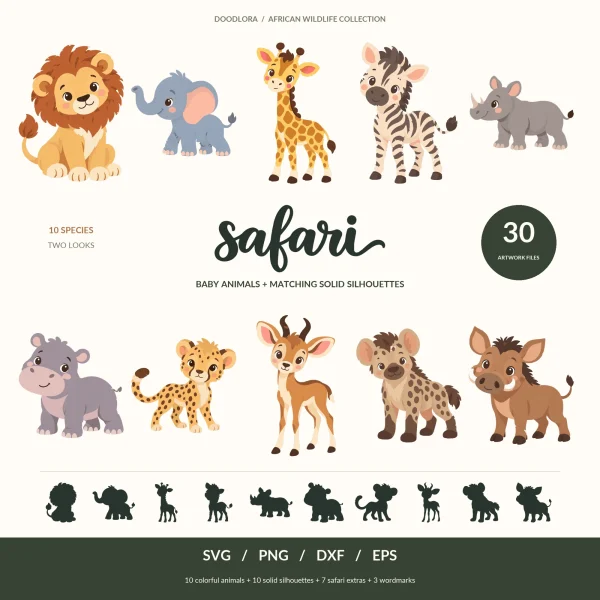
Our safari lion keeps its mane even though it’s drawn as a baby. That’s a cartoon habit, used so a young viewer recognizes “lion” at a glance; real cubs don’t grow a mane until adolescence.
A front-facing lion face in 8 steps
The front view is the one people mean by “lion drawing” most of the time: a calm face framed by a big mane. Draw the face completely before you touch the mane.
- Face shape. Draw a rounded shape a little taller than it is wide, slightly narrower at the bottom, like an egg standing on its end. Draw a light vertical center line through it.
- Eye line. Add a horizontal line about halfway down the face. Lion eyes sit on this line, closer to the center than you expect, with the bridge of the nose running between them.
- Nose bridge and nose. From between the eyes, draw two lines running down and spreading slightly apart, like a long, narrow trapezoid. At the bottom, draw a wide nose shaped like a rounded “T” or a soft upside-down triangle with flared top corners. Lion noses are broad, so make the nose about as wide as the gap between the eyes.
- Muzzle. Under the nose, draw two rounded pads side by side, one on each side of the center line, like two puffy cheeks. Add three or four rows of tiny dots on each pad where the whiskers grow, then a few long, light whisker lines.
- Mouth and chin. From the bottom of the nose, run a short line down the center, then curve it out to each side along the bottom of the muzzle pads. Add a small rounded chin below.
- Eyes. Draw almond shapes on the eye line, tilted slightly so the outer corners sit higher. Add a dark line along the top of each eye and a short dark line running down from the inner corner toward the nose; those two marks give the face its serious look.
- Ears. Place two half-circle ears high on the sides of the head, set back from the face. On a male, they’ll sit partly inside the mane.
- Light areas. Lightly outline the cream patches you’ll leave uncolored: above each eye, on the muzzle pads and on the chin. Erase the center line and the eye line.
Now the face is ready for its mane, which gets its own section below. If you’re drawing a lioness, stop here, add the outline of the neck running down from behind the ears, and skip the mane entirely.
How to draw a lion’s mane in three layers
A mane drawn as one outline with spikes around it looks like a sun or a sunflower. Wikipedia describes the real thing as growing downward and backward, covering most of the head, neck, shoulders and chest, with brownish hair tinged with yellow, rust and black. That direction is the key: hair falls away from the face and down over the chest, it doesn’t radiate out evenly like rays.
Build the mane in three layers.
Layer one: the big outer shape
Draw a loose outline around the whole head, fuller at the top and sides and longest under the chin, where it drops down onto the chest. On a front view, this outline is roughly a big rounded shield, about twice the width of the face. Keep the edge broken and uneven, with a few clumps poking out past the rest. A perfectly smooth outline looks like a helmet.
Layer two: the locks
Inside the outer shape, draw long, curving S-shaped strokes that start at the face and flow outward and down. Treat these as clumps of hair, each one a long, pointed leaf shape, rather than single hairs. Near the top of the head the locks curve up and back; at the cheeks they sweep sideways; below the chin they hang straight down. Overlap them, so a lock in front partly hides one behind it. Leave a narrow ring of short fur right around the face before the long locks start, which makes the face look set into the mane rather than pasted on top.
Layer three: darks and lights
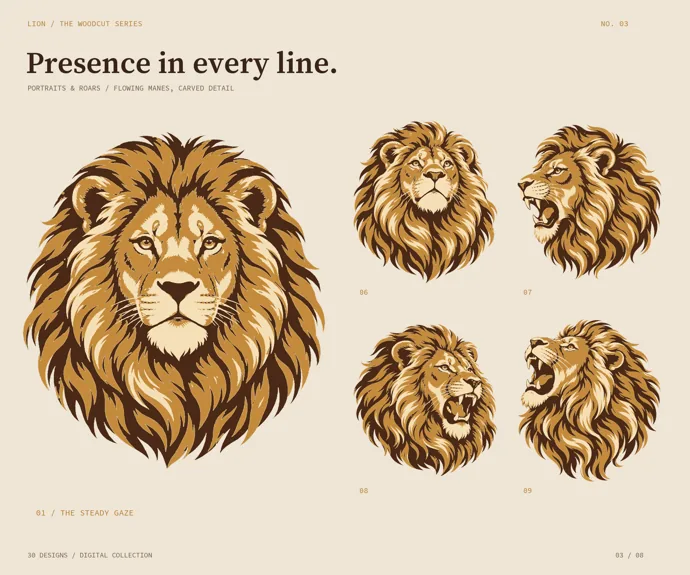
Finally, decide where the mane is darkest. Shade the gaps between locks and the area closest to the face and neck, then leave the top edge of each lock lighter, as if light falls on it. In the woodcut lion above, look at the big front-facing head: the darkest brown sits in the deep gaps, the gold covers most of each lock, and pale cream picks out only the edges. Three tones, used that way, are enough to make a mane look thick.
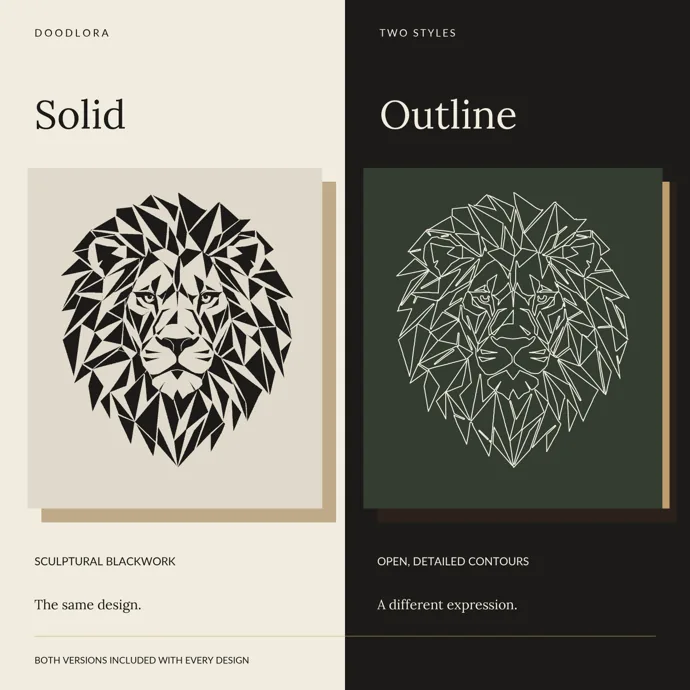
If the locks feel overwhelming, simplify them first. The geometric head above swaps every lock for an angular shard, and it still reads as a lion because the shards follow the same rule: longer and pointing downward under the chin, shorter on top. Older kids and teens can try a mane made of triangles first, then redraw it with curved locks to compare the two versions.
Some lions in the wild have darker manes than others, and Wikipedia notes that manes are typically brownish with yellow, rust and black hairs mixed in. So there’s no single right mane color, and a darker mane is fine as long as the face stays lighter than the hair around it.
The whole lion in profile, from chest to tail tuft
The side view shows the lion’s heavy front end and the long, low body behind it. Keep a full-body reference open while you draw, just to check the proportions; you don’t need to copy any of its lines.
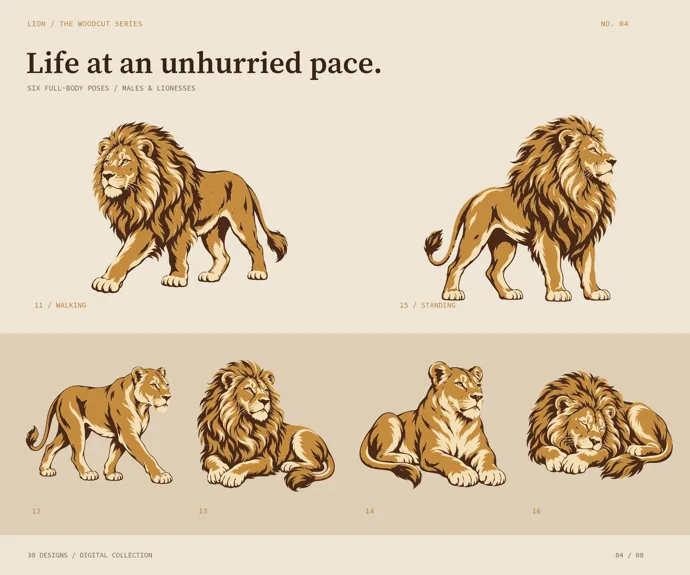
- Chest and hips. Draw a large oval for the chest toward the front of the page and a smaller circle for the hips toward the back. Leave a gap of about one chest-width between them.
- Back and belly. Join the two shapes with a nearly straight back line along the top. Underneath, run the belly line from the bottom of the chest up toward the hips, so the body is deepest at the front.
- Head. Draw the head as a rounded box at the front of the chest, set low and close, since a lion’s neck is short. It should be about half the height of the chest. Give it a short, square muzzle at the front and a half-circle ear on top.
- Front legs. Draw two thick, straight front legs down from under the chest. Keep them wide all the way to the paws so they look strong enough to carry that chest.
- Back legs. From the hip circle, draw each back leg going down and slightly forward to a thick thigh, then bending backward partway down, then going straight down to the paw. In the standing male above, the back leg clearly angles back above the paw like a raised heel. Without that bend, the lion stands like a table.
- Paws. End every leg in a big, rounded paw, wider than the leg above it. Add three short toe lines on the front of each paw.
- Tail. Start the tail at the top of the hips, let it hang down in a long, thin curve that sweeps up near the end, and finish it in a dark, pointed tuft.
- Mane. For a male, build the mane from layer one onward: an outer shape that starts behind the ear, covers the neck and shoulders, and hangs down the front of the chest below the jaw. Then add the locks and the dark gaps.
- Finish. Darken the outline, add a few short strokes on the belly and the backs of the legs, and erase the circles you started with.
A walking lion is the same drawing with the legs changed. Put one front leg forward and lifted at the wrist and the opposite back leg pushing back, and lower the head slightly so it lines up with the back.
Drawing a lioness or a lion cub
A lioness uses the standing-lion steps without the mane. Because nothing hides it, her neck shows clearly, so draw its top line from behind the ears down to the shoulders and its underside from the chin to the chest. Her head looks smaller than a male’s, and Wikipedia notes that males have broader heads and are larger overall. Keep her body lean and her ears fully visible.
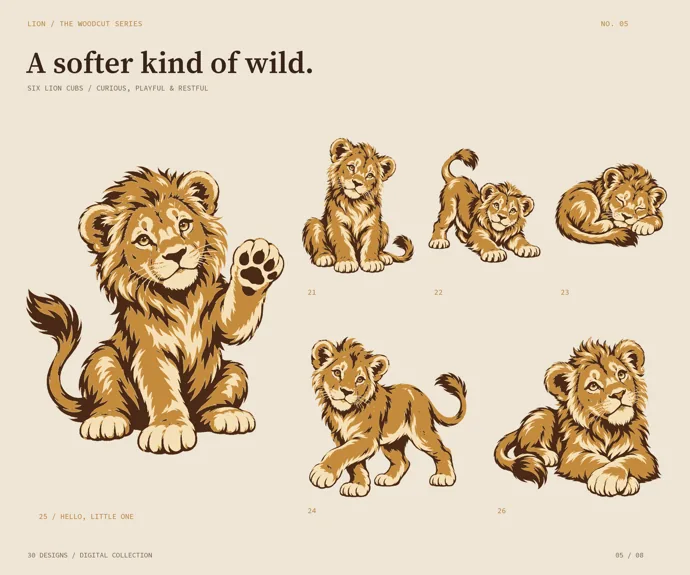
For a cub, change the proportions:
- Head. Make it large compared with the body, about as tall as the chest.
- Eyes. Set them a little lower on the face and make them rounder.
- Paws. Draw them big, almost too big for the legs.
- Legs and body. Shorten the legs and round off the back.
- Spots. According to Wikipedia, a newborn lion has dark spots that fade as it grows up, though faint spots can remain on the legs and underparts. A few soft, pale spots on the legs and belly make a cub look young.
- Tail. A very young cub’s tail has no tuft yet; the article says the tuft develops at around five and a half months. For an older cub, add a small one.
The cubs in our woodcut set have fluffy fur around the face, which is a style choice to make them cuter. For a more lifelike cub, keep that fur short and leave the mane off entirely.
How to draw a roaring lion
A roar changes the bottom half of the face. Start with the side-view head, then:
- Drop the lower jaw down and back from the nose, opening the mouth wide, about as tall as the eye-to-nose distance.
- Wrinkle the nose bridge with three or four short, curved lines above the nose, and pull the upper lip up so it bunches under the cheek.
- Draw two long, pointed canine teeth at the front of the top jaw and two on the bottom jaw, with small front teeth between them. Shade the inside of the mouth dark, leaving the teeth and the tongue lighter.
- Narrow the eye into a squint and push the whisker pads up and back.
The profile roar and the head thrown back mid-roar in the woodcut heads above are useful for checking how far the jaw drops.
Golden coat, darker mane: picking the colors
Wikipedia gives a wide range for lion fur, from light buff to silvery gray, yellowish red and dark brown, with lighter underparts. For a classic look, go golden tan.
| Part | Color | Tip |
|---|---|---|
| Body | Golden yellow or tan | Color lightly, then add a second layer on the back, shoulders and outer legs. |
| Belly, chin, muzzle, inner legs | Cream or leave white | Lighter underparts are true to life and they make the body look round. |
| Mane | Orange, rust and medium brown | Use the darkest color in the gaps between locks and near the neck. |
| Nose, eye lines, lips | Dark brown or black | Small, sharp marks. These carry the expression. |
| Eyes | Amber or yellow-brown | Leave a tiny white dot so the eye looks wet. |
| Tail tuft | Dark brown or black | Darker than the mane, on every lion. |
If you only have one dark color, you can still make a striking lion. Fill only the dark gaps in the mane and the shadows on the body, and leave everything else white. That’s how the single-ink version of our woodcut lion works: the dark strokes alone hold the whole picture.
Running a lion lesson for a classroom or club
A lion is a good class subject because the face is simple and the mane gives fast finishers something to keep working on.
- Ages 4 to 6. The cartoon lion only. Draw it on the board one step at a time and let the mane be any wiggly line they like. Give them two crayons for the mane so it looks layered.
- Ages 7 to 9. Cartoon lion first, then the front-view face. Teach just two mane layers: the outer shape and the locks flowing down.
- Ages 10 and up. Front-view face with all three mane layers, or the standing lion. Challenge them to draw a male and a lioness side by side so the mane is the only big difference.
A 40-minute lesson
These timings are a plan for a typical class period, not a schedule anyone has tested in a room.
| Time | Activity |
|---|---|
| 5 minutes | Show a male lion, a lioness and a cub. Ask what’s different. Collect “mane”, “size” and “big paws” on the board. |
| 10 minutes | Draw the face together, step by step. |
| 10 minutes | Add the mane: outer shape, then locks. Remind everyone that hair falls down and back. |
| 10 minutes | Color with three tones: light for the face, middle for the body, dark in the mane gaps and the tail tuft. |
| 5 minutes | Hold drawings up and spot the darkest mane and the most expressive eyes. |
Pencils, erasers and crayons or colored pencils cover everything. There’s no cutting or gluing in this lesson. Printing a sheet of lion heads and cubs for each table is a quick way to give students a reference; if you use our clipart for that, printing it for your own class is fine.
Fixing the usual lion drawing problems
Most problems come from the same few places. Check these before you start over.
- It looks like a sunflower or a sun. The mane is a single ring of equal spikes. Make it longer below the chin, break up the outer edge, and draw locks that fall downward instead of pointing straight out.
- It looks like a dog. The muzzle is too long and narrow, or the ears are pointed. Shorten the face, widen the nose and round the ears.
- It looks like a bear. The body is too round, the legs too short and there’s no tail. Lengthen the body, give it a deep chest and narrow hips, and add the tufted tail.
- The face is lost in the mane. The mane is too dark right up to the face. Leave the ring of short fur around the face light, and keep the muzzle cream.
- It looks angry when you wanted calm. The eyes are tilted too steeply or the brow line is too heavy. Flatten the tilt a little and lighten the dark line over each eye.
- It looks stiff. The back legs are straight posts. Add the backward bend above the paw and let the tail curve.
Lion clipart to keep beside your sketchbook
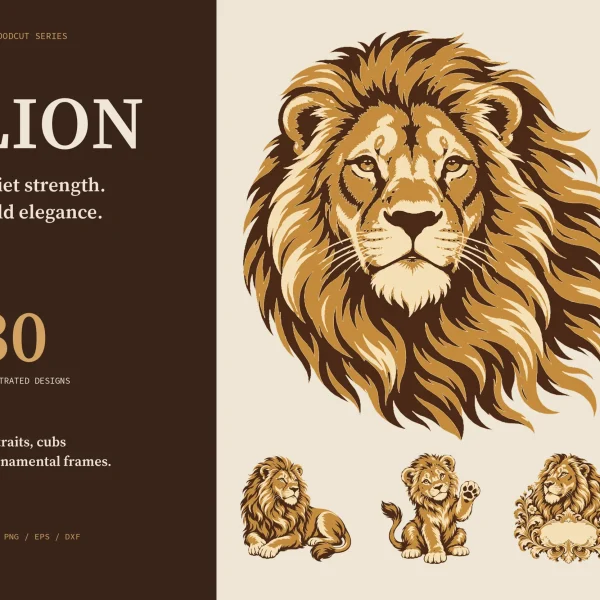
None of these sets is a drawing lesson. They’re digital clipart, and their job here is to sit next to your paper, printed or on a screen, while you check shapes. The woodcut lion clipart has 30 designs, including ten heads with different manes and roars, six full-body poses of males and lionesses, and six cubs, each in full color and in a single-ink version that’s useful for studying where the darks go in a mane.
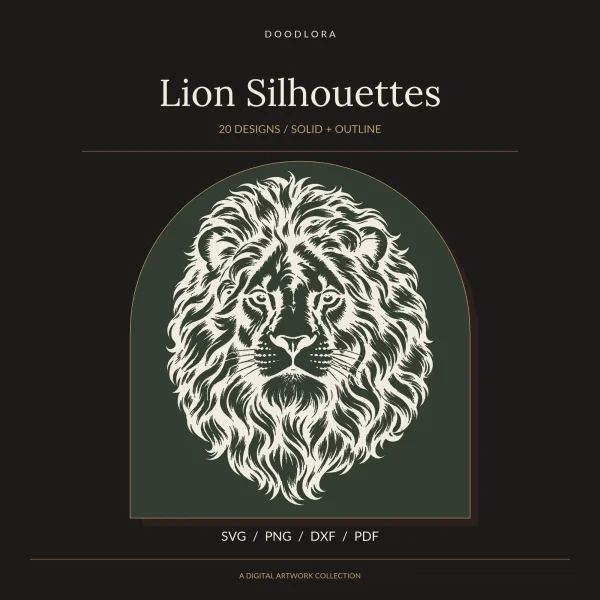
The lion silhouettes cover 20 designs in solid black and in outline, including the geometric mane above and a line-only head, which help when you want to see a lion’s shape without color getting in the way. For young kids, the cartoon baby lion in our safari animals clipart shows the simple round-face version. Use any of them to check proportions, pose and where the dark areas fall, then draw your own lines. To put your lion and a printed one side by side on a card, follow the sizing and printing steps in how to use clipart.
Common questions from lion artists
What’s the simplest lion for a beginner?
The sitting cartoon lion from the front. It’s a circle for the face, a wavy ring for the mane, a rounded body and a tufted tail. Most young kids can finish it in one sitting.
Do female lions have a mane?
Rarely. Wikipedia notes that lionesses rarely have manes, and a male’s mane only starts growing in adolescence. Draw a lioness with the same body as a male, no mane, a visible neck and a slightly smaller head.
How do you make a lion’s mane look fluffy?
Draw it in layers. First draw a loose, uneven outer shape that’s longest under the chin. Next, draw overlapping S-shaped locks that flow down and back from the face. Finish by shading the gaps between locks darker than the locks themselves.
Does the mane go on before or after the face?
The face. Once the eyes, nose and muzzle are in place, the mane can be fitted around them. Starting with the mane usually leaves the face too small or off-center.
Why does every lion need a tail tuft?
Because real lions have one. The dark, hairy tuft at the end of the tail is on males and females alike, and it’s a quick detail that separates a lion from other big cats in a drawing.
Draw the same lion three times on one page: a male, a lioness and a cub. Changing just the mane, the head size and the paws teaches proportion faster than any single finished drawing, and the third one will look much more like a lion than the first. When you want a new animal, the side-view body you learned here carries over to our guides on how to draw a horse and how to draw an arctic fox.
Printables from this article
Related articles
Clipart & SVG Cut Files
How to Draw a Truck: Easy Pickup, Big Rig and Cartoon
Split a pickup into three parts before you draw a single wheel: a bed, a cab and a hood. Keep the roof about 2.2 wheels tall and the bed rail level with the hood, and the truck looks right even before the details go on.
Clipart & SVG Cut Files
How to Draw a Train: Steam Engine, Cars and Tracks
Split the page into a 10-square grid, lay a long boiler tube across the middle, set a box cab at the back and a tall stack at the front, hang two big driving wheels under the cab end, then couple cars behind and run the rails to a vanishing point.
Clipart & SVG Cut Files
Hawk vs Falcon: Wings, Size, Hunting Style and Eagles
A falcon has long, narrow wings that taper to sharp points and flies on steady, quick wingbeats; a hawk has broader wings with rounded tips and either soars in slow circles or flaps hard and glides. Falcons kill with a notched beak and hawks with their talons, and eagles are the largest, heaviest-billed members of the hawk family.