How to Draw a Horse Step by Step: Body, Head and Galloping
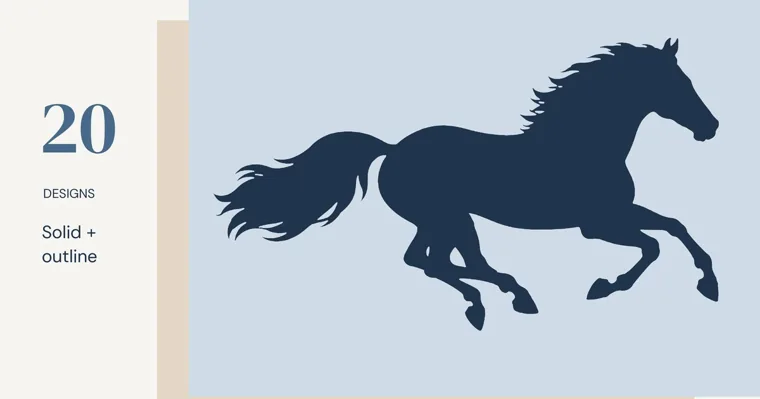
A horse is easier to draw when you build it from 2 circles instead of chasing the outline. One circle is the chest, one is the hindquarters, and everything else hangs off them: the neck rises from the front circle, the tail drops from the back one, and 4 long legs come down underneath. Below is a standing horse in 10 pencil steps, which takes about 20 minutes, followed by a closer look at the head, the leg positions for a trot and a gallop, and the proportions that stop a horse from turning into a large dog.
What you need and how long it takes
You need a pencil, an eraser and plain paper. A fine black pen or marker is useful for the final line, and colored pencils give you the most control over a horse’s coat. Our coloring tips explain how much pressure to use when you get to that stage.
Plan on about 20 minutes for the pencil drawing the first time, and 10 to 15 more for inking and color. The standing horse suits older kids, teens and adults who can draw a fairly round circle. Younger children, or anyone who wants the shape right on the first try, will do better tracing a printed outline first. That’s covered further down.
Keep your early lines faint. The circles and guide lines are scaffolding, and most of them get erased at the end.
Horse proportions to check before you draw
Most horse drawings look wrong because of proportions, not because of missing detail: a neck that’s too short, legs that are too stubby, a back that sags. Horse breeders judge these same parts, so the measurements already exist. The Wikipedia article on equine conformation gives these as the traditional ideal.
| Part | How long to make it |
|---|---|
| Neck, from the top of the head to the withers | About 1/3 of the horse’s length, close to the length of the legs |
| Head, from the top of the head to the upper lip | About 2/3 of the neck’s top line |
| Back, from the withers to the top of the rump | About 1/3 of the body length |
| Rump (croup) height | About the same height as the withers |
The withers are the bony bump where the neck meets the back. They’re the highest point of the back, and a horse’s height is measured from the ground to that point.
We also measured the standing horse page in our silhouette set. Its body, from chest to rump, is a little longer than the horse is tall at the withers. The legs below the belly take up a bit more than half of that height. If your horse’s legs are shorter than its body is deep, it’ll look like a pony or a dog.
How to draw a standing horse in 10 steps
This is a horse standing still, seen from the side, facing right. You see one side of the head and all 4 legs, with the far legs partly hidden behind the near ones.
- Draw the chest circle. Put a circle on the right half of the page, a little above the middle.
- Draw the hindquarter circle. Put a second circle of about the same size on the left. Leave a gap between them about as wide as one circle.
- Join the body. Draw a gently curved back line across the tops of the circles and a lower belly line across their bottoms. The belly dips a little; the back stays nearly level, with the rump about as high as the withers.
- Add the neck. From the top front of the chest circle, draw 2 lines that rise up and forward at an angle. The top line should be about a third as long as the body, and the neck gets narrower toward the head.
- Shape the head. At the end of the neck, draw a small circle for the cheek and a smaller one lower down for the muzzle. Join them with 2 lines so the head looks like a long, blunt wedge. Check it against the neck: the head is about 2/3 as long as the top of the neck.
- Add the ears, eye and nostril. Put 2 small pointed ears at the very top of the head. Place the eye on the side of the head, a little below the ears and closer to them than to the nose. Add a curved nostril near the front of the muzzle and a short line for the mouth.
- Draw the front legs. From the bottom of the chest circle, draw 2 legs that go almost straight down. Each one is thick at the top, has a knobby knee about halfway, then a thinner, straight section down to a small bump (the fetlock) just above the hoof.
- Draw the back legs. From the bottom of the hindquarter circle, draw a thick thigh that angles down and back to the hock, a sharp joint that points backward. From the hock, the leg goes straight down to the fetlock and hoof, just like the front.
- Add the hooves, mane and tail. Each hoof is a small shape that’s wider at the bottom than at the top, with a slanted front. Draw the mane along the top of the neck, from the ears to the withers, and a short tuft between the ears. The tail starts at the top of the rump and falls in long strands, almost to the hocks.
- Clean up and ink. Trace the outside line you want to keep, let the ink dry, then erase the circles and guide lines.
Step 8 is the one to slow down on. A horse’s hock contains the same bones as a human ankle and heel, according to Wikipedia’s article on the horse. That’s why it points backward, and why a back leg drawn as a straight post never looks right.
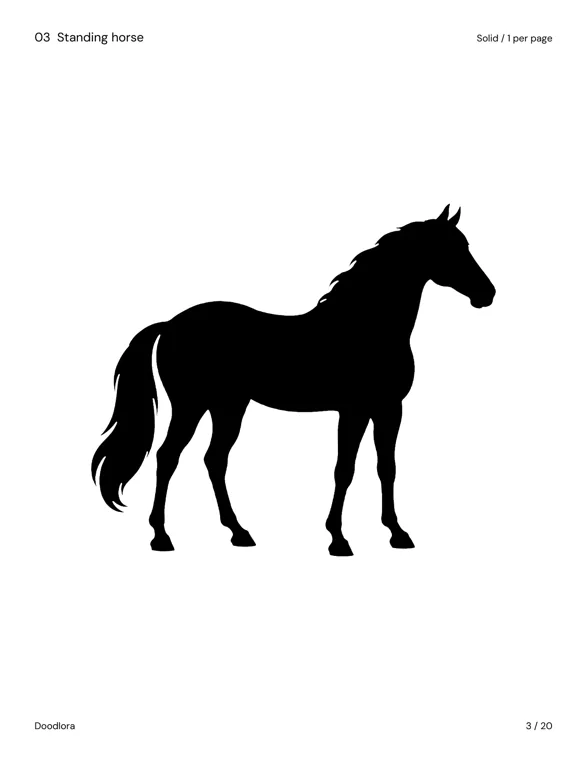
That page is the closest match to the 10 steps. Hold it next to your drawing and compare 3 things: where the neck leaves the chest, how high the hocks sit, and how the belly line clears the knees by a wide margin.
How to draw a horse head up close
A horse head on its own is a popular project, and it’s a good way to practice the face before you add a body. Start with the same 2 circles from step 5, just larger: a big one for the cheek and jaw, a smaller one for the muzzle, joined by a straight line down the front of the face.
Then work in this order:
- Set the ears. Put them at the top of the head, angled forward. Wikipedia’s equine conformation article says the ears should be set just below the level of the poll, at the top of the head.
- Place the eye. Horses’ eyes are on the sides of their heads, and the horse’s eye is one of the largest of any land mammal, according to Wikipedia. In a side view, draw a large almond shape about a third of the way down the head from the ears.
- Draw the jaw. Follow the bottom of the big circle around to where it meets the throat. A clear, round jaw is what makes a horse head look like a horse and not a long dog muzzle.
- Add the nostril and lips. Draw a comma-shaped nostril near the front of the muzzle and a soft curve for the lips underneath.
- Add the neck and mane. Run 2 lines down and back from behind the jaw and from behind the ears. Then let the mane fall along the top line.
The front of the face can also tell people what kind of horse you’re drawing. From the side, most horses have a straight line from forehead to nostrils. An Arabian often has a dished face that curves inward between the eyes and the nose. Draft horses are often drawn with a Roman nose that bulges outward.
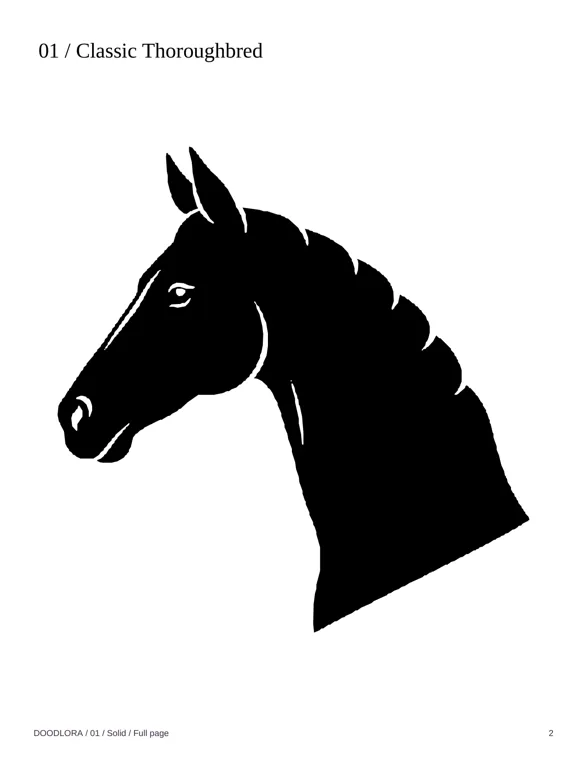
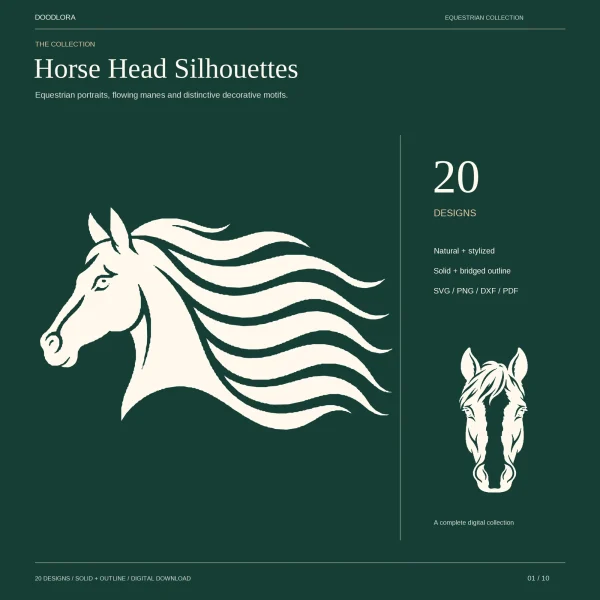
The Classic Thoroughbred page in our horse head silhouette set shows the jaw curve clearly. A thin white curve at the back of the cheek marks the jaw, right where the edge of the big circle from the start of this section would be. The same set has a foal, a front-facing head, a braided dressage horse and a pony with a heavy forelock, which are useful once the plain profile feels easy.
How to draw a trotting or galloping horse
A standing horse has all 4 legs straight down. Moving horses aren’t as simple, but each gait has a pattern you can copy. Wikipedia’s article on horse gaits describes them by footfall.
| Gait | What the legs do | How to draw it |
|---|---|---|
| Walk | 4 beats; the horse always has 2 or 3 feet on the ground | Lift one leg with its hoof bent back, keep the other 3 down |
| Trot | 2 beats; the legs move in diagonal pairs | Lift the near front leg and the far back leg together, and plant the other diagonal pair |
| Canter | 3 beats | Draw one back leg pushing off and the other 3 reaching forward |
| Gallop | The canter at full speed, with a 4th beat | Stretch the front legs forward and the back legs behind, or tuck all 4 under the belly |
To turn the standing horse into a moving one, keep steps 1 to 6 the same and change only the legs, neck and tail. A galloping horse’s body tilts slightly, the neck stretches forward and lower, and the tail streams out behind instead of hanging down. The front leg that’s in the air bends at the knee so the hoof folds back under the leg.
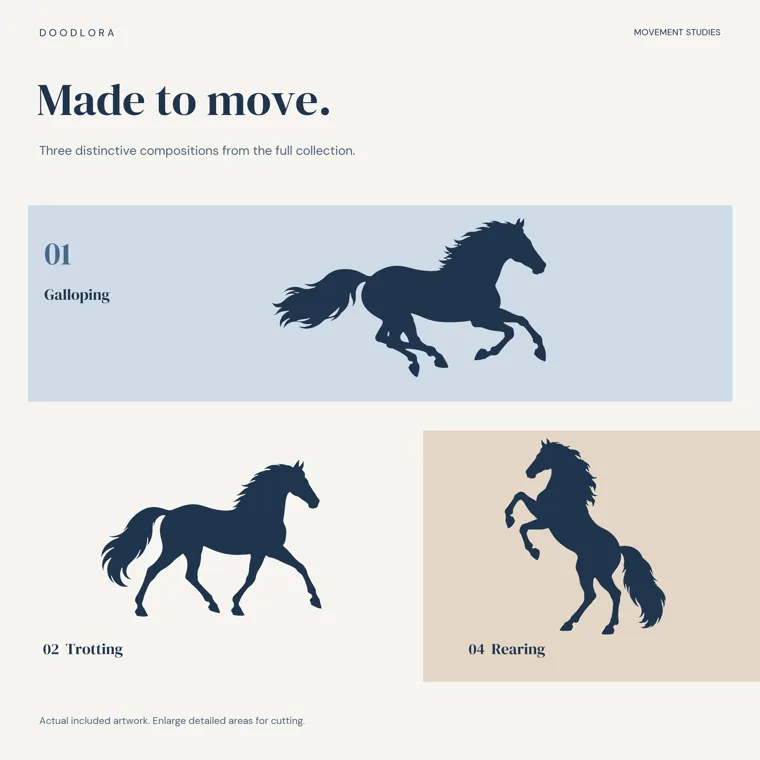
The trotting horse in the middle is the clearest example of the diagonal pair. One front leg and one back leg are lifted together, while the other 2 legs stay planted. Copy that leg pattern before you try the gallop, because the gallop changes leg positions in every stride.
How to draw a pony instead of a horse
Height is the traditional line between them. Horses are measured in hands, and 1 hand is 4 inches. An animal 14.2 hands (58 inches) or taller at the withers is usually called a horse, and anything shorter is a pony, though Wikipedia notes many exceptions.
For drawing, the shape matters more than the height. Ponies often have thicker manes and tails, shorter legs, a wider body, a shorter and thicker neck, and a short head with a broad forehead. Use the same 10 steps, but make the circles a little bigger, the legs shorter and the mane fuller.
Tracing a horse outline first
A printed outline gives you a horse with the proportions already worked out. Tracing it once or twice teaches your hand how long the neck and legs really are. That repetition builds confidence, and the understanding of where the knees and hocks belong carries over to every horse you draw afterward. After that, the 10 steps are much easier to draw freehand.
Print the outline at Actual Size or 100%, not “fit to page.” Tape the printout to a bright window, put a blank sheet on top, and follow the line with a light pencil. A sheet of tracing paper on a table works too. If your lines come out faint or broken, see how to print coloring pages for the printer settings to change.
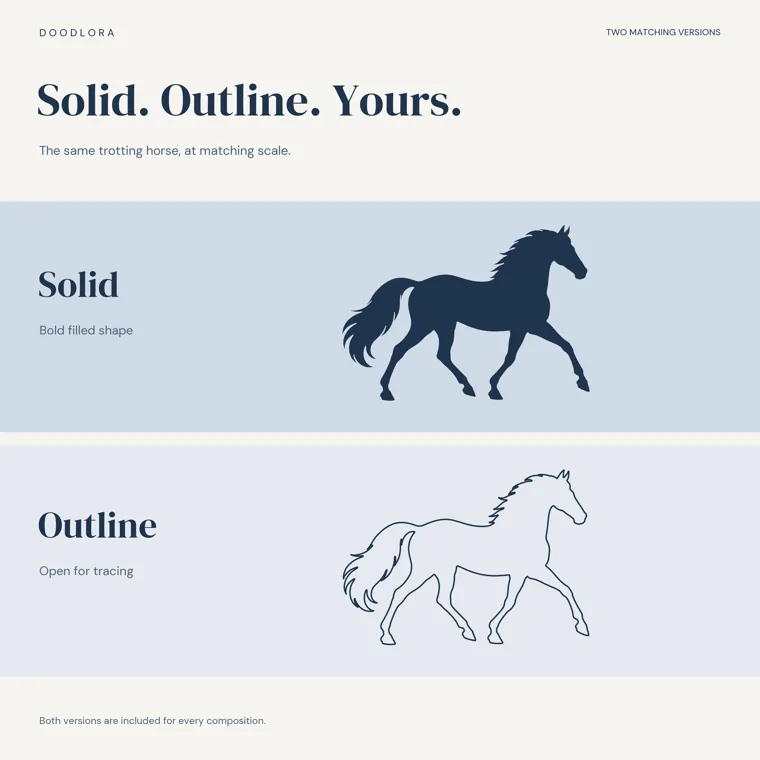
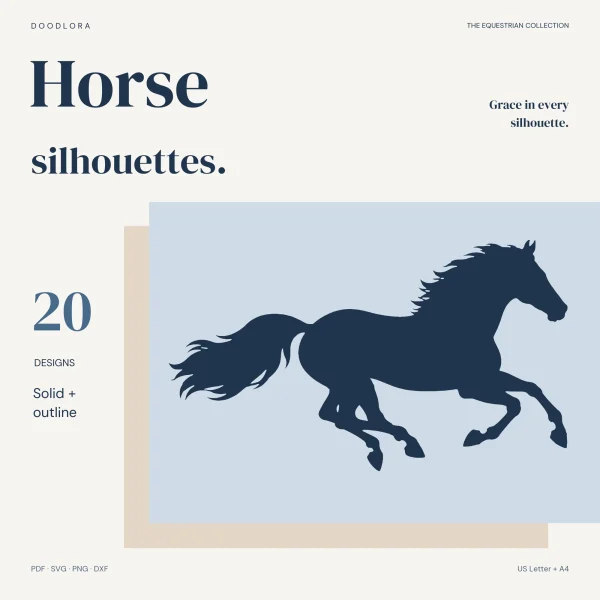
Our horse silhouette set has 20 designs: galloping, trotting, standing, rearing, grazing and drinking horses, a mare with her foal, 2 horses walking together, 3 head portraits, 5 riding and cart scenes, and 4 more. Every design comes as a solid silhouette and as an outline. The print PDFs come in US Letter and A4, with 1 or 4 copies of a design on each page. For a class or a party table, print the 4-up outline page, cut it into quarters, and each person gets a horse to trace.
The outline lines have some thickness, because they’re made to be cut as well as traced. Choose the outer edge of the line and keep to it around the legs, where the gaps between them are narrow. The mane and tail tips are detailed, so it’s fine to smooth them out with your own strokes.
Common horse drawing mistakes
- The legs are too short. Measure them. From belly to hoof, the legs should be at least as long as the body is deep, and a bit longer is better.
- The back legs are straight. Find the hock and make it point backward, with the lower leg dropping straight down from it.
- The neck is short and thick. Unless you’re drawing a pony or a draft horse, stretch the top of the neck to about a third of the body length.
- The head is round like a dog’s. Lengthen the face between the eye and the nostril so it becomes a wedge, and keep the jaw circle big and round at the back.
- The eye is on the front of the face. Move it to the side of the head, closer to the ears than to the nose.
- The hooves are tiny points. Give each leg a solid hoof that’s wider at the bottom. Small hooves make a horse look like it’s on tiptoe, and it already is.
Coloring your horse drawing
A horse is often described by its coat color before anything else. Wikipedia lists chestnut and black as the basic coat colors, with other genes producing bay, palomino, dun, pinto and gray coats. A horse that looks white is usually an older gray that has lightened with age. White markings are inherited separately from coat color, so a white blaze down the face suits a horse of any color.
For a chestnut or bay, lay down a light brown first and build darker layers along the belly, the back of the legs and under the jaw. That shading makes the body look round. On a bay, keep the black for the mane, the tail and the lower legs. For the soft change from a light coat to dark legs, follow the layering in how to blend colored pencils.
Horse drawing questions
What’s the easiest way to draw a horse?
Start with 2 circles for the chest and hindquarters, join them into a body, then add a long neck, a wedge-shaped head and 4 long legs. Tracing a printed horse outline once before you draw freehand makes the proportions much easier to get right.
How long should a horse’s legs be in a drawing?
On the standing horse in our silhouette set, the legs below the belly are a little more than half of the horse’s height at the withers. If your legs are shorter than the body is deep, lengthen them.
Which way does a horse’s knee bend?
On the front legs, the knee holds the bones that match a human wrist, so the lower leg folds backward when the horse lifts it. On the back legs, the hock matches a human ankle and heel and points backward, according to Wikipedia.
How is a pony different from a horse in a drawing?
Draw a pony with shorter legs, a rounder and wider body, a short thick neck, a short head with a broad forehead, and a fuller mane and tail. By height, a pony is traditionally under 14.2 hands, or 58 inches, at the withers.
Printables from this article
Related articles
Outlines & Stencils
How to Draw a Mallard Duck: Drake, Hen and Flying Poses
A swimming mallard drake in ten pencil steps, the changes that turn it into a hen, a flying pose, a pair on the water and the color marks that make the bird read as a mallard.
Outlines & Stencils
Turtle Crafts for Kids: Paper Plate and Sea Turtle Ideas
Twelve turtle crafts sorted by age, each with time, materials, steps and the snag to watch for, plus how to use a printed turtle outline as a cutting template.
Outlines & Stencils
Bird Crafts for Kids and Adults: Owl, Nest and Feeder Ideas
Thirteen bird crafts grouped by who is making them, from a toddler's handprint bird to a framed papercut and a cold-weather pinecone feeder, each with ages, time, supplies, steps and the snag to plan for.