Flower Drawing Ideas: How to Draw a Flower Step by Step
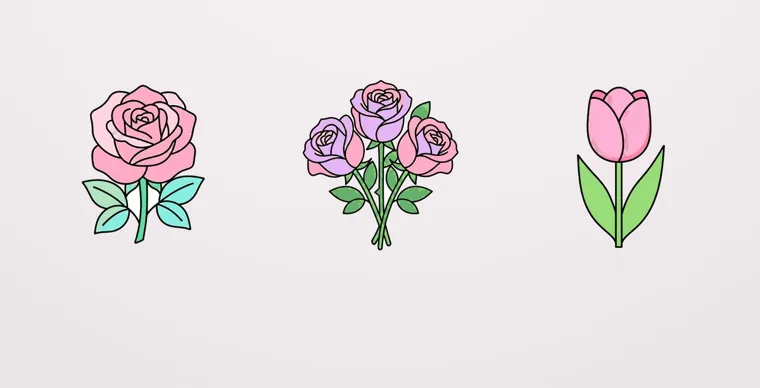
Most flower drawings start from the same three shapes: a small circle for the center, a few light guide lines for the petals, and a stem drawn as two lines instead of one. Learn that on a five-petal flower first, which takes about ten minutes. After that a tulip, a daisy or a sunflower is just the same skeleton with different petals, and a rose is the only common flower that asks for a new trick.
Below you’ll find the basic flower step by step, then 16 flower drawing ideas grouped by how much time and patience they need, with the shape that makes each one look right.
| If you have… | Try | Skill | Time |
|---|---|---|---|
| 10 minutes and a pencil | Five-petal flower, tulip, daisy | First-timer | 5–15 min |
| A quiet half hour | Cherry blossom branch, lavender, lily of the valley, hibiscus | Beginner | 15–30 min |
| An evening | Rose, peony, lotus, wisteria | Some practice | 30–60 min |
| A free afternoon | Bouquet, flowers in a vase, wreath, petal pattern | Comfortable with single flowers | 1 hour or more |
| Kids at the table | Five-petal flower, tulip, sunflower | Ages who can draw a circle | 10–20 min |
What you need to start drawing flowers
A pencil, an eraser and plain printer paper are enough for every idea on this page. Use a soft-ish pencil such as an HB and press lightly for the first lines, because half of them are guides you will erase later. A black fine-tip pen for the final outline makes the flower look finished and lets you rub out every pencil mark without losing the shape.
Colored pencils or markers come last. If you plan to color, leave the outline in pen and let the ink dry for a minute before erasing, or the eraser smears it. Markers and paint need heavier paper than pencil does, and our guide on printing coloring pages at home matches paper to crayons, pencils, markers and paint.
How to draw a flower step by step: the five-petal flower
The five-petal flower teaches spacing, which is the part beginners get wrong most often. Every other flower here uses the same order: center first, guides second, petals third, stem and leaves last.
- Draw the center. Make a small circle in the upper middle of the page, about the size of a dime. Keep it light.
- Mark five guide lines. Picture a clock face around the circle. Draw short, faint lines out from the circle at 12, about 2:30, 5, 7 and 9:30. These lines are the middle of each petal, and they keep the petals from bunching up on one side.
- Draw the petals. For each guide line, draw a rounded loop that starts at the edge of the circle, swells out around the end of the line and comes back to the circle. Think of a teardrop with its point touching the center. Neighboring petals can touch or overlap a little.
- Add the stem. From the bottom of the flower, between the two lower petals, draw two lines side by side going down the page. Let them curve gently in the same direction; a dead-straight stem looks stiff.
- Add a leaf. Halfway down the stem, draw an almond shape pointing up and out, attached at one end. Run a single line down its middle for the vein.
- Ink and erase. Go over the final lines in pen, wait for the ink to dry, then erase the circle guides and the five clock lines.
- Finish the center. Fill the center with small dots, and draw one or two short lines from the center into each petal. Those little lines are what make the petals look like they fold in.
The most common snag is uneven petals: one fat, one thin. If that happens, the guide lines were not evenly spaced, so erase the petals and fix the lines rather than the loops.
Easy flower drawing ideas for beginners (5–15 minutes)
These three flowers reuse the five-petal skeleton with a change to the petals, so a first-timer can finish one in a single sitting.
Daisy
Draw a slightly larger center circle, then add 12 to 20 long, thin petals instead of five round ones. Use the clock trick again, but place guide lines at every hour and then add one between each pair. The petals should all be about the same length; a daisy with petals of mixed lengths reads as a different flower. Fill the center with tiny circles or crosshatching to suggest the bumpy disk.
Tulip
A tulip has no visible center, so start with a cup shape instead: draw a U about as wide as your thumb is long. Add one petal down the middle of the cup with a pointed top, then two side petals that curl up at the tips. The stem is long and straight, and the two leaves are long blades that wrap up from the base on either side. The trap is making the cup too wide, which turns it into a bowl. Keep it taller than it is wide.
Sunflower
Start with a big center circle, roughly a third of the flower’s total width. Draw one ring of pointed petals around it, then a second ring peeking out between them. Shade the center darker than everything else, and add a crosshatch or rows of small dots for the seeds. Sunflower petals are pointed, not rounded, so draw each one as a narrow leaf shape rather than a loop.
Flower drawings that build on the basics (15–30 minutes)
These four flowers bring in one new idea each: a branch, a spike, a nodding bell or a notched petal.
Cherry blossom branch
Draw the branch first as a long, slightly crooked line with a few short side twigs, then thicken it into two lines. Place flowers in small clusters along the twigs, each a five-petal flower with a tiny notch cut into the tip of every petal. That notch is what tells people it’s a cherry blossom and not a generic flower. Add a few closed buds as small ovals at the ends of the twigs.
Lavender
Draw a thin, straight stem, then stack small oval buds up the top third of it in tight rings, getting smaller toward the tip. Draw five to nine stems together, fanning out from one point at the bottom, and tie them with a small bow if you like. The mistake is drawing the buds as one smooth sausage shape. Keep them as separate little ovals with gaps between the rings.
Lily of the valley
Draw one stem that arches over like a fishing rod. Hang small bell shapes from the underside of the arch, largest near the base and smaller toward the tip, each with a scalloped bottom edge. Behind the stem, draw two broad leaves that rise from the ground and come to a point. All the bells hang from one side, so resist the urge to spread them evenly around the stem.
Hibiscus
Draw five broad, wavy petals around a very small center, wider than the petals on your five-petal flower. Then draw the feature that makes a hibiscus: a long, thin column sticking out from the middle, with a few small dots or knobs at its tip. Shade a darker patch where each petal meets the center.
How to draw a rose, peony and other layered flowers (30–60 minutes)
Layered flowers take longer because the petals overlap, and the overlaps are what make them look real. Draw lightly until the very end; you will erase more here than anywhere else.
Rose
Start with a small spiral in the center, like a loose snail shell, for the tightly wrapped middle. Around it, draw two or three C-shaped petals that each wrap partway around the spiral, overlapping the one before. Then add a final ring of larger, rounder petals around the outside, with their top edges flipping outward slightly. Draw the leaves in groups of three or five along the stem, with sawtooth edges.
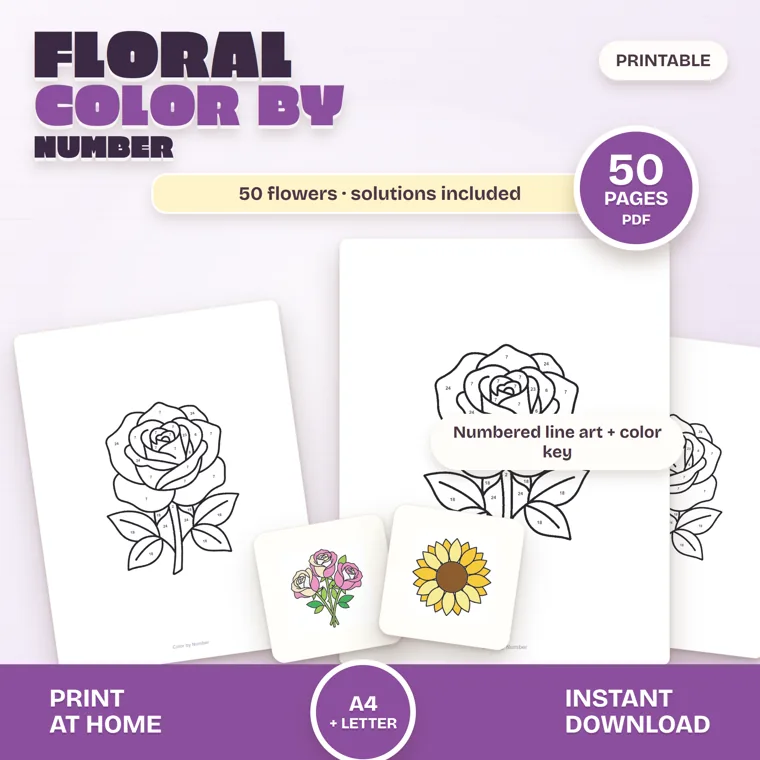
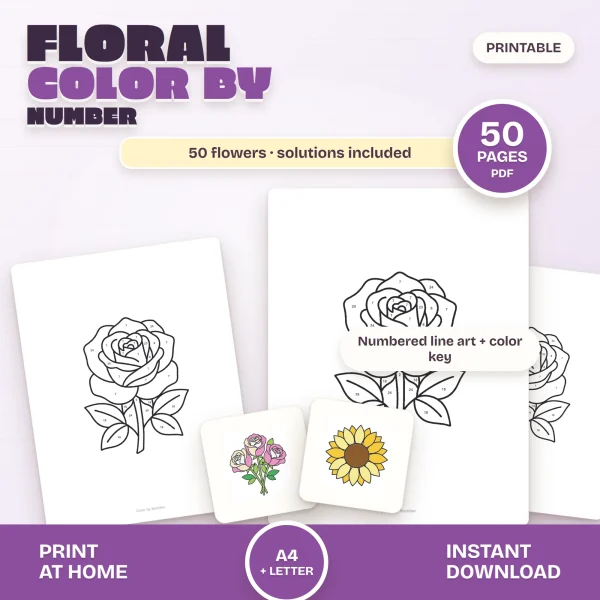
A numbered rose outline makes a good map for this. On the rose page of Floral Color by Number, every petal is a separate closed shape with its own number inside, so you can count how many petals sit in each ring and see where they overlap.
Peony
A peony is a ball of ruffled petals. Draw a circle as a guide, then fill it with many short, wavy-edged petals: a cluster of small crinkled ones in the middle and wider cupped ones around the edge. Let a few outer petals droop below the guide circle. A small group of round buds on separate stems nearby helps people read it as a peony rather than a big rose.
Lotus
Draw a flat oval at the bottom for the water line, then build the flower above it from pointed petals. Start with two or three upright petals in the middle, add a row on each side that leans outward, and finish with a lower row that almost lies flat. Add a big round leaf beside it as a full circle with no gap; a pad with a wedge cut out of it belongs to a water lily, not a lotus. Every lotus petal is pointed, so avoid rounding the tips.
Wisteria
Wisteria is drawn as hanging bunches. Draw a few curving vines across the top of the page, then hang long, tapering shapes from them like upside-down cones. Fill each cone with small curled petals, packed tightly at the top and thinning out toward the point. Three to five hanging bunches of different lengths look more natural than a row of identical ones.
Bouquet and vase drawing ideas for a longer session (1 hour or more)
Arrangements combine several flowers you’ve already practiced, so pick two or three from the sections above before starting. The hard part is composition, not petals.
A bouquet tied with ribbon
Draw three or four large flowers first, in a loose triangle near the top of the page. Fill the gaps with smaller flowers and leaves. Then draw all the stems coming together to one point lower down, crossing a little, and wrap a ribbon around that point with two loose tails. Overlap the flowers slightly; a bouquet where every bloom stands apart looks like a row of stickers.
Flowers in a vase or pitcher
Draw the vase first, centered in the lower half of the page, with an oval for its opening. Draw the flower heads above it so the whole arrangement is wider than the vase, and let a few leaves hang over the rim. Adding a table edge and one small object beside the vase, such as a cup or a book, turns a flower drawing into a scene.
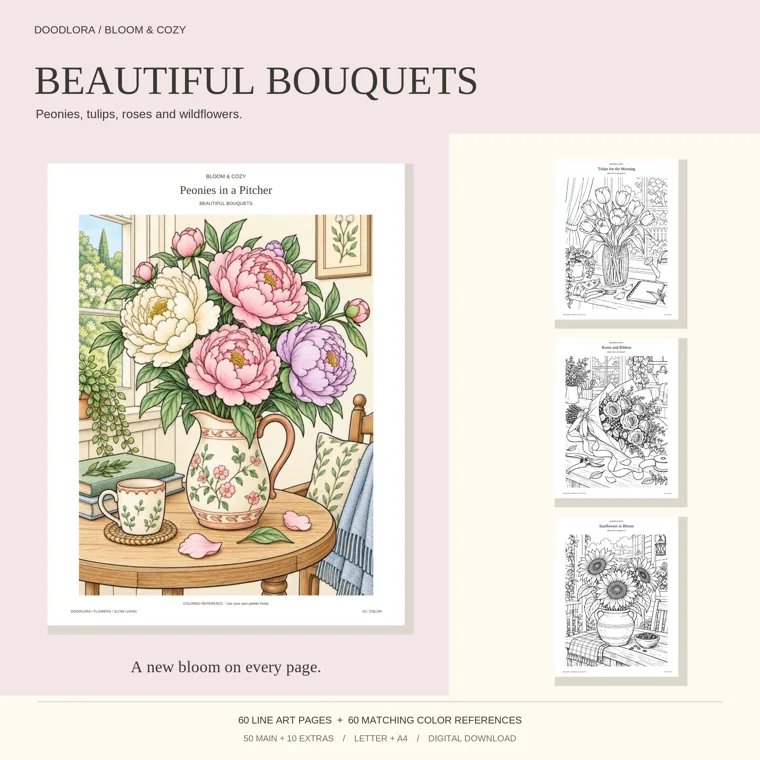
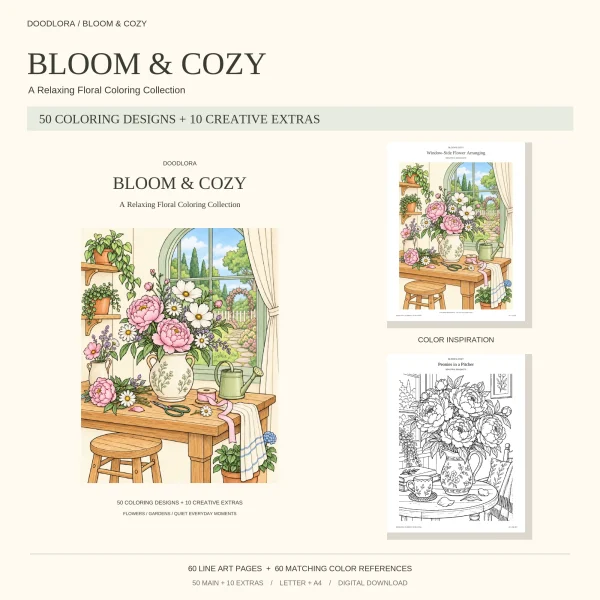
Each main page of Bloom & Cozy is a complete table or garden scene, which makes the book a handy study in composition. The colored Peonies in a Pitcher page puts a patterned pitcher on a round table with a teacup and books, and the outlines beside it show tulips in a glass vase, roses wrapped in ribbon and sunflowers in a pot.
A flower wreath
Draw a large circle lightly as a guide, then a smaller circle inside it. Place your biggest flowers at three or four evenly spaced points around the ring, then fill between them with small flowers and leaves that all lean the same way, clockwise or counterclockwise. Keep the inside circle empty; it’s the space for a name, a date or a short message.
A petal pattern
For an all-over pattern, scatter five or six large flowers across the page first, turned at different angles. Then fill the gaps with buds and single leaves until no big empty patch is left. Rotating the paper as you work keeps the pattern from having an obvious top.
Using flower clipart and coloring pages as drawing references
Drawing from a reference is how most people learn flower shapes, and a clean outline is easier to study than a photo. Photos show light, shadow and background clutter, while an outline shows only where each petal edge goes. Put the reference next to your paper, not under it, so you’re drawing rather than tracing.
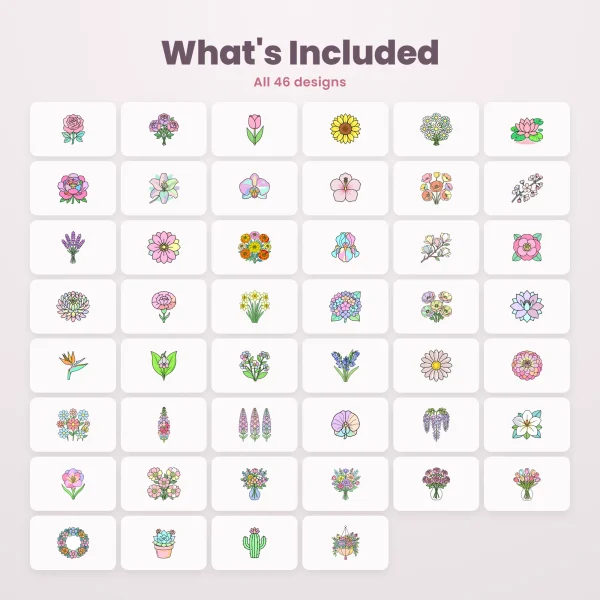
The pastel floral clipart collection contains 46 flowers and arrangements, each with a bold black outline. Laid out together they make a one-page cheat sheet: a rose, tulip, sunflower, lotus, peony, orchid, cherry blossom, lavender, lily of the valley, wisteria and a wreath are all in it.
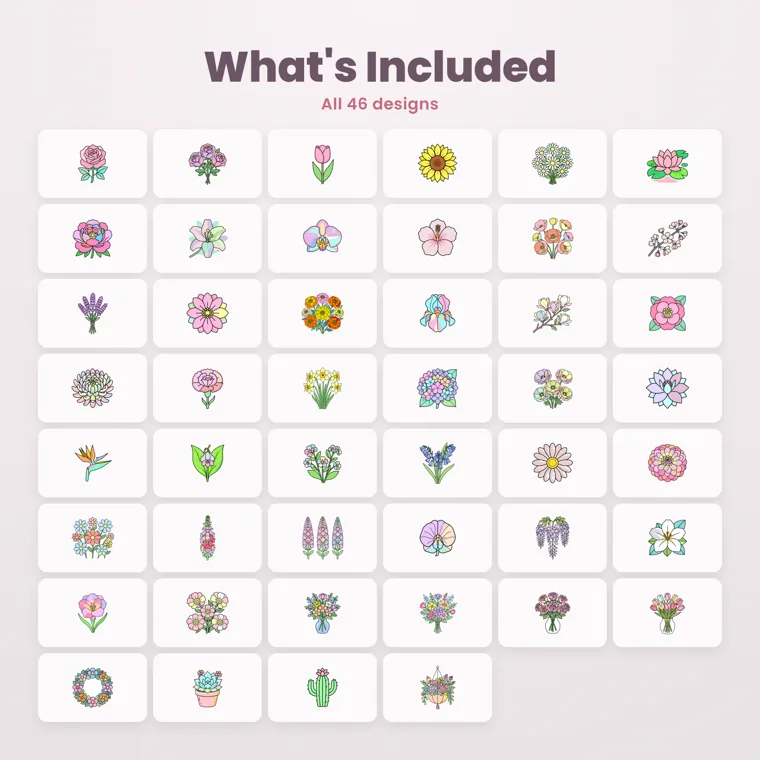
Two things to watch with clipart as a reference. The outlines are simplified, so copy the petal count and overall shape, not every line. And the bold black edge is a style choice: in a pencil drawing, a lighter line often looks better.
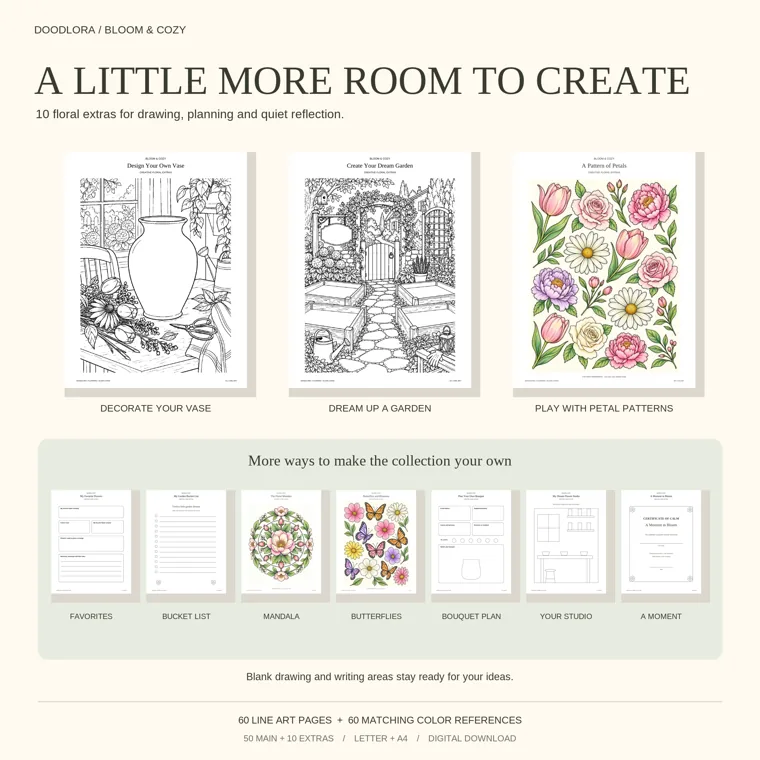
When you’d rather practice composition without drawing everything, the extras at the back of Bloom & Cozy help. The Design Your Own Vase page draws the table, window and loose flowers for you and leaves a large blank vase in the middle to decorate, and the Create Your Dream Garden page leaves the sign and raised beds empty for you to fill.
Drawing flowers with kids at the table
The five-petal flower, the tulip and the sunflower suit children best, since each starts from a circle or a cup shape and has no overlapping petals. Sit beside them and draw the same flower at the same time, one step at a time, instead of showing a finished example first. A finished drawing tends to make kids give up before they start.
Skip the guide lines for younger children and let them draw petals straight around the circle. Uneven petals are fine at that age. Ten to twenty minutes is usually enough for one flower and its coloring, so keep a second sheet ready for anyone who finishes early.
Coloring your flower drawings
Once a drawing is inked, color it the same way you’d color a printed page: light colors first, big shapes before small ones. Our coloring tips cover which supplies suit which ages and how to fix color that goes over the line.
For petals that fade from dark at the center to light at the edge, layer two or three colored pencils from the same color family. How to blend colored pencils shows that layering on a single leaf colored in two greens. Markers need a test on the printed paper before you touch the drawing, and coloring with markers covers that test along with ways to avoid streaks.
Printables from this article
Related articles
Printable Coloring Pages
Is a Tomato a Fruit? Is Corn a Vegetable? Cucumbers Too
A tomato is a fruit in botany because it grows from the flower and holds the seeds, and a vegetable in the kitchen; the Supreme Court took the kitchen side in Nix v. Hedden in 1893, for the tariff only.
Printable Coloring Pages
How to Draw Food: Cute Fruit, Desserts and Snacks
Every cute food starts as a plain shape. Ink one bold outline, add the single detail that names it, color it warm with a white shine spot, and put a face on last if you want one.
Printable Coloring Pages
Types of Sushi: Nigiri vs Sashimi, Rolls and Sushi for Kids
Sushi is vinegared rice plus a topping or filling, and the shape gives each type its name: nigiri, maki, uramaki, temaki, gunkan, chirashi, inari and oshizushi. Sashimi is sliced fish with no rice. Here's how to spot each one, what to order first and which pieces have no raw fish.