Thanksgiving Table Setting Ideas: Place Cards and Layouts
To set a Thanksgiving table the traditional way, put the dinner plate in the middle of each place, the forks to its left, the knife to its right with the blade facing the plate, any spoons to the right of the knife, and the glasses above the knife. The napkin goes to the left of the forks or on the plate. That one place setting is the same whether you seat six or sixteen. What changes is the layout around it: one long family table, a buffet line, or a separate kids’ table. Choose the layout first, set one place as a model, then copy it down the table.
Thanksgiving falls on the fourth Thursday of November, and most of the table work can be done days before. The guide below covers the place setting, four layouts, name cards and seating, candles, and a prep schedule.
Pick a Thanksgiving table layout by guest count
Start with the number of people and the space you have. A table that seats eight comfortably will not seat twelve once the turkey platter and six side dishes arrive.
| Your situation | Layout that works | What to set at each place |
|---|---|---|
| 4 to 8 guests, one dining table | Family-style table, dishes passed around | Full place setting plus a name card if you’re mixing families |
| 9 to 14 guests, tables can be joined | One long table, food on a side table | Dinner plate, fork, knife, glass, napkin; skip extras |
| 15 or more, or a small dining room | Buffet line, seats wherever they fit | Napkin and glass at the seat; plates and rolled cutlery at the buffet |
| Several children under 10 | A kids’ table near the adults | Paper cover, coloring name tags, plastic cups, battery candles |
If friends are bringing dishes, sort out the potluck sign-ups first with our Friendsgiving ideas guide, since the menu decides how much serving space the table needs.
How to set a Thanksgiving table, one place at a time
The Emily Post Institute’s informal place setting is the traditional model for a family holiday dinner, and it rests on one rule: utensils are set in the order they’re used, working from the outside in toward the plate. Only set what the menu needs. If no soup is served, no soup spoon goes on the table.
The basic Thanksgiving place setting
Set the pieces in this order, and the table looks tidy even with mismatched dishes.
| Piece | Where it goes |
|---|---|
| Dinner plate | Center of the place, set first |
| Dinner fork | Left of the plate |
| Salad fork | Left of the dinner fork if salad comes first; between the dinner fork and plate if salad comes after the main course |
| Napkin | Left of the forks, under the forks, or folded on the plate |
| Dinner knife | Right of the plate, cutting edge facing the plate |
| Spoons | Right of the knife; a soup spoon goes farthest right |
| Water glass | Above the knife, at the top right of the plate |
| Bread plate | Above the forks, butter knife laid across its edge |
| Dessert fork and spoon | Above the plate, or brought out with the pie |
Glasses for water, cider or iced tea all go at the top right. For adults who drink wine, the wine glass sits beside the water glass in the same spot.
Setting dessert utensils above the plate
Pie is the course most families forget to plan for. Emily Post describes placing the dessert spoon horizontally above the plate with its handle to the right, and the dessert fork below it with its handle to the left. That way nobody has to hunt for clean forks when the pie comes out. If you’d rather keep the table clear, bring the forks out on the pie plates instead.
What you can leave off
Emily Post’s Thanksgiving advice says placemats are optional and that guests can rest a roll on the edge of the dinner plate if you don’t own bread plates. Use what you have. A table with matching plates and no bread plates looks better than one where every place has a different set of extras.
Thanksgiving table setting ideas for different gatherings
Each layout below lists who it suits, how long setup takes by our planning estimate, and the problem that usually comes up.
One long family table
A long table suits 9 to 14 guests when you can butt two or three tables together. Plan about 45 minutes to set it once the tables are in place. Cover the seam between tables with one long cloth, or two cloths overlapping by a foot so the join doesn’t show.
The trap with a long table is the middle. Serving dishes, a centerpiece and candles all compete for the same strip, and there’s no room left for the turkey. Keep the center to a low runner and a few small pumpkins, and put the big platters on a side table or kitchen counter where guests can fill plates and come back. Keep the centerpiece low enough that people can see each other across it. For a runner, leaf garland or yard centerpiece, our DIY Thanksgiving decorations guide has step-by-step versions.
A buffet-style Thanksgiving
A buffet suits 15 or more guests, or a home where not everyone can sit at one table. Setup takes about 30 minutes plus time to clear a serving surface. Line the food up in eating order: plates first, then turkey, sides, rolls and gravy, with the cutlery and napkins last. Guests who pick up a rolled napkin of cutlery at the end of the line have both hands free while they serve.
At the seats, set only a glass and maybe a name card. That keeps the dining area clear for people carrying full plates. Label each dish on the buffet so guests with allergies can see what’s in it.
A kids’ Thanksgiving table
A kids’ table suits a family with three or more children under about 10. Put it in sight of the adults, not in another room. Children eat better and stay seated when a grown-up can see them, and the AAP’s choking advice is to supervise mealtimes and have children sit down while they eat.
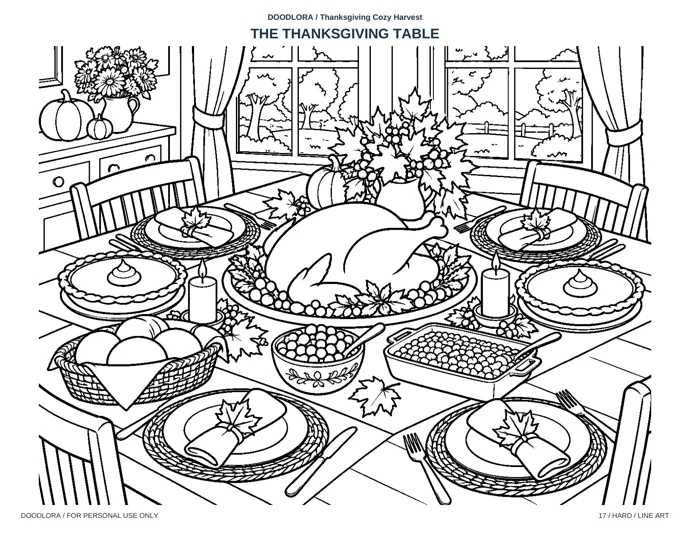
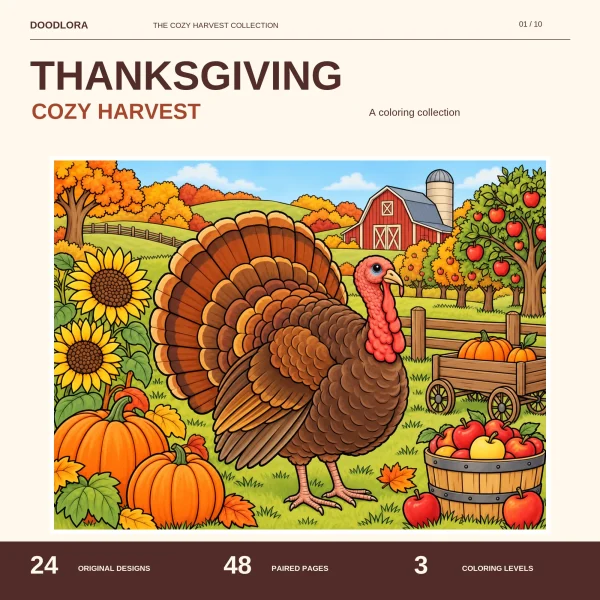
Cover the table in kraft paper or a plain paper cloth so crayons are welcome. Then give each place a coloring page to work on while the grown-ups finish carving. The Thanksgiving Table scene in our Thanksgiving coloring pages is page 33 of the US Letter book, a landscape drawing of a set table with a roast turkey, pies and leaf napkin rings. It’s one of the Hard pages, so it suits children about 8 and up. Younger kids do better with the Easy pages at the front of the book, which have one big subject per page.
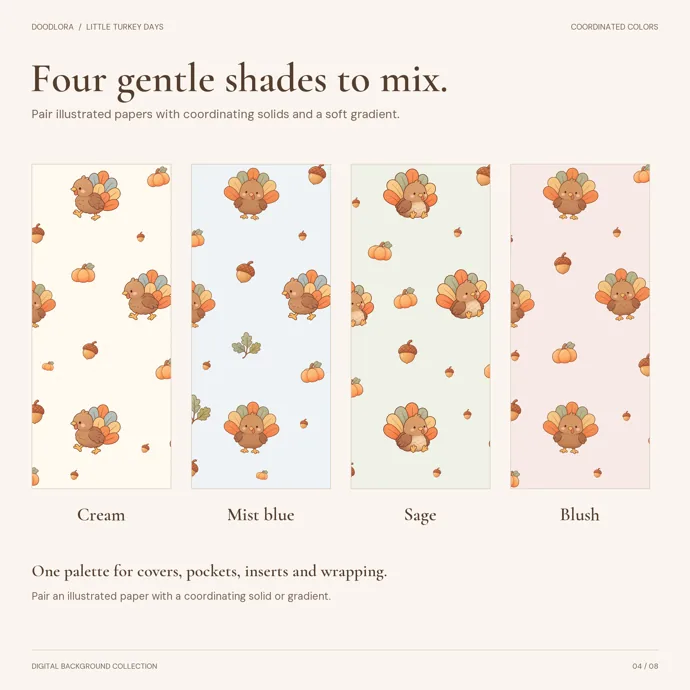
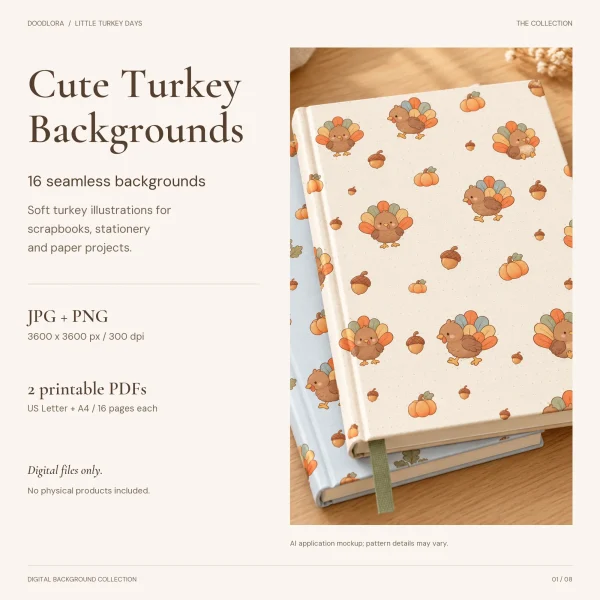
For napkin bands that match, print one of the Thanksgiving backgrounds on plain paper. An adult cuts it into strips about 2 inches wide, then wraps each strip around a paper napkin and tapes the end. The four turkey patterns below come in cream, blue, sage and blush, so each child can have a different color.
Plan the kids’ plates around choking risk, not just taste. The AAP lists whole grapes, nuts, popcorn, raw carrot sticks, hard candy, marshmallows and chunks of meat or cheese as foods to avoid or change for children under about 4. Cut food for young children into pieces no bigger than half an inch, so slice the turkey small and quarter any grapes. Use battery candles on this table, never real ones, and keep the placemat crafts for before the meal. Our Thanksgiving placemats guide covers kid-made placemats by age.
A small family-style table
A table of four to eight can hold the whole meal, so this is the one layout where you set a full place setting and pass dishes around. Setup takes about 20 minutes. Leave a 12-inch gap at the center for one serving dish at a time and keep the rest on the stove. Send every dish around in the same direction, so nobody ends up holding two at once.
Thanksgiving place cards and name cards: what to write and where
Place cards save the awkward pause at the table, and they let you mix guests who would otherwise sit with the people they came with. They matter most at a long table and a mixed-family gathering. For a party of five, they’re a nice touch rather than a need.
What to write on a Thanksgiving name card
Write the name each guest is called at family meals: “Grandma,” “Uncle Joe,” “Mia.” For guests who don’t know everyone, a first name alone is friendlier than a full name. When two guests share a name, add a last initial to one of them. Use a dark felt-tip pen and print in capitals or neat lowercase large enough to read standing up. Leave the lettering until the night before dinner, when the guest count is final, and set aside two blank tags for a guest who shows up with a friend.
Where to put the place card
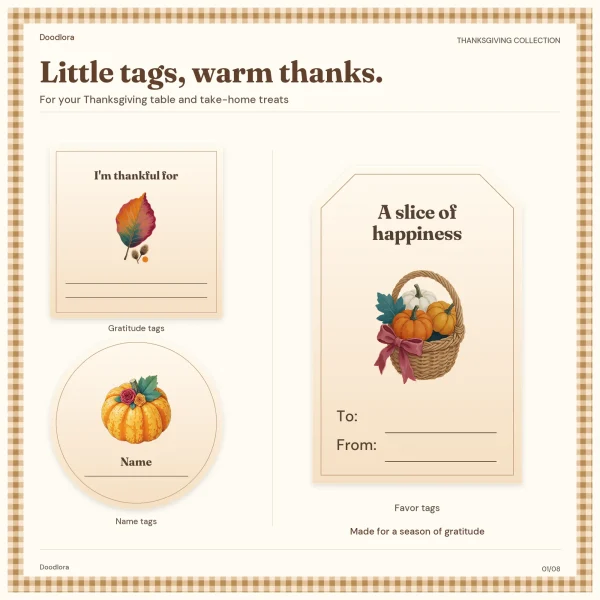
Put the card where the guest will see it while pulling out a chair. Classic spots are centered above the plate, flat on the folded napkin, or leaning against the water glass. Tent cards stand on their own above the plate. Our Thanksgiving name tags are flat, single tags, not folded tents. Lay each one on the napkin or plate, prop it against a glass, or tie it around a rolled napkin with twine through the punched hole.
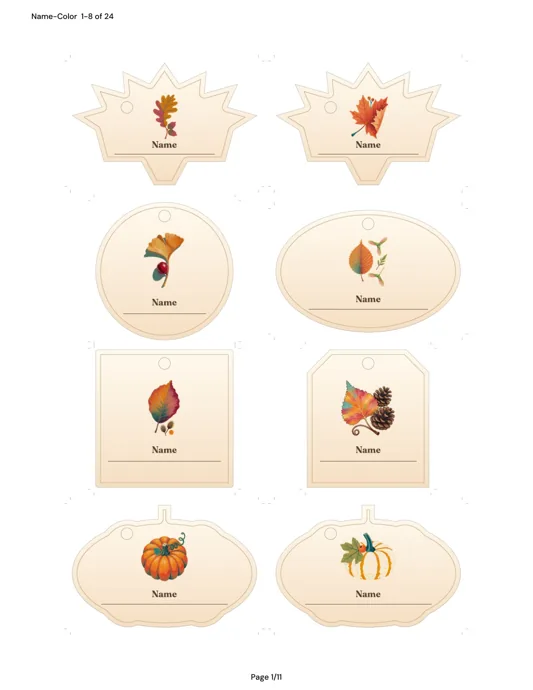
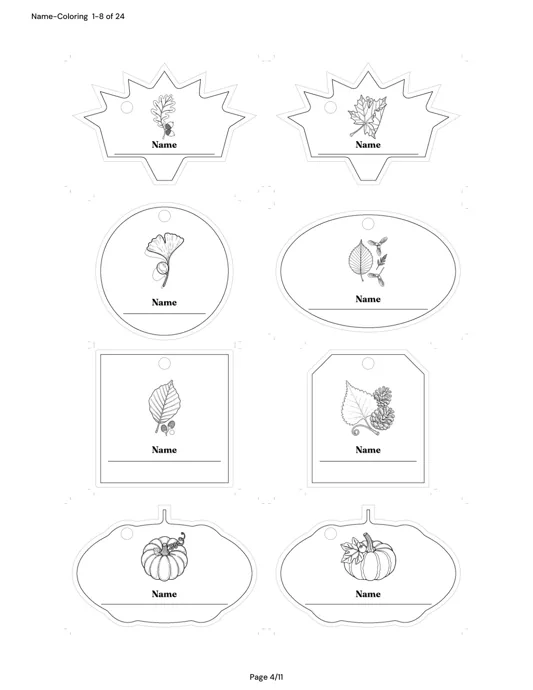
The set has 24 name tag designs, eight to a page on PDF pages 1 to 3. The wide shapes, such as the maple leaf, the pumpkin and the turkey-tail scallop, measure 3 x 2 inches. Circles and squares are 2.25 inches, so they fit on a dinner plate without hanging over the rim.
Typing the names with the Canva template
If your handwriting won’t sit straight on a curved tag, the set includes a Canva template. The link for US Letter and the one for A4 are in the START-HERE.txt file and on the last page of the print PDF. Sign in to your own Canva account, open the link that matches your paper, and create your own copy. Type each guest’s name, then export as PDF Print. The file notes that long names may need a smaller font to fit, so check “Christopher” and “Grandma Josephine” before you print the full set.
Printing and cutting the tags
Print at 100% actual size on the same paper size as the PDF, so the tags keep their measured sizes. Card stock holds up against a glass better than copy paper. Cut along the outline, and punch only where the tag shows a hole marker. Give the scissors work on the maple leaf and pumpkin shapes to an adult or an older child, since the points and stem are the fiddly parts.
Name tags the kids can color
PDF pages 4 to 6 hold the same 24 name tags as black line art. Hand a stack to the kids’ table with crayons, and each child colors their own tag or one for a grandparent. A child of about 4 can color a tag in around 10 minutes, by our estimate, while an adult writes in the name.
How to arrange Thanksgiving seating
A seating plan takes about 15 minutes with a sketch of the table and the guest list. Work through it in this order, so the fixed seats are placed before the flexible ones.
- Seat the hosts first. Traditionally the hosts sit at the two ends of the table. When the hosts know most of the guests, Emily Post notes they can sit opposite each other in the middle, where conversation is easier. If you’re cooking, take the seat nearest the kitchen either way.
- Give the guest of honor the best seat. Emily Post keeps it simple: the guest of honor gets the best seat, usually beside a host. At Thanksgiving that’s often the oldest family member or a first-time guest.
- Place guests with a practical need. An older guest or someone with a cane does best at the end nearest the door. A left-handed guest at a corner won’t bump elbows. Parents of a toddler sit next to the high chair.
- Mix the rest. A first-time guest settles in faster with an outgoing relative on each side, so give them that spot. Pairs who only ever talk to each other can sit across the table rather than side by side.
Once the cards are down, keep them there. Emily Post’s advice to guests is to find their name and sit there, and that swapping cards undoes the host’s work. Tell the family the plan is set, so a teenager doesn’t move everyone around to sit with cousins.
Candles and the centerpiece
Candles are the easiest way to make a long table look finished, and they need an adult in charge the whole time they’re lit. The U.S. Fire Administration says to keep candles at least 12 inches from anything that burns, set them in stable holders where they can’t be knocked over easily, and blow candles out whenever you leave the room. A dry-leaf centerpiece, paper napkins and a reaching arm all sit within 12 inches on a crowded table, so leave a clear space around each flame. An adult lights them after everyone is seated and blows them out before clearing. Battery candles give the same glow on the kids’ table and on any table where the decorations are packed close.
What to prepare before Thanksgiving, day by day
Most of the table can be ready before the cooking starts. This schedule is a planning estimate for a table of 8 to 14.
| When | What to do |
|---|---|
| One week before | Count chairs, plates, forks, knives and glasses against the guest list; borrow or buy what’s missing. Wash and iron the tablecloth. |
| Four to five days before | Print the name tags and the kids’ coloring pages. Buy candles, napkins and kraft paper for the kids’ table. |
| Two to three days before | Sketch the seating plan. Cut out the tags and test one against a glass. |
| The day before | Write or type the names once the RSVPs are final. Set the whole table except the glasses and lay a clean sheet over it. |
| Thanksgiving morning | Add the glasses, place cards and centerpiece. Set up the buffet or side table. |
| 30 minutes before eating | Fill the water glasses. An adult lights the candles once guests sit down. |
Setting the table the day before is worth it. On the day, the oven, the gravy and the arrivals all happen at once, and a finished table is one less job. If your kids want to help, our Thanksgiving activities for kids guide has table jobs sorted by age.
Common Thanksgiving table problems and quick fixes
Not enough matching plates. Mix sets on purpose: put all the white plates on one side and the patterned ones on the other, or alternate them. A single matching napkin color pulls it together.
The table is too small for the food. Move every serving dish to a side table and serve buffet style. The table then only has to hold plates, glasses and one gravy boat.
A guest arrives you didn’t plan for. Keep two blank tags and a pen near the table. Add a place at a corner, not the middle, so nobody has to move.
Someone swaps the cards. Put the place cards out last, after the family has gathered in another room. Then walk guests to the table yourself.
A long name doesn’t fit. Use the name the guest goes by at home, or shrink the font in the Canva copy before printing.
Printables from this article
Related articles
Printable Invitations & Cards
What Is a Golden Birthday? Meaning, Ages and Party Ideas
Your golden birthday is the year you turn the same number as the day of the month you were born. Find yours from the day, not the month, plan around the number, and say what it means on the invitation.
Printable Invitations & Cards
Christmas Pregnancy Announcement Ideas: Holiday Card Wording
Pick the reveal by who you're telling: something private and small for your partner on Christmas morning, a stocking or a gift box at the family gathering, a job for an older child, a quick joke for friends, and a card or phone image for everyone far away.
Printable Invitations & Cards
How to Wrap a Gift: Easy Steps, Ideas and Gifts From Santa
Cut paper that goes around the box with about 2 inches to spare and reaches a little past halfway up each end, tape the seam on the bottom, then fold each end in like an envelope: sides in, top down, bottom up.