How to Make a Budget: A Monthly Budget for Beginners
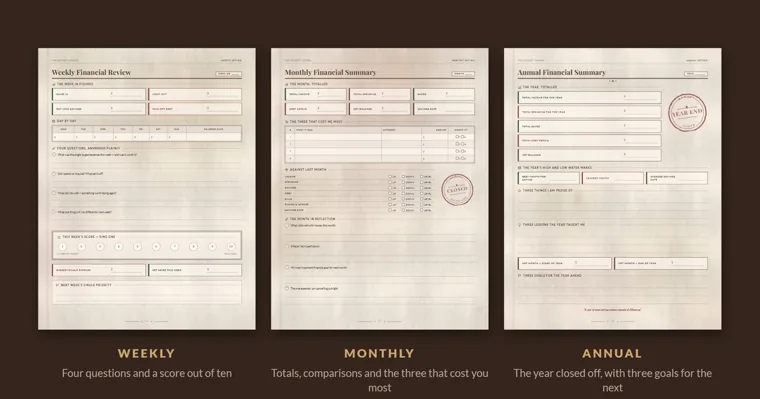
To make a budget, start with the pay that actually lands in your account each month, subtract every fixed and variable expense, and give whatever is left a job before the month begins. Then record what you really spend for that month, compare it with the plan, and fix next month’s numbers. The steps below use one worked example with made-up figures, and they flag the places where a first budget usually comes apart.
This guide is about planning and tracking household money. It doesn’t cover investing, credit or tax decisions.
What you need before you make a budget
Gather the last two or three months of records before you write a single number. The Oregon Division of Financial Regulation points out that past bank or card statements help you estimate expenses accurately, which beats guessing from memory.
- Pay stubs or deposit records for those months
- Bank and card statements for the same months
- A list of bills with their due dates
- Something to write the plan on: paper, a spreadsheet or one of the printable sheets in our planners shop
- About an hour for the first draft, less for every month after
If two people share the money, do the first draft together. Each person usually knows about a few costs the other has forgotten.
Step 1: Work out your monthly take-home pay
The budget starts with take-home pay, the amount left after taxes and other withholdings, not the salary on your offer letter. The 50/30/20 rule and zero-based budgeting both work from this net figure, so a budget built on gross pay overstates what you can spend from the first line.
List every source that pays you during a normal month. Oregon’s budgeting guide names paychecks, child support, pay from gig work and Social Security income as examples. For this guide’s example, assume one person takes home $3,200 a month in two paychecks of $1,600.
If you’re paid every two weeks, you get 26 paychecks a year, so two months each year bring a third check. A simple way to handle that is to plan every month on two paychecks and decide in advance what the extra one will cover when it arrives.
When your income changes from month to month
Freelance, tip and shift income needs a lower starting number. Oregon’s guide says to estimate conservatively when paycheck amounts differ, and MIT’s student budgeting page puts it more bluntly: never budget on the maximum.
In practice, look at the last three to six months and plan on the lowest one. A good month then becomes extra money to assign, instead of a shortfall you discover on the 25th.
Step 2: List fixed and variable expenses
With income settled, list every place the money goes, starting with fixed expenses. These cost the same each month: rent or a mortgage, a cell phone plan, a garbage bill, car insurance. Variable expenses change from month to month, such as groceries, eating out, gifts, clothes and gas.
Go through your statements line by line and sort each charge into one of those two groups. The small, repeated charges are the ones people forget, so add them to a category before you move on.
Here is the example budget’s list, with all figures assumed:
| Expense | Type | Monthly amount |
|---|---|---|
| Rent | Fixed | $1,250 |
| Cell phone | Fixed | $60 |
| Car insurance | Fixed | $140 |
| Internet | Fixed | $55 |
| Groceries | Variable | $450 |
| Gas | Variable | $160 |
| Utilities | Variable | $120 |
| Eating out | Variable | $120 |
| Entertainment and streaming | Variable | $80 |
| Gifts | Variable | $75 |
Annual and irregular costs: divide by 12
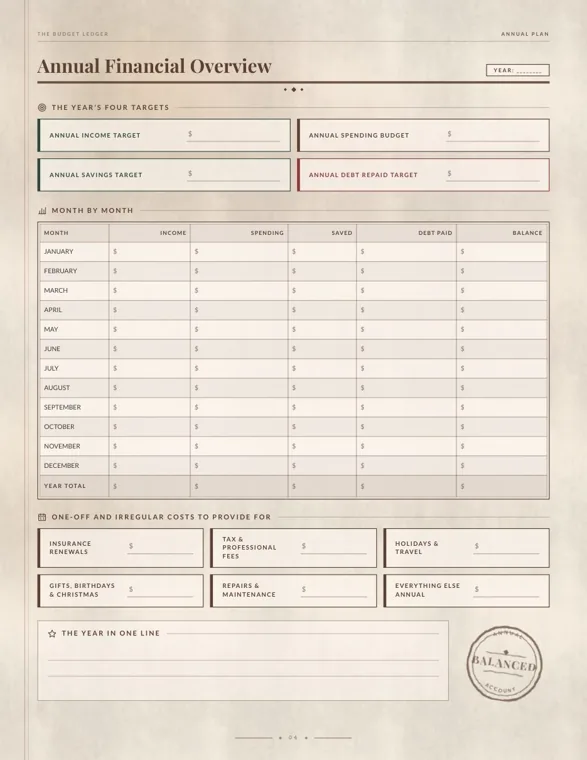
Costs that arrive once or twice a year are the most common hole in a first budget. Oregon’s guide handles them by dividing each yearly expense by 12 and setting that amount aside every month.
In the example, a $120 car registration becomes $10 a month and $360 of holiday gifts becomes $30 a month. Add those $40 to the list, and the total planned spending comes to $2,550.
Step 3: Choose a way to divide the money
Once income and expenses sit side by side, you need a rule for the money that’s left. The three methods below come up most often, and Wikipedia’s article on personal budgets describes all three.
Zero-based budget: every dollar gets a job
In a zero-based budget, all of your net income is assigned before you spend any of it, so the plan ends the month at zero. “Zero” doesn’t mean an empty account. It means savings, the gift fund and every other goal have a line in the plan.
The example has $3,200 coming in and $2,550 planned out, leaving $650. Putting all $650 on a savings line brings the plan to zero. For a first budget this is the easiest method to run on paper, because the totals show right away whether the plan balances.
50/30/20: a quick check on the proportions
The 50/30/20 rule splits take-home pay into three shares: 50% for needs, 30% for wants and 20% for savings and debt payments. The Consumer Financial Protection Bureau (CFPB) lists rent or a mortgage, food, clothing, transportation, utilities and child care as needs.
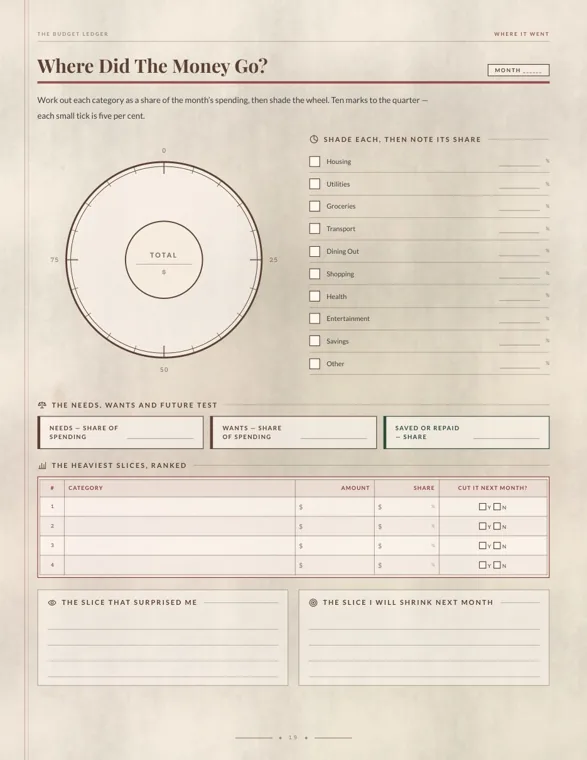
Run the example through it and the split doesn’t fit. Needs (rent, phone, insurance, internet, groceries, gas, utilities and the car registration) add up to $2,245, about 70% of take-home pay. Wants come to $305, about 9.5%, and the $650 for savings is about 20.3%.
That mismatch comes from high rent, not from a broken budget. The CFPB says consumers often find rules of thumb like this hard to apply to their own circumstances, and its worksheet invites you to set your own spending rule instead. Use 50/30/20 as a second look at the plan, not as a target you have to hit.
Envelope method: cash for the categories that leak
The envelope method runs a category on cash instead of debit or credit cards. You decide how much each category gets, withdraw that cash and put it in a labeled envelope. When you shop for groceries, you take only the grocery envelope, so you can’t overspend it.
The catch is that rent, insurance and anything on autopay can’t come out of an envelope. A practical setup keeps envelopes for the two or three categories that tend to run over, such as groceries or eating out, and plans the rest with one of the other methods.
Step 4: Fill in the monthly budget sheet
The sheet itself needs three columns for every line: budgeted, actual and difference. Write the budgeted column now, at the start of the month, and leave the other two blank until the month ends.
Put income at the top, then each spending category, then the line where income minus spending should equal the amount you’ve assigned to savings. In the example, that bottom line reads $3,200 minus $2,550, with $650 moved to savings.
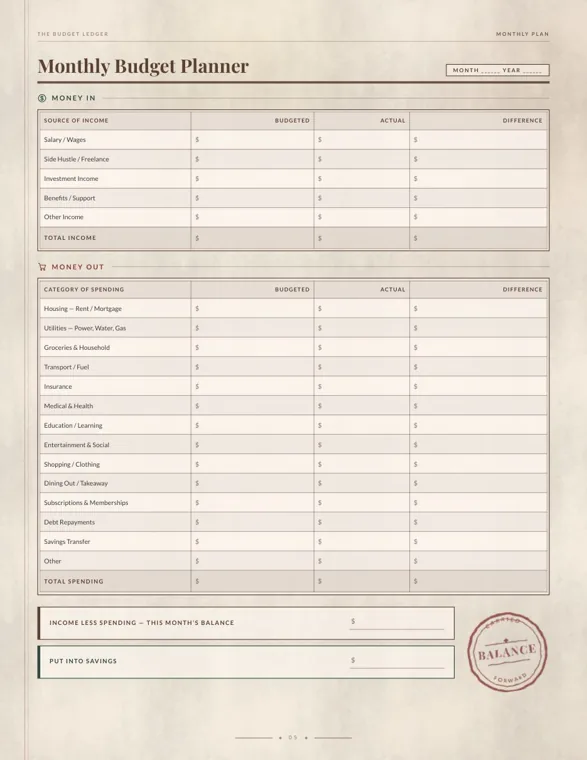
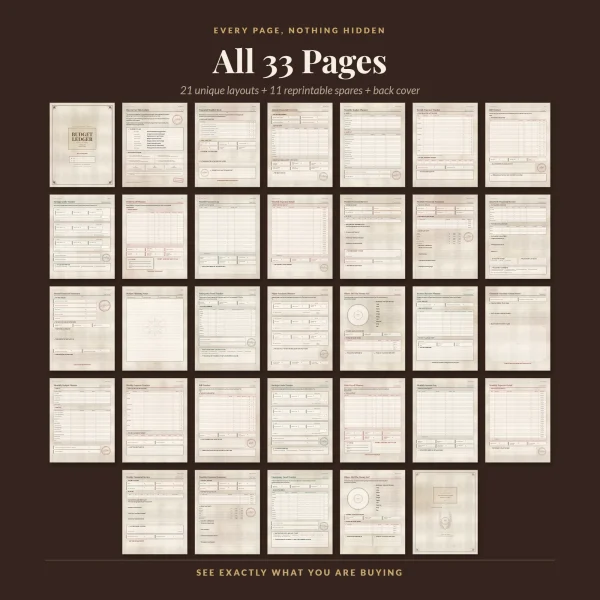
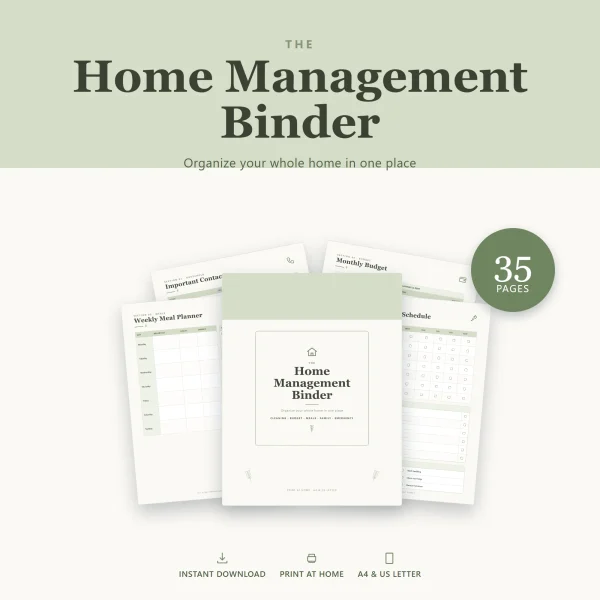
Our printable budget planner is a 33-page ledger built around this order: page 5 is the monthly plan, page 4 is the year and pages 22 to 32 are spare copies of the pages you reuse. If you’d rather keep the budget next to the rest of the household paperwork, the budget section of our home management binder has a simpler monthly budget with nine expense categories and a box for sinking funds, plus a 12-month bill payment tracker.
Step 5: Track what you spend during the month
A budget only works if the actual column gets filled in. The CFPB suggests a daily log or a folder of receipts that you review at the end of each week, and it singles out the small purchases, like buying breakfast instead of bringing it, that add up over a month.
Bills need a second kind of tracking: the date. The CFPB notes that coming up short at the end of the month can simply mean bill due dates and paydays don’t line up. Write each due date next to the bill and note which paycheck covers it, so a $1,250 rent payment isn’t due two days before the money arrives.
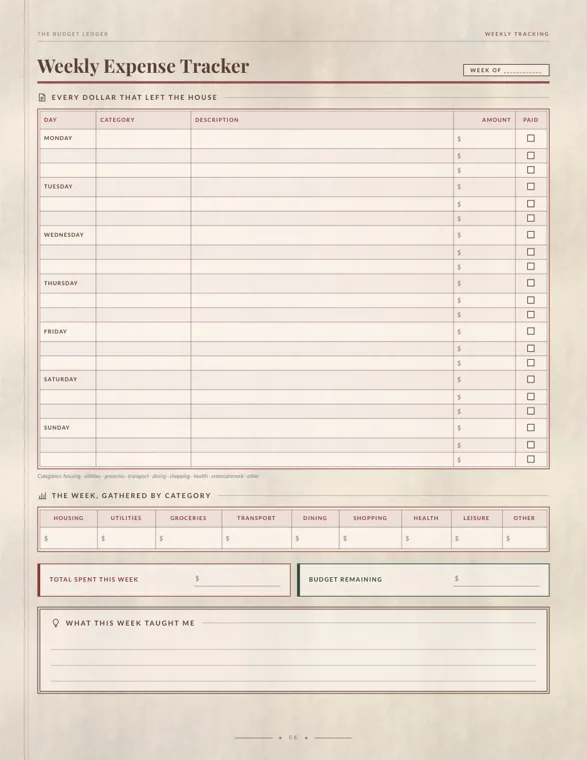
The how-to page in our ledger suggests fifteen minutes a week, which is enough time to copy a week of receipts into categories. Skipped weeks have to be rebuilt later from statements, which takes longer.
Step 6: Compare at month end and adjust next month
At the end of the month, fill in the actual column and subtract. Oregon’s guide lists the questions to ask at this point: did spending leaks show up, do you need a new category, should some amounts change, and did you meet your savings goal?
In the example month, groceries came to $510 against $450, eating out came to $185 against $120, and gas came in $20 under at $140. That’s $105 over plan, so only $545 reached savings instead of $650.
The fix goes into next month’s plan, not into guilt about this one. Raising groceries to $500 and holding eating out at $120 gives a plan that matches how the household actually shops. Savings drops to $600 until the eating-out line comes down.
If the plan doesn’t balance
When planned expenses are larger than income, the budget shows a deficit. Oregon’s guide gives two ways to close it: reduce estimated expenses or increase income. Start with the variable lines and subscriptions, since fixed costs like rent rarely change within a month.
Keeping the budget going
Expect the first two or three months to need adjusting, because the first plan is built on estimates. The CFPB’s advice is to be realistic and look at your finances one month at a time. If you start in January, fill in the year’s targets first; any other month works just as well, since an undated sheet can begin wherever you are.
Printables from this article
Related articles
Printable Planners
How to Meal Plan: Meal Planning and Prep for Beginners
A step-by-step weekly meal planning method for beginners, from reading the calendar to the grocery list, safe leftovers, simple meal prep and busy-night backups.
Printable Planners
Budget Categories: Fixed, Variable and Easy-to-Miss Costs
Budget categories for singles, families and irregular earners, with what goes in each one, first-month estimates and the yearly costs that slip through.
Printable Planners
How to Use a Planner: Daily Plan, Weekly Review & Ideas
A step-by-step way to set up a paper or printable planner, use it for a few minutes a day, review each week and get back on track after skipped days.