 1 / 7
Beginner Plush Bunny Sewing Pattern
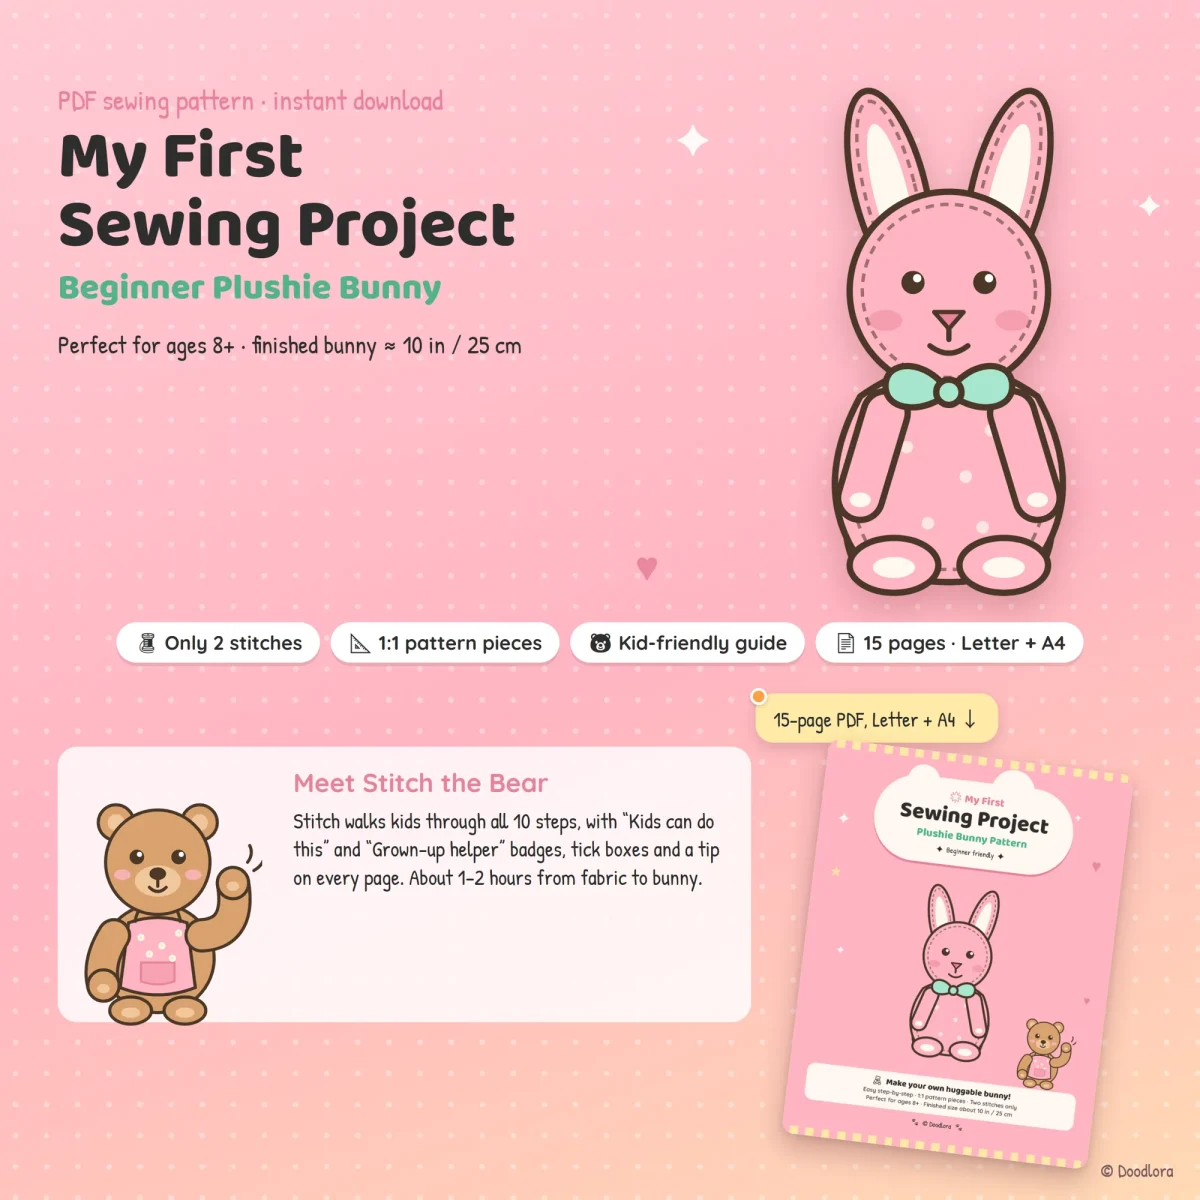
A first sewing project that ends with a 10-inch plush bunny, sewn entirely by hand with a running stitch and a backstitch. A bear called Stitch walks through each of the 10 steps and marks which ones kids can do and which need a grown-up.
$2.99
Buy any 3 or more printables and save 20% at checkout.
- Download right after payment — link works for 30 days, up to 5 downloads
- Files arrive as a ZIP with your license PDF inside
- Secure checkout by Stripe · Refund policy
This pattern is written for someone who has never sewn anything. No machine is involved: the whole bunny is put together with two hand stitches, plus a ladder stitch at the end to close the stuffing gap. The cover suggests it for ages 8 and up, working alongside an adult, and the pattern puts the whole project at about one to two hours.
What’s on the pages
After a welcome page, a materials checklist and the Stitch School page, page 5 explains how to read the pattern: solid lines for cutting, dashed lines for sewing, orange dots for the openings you leave, and an arrow for the grain line. Pages 6 to 8 hold the five pieces at full size:
| Piece | Cut | Size |
|---|---|---|
| Body | 2 | 6 × 5 in (15 × 13 cm) |
| Head | 2 | 4 × 4 in (10 × 10 cm) |
| Ear | 2 main fabric, 2 accent | 1¾ × 3¼ in (4.4 × 8.3 cm) |
| Arm | 4 | 1½ × 4 in (4 × 10 cm) |
| Leg | 4 | 1¾ × 4½ in (4.5 × 11.5 cm) |
A ¼ in (6 mm) seam allowance is already included. Pages 9 to 13 cover the 10 steps, two per page, each with a small diagram, a checkbox and a tip. Steps that use sharp scissors or need extra strength (cutting out, attaching the head, sewing on the ears, arms and legs, and closing the gap) carry a “grown-up helper” badge. Sewing the body, head, ears, arms and legs and embroidering the face are marked for kids.
What you’ll need
About ¼ yard (25 cm) of cotton, flannel or fleece, a small scrap of a second fabric for the inner ears, a needle and thread, scissors, a ruler, pins, a fabric marker, toy stuffing and embroidery floss for the face.
Printing
Print pages 6 to 8 at 100% or “Actual size”, then measure the 1-inch square before you cut anything. Heavier paper, 120 gsm or more, makes templates that last through several bunnies. The last pages suggest printing at 70% for a pocket-sized bunny or 150% for a big one, and stretching the ear piece for a lop-eared version. For a baby or toddler, the pattern recommends embroidered eyes instead of beads or buttons.